2018 KIA SOUL warning light
[x] Cancel search: warning lightPage 88 of 620
Instrument cluster . . . . . . . . . . . . . . . . . . . . . . . . . 4-48
. . . . . . . . . . . . . . . . . . . . . 4-49
. . . . . . . . . . . . . . . . . . . . . . . . . . 4-49
. . . . . . . . . . . . . . . . . . . . . . . . . . . . . . . . . . . . \
. 4-50
. . . . . . . . . . . . . . . . . . . . . . 4-54
LCD display . . . . . . . . . . . . . . . . . . . . . . . . . . . . . . 4-56
. . . . . . . . . . . . . . . . 4-56
. . . . . . . . . . . . . . . . . . . . . . . . . . . . . . . . 4-57
. . . . . . . . . . . . . . . . . . . . . . . . . . . 4-64
. . . . . . . . . . . . . . . . . . . . . . . . . . . . 4-64
Trip computer . . . . . . . . . . . . . . . . . . . . . . . . . . . . . 4-68
. . . . . . . . . . . . . . . . . . . 4-69
. . . . . . . . . . . . . . . . . . . . . . . . . . . . . . . . 4-70
. . . . . 4-71
. . . . . . . . . . . 4-72
Warning and indicator lights . . . . . . . . . . . . . . . . 4-74
. . . . . . . . . . . . . . . . . . . . . . . . . . . . . . . 4-74
. . . . . . . . . . . . . . . . . . . . . . . . . . . . . . 4-82
Rear camera display . . . . . . . . . . . . . . . . . . . . . . . 4-87
Lighting . . . . . . . . . . . . . . . . . . . . . . . . . . . . . . . . . . 4-88\
. . . . . . . . . . . . . . . . . . . . . . . . . . . . . 4-88
. . . . . . . . . . . . . . . . . . . . . . . . . 4-88 . . . . . . . . . . . . . . . . . . . . . . . . . . . . . . 4-89
. . . . . . . . . . . . 4-91
. . . . . . . . . . . . . . . . . . . . . . . . . . . . . . . 4-92
Wipers and washers . . . . . . . . . . . . . . . . . . . . . . . . 4-93
. . . . . . . . . . . . . . . . . . . . . . 4-93
. . . . . . . . . . . . . . . . . . . . 4-93
. . . . . . . . . . . . . . . . . . . . . . . . . . . . 4-93
. . . . . . . . . . 4-95
Interior light . . . . . . . . . . . . . . . . . . . . . . . . . . . . . . 4-96
. . . . . . . . . . . . . . . . . . . . . . . 4-96
. . . . . . . . . . . . . . . . . . . . . . . . . . . . . . . . . . 4-96\
. . . . . . . . . . . . . . . . . . . . . . . . . . . . . . . . . . 4-97\
. . . . . . . . . . . . . . . . . . . . . . . . . . 4-98
. . . . . . . . . . . . . . . . . . . . . . . . . . 4-98
. . . . . . . . . . . . . . . . . . . . . . . . . . . . . 4-100
. . . . . . . . . . . . . . . . . . . . . . . . . . 4-100
Defroster . . . . . . . . . . . . . . . . . . . . . . . . . . . . . . . . 4-101
. . . . . . . . . . . . . . . . . . . . . . . 4-101
Manual climate control system . . . . . . . . . . . . . . 4-103
. . . . . . . . . . . . . . . . . . 4-104
. . . . . . . . . . . . . . . . . . . . . . . . . . . . 4-109
. . . . . . . . . . . . . . . . . . . . . . 4-111
. . . . . . . . . . . . . . 4-112
4
Page 91 of 620

45
Features of your vehicle
Door Lock (1)
1. Close all doors, engine hood andliftgate.
2. Press the lock button(1).
3. All doors and liftgate will lock. The hazard warning lights will blink
once.
4. If the lock button is pressed once more within 4 seconds, the hazard
warning lights will blink and the
horn will sound once.
5. Make sure that doors are locked by checking the door lock button inside
or pulling the outside door handle.
Door Unlock (2)
1. Press the unlock button(2).
2. The driver's door will unlock. Thehazard warning lights will blink two
times.
3. Press the unlock button(2) twice within 4 seconds and all doors and
liftgate will unlock. The hazard
warning lights will blink two times.
✽ ✽NOTICE
You can activate or deactivate the
Two Turn Unlock function. Refer to
“User settings” in this chapter.OXMA043317
WARNING- Ignition key
Never leave the keys in your
vehicle with unsupervised chil-
dren. Leaving children unat-
tended in a vehicle with a man-
ual ignition key or a smart key
is dangerous. Children copy
adults and they could place the
key in the ignition switch or
press the start button. The key
would enable children to oper-
ate power windows or other
controls, or even make the vehi-
cle move, which could result in
serious bodily injury or death.
result in serious bodily injury or
death.
Page 96 of 620
Features of your vehicle
10
4
Record your key number
The key code num-
ber is stamped on
the key code tag
attached to the key
set. Should you
lose your keys, this number will
enable an authorized Kia dealer to
duplicate the keys easily. Remove
the key code tag and store it in a safe
place. Also, record the key code
number and keep it in a safe and
handy place, but not in the vehicle.
Smart key function
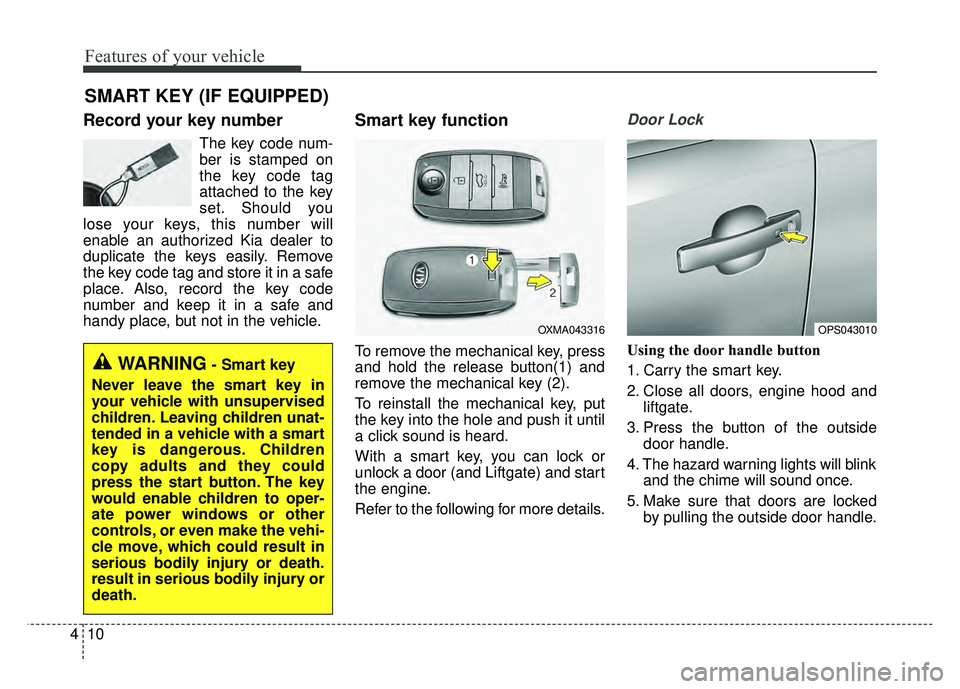
To remove the mechanical key, press
and hold the release button(1) and
remove the mechanical key (2).
To reinstall the mechanical key, put
the key into the hole and push it until
a click sound is heard.
With a smart key, you can lock or
unlock a door (and Liftgate) and start
the engine.
Refer to the following for more details.
Door Lock
Using the door handle button
1. Carry the smart key.
2. Close all doors, engine hood and liftgate.
3. Press the button of the outside door handle.
4. The hazard warning lights will blink and the chime will sound once.
5. Make sure that doors are locked by pulling the outside door handle.
SMART KEY (IF EQUIPPED)
OXMA043316OPS043010
WARNING- Smart key
Never leave the smart key in
your vehicle with unsupervised
children. Leaving children unat-
tended in a vehicle with a smart
key is dangerous. Children
copy adults and they could
press the start button. The key
would enable children to oper-
ate power windows or other
controls, or even make the vehi-
cle move, which could result in
serious bodily injury or death.
result in serious bodily injury or
death.
Page 97 of 620

411
Features of your vehicle
The button will only operate when
the smart key is within 28~40 in.
(0.7~1m) from the outside door han-
dle.
Even though you press the outside
door handle button, the doors will not
lock and the chime will sound for 3
seconds if any of following occur:
The smart key is in the vehicle.
The engine start/stop button is inACC or ON position.
Any door except the liftgate is open. Using the button on the smart key
1 Close all doors, engine hood and
liftgate.
2. Press the lock button(1).
3. The hazard warning lights will blink and the chime will sound once.
4. Make sure that doors are locked by pulling the outside door handle.Unlocking
Using the door handle button
1. Carry the smart key.
2. Press the button of the driver'soutside door handle.
3. The driver’s door will unlock. The hazard warning lights will blink and
the chime will sound two times.
4. Press the button twice within 4 seconds and all doors and the lift-
gate will unlock and the hazard
warning lights will blink and the
chime will sound two times.
OPS046494N
Page 98 of 620
Features of your vehicle
12
4
The button will only operate when
the smart key is within 28~40 in.
(0.7~1m) from the outside door
handle.
When the smart key is recognized in the area of 28~40 in. (0.7~1m)
from the front outside door handle,
other people can also open the
doors.
After unlocking the driver’s door or all doors, the door(s) will lock auto-
matically unless the door is
opened. Using the button on the smart key
1. Press the unlock button(2) of the
smart key.
2. The driver’s door will unlock. The hazard warning lights will blink and
the chime will sound two times.
3. Press the unlock button(2) twice within 4 seconds and all doors and
the liftgate will unlock. The hazard
warning lights will blink and the
chime will sound two times.
✽ ✽NOTICE
After pressing the button, the doors
will lock automatically unless any
door is opened within 30 seconds.
✽ ✽NOTICE
You can activate or deactivate the
Two Turn Unlock function. Refer to
“User settings” in this chapter.
Liftgate unlocking
Using the liftgate handle button
1. Carry the smart key.
2. Press the liftgate handle button.
3. When all doors are locked, the
hazard warning lights will blink two
times.
Once the liftgate is opened and
then closed, the liftgate will lock
automatically.
If you are within 28~40 in. (0.7~1 m)
from the outside liftgate handle, with
your smart key in possession, the lift-
gate will unlock and open when you
press the liftgate handle switch.
Page 99 of 620

413
Features of your vehicle
Using the button on the smart key
1. Press the liftgate unlock button(3)for more than 1 second.
2. When all doors are locked, the hazard warning lights will blink two
times.
Panic
1. Press the panic button(4) for morethan 1 second.
2. The horn sounds and hazard warning light flash for about 30
seconds.
Start-up
You can start the engine without
inserting the key.
❈ For detailed information refer to
the “Engine start/stop button” in
chapter 6.
Loss of the smart key
A maximum of 2 smart keys can be
registered to a single vehicle.
If you happen to lose your smart key,
you will not be able to start the
engine. You should immediately take
the vehicle and remaining key to your
authorized Kia dealer(tow the vehi-
cle, if necessary) to protect it from
potential theft.
Smart key precautions
The smart key will not work if any
of the following occur:
- The smart key is close to a radiotransmitter such as a radio sta-
tion or an airport which can inter-
fere with normal operation of the
smart key.
- The smart key is near a mobile two way radio system or a cellular
phone.
- Another vehicle’s smart key is being operated close to your
vehicle.
When the smart key does not work correctly, open and close the door
with the mechanical key and contact
an authorized Kia dealer.
Page 111 of 620
425
Features of your vehicle
Power windows
The ignition switch must be in the ON
position for power windows to operate.
Each door has a power window
switch that controls the door's win-
dow. The driver has a power window
lock button which can block the oper-
ation of the rear passenger windows.
The power windows can be operated
for approximately 30 seconds after
the ignition key is removed or turned
to the ACC or LOCK position.
However, if the front doors are
opened, the power windows cannot
be operated even within the 30 sec-
ond period.
If the window cannot be close
because it is blocked by objects,
remove the objects and close the
window.
✽ ✽NOTICE
While driving with the rear windows
down or with the sunroof (if
equipped) in an open (or partially
open) position, your vehicle may
demonstrate a wind buffeting or
pulsation noise. This noise is a nor-
mal occurrence and can be reduced
or eliminated by taking the follow-
ing actions. If the noise occurs with
one or both of the rear windows
down, partially lower both front
windows approximately one inch. If
you experience the noise with the
sunroof open, slightly reduce the
size of the sunroof opening.
Window opening and closing
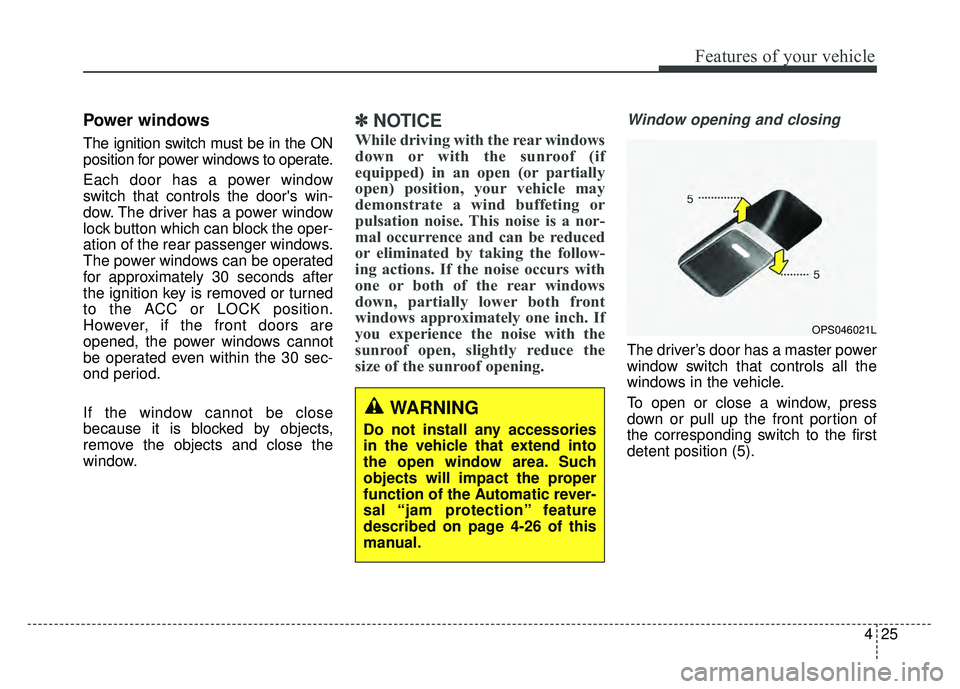
The driver’s door has a master power
window switch that controls all the
windows in the vehicle.
To open or close a window, press
down or pull up the front portion of
the corresponding switch to the first
detent position (5).
OPS046021L
WARNING
Do not install any accessories
in the vehicle that extend into
the open window area. Such
objects will impact the proper
function of the Automatic rever-
sal “jam protection” feature
described on page 4-26 of this
manual.
Page 118 of 620
Features of your vehicle
32
4
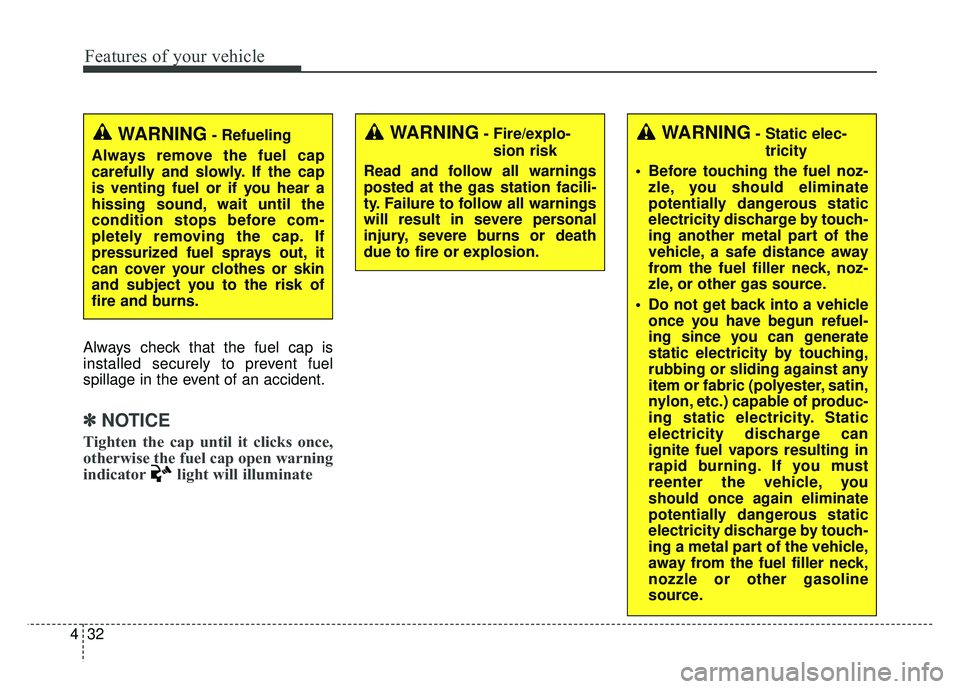
Always check that the fuel cap is
installed securely to prevent fuel
spillage in the event of an accident.
✽ ✽
NOTICE
Tighten the cap until it clicks once,
otherwise the fuel cap open warning
indicator light will illuminate
WARNING- Fire/explo-
sion risk
Read and follow all warnings
posted at the gas station facili-
ty. Failure to follow all warnings
will result in severe personal
injury, severe burns or death
due to fire or explosion.WARNING- Static elec- tricity
Before touching the fuel noz- zle, you should eliminate
potentially dangerous static
electricity discharge by touch-
ing another metal part of the
vehicle, a safe distance away
from the fuel filler neck, noz-
zle, or other gas source.
Do not get back into a vehicle once you have begun refuel-
ing since you can generate
static electricity by touching,
rubbing or sliding against any
item or fabric (polyester, satin,
nylon, etc.) capable of produc-
ing static electricity. Static
electricity discharge can
ignite fuel vapors resulting in
rapid burning. If you must
reenter the vehicle, you
should once again eliminate
potentially dangerous static
electricity discharge by touch-
ing a metal part of the vehicle,
away from the fuel filler neck,
nozzle or other gasoline
source.WARNING- Refueling
Always remove the fuel cap
carefully and slowly. If the cap
is venting fuel or if you hear a
hissing sound, wait until the
condition stops before com-
pletely removing the cap. If
pressurized fuel sprays out, it
can cover your clothes or skin
and subject you to the risk of
fire and burns.