2018 KIA SORENTO headlights
[x] Cancel search: headlightsPage 144 of 536

459
Features of your vehicle
MIRRORS
Inside rearview mirror
Adjust the rearview mirror so that the
center view through the rear window
is seen. Make this adjustment before
you start driving.
Do not place objects in the rear seat
or cargo area which would interfere
with your vision through the rear win-
dow.
Day/night rearview mirror (if equipped)
Make this adjustment before you
start driving and while the day/night
lever is in the day position.
Pull the day/night lever toward you to
reduce the glare from the headlights
of the vehicles behind you during
night driving.
Remember that you lose somerearview clarity in the night position.
WARNING- Mirror adjust-
ment
Do not adjust the rearview mir-
ror while the vehicle is moving.
This could result in loss of con-
trol.
WARNING
Do not modify the inside mirror
and don’t install a wide mirror. It
could result in injury, during an
accident or deployment of the
air bag.
OAM049023
Day
Night
Page 145 of 536

Features of your vehicle
60
4
Electric chromatic mirror (ECM)
(if equipped)
The electric rearview mirror automat-
ically controls the glare from the
headlights of the vehicles behind you
in nighttime or low light driving condi-
tions. The sensor mounted in the mir-
ror senses the light level around the
vehicle, and automatically controls
the headlight glare from the vehicles
behind you.
When the engine is running, the
glare is automatically controlled by
the sensor mounted in the rearview
mirror.
Whenever the shift lever is shifted
into reverse (R), the mirror will auto-
matically go to the brightest setting in
order to improve the drivers view
behind the vehicle. To operate the electric rearview mirror:
The mirror defaults to the ON posi-
tion whenever the ignition switch is
turned on.
Press the ON/OFF button (1) to turn the automatic dimming func-
tion off. The mirror indicator light
will turn off.
Press the ON/OFF button (1) to
turn the automatic dimming func-
tion on. The mirror indicator light
will illuminate.
CAUTION - Cleaning
mirror
When cleaning the mirror, use apaper towel or similar materialdampened with glass cleaner.Do not spray glass cleanerdirectly on the mirror. It maycause the liquid cleaner to enterthe mirror housing.
OUMA044407
IndicatorSensor
Page 192 of 536

4107
Features of your vehicle
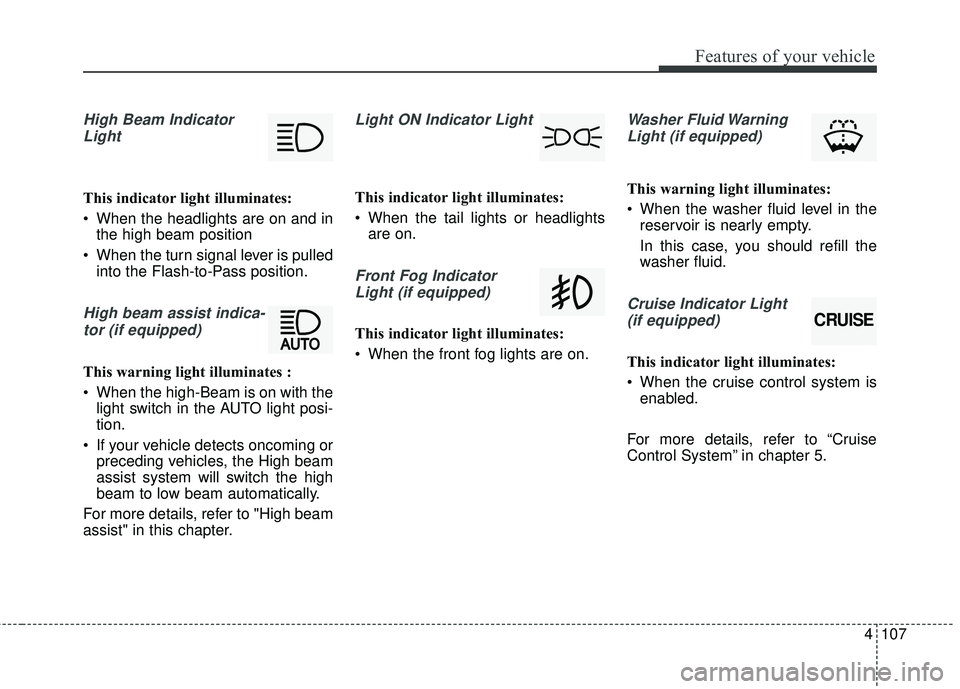
High Beam IndicatorLight
This indicator light illuminates:
When the headlights are on and in the high beam position
When the turn signal lever is pulled into the Flash-to-Pass position.
High beam assist indica-
tor (if equipped)
This warning light illuminates :
When the high-Beam is on with the light switch in the AUTO light posi-
tion.
If your vehicle detects oncoming or preceding vehicles, the High beam
assist system will switch the high
beam to low beam automatically.
For more details, refer to "High beam
assist" in this chapter.
Light ON Indicator Light
This indicator light illuminates:
When the tail lights or headlights are on.
Front Fog Indicator
Light (if equipped)
This indicator light illuminates:
When the front fog lights are on.
Washer Fluid WarningLight (if equipped)
This warning light illuminates:
When the washer fluid level in the reservoir is nearly empty.
In this case, you should refill the
washer fluid.
Cruise Indicator Light
(if equipped)
This indicator light illuminates:
When the cruise control system is enabled.
For more details, refer to “Cruise
Control System” in chapter 5.
CRUISE
Page 201 of 536

Features of your vehicle
116
4
Parking & Tail light ( )
When the light switch is in the park-
ing light position, the tail, license and
instrument panel lights will turn ON.
Headlight position ( )
When the light switch is in the head-
light position, the head, tail, license
lights will turn ON.
✽ ✽
NOTICE
The ignition switch must be in the ON
position to turn on the headlights.
Auto light position (if equipped)
It will operate when the ignition is in
"ON" or the engine is running.
Select the light switch to "AUTO",
and the light will turn on or off
depending on the ambient light
detected by the sensor (1).
When the light switch is positioned at
an auto light position, at first, the
wiper will turn on and then, after 5
seconds the head lamp will turn on
automatically.
If the head lamp has been turned on
due to this function of the vehicle, the
head lamp will turn off 60 seconds
after the wiper has been turned off.
OUMA046054OUMA046057OUMA046056
Page 202 of 536

4117
Features of your vehicle
High beam operation
To turn on the high beam headlamp,
push the lever away from you. The
lever will return to its original position.
The high beam indicator will light
when the headlight high beams are
switched on.
To prevent the battery from being
discharged, do not leave the lights
on for a prolonged time while the
engine is not running.To flash the headlights, pull the lever
towards you. It will return to the nor-
mal (low beam) position when
released. The headlight switch does
not need to be on to use this flashing
feature.
WARNING - High beams
Do not use high beam when
there are other vehicles. Using
high beam could obstruct the
other driver’s vision.
OUM044059
OUM044058
Page 213 of 536

Features of your vehicle
128
4
WELCOME SYSTEM (IF EQUIPPED)
Headlight (Headlamp) escort
function
The headlights (and/or taillights)
remain on for approximately 5 min-
utes after the ignition key is removed
or turned to the ACC or LOCK posi-
tion. However, if the driver’s door is
opened and closed, the headlights
are turned off after 15 seconds.
The headlights can be turned off by
pressing the lock button on the trans-
mitter or smart key twice or turning
off the light switch from the headlight
or Auto light position.
Interior light
When the interior light switch is in the
DOOR position and all doors (and lift-
gate) are locked and closed, the
room lamp will come on for 30 sec-
onds if any of the below is performed.
Without smart key system
- When the door unlock button ispressed on the transmitter.
With the smart key system - When the door unlock button ispressed on the smart key.
- When the button of the outside door handle is pressed.
At this time, if you press the door lock
button, the lamps will turn off imme-
diately.
Pocket lamp (if equipped)
When all doors are locked and
closed, the pocket lamp will come on
for 15 seconds if any of the below is
performed.
With the smart key system - When the door unlock button ispressed on the smart key.
- When the button of the outside door handle is pressed.
At this time, if you press the door lock
button, the lamps will turn off imme-
diately.
Page 372 of 536

Driving your vehicle
102
5
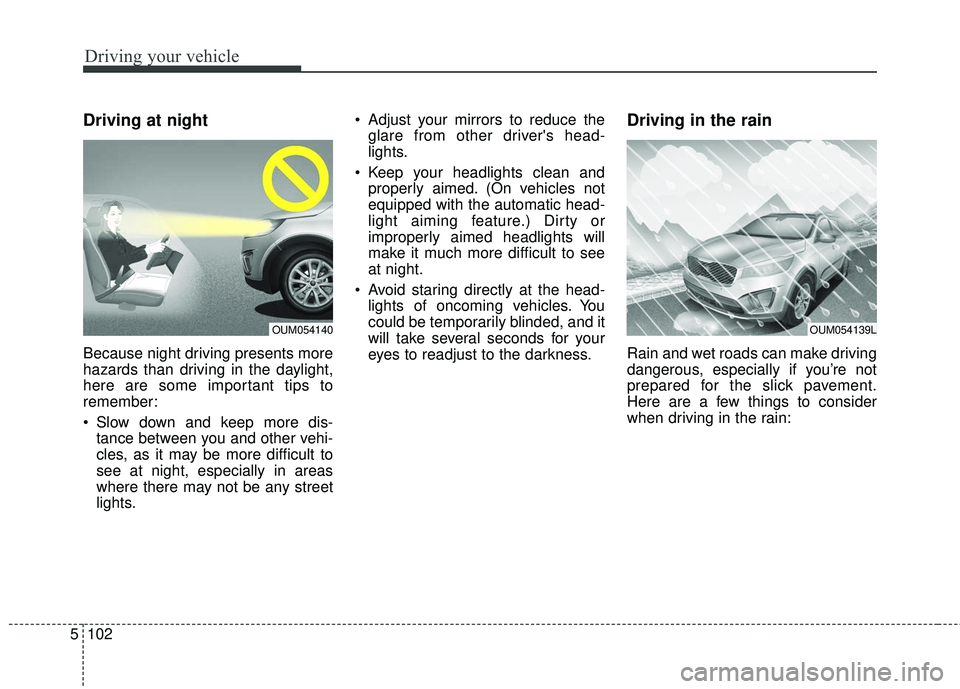
Driving at night
Because night driving presents more
hazards than driving in the daylight,
here are some important tips to
remember:
Slow down and keep more dis-
tance between you and other vehi-
cles, as it may be more difficult to
see at night, especially in areas
where there may not be any street
lights. Adjust your mirrors to reduce the
glare from other driver's head-
lights.
Keep your headlights clean and properly aimed. (On vehicles not
equipped with the automatic head-
light aiming feature.) Dirty or
improperly aimed headlights will
make it much more difficult to see
at night.
Avoid staring directly at the head- lights of oncoming vehicles. You
could be temporarily blinded, and it
will take several seconds for your
eyes to readjust to the darkness.
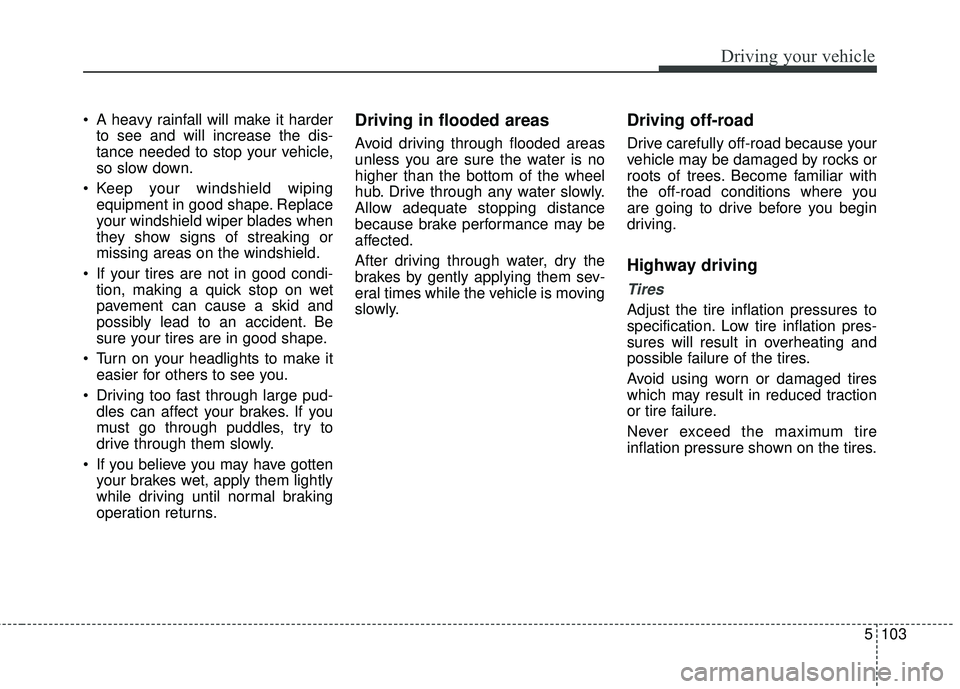
Driving in the rain
Rain and wet roads can make driving
dangerous, especially if you’re not
prepared for the slick pavement.
Here are a few things to consider
when driving in the rain:
OUM054140OUM054139L
Page 373 of 536

5103
Driving your vehicle
A heavy rainfall will make it harderto see and will increase the dis-
tance needed to stop your vehicle,
so slow down.
Keep your windshield wiping equipment in good shape. Replace
your windshield wiper blades when
they show signs of streaking or
missing areas on the windshield.
If your tires are not in good condi- tion, making a quick stop on wet
pavement can cause a skid and
possibly lead to an accident. Be
sure your tires are in good shape.
Turn on your headlights to make it easier for others to see you.
Driving too fast through large pud- dles can affect your brakes. If you
must go through puddles, try to
drive through them slowly.
If you believe you may have gotten your brakes wet, apply them lightly
while driving until normal braking
operation returns.Driving in flooded areas
Avoid driving through flooded areas
unless you are sure the water is no
higher than the bottom of the wheel
hub. Drive through any water slowly.
Allow adequate stopping distance
because brake performance may be
affected.
After driving through water, dry the
brakes by gently applying them sev-
eral times while the vehicle is moving
slowly.
Driving off-road
Drive carefully off-road because your
vehicle may be damaged by rocks or
roots of trees. Become familiar with
the off-road conditions where you
are going to drive before you begin
driving.
Highway driving
Tires
Adjust the tire inflation pressures to
specification. Low tire inflation pres-
sures will result in overheating and
possible failure of the tires.
Avoid using worn or damaged tires
which may result in reduced traction
or tire failure.
Never exceed the maximum tire
inflation pressure shown on the tires.