2018 Hyundai Sonata wheel torque
[x] Cancel search: wheel torquePage 295 of 522
5-45
Driving your vehicle
5
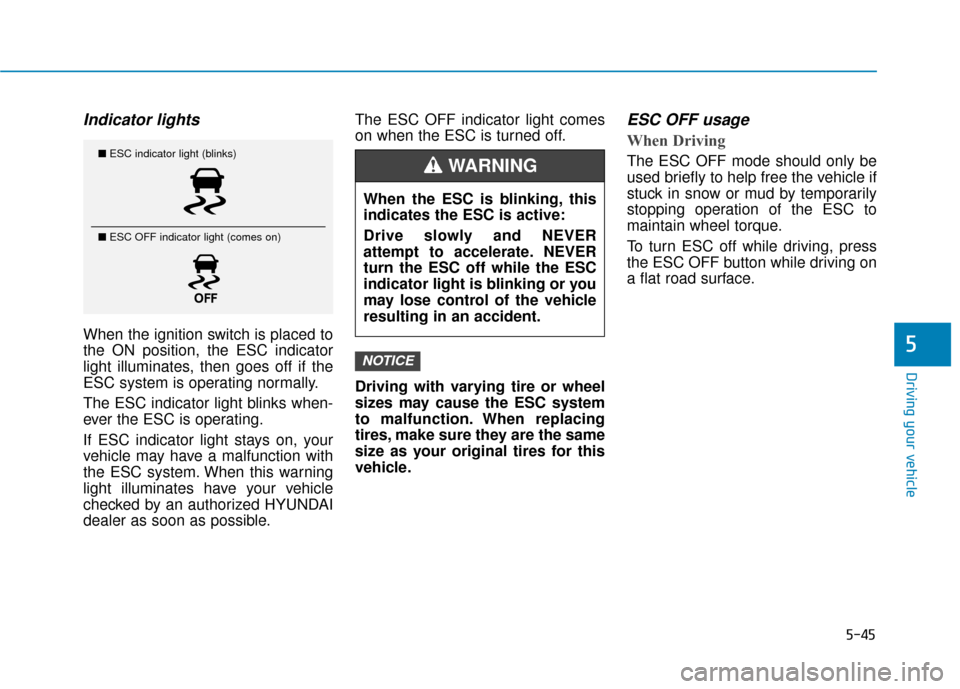
Indicator lights
When the ignition switch is placed to
the ON position, the ESC indicator
light illuminates, then goes off if the
ESC system is operating normally.
The ESC indicator light blinks when-
ever the ESC is operating.
If ESC indicator light stays on, your
vehicle may have a malfunction with
the ESC system. When this warning
light illuminates have your vehicle
checked by an authorized HYUNDAI
dealer as soon as possible.The ESC OFF indicator light comes
on when the ESC is turned off.
Driving with varying tire or wheel
sizes may cause the ESC system
to malfunction. When replacing
tires, make sure they are the same
size as your original tires for this
vehicle.
ESC OFF usage
When Driving
The ESC OFF mode should only be
used briefly to help free the vehicle if
stuck in snow or mud by temporarily
stopping operation of the ESC to
maintain wheel torque.
To turn ESC off while driving, press
the ESC OFF button while driving on
a flat road surface.
NOTICE
When the ESC is blinking, this
indicates the ESC is active:
Drive slowly and NEVER
attempt to accelerate. NEVER
turn the ESC off while the ESC
indicator light is blinking or you
may lose control of the vehicle
resulting in an accident.
WARNING ■
ESC indicator light (blinks)
■ ESC OFF indicator light (comes on)
Page 300 of 522
5-50
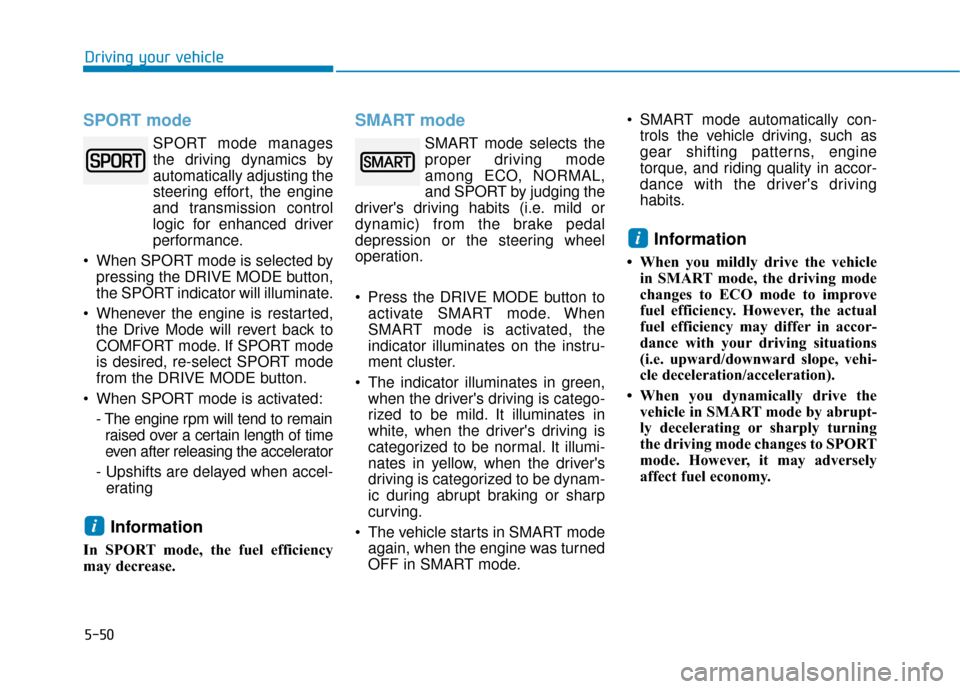
SPORT mode
SPORT mode managesthe driving dynamics by
automatically adjusting the
steering effort, the engine
and transmission control
logic for enhanced driver
performance.
When SPORT mode is selected by pressing the DRIVE MODE button,
the SPORT indicator will illuminate.
Whenever the engine is restarted, the Drive Mode will revert back to
COMFORT mode. If SPORT mode
is desired, re-select SPORT mode
from the DRIVE MODE button.
When SPORT mode is activated: - The engine rpm will tend to remainraised over a certain length of time
even after releasing the accelerator
- Upshifts are delayed when accel- erating
Information
In SPORT mode, the fuel efficiency
may decrease.
SMART mode
SMART mode selects the
proper driving mode
among ECO, NORMAL,
and SPORT by judging the
driver's driving habits (i.e. mild or
dynamic) from the brake pedal
depression or the steering wheel
operation.
Press the DRIVE MODE button to activate SMART mode. When
SMART mode is activated, the
indicator illuminates on the instru-
ment cluster.
The indicator illuminates in green, when the driver's driving is catego-
rized to be mild. It illuminates in
white, when the driver's driving is
categorized to be normal. It illumi-
nates in yellow, when the driver's
driving is categorized to be dynam-
ic during abrupt braking or sharp
curving.
The vehicle starts in SMART mode again, when the engine was turned
OFF in SMART mode. SMART mode automatically con-
trols the vehicle driving, such as
gear shifting patterns, engine
torque, and riding quality in accor-
dance with the driver's driving
habits.
Information
• When you mildly drive the vehiclein SMART mode, the driving mode
changes to ECO mode to improve
fuel efficiency. However, the actual
fuel efficiency may differ in accor-
dance with your driving situations
(i.e. upward/downward slope, vehi-
cle deceleration/acceleration).
• When you dynamically drive the vehicle in SMART mode by abrupt-
ly decelerating or sharply turning
the driving mode changes to SPORT
mode. However, it may adversely
affect fuel economy.
i
i
Driving your vehicle
Page 324 of 522
5-74
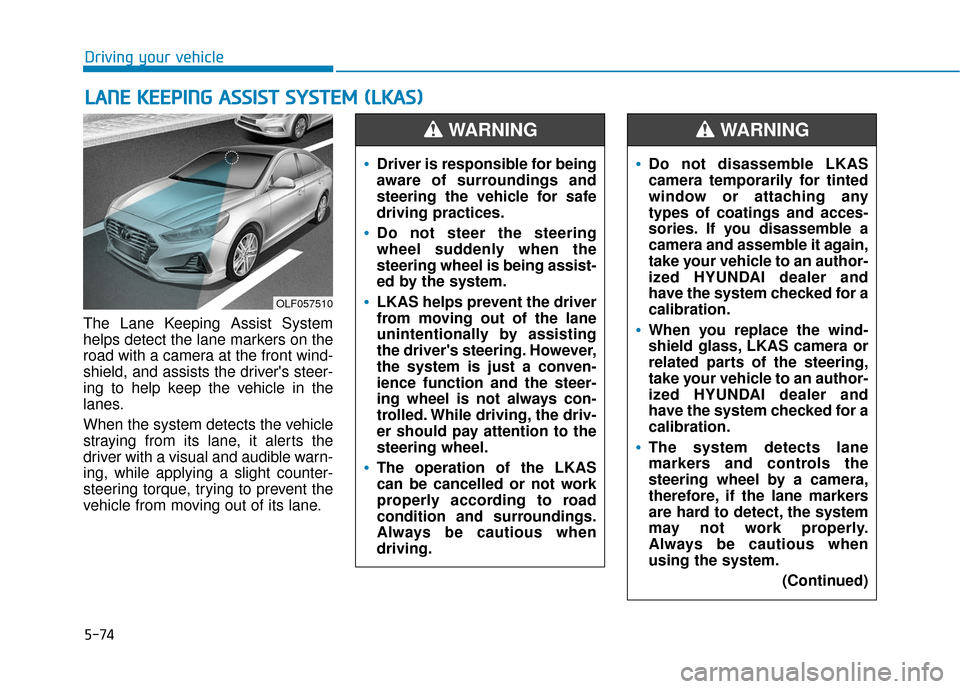
The Lane Keeping Assist System
helps detect the lane markers on the
road with a camera at the front wind-
shield, and assists the driver's steer-
ing to help keep the vehicle in the
lanes.
When the system detects the vehicle
straying from its lane, it alerts the
driver with a visual and audible warn-
ing, while applying a slight counter-
steering torque, trying to prevent the
vehicle from moving out of its lane.
L LA
A N
N E
E
K
K E
EE
EP
P I
IN
N G
G
A
A S
SS
SI
IS
S T
T
S
S Y
Y S
ST
T E
EM
M
(
( L
L K
K A
A S
S)
)
Driving your vehicle
OLF057510
Driver is responsible for being
aware of surroundings and
steering the vehicle for safe
driving practices.
Do not steer the steering
wheel suddenly when the
steering wheel is being assist-
ed by the system.
LKAS helps prevent the driver
from moving out of the lane
unintentionally by assisting
the driver's steering. However,
the system is just a conven-
ience function and the steer-
ing wheel is not always con-
trolled. While driving, the driv-
er should pay attention to the
steering wheel.
The operation of the LKAS
can be cancelled or not work
properly according to road
condition and surroundings.
Always be cautious when
driving.
WARNING
Do not disassemble LKAS
camera temporarily for tinted
window or attaching any
types of coatings and acces-
sories. If you disassemble a
camera and assemble it again,
take your vehicle to an author-
ized HYUNDAI dealer and
have the system checked for a
calibration.
When you replace the wind-
shield glass, LKAS camera or
related parts of the steering,
take your vehicle to an author-
ized HYUNDAI dealer and
have the system checked for a
calibration.
The system detects lane
markers and controls the
steering wheel by a camera,
therefore, if the lane markers
are hard to detect, the system
may not work properly.
Always be cautious when
using the system.
(Continued)
WARNING
Page 325 of 522
5-75
Driving your vehicle
5
LKAS operation
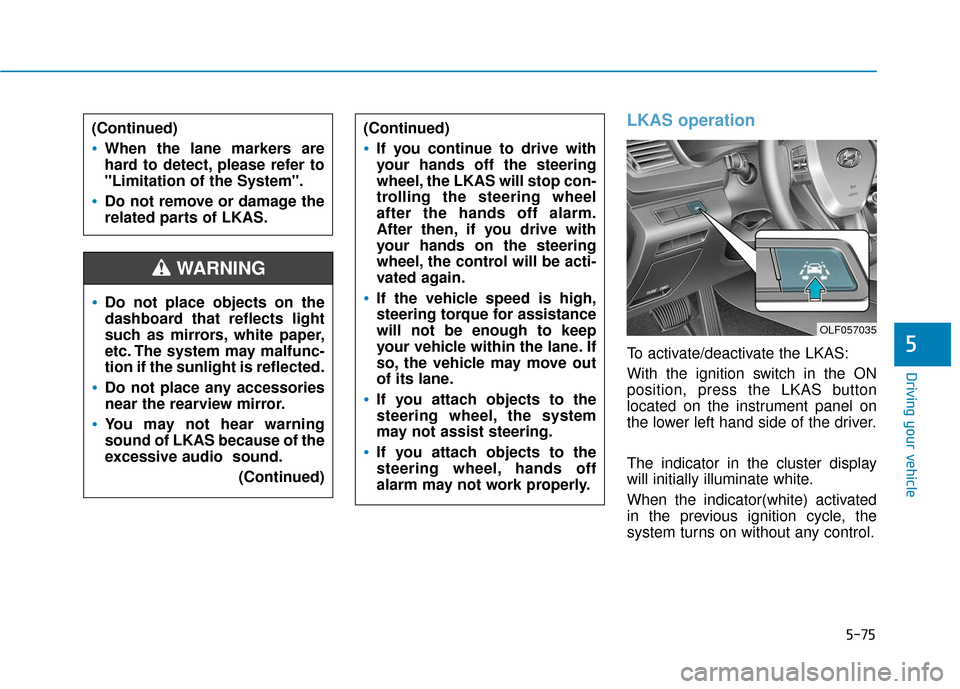
To activate/deactivate the LKAS:
With the ignition switch in the ON
position, press the LKAS button
located on the instrument panel on
the lower left hand side of the driver.
The indicator in the cluster display
will initially illuminate white.
When the indicator(white) activated
in the previous ignition cycle, the
system turns on without any control.
Do not place objects on the
dashboard that reflects light
such as mirrors, white paper,
etc. The system may malfunc-
tion if the sunlight is reflected.
Do not place any accessories
near the rearview mirror.
You may not hear warning
sound of LKAS because of the
excessive audio sound.(Continued)
(Continued)
If you continue to drive with
your hands off the steering
wheel, the LKAS will stop con-
trolling the steering wheel
after the hands off alarm.
After then, if you drive with
your hands on the steering
wheel, the control will be acti-
vated again.
If the vehicle speed is high,
steering torque for assistance
will not be enough to keep
your vehicle within the lane. If
so, the vehicle may move out
of its lane.
If you attach objects to the
steering wheel, the system
may not assist steering.
If you attach objects to the
steering wheel, hands off
alarm may not work properly.
WARNING
(Continued)
When the lane markers are
hard to detect, please refer to
"Limitation of the System".
Do not remove or damage the
related parts of LKAS.
OLF057035
Page 328 of 522
5-78
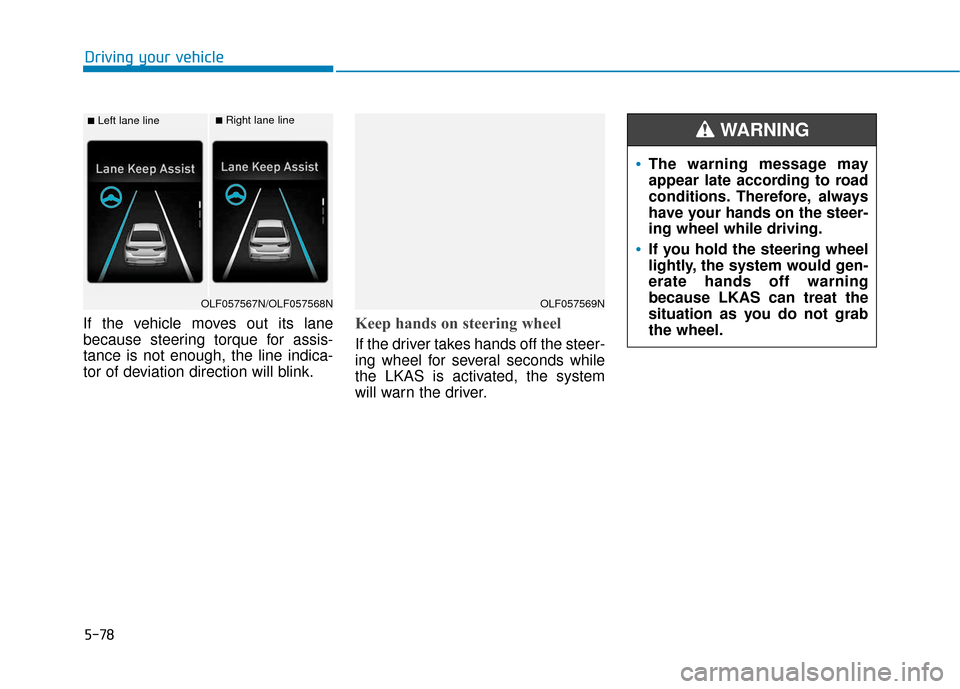
If the vehicle moves out its lane
because steering torque for assis-
tance is not enough, the line indica-
tor of deviation direction will blink.Keep hands on steering wheel
If the driver takes hands off the steer-
ing wheel for several seconds while
the LKAS is activated, the system
will warn the driver.
Driving your vehicle
■Left lane line■Right lane line
OLF057567N/OLF057568NOLF057569N
The warning message may
appear late according to road
conditions. Therefore, always
have your hands on the steer-
ing wheel while driving.
If you hold the steering wheel
lightly, the system would gen-
erate hands off warning
because LKAS can treat the
situation as you do not grab
the wheel.
WARNING
Page 390 of 522

6-19
What to do in an emergency
6
13. Use the wheel lug nut wrench totighten the lug nuts in the order
shown. Double-check each lug
nut until they are tight. After
changing tires, have an author-
ized HYUNDAI dealer tighten the
lug nuts to their proper torque as
soon as possible. The wheel lug
nut should be tightened to
79~94 lbf
ft (11~13 kgfm). If you have a tire gauge, check the
tire pressure (see "Tires and
Wheels" in chapter 8 for tire pressure
instructions.). If the pressure is lower
or higher than recommended, drive
slowly to the nearest service station
and adjust it to the recommended
pressure. Always reinstall the valve
cap after checking or adjusting tire
pressure. If the cap is not replaced,
air may leak from the tire. If you lose
a valve cap, buy another and install it
as soon as possible. After changing
tires, secure the flat tire and return
the jack and tools to their proper stor-
age locations.
Check the tire pressure as soon
as possible after installing a spare
tire. Adjust it to the recommended
pressure.
If any of the equipment such as the
jack, lug nuts, studs, or other equip-
ment is damaged or in poor condi-
tion, do not attempt to change the
tire and call for assistance.
NOTICE
OLF064013
■Rear
Your vehicle has metric threads
on the studs and lug nuts. Make
certain during tire changing
that the same nuts that were
removed are reinstalled. If you
have to replace your lug nuts
make sure they have metric
threads to avoid damaging the
studs and ensure the wheel is
properly secured to the hub.
Consult an authorized
HYUNDAI dealer for assistance.
CAUTION
Page 392 of 522
6-21
What to do in an emergency
6
When the original tire and wheel
are repaired and reinstalled on the
vehicle, the lug nut torque must be
set correctly. The correct lug nut
tightening torque is 79-94 lbf
ft
(11-13 kgf
m).
NOTICE
To prevent damaging the com-
pact spare tire and your vehicle:
Drive slowly enough for the
road conditions to avoid all
hazards, such as a potholes
or debris.
Avoid driving over obstacles.
The compact spare tire diame-
ter is smaller than the diame-
ter of a conventional tire and
reduces the ground clearance
approximately 1 inch (25 mm).
Do not use tire chains on the
compact spare tire. Because
of the smaller size, a tire chain
will not fit properly.
Do not use the compact spare
tire on any other wheels, nor
should standard tires, snow
tires, wheel covers or trim
rings be used with the com-
pact spare wheel.
CAUTION
Page 432 of 522
7-22
Maintenance
Brake Hoses and Lines
Visually check for proper installation,
chafing, cracks, deterioration and
any leakage. Replace any deteriorat-
ed or damaged parts immediately.
Brake Fluid
Check brake fluid level in the brake
fluid reservoir. The level should be
between the MIN and the MAX
marks on the side of the reservoir.
Use only hydraulic brake fluid con-
forming to DOT 3 or DOT 4 specifi-
cation.
Parking Brake
Inspect the parking brake system
including the parking brake pedal
and cables.
Brake Discs, Pads, Calipers
and Rotors
Check the pads for excessive wear,
discs for run out and wear, and
calipers for fluid leakage.
Exhaust Pipe and Muffler
Visually inspect the exhaust pipes,
muffler and hangers for cracks, dete-
rioration, or damage. Start the
engine and listen carefully for any
exhaust gas leakage. Tighten con-
nections or replace parts as neces-
sary.
Suspension Mounting Bolts
Check the suspension connections
for looseness or damage. Retighten
to the specified torque.
Steering Gear Box, Linkage &
Boots/Lower Arm Ball Joint
With the vehicle stopped and the
engine off, check for excessive free-
play in the steering wheel. Check the
linkage for bends or damage. Check
the dust boots and ball joints for
deterioration, cracks, or damage.
Replace any damaged parts.
Drive Shafts and Boots
Check the drive shafts, boots and
clamps for cracks, deterioration, or
damage. Replace any damaged
parts and, if necessary, repack the
grease.
Air Conditioning Refrigerant
Check the air conditioning lines and
connections for leakage and damage.