2018 Hyundai Sonata or when you stop for fuel
[x] Cancel search: or when you stop for fuelPage 144 of 522
3-59
Convenient features of your vehicle
3
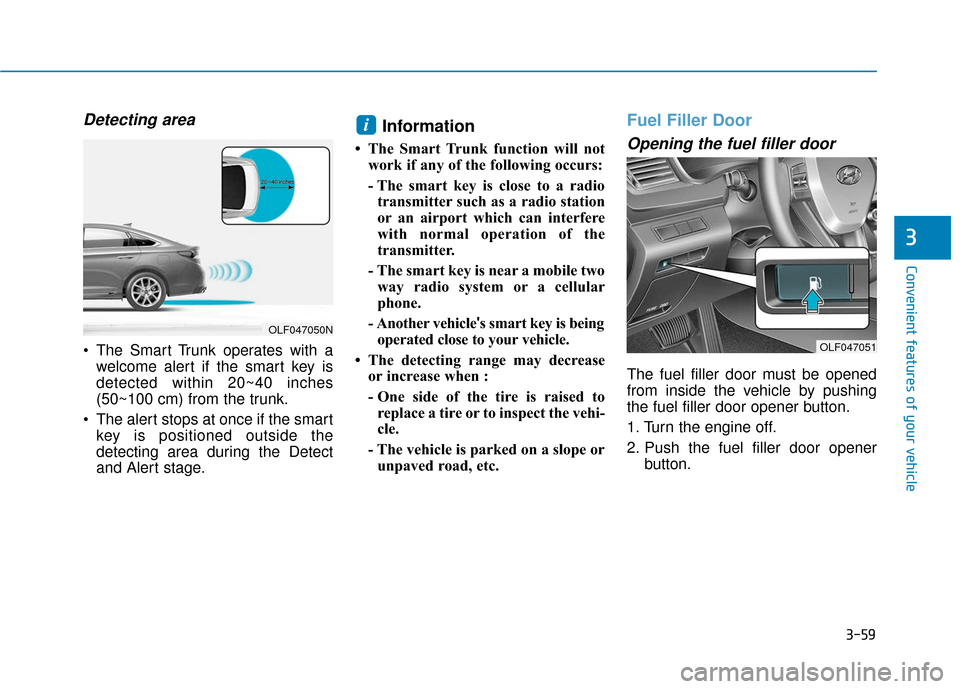
Detecting area
The Smart Trunk operates with awelcome alert if the smart key is
detected within 20~40 inches
(50~100 cm) from the trunk.
The alert stops at once if the smart key is positioned outside the
detecting area during the Detect
and Alert stage.
Information
• The Smart Trunk function will notwork if any of the following occurs:
- The smart key is close to a radiotransmitter such as a radio station
or an airport which can interfere
with normal operation of the
transmitter.
- The smart key is near a mobile two way radio system or a cellular
phone.
- Another vehicle 's smart key is being
operated close to your vehicle.
• The detecting range may decrease or increase when :
- One side of the tire is raised toreplace a tire or to inspect the vehi-
cle.
- The vehicle is parked on a slope or unpaved road, etc.
Fuel Filler Door
Opening the fuel filler door
The fuel filler door must be opened
from inside the vehicle by pushing
the fuel filler door opener button.
1. Turn the engine off.
2. Push the fuel filler door opener button.
i
OLF047050N
OLF047051
Page 153 of 522
3-68
Convenient features of your vehicle
Fuel Gauge
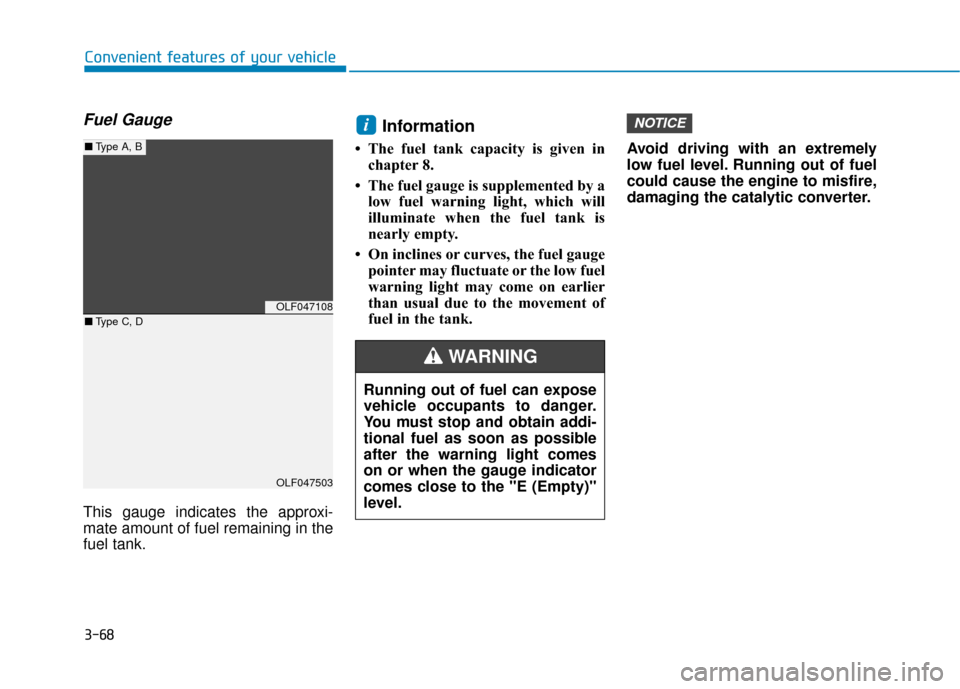
This gauge indicates the approxi-
mate amount of fuel remaining in the
fuel tank.
Information
• The fuel tank capacity is given inchapter 8.
• The fuel gauge is supplemented by a low fuel warning light, which will
illuminate when the fuel tank is
nearly empty.
• On inclines or curves, the fuel gauge pointer may fluctuate or the low fuel
warning light may come on earlier
than usual due to the movement of
fuel in the tank. Avoid driving with an extremely
low fuel level. Running out of fuel
could cause the engine to misfire,
damaging the catalytic converter.
NOTICEi
OLF047108
OLF047503
■
Type A, B
■ Type C, D
Running out of fuel can expose
vehicle occupants to danger.
You must stop and obtain addi-
tional fuel as soon as possible
after the warning light comes
on or when the gauge indicator
comes close to the "E (Empty)"
level.
WARNING
Page 172 of 522
3-87
Convenient features of your vehicle
Automatic reset
To automatically reset the average
fuel economy after refueling, select
the "Auto Reset" mode in User
Settings menu on the LCD display.
- After Ignition: The average fueleconomy will reset automatically
whenever it has passed 4 hours
after turning OFF the engine.
- After Refueling: The average fuel economy will reset automatically
when driving speed exceeds 0.6
MPH, after adding 1.6 gallons (6
liters) of fuel or more.
Information
The average fuel economy may be
inaccurate, when the vehicle drives
shorter than 0.19 miles (300 meters)
after turning ON the Engine Start/
Stop button.
Instant Fuel Economy (3)
This mode displays the instant fueleconomy during the last few sec-
onds when the vehicle speed is
more than 6.2 MPH (10 km/h).
Accumulated Info display
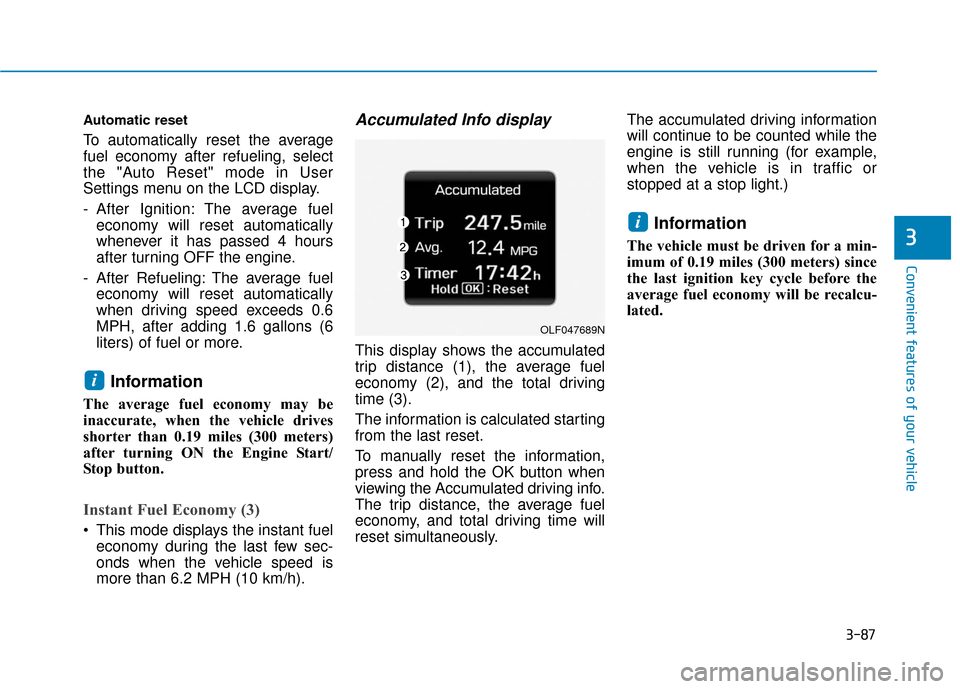
This display shows the accumulated
trip distance (1), the average fuel
economy (2), and the total driving
time (3).
The information is calculated starting
from the last reset.
To manually reset the information,
press and hold the OK button when
viewing the Accumulated driving info.
The trip distance, the average fuel
economy, and total driving time will
reset simultaneously. The accumulated driving information
will continue to be counted while the
engine is still running (for example,
when the vehicle is in traffic or
stopped at a stop light.)
Information
The vehicle must be driven for a min-
imum of 0.19 miles (300 meters) since
the last ignition key cycle before the
average fuel economy will be recalcu-
lated.
i
i
3
OLF047689N
Page 173 of 522
3-88
Convenient features of your vehicle
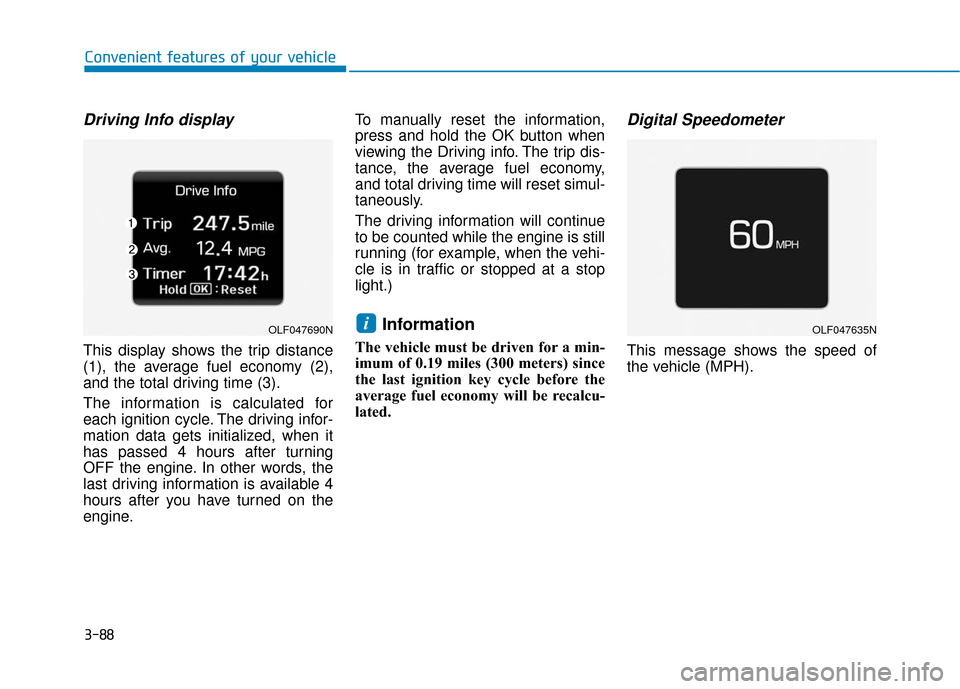
Driving Info display
This display shows the trip distance
(1), the average fuel economy (2),
and the total driving time (3).
The information is calculated for
each ignition cycle. The driving infor-
mation data gets initialized, when it
has passed 4 hours after turning
OFF the engine. In other words, the
last driving information is available 4
hours after you have turned on the
engine.To manually reset the information,
press and hold the OK button when
viewing the Driving info. The trip dis-
tance, the average fuel economy,
and total driving time will reset simul-
taneously.
The driving information will continue
to be counted while the engine is still
running (for example, when the vehi-
cle is in traffic or stopped at a stop
light.)
Information
The vehicle must be driven for a min-
imum of 0.19 miles (300 meters) since
the last ignition key cycle before the
average fuel economy will be recalcu-
lated.
Digital Speedometer
This message shows the speed of
the vehicle (MPH).
iOLF047690NOLF047635N
Page 179 of 522
3-94
Convenient features of your vehicle
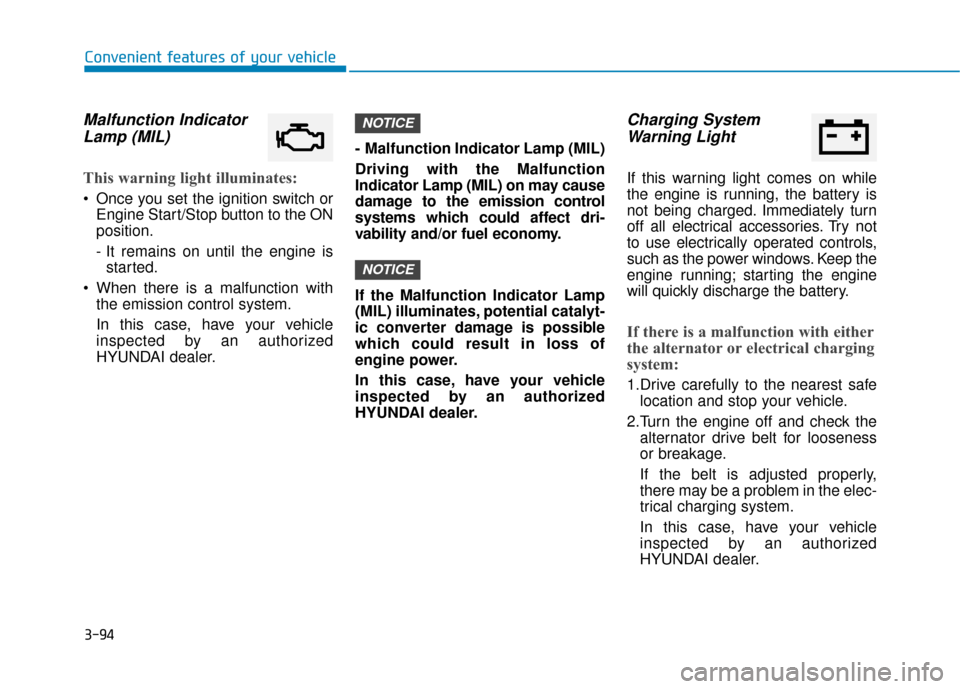
Malfunction IndicatorLamp (MIL)
This warning light illuminates:
Once you set the ignition switch or
Engine Start/Stop button to the ON
position.
- It remains on until the engine isstarted.
When there is a malfunction with the emission control system.
In this case, have your vehicle
inspected by an authorized
HYUNDAI dealer. - Malfunction Indicator Lamp (MIL)
Driving with the Malfunction
Indicator Lamp (MIL) on may cause
damage to the emission control
systems which could affect dri-
vability and/or fuel economy.
If the Malfunction Indicator Lamp
(MIL) illuminates, potential catalyt-
ic converter damage is possible
which could result in loss of
engine power.
In this case, have your vehicle
inspected by an authorized
HYUNDAI dealer.
Charging System
Warning Light
If this warning light comes on while
the engine is running, the battery is
not being charged. Immediately turn
off all electrical accessories. Try not
to use electrically operated controls,
such as the power windows. Keep the
engine running; starting the engine
will quickly discharge the battery.
If there is a malfunction with either
the alternator or electrical charging
system:
1.Drive carefully to the nearest safe
location and stop your vehicle.
2.Turn the engine off and check the alternator drive belt for looseness
or breakage.
If the belt is adjusted properly,
there may be a problem in the elec-
trical charging system.
In this case, have your vehicle
inspected by an authorized
HYUNDAI dealer.
NOTICE
NOTICE
Page 180 of 522
3-95
Convenient features of your vehicle
3
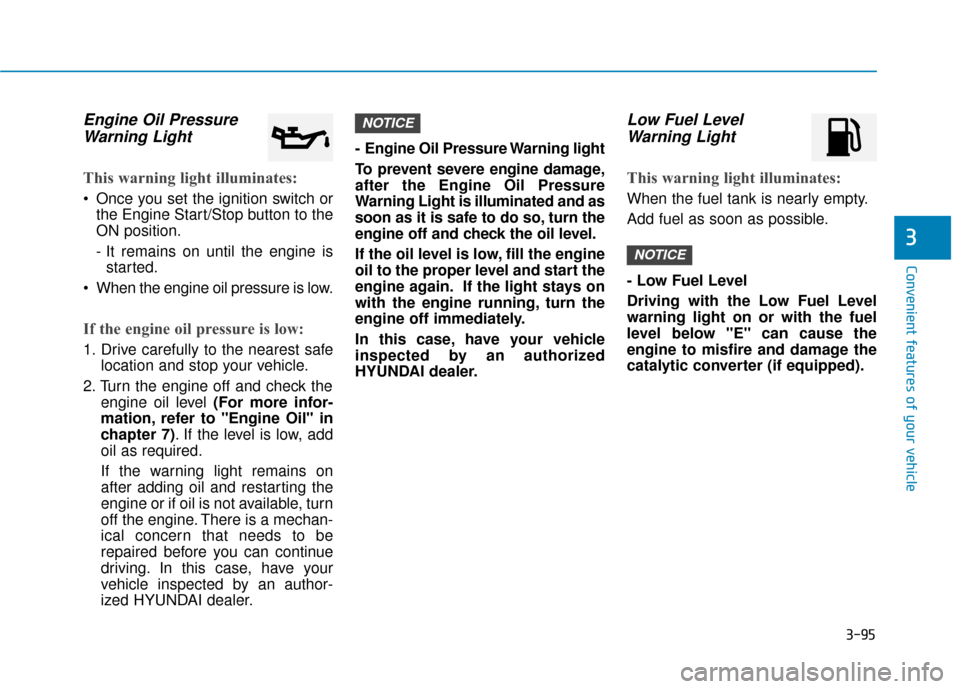
Engine Oil PressureWarning Light
This warning light illuminates:
Once you set the ignition switch or
the Engine Start/Stop button to the
ON position.
- It remains on until the engine isstarted.
When the engine oil pressure is low.
If the engine oil pressure is low:
1. Drive carefully to the nearest safe location and stop your vehicle.
2. Turn the engine off and check the engine oil level (For more infor-
mation, refer to "Engine Oil" in
chapter 7). If the level is low, add
oil as required.
If the warning light remains on
after adding oil and restarting the
engine or if oil is not available, turn
off the engine. There is a mechan-
ical concern that needs to be
repaired before you can continue
driving. In this case, have your
vehicle inspected by an author-
ized HYUNDAI dealer. - Engine Oil Pressure Warning light
To prevent severe engine damage,
after the Engine Oil Pressure
Warning Light is illuminated and as
soon as it is safe to do so, turn the
engine off and check the oil level.
If the oil level is low, fill the engine
oil to the proper level and start the
engine again. If the light stays on
with the engine running, turn the
engine off immediately.
In this case, have your vehicle
inspected by an authorized
HYUNDAI dealer.
Low Fuel Level
Warning Light
This warning light illuminates:
When the fuel tank is nearly empty.
Add fuel as soon as possible.
- Low Fuel Level
Driving with the Low Fuel Level
warning light on or with the fuel
level below "E" can cause the
engine to misfire and damage the
catalytic converter (if equipped).
NOTICE
NOTICE
Page 266 of 522
5-16
Driving your vehicle
R (Reverse)
Use this position to drive the vehicle
backward.
N (Neutral)
The wheels and transmission are not
engaged.
Use N (Neutral) if you need to restart
a stalled engine, or if it is necessary
to stop with the engine ON. Shift into
P (Park) if you need to leave your
vehicle for any reason.
Always depress the brake pedal
when you are shifting from N
(Neutral) to another gear.
D (Drive)
This is the normal driving position.
The transmission will automatically
shift through a 6 or 8-gear sequence,
providing the best fuel economy and
power.
For extra power when passing anoth-
er vehicle or driving uphill depress
the accelerator pedal further until
you feel the transmission downshift
to a lower gear.
The DRIVE MODE switch, located
on the shift lever console, allows the
driver to switch from NORMAL mode
to SPORT or ECO mode.
For more information, refer to
"Drive Mode Integrated Control
System" later in this chapter.
Always come to a complete
stop before shifting into or out
of R (Reverse); you may dam-
age the transmission if you shift
into R (Reverse) while the vehi-
cle is in motion.
CAUTION
Do not shift into gear unless
your foot is firmly on the brake
pedal. Shifting into gear when
the engine is running at high
speed can cause the vehicle to
move very rapidly. You could
lose control of the vehicle and
hit people or objects.
WARNING
Page 273 of 522
5-23
Driving your vehicle
D (Drive)
This is the normal driving position.
The transmission will automatically
shift through a seven-gear
sequence, providing the best fuel
economy and power.
For extra power when passing anoth-
er vehicle or driving uphill depress
the accelerator pedal further until
you feel the transmission downshift
to a lower gear.
The DRIVE MODE switch, located
on the shift lever console, allows the
driver to switch from NORMAL mode
to SPORT or ECO mode.
For more information, refer to
"Drive Mode Integrated Control
System" later in this chapter.
Always ensure vehicle is station-
ary, at a complete stop, before
selecting D (Drive).
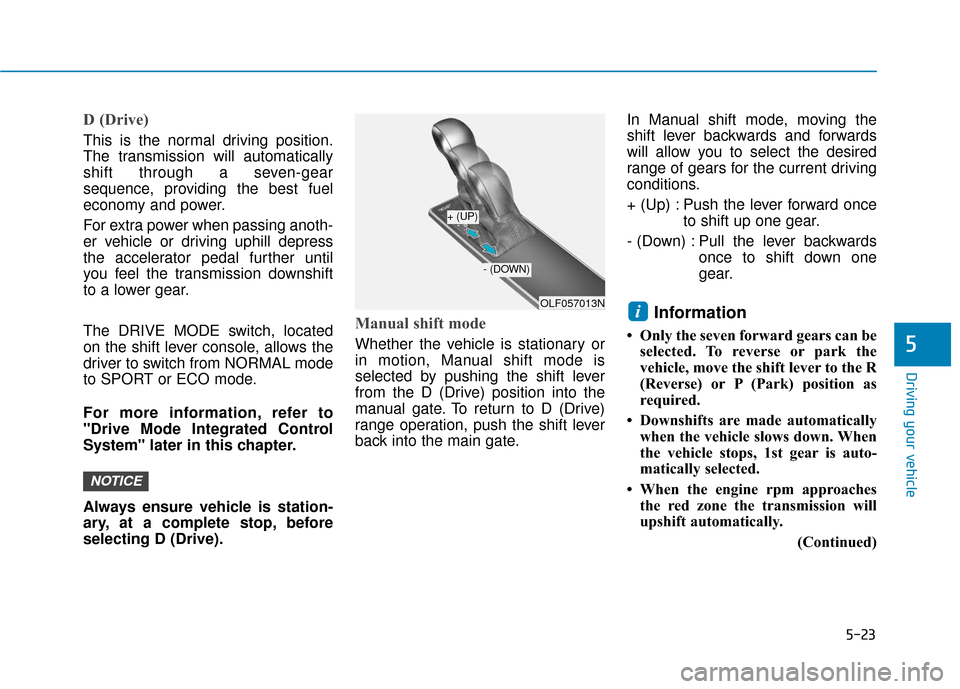
Manual shift mode
Whether the vehicle is stationary or
in motion, Manual shift mode is
selected by pushing the shift lever
from the D (Drive) position into the
manual gate. To return to D (Drive)
range operation, push the shift lever
back into the main gate.In Manual shift mode, moving the
shift lever backwards and forwards
will allow you to select the desired
range of gears for the current driving
conditions.
+ (Up) : Push the lever forward once
to shift up one gear.
- (Down) : Pull the lever backwards once to shift down one
gear.
Information
• Only the seven forward gears can beselected. To reverse or park the
vehicle, move the shift lever to the R
(Reverse) or P (Park) position as
required.
• Downshifts are made automatically when the vehicle slows down. When
the vehicle stops, 1st gear is auto-
matically selected.
• When the engine rpm approaches the red zone the transmission will
upshift automatically.
(Continued)
i
NOTICE
5
OLF057013N
+ (UP)
- (DOWN)