Page 167 of 522

3-82
Sunroof Open (if equipped)
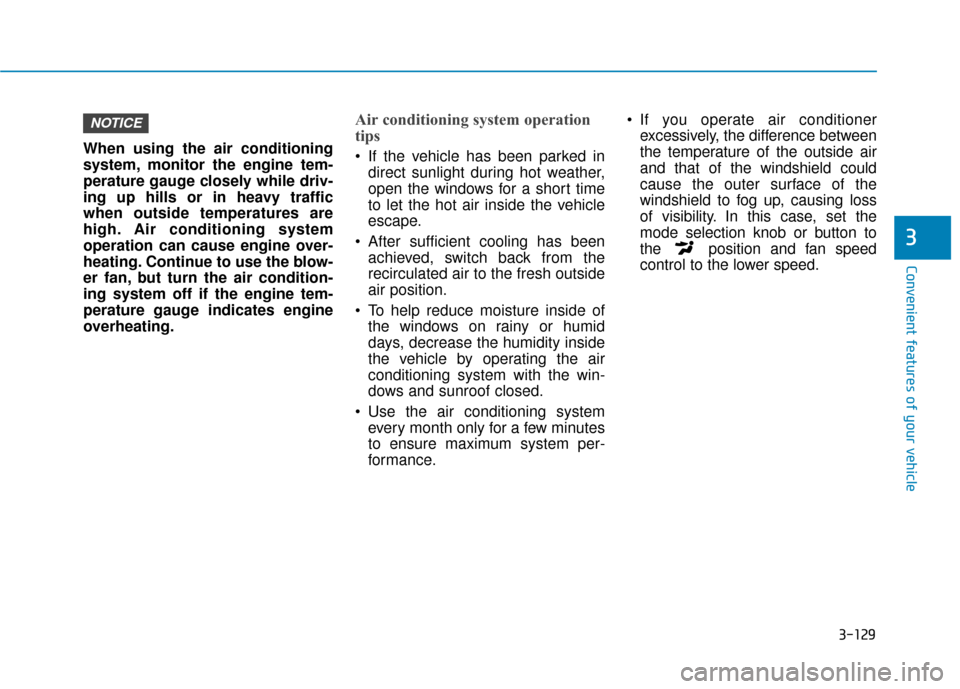
This warning message illuminates if
you turn off the engine when the sun-
roof is open.
Turn on FUSE SWITCH
This warning message illuminatesif the fuse switch located on the
fuse box under the steering wheel
is OFF.
It means that you should turn the fuse switch on.
For more details, refer to "Fuses"
in chapter 7.
Low Tire Pressure
This warning message illuminates if
the tire pressure is low with the igni-
tion switch or the Engine/Start Button
in ON position.
For more information, refer to
"Tire Pressure Monitoring System
(TPMS)" in chapter 6.
Low Washer Fluid
This warning message illuminates if the washer fluid level in the reser-
voir is nearly empty.
It means that you should refill the washer fluid.
Low Fuel
This warning message illuminatesif the fuel tank is nearly empty.
- When the low fuel level warninglight is illuminates.
- When the trip computer displays "--- mile (or km)" as distance to
empty.
Add fuel as soon as possible.
Engine has overheated
This warning message illuminates when the engine coolant tempera-
ture is above 248°F (120°C). This
means that the engine is overheat-
ed and may be damaged.
If your vehicle is overheated, refer
to "Overheating" in chapter 6.
Convenient features of your vehicle
OLF047696
Page 214 of 522

3-129
Convenient features of your vehicle
3
When using the air conditioning
system, monitor the engine tem-
perature gauge closely while driv-
ing up hills or in heavy traffic
when outside temperatures are
high. Air conditioning system
operation can cause engine over-
heating. Continue to use the blow-
er fan, but turn the air condition-
ing system off if the engine tem-
perature gauge indicates engine
overheating.
Air conditioning system operation
tips
If the vehicle has been parked indirect sunlight during hot weather,
open the windows for a short time
to let the hot air inside the vehicle
escape.
After sufficient cooling has been achieved, switch back from the
recirculated air to the fresh outside
air position.
To help reduce moisture inside of the windows on rainy or humid
days, decrease the humidity inside
the vehicle by operating the air
conditioning system with the win-
dows and sunroof closed.
Use the air conditioning system every month only for a few minutes
to ensure maximum system per-
formance. If you operate air conditioner
excessively, the difference between
the temperature of the outside air
and that of the windshield could
cause the outer surface of the
windshield to fog up, causing loss
of visibility. In this case, set the
mode selection knob or button to
the position and fan speed
control to the lower speed.
NOTICE
Page 226 of 522

3-141
Convenient features of your vehicle
3
Air conditioning
All HYUNDAI Air Conditioning
Systems are filled with environmen-
tally friendly R-1234yf refrigerant.
1. Start the engine.
2. Push the air conditioning button.
3. Set the mode to the Face Levelmode.
4. Set the air intake control to the recirculated air position. However,
prolonged operation of the recircu-
lated air position will excessively
dry the air. In this case, change the
air position.
5. Adjust the fan speed control and temperature control to maintain
maximum comfort.
When maximum cooling is desired,
set the temperature control to the
extreme left position then set the fan
speed control to the highest speed. When using the air conditioning
system, monitor the engine tem-
perature gauge closely while driv-
ing up hills or in heavy traffic
when outside temperatures are
high. Air conditioning system
operation can cause engine over-
heating. Continue to use the blow-
er fan, but turn the air condition-
ing system off if the engine tem-
perature gauge indicates engine
overheating.
Air conditioning system operation
tips
If the vehicle has been parked in
direct sunlight during hot weather,
open the windows for a short time
to let the hot air inside the vehicle
escape.
After sufficient cooling has been achieved, switch back from the
recirculated air to the fresh outside
air position.
To help reduce moisture inside of the windows on rainy or humid
days, decrease the humidity inside
the vehicle by operating the air
conditioning system with the win-
dows and sunroof closed.
Use the air conditioning system every month only for a few minutes
to ensure maximum system per-
formance.
NOTICE
Page 232 of 522

3-147
Convenient features of your vehicle
3
C
CL
LI
IM
M A
AT
TE
E
C
C O
O N
NT
TR
R O
O L
L
A
A D
DD
DI
IT
T I
IO
O N
NA
AL
L
F
F E
E A
A T
TU
U R
RE
ES
S
(
( I
IF
F
E
E Q
Q U
UI
IP
P P
PE
ED
D )
)
Automatic Ventilation
(if equipped)
When the ignition switch is in the ON
position or when the engine is run-
ning and outside temperature is
below 59°F (15°C). At the same time,
when A/C mode is off and mode is
Bi-Level or Floor mode with the recir-
culated air position selected more
than five minutes, the air intake posi-
tion will automatically change to the
outside (fresh) air position.
To cancel or reset the Automatic
Ventilation
When the air conditioning system is
on, select Face Level mode and
while pressing the A/C button, press
the recirculated air position button
five times within three seconds.
Sunroof Inside Air
Recirculation (if equipped)
When the heater or air conditioning
system is on with the sunroof
opened, the outside (fresh) air posi-
tion will be automatically selected. At
this time, if you press the recirculated
air position button, the recirculated
air position will be selected but will
change back to the outside (fresh) air
position after 3 minutes.
When the sunroof is closed, the air
intake position will return to the orig-
inal position that was selected.
Page 449 of 522

7-39
7
Maintenance
By jump starting
After a jump start from a good bat-
tery, idle the vehicle with the head-
lights turned ON for 20-30 minutes
before started driving. The vehicle
may not run properly if you drive it off
before the battery had a chance to
adequately recharge. See "Jump
Starting" in chapter 6 for more infor-
mation on jump starting procedures.
Information
An inappropriately disposedbattery can be harmful to
the environment and human
health.
Dispose the battery according to your
local law(s) or regulation.
Reset features
Some items need to be reset after
the battery has been discharged or
the battery has been disconnected.
See chapter 3 for:
Power Windows
Trip Computer
Climate Control System
Clock
Audio System
Sunroof
i
(Continued)
Watch the battery during
charging, and stop or reduce
the charging rate if the battery
cells begin boiling violently.
The negative battery cable
must be removed first and
installed last when the battery
is disconnected. Disconnect
the battery charger in the fol-
lowing order:
(1) Turn off the battery charger main switch.
(2) Unhook the negative
clamp from the negative
battery terminal.
(3) Unhook the positive clamp from the positive battery
terminal.
Always use a genuine HYUNDAI
approved battery when you
replace the battery.
Page 472 of 522

Maintenance
Instrument panel fuse panel
Fuse Name Fuse rating Protected Component
4 MODULE10AImmobilizer Module, Smart Key Control Module
MULTI MEDIA15AA/V & Navigation Head Unit
1 MEMORY10ADriver/Passenger Door Module, Driver IMS Module, A/C Control Module,
Auto Light & Photo Sensor, Electro Chromic Mirror, Instrument Cluster,
Tire Pressure Monitoring Module, Digital Clock, Wireless Charger, A/V & Navigation Head Unit
S/HEATER RR25ARear Seat Warmer Module
2 SUN ROOF20APanoramic Sunroof Motor
9 MODULE7.5AFront Air Ventilation Seat Module, Front Seat Warmer Module, Rear Seat Warmer Module
MDPS7.5AMDPS Unit (Column Type/Rack Type)
3 MODULE10ABCM, Sport Mode Switch, Stop Lamp Switch
1 MODULE7.5AKey Solenoid, Driver/Passenger Door Module
1 SUN ROOF20A[With Panorama] Panorama Sunroof Motor
[W/O Panorama] Sunroof Motor
A/CON7.5AA/C Control Module, E/R Junction Block (Blower Relay)
2 MODULE10AA/V & Navigation Head Unit, Digital Clock, USB Charger, BCM, AMP,
Power Outside Mirror Switch, Wireless Charger, Smart Key Control Module,
Overhead Console Lamp, E/R Junction Block (Power Outlet Relay)
A/BAG IND7.5AInstrument Cluster
6 MODULE10AMultipurpose Check Connector, A/C Control Module, A/V & Navigation Head Unit,
Front Air Ventilation Seat Module, Front Seat Warmer Module, Rear Seat Warmer Module,
Driver IMS Module, Head Lamp LH/RH (DBL), A/T Shift Lever IND.
AMP25AAMP (JBL/MOBIS)
7-62
Page 475 of 522
![Hyundai Sonata 2018 Owners Manual 7-65
7
Maintenance
Engine compartment main fuse panel
Fuse NameFuse rating Protected Component
MULTIFUSE
(TYPE A)
IG230A[Without Smart Key] (Start Relay), Ignition Switch,
[With Smart Key] (Start Rel Hyundai Sonata 2018 Owners Manual 7-65
7
Maintenance
Engine compartment main fuse panel
Fuse NameFuse rating Protected Component
MULTIFUSE
(TYPE A)
IG230A[Without Smart Key] (Start Relay), Ignition Switch,
[With Smart Key] (Start Rel](/manual-img/35/16776/w960_16776-474.png)
7-65
7
Maintenance
Engine compartment main fuse panel
Fuse NameFuse rating Protected Component
MULTIFUSE
(TYPE A)
IG230A[Without Smart Key] (Start Relay), Ignition Switch,
[With Smart Key] (Start Relay), PCB Block (IG2 Relay)
3 TCU40A[G4FJ - DCT] TCM
BLOWER40A(Blower Relay)
1 ABS40AESC Module
REAR HEATED50A(Rear Heated Relay)
1 B+50ASmart Junction Block (IPS2 (4CH), IPS3 (4CH))
1 COOLING FAN50A[G4KH/G4FJ] (Cooling Fan Relay), [G4KJ] (Cooling Fan Relay)
2 COOLING FAN60A[G4KH/G4FJ] (Cooling Fan Relay)
1 MDPS80AMDPS Unit (Column Type)
MULTI FUSE
(TYPE B)
2 ABS30AESC Module, Multipurpose Check Connector
IG140A[Without Smart Key] Ignition Switch, [With Smart Key] PCB Block (IG1/ACC Relay)
4 TCU40A[G4FJ - DCT] TCM
3 POWER OUTLET40A(Power Outlet Relay)
2 B+50ASmart Junction Block (IPS1 (4CH), IPS4 (4CH), IPS5 (4CH), IPS6 (2CH), IPS7 (1CH)\
,
Fuse - AMP)
5 B+60APCB Block (Engine Control Relay, Fuse - TUC1, ECU1, HORN, AMS, WIPER)
1 B+60ASmart Junction Block (Power Window Relay, Fuse - SAFETY POWER WINDOW LH,
P/SEAT PASS,SAFETY POWER WINDOW RH, P/SEAT DRV, MODULE1, P/WDW LH,
P/WDW RH, TRUNK, S/HEATER RR, SUNROOF2, SUNROOF1)
2 MDPS100AMDPS Unit (Rack Type)
Page 485 of 522
7-75
7
Maintenance
7. Remove the rear package traytrim.
8. Remove the high mounted stop lamp after disengaging the mount-
ing clip.
9. Install a new LED lamp.License Plate Light Bulb
Replacement
1. Loosen the lens retaining screws with a philips head screwdriver.
2. Remove the lens.
3. Remove the bulb by pulling it straight out.
4. Install a new bulb.
5. Reinstall the lens securely with the lens retaining screws.
Interior Light Bulb
Replacement
Map lamp and Room lamp
If the LED lamp does not operate,
have the vehicle checked by an
authorized HYUNDAI dealer.
■Map lamp - with sunroof
OLF076080N
OLF077071
■Room lamp - with sunroofOLF077066