Page 244 of 570
4141
Features of your vehicle
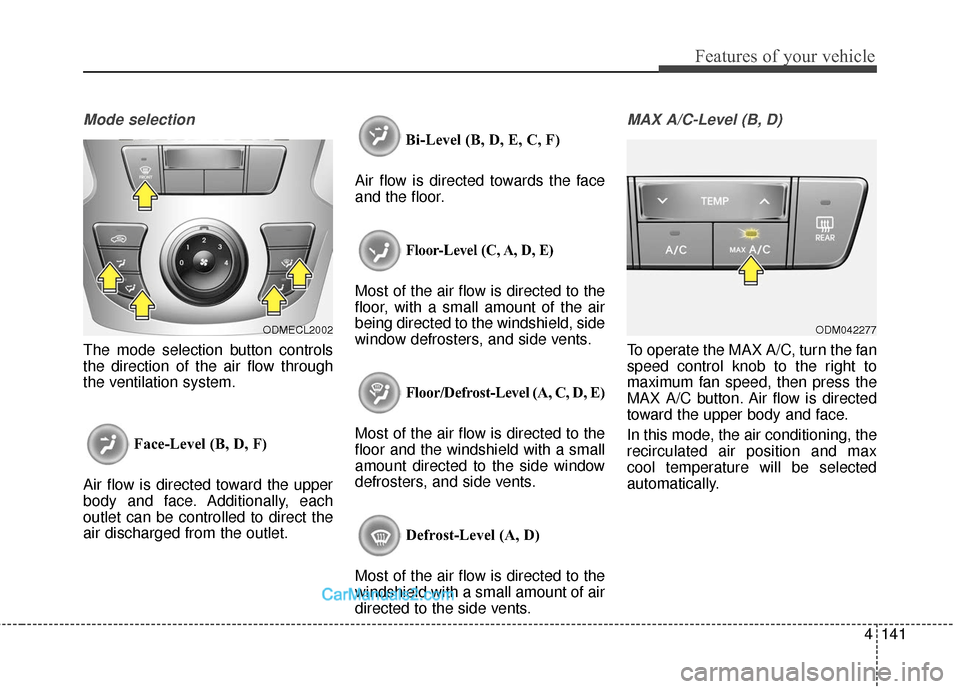
Mode selection
The mode selection button controls
the direction of the air flow through
the ventilation system.Face-Level (B, D, F)
Air flow is directed toward the upper
body and face. Additionally, each
outlet can be controlled to direct the
air discharged from the outlet. Bi-Level (B, D, E, C, F)
Air flow is directed towards the face
and the floor.
Floor-Level (C, A, D, E)
Most of the air flow is directed to the
floor, with a small amount of the air
being directed to the windshield, side
window defrosters, and side vents.
Floor/Defrost-Level (A, C, D, E)
Most of the air flow is directed to the
floor and the windshield with a small
amount directed to the side window
defrosters, and side vents.
Defrost-Level (A, D)
Most of the air flow is directed to the
windshield with a small amount of air
directed to the side vents.
MAX A/C-Level (B, D)
To operate the MAX A/C, turn the fan
speed control knob to the right to
maximum fan speed, then press the
MAX A/C button. Air flow is directed
toward the upper body and face.
In this mode, the air conditioning, the
recirculated air position and max
cool temperature will be selected
automatically.
ODMECL2002ODM042277
Page 256 of 570
4153
Features of your vehicle
Face-Level
Air flow is directed toward the upper
body and face. Additionally, each
outlet can be controlled to direct the
air discharged from the outlet.
Bi-Level
Air flow is directed towards the face
and the floor.
Floor-Level
Most of the air flow is directed to the
floor, with a small amount of the air
being directed to the windshield and
side window defrosters.
Floor & Defrost
Most of the air flow is directed to the
floor and the windshield with a small
amount directed to the side window
defrosters. Defrost-Level
Most of the air flow is directed to the
windshield with a small amount of air
directed to the side window defrosters.
Instrument panel vents
The outlet vents can be opened or
closed separately using the thumb-
wheel.
Also, you can adjust the direction of
air delivered from these vents using
the vent control lever as shown.
ODM042279ODM042289
Page 264 of 570
4161
Features of your vehicle
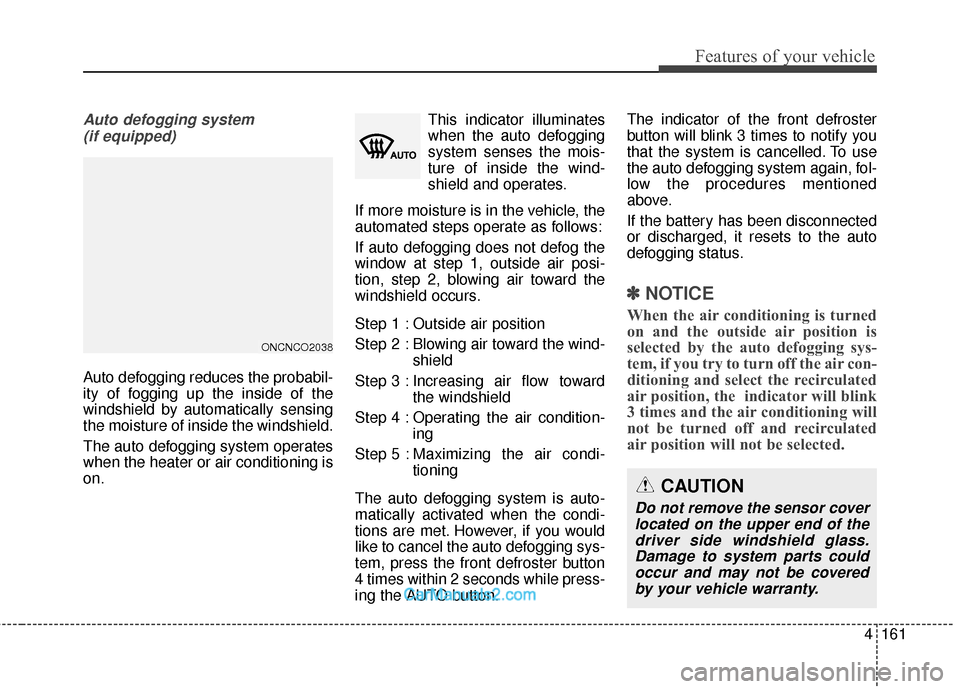
Auto defogging system (if equipped)
Auto defogging reduces the probabil-
ity of fogging up the inside of the
windshield by automatically sensing
the moisture of inside the windshield.
The auto defogging system operates
when the heater or air conditioning is
on. This indicator illuminates
when the auto defogging
system senses the mois-
ture of inside the wind-
shield and operates.
If more moisture is in the vehicle, the
automated steps operate as follows:
If auto defogging does not defog the
window at step 1, outside air posi-
tion, step 2, blowing air toward the
windshield occurs.
Step 1 : Outside air position
Step 2 : Blowing air toward the wind- shield
Step 3 : Increasing air flow toward the windshield
Step 4 : Operating the air condition- ing
Step 5 : Maxim izing the air condi-
tioning
The auto defogging system is auto-
matically activated when the condi-
tions are met. However, if you would
like to cancel the auto defogging sys-
tem, press the front defroster button
4 times within 2 seconds while press-
ing the AUTO button. The indicator of the front defroster
button will blink 3 times to notify you
that the system is cancelled. To use
the auto defogging system again, fol-
low the procedures mentioned
above.
If the battery has been disconnected
or discharged, it resets to the auto
defogging status.
✽ ✽
NOTICE
When the air conditioning is turned
on and the outside air position is
selected by the auto defogging sys-
tem, if you try to turn off the air con-
ditioning and select the recirculated
air position, the indicator will blink
3 times and the air conditioning will
not be turned off and recirculated
air position will not be selected.
CAUTION
Do not remove the sensor cover
located on the upper end of thedriver side windshield glass.Damage to system parts couldoccur and may not be coveredby your vehicle warranty.
ONCNCO2038
Page 277 of 570
Features of your vehicle
174
4
To use the cargo security screen
1. Pull the cargo security screen
towards the rear of the vehicle by
the handle (1).
2. Insert the guide pin into the guide (2).
✽ ✽NOTICE
Pull out the cargo security screen
with the handle in the center to pre-
vent the guide pin from falling out of
the guide.
When the cargo security screen is not
in use:
1. Pull the cargo security screen
backward and up to release it from
the guides.
2. The cargo security screen will automatically slide back in.
✽ ✽NOTICE
The cargo security screen may not
automatically slide back in if the
cargo security screen is not fully
pulled out. Fully pull it out and then
carefully slide back in.
To remove the cargo security
screen (if equipped)
1. Push in the guide pin.
2. While pushing the lever, pull out the cargo security screen.
3. Open the luggage tray and keep the cargo security screen in the tray.
ONCNCO3033
ONCNCO2034
ONCNCO3032
Page 282 of 570
4179
Features of your vehicle
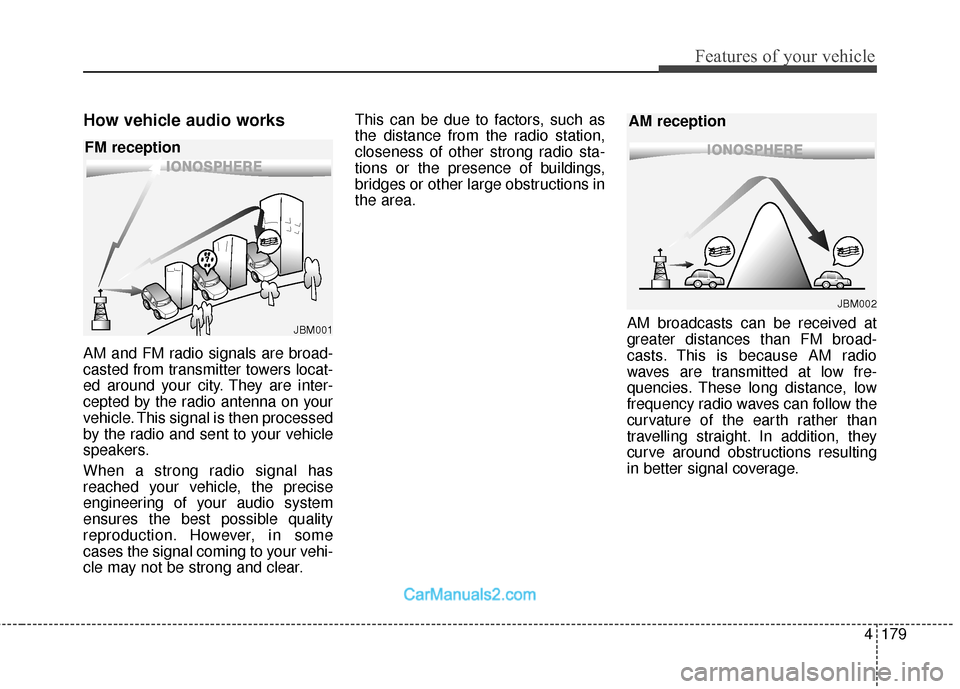
How vehicle audio works
AM and FM radio signals are broad-
casted from transmitter towers locat-
ed around your city. They are inter-
cepted by the radio antenna on your
vehicle. This signal is then processed
by the radio and sent to your vehicle
speakers.
When a strong radio signal has
reached your vehicle, the precise
engineering of your audio system
ensures the best possible quality
reproduction. However, in some
cases the signal coming to your vehi-
cle may not be strong and clear.This can be due to factors, such as
the distance from the radio station,
closeness of other strong radio sta-
tions or the presence of buildings,
bridges or other large obstructions in
the area.
AM broadcasts can be received at
greater distances than FM broad-
casts. This is because AM radio
waves are transmitted at low fre-
quencies. These long distance, low
frequency radio waves can follow the
curvature of the earth rather than
travelling straight. In addition, they
curve around obstructions resulting
in better signal coverage.
JBM001
FM reception
JBM002
AM reception
Page 294 of 570
Special driving conditions . . . . . . . . . . . . . . . . . . 5-103
. . . . . . . . . . . . . . . . . 5-103
. . . . . . . . . . . . . . . . 5-103
. . . . . . . . . . . . . . . . . . . . . . . . . . 5-104
. . . . . . . . . . . . . . . . . . . . . . . . . . . 5-105
. . . . . . . . . . . . . . . . . . . . . . . . . . . . . 5-106
. . . . . . . . . . . . . . . . . . . . . . . . . . . 5-106
. . . . . . . . . . . . . . . . . . . . . . 5-107
. . . . . . . . . . . . . . . . . . . . . . . . . . . . . 5-107
. . . . . . . . . . . . . . . . . . . . . . . . . . . . 5-107
Winter driving . . . . . . . . . . . . . . . . . . . . . . . . . . . 5-109
. . . . . . . . . . . . . . . . . . . . . . 5-109
. . . . . . . . . 5-111
. . . . . . . . . . . . . . . . . . . . . 5-112
. . . . . . . . . . . . . . . . . . . 5-112
system . . . . . . . . . . . . . . . . . . . . . . . . . . . . . . . . . . . 5-\
112
. . . . . . . . . . . . 5-113
. . . 5-113
. . . . . . . . . . . . . . . . . . 5-113
engine compartment . . . . . . . . . . . . . . . . . . . . . . . 5-113
Trailer towing . . . . . . . . . . . . . . . . . . . . . . . . . . . . 5-114
. . . . . . . . . . . . . . . . . . . . . . . . . . . . . . . . . . . . \
5-115
. . . . . . . . . . . . . . . . . . . . . . . . . . . . . . . 5-115
. . . . . . . . . . . . . . . . . . . . . . . . . . . . . . 5-115
. . . . . . . . . . . . . . . . . . . . . . . . 5-116
. . . . . . . . . . . . . . 5-119
. . . . . . . . . . . . . . . 5-120
Vehicle load limit . . . . . . . . . . . . . . . . . . . . . . . . . 5-123
. . . . . . . . . . . . . 5-123
. . . . . . . . . . . . . . . . . . . . . . . . . . . 5-126
Vehicle weight . . . . . . . . . . . . . . . . . . . . . . . . . . . . 5-128
. . . . . . . . . . . . . . . . . . . . . . . . . . . 5-128
. . . . . . . . . . . . . . . . . . . . . . . . . . 5-128
. . . . . . . . . . . . . . . . . . . . . . . . . . . . . . . 5-128
. . . . . . . . . . . . . . . . . . . . . 5-128
. . . . . . . . . . . . . . 5-128
. . . . . . . . . . . . . . . . . . 5-128
. . . . . . . . . . . 5-128
5
Page 299 of 570
57
Driving your vehicle
Illuminated ignition switch
(if equipped)
Whenever a front door is opened, the
ignition switch will be illuminated for
your convenience, provided the igni-
tion switch is not in the ON position.
The light will go off immediately
when the ignition switch is turned on
or go off after about 30 seconds
when the door is closed.
Ignition switch position
LOCK
The steering wheel locks to protect
against theft. The ignition key can be
removed only in the LOCK position.
When turning the ignition switch to
the LOCK position, push the key
inward at the ACC position and turn
the key toward the LOCK position.
ACC (Accessory)
The steering wheel is unlocked and
electrical accessories are operative.
✽ ✽NOTICE
If difficulty is experienced turning
the ignition switch to the ACC posi-
tion, turn the key while turning the
steering wheel right and left to
release the tension.
OUM054001OYP054029K
KEY POSITIONS
Page 318 of 570
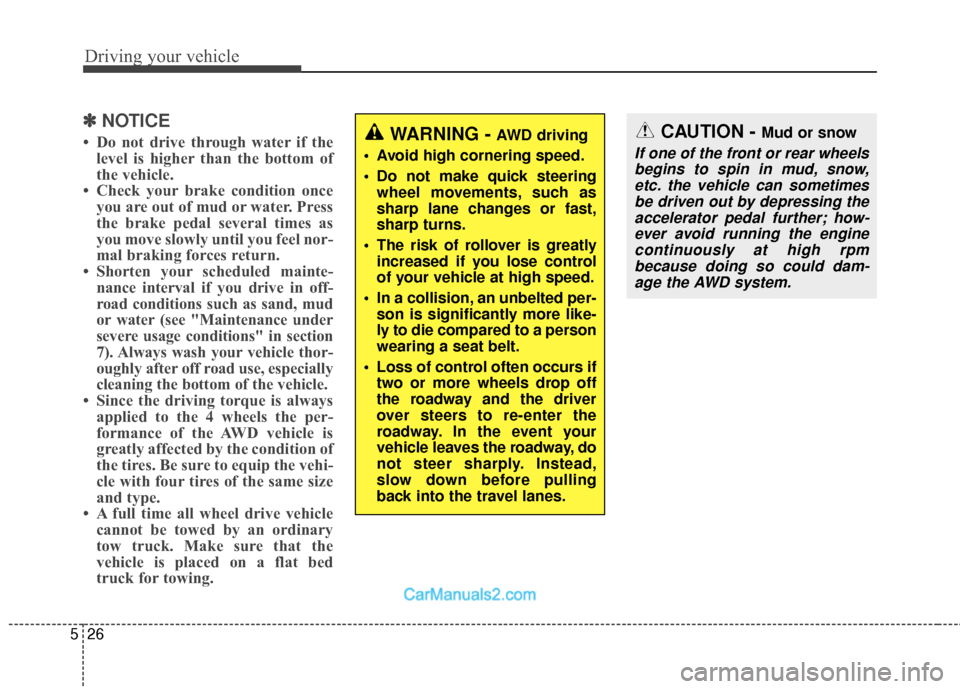
Driving your vehicle
26
5
✽
✽
NOTICE
• Do not drive through water if the
level is higher than the bottom of
the vehicle.
• Check your brake condition once you are out of mud or water. Press
the brake pedal several times as
you move slowly until you feel nor-
mal braking forces return.
• Shorten your scheduled mainte- nance interval if you drive in off-
road conditions such as sand, mud
or water (see "Maintenance under
severe usage conditions" in section
7). Always wash your vehicle thor-
oughly after off road use, especially
cleaning the bottom of the vehicle.
• Since the driving torque is always applied to the 4 wheels the per-
formance of the AWD vehicle is
greatly affected by the condition of
the tires. Be sure to equip the vehi-
cle with four tires of the same size
and type.
• A full time all wheel drive vehicle cannot be towed by an ordinary
tow truck. Make sure that the
vehicle is placed on a flat bed
truck for towing.CAUTION - Mud or snow
If one of the front or rear wheels
begins to spin in mud, snow,etc. the vehicle can sometimesbe driven out by depressing theaccelerator pedal further; how-ever avoid running the enginecontinuously at high rpmbecause doing so could dam-age the AWD system.
WARNING - AWD driving
Avoid high cornering speed.
Do not make quick steering wheel movements, such as
sharp lane changes or fast,
sharp turns.
The risk of rollover is greatly increased if you lose control
of your vehicle at high speed.
In a collision, an unbelted per- son is significantly more like-
ly to die compared to a person
wearing a seat belt.
Loss of control often occurs if two or more wheels drop off
the roadway and the driver
over steers to re-enter the
roadway. In the event your
vehicle leaves the roadway, do
not steer sharply. Instead,
slow down before pulling
back into the travel lanes.