Page 279 of 343

727
Maintenance
AUTOMATIC TRANSAXLE FLUID (IF EQUIPPED)
Checking the automatic transaxle
fluid level
The automatic transaxle fluid level
should be checked regularly.
Keep the vehicle on the level ground with
the parking brake applied and check the
fluid level according to the following pro-
cedure.
1. Place the shift lever in N (Neutral)
position and confirm the engine is run-
ning at normal idle speed.
2. After the transaxle is warmed up suffi-
ciently (fluid temperature 70~80°C
(158~176°F), for example by 10 min-
utes usual driving, move the shift lever
through all the positions then place the
shift lever in “N (Neutral) or P (Park)”
position.3. Confirm that the fluid level is in “HOT”
range on the level gauge. If the fluid
level is lower, add the specified fluid in
the fill hole. If the fluid level is higher,
drain the fluid from the drain hole.
4. If the fluid level is checked in cold con-
dition (fluid temperature 20~30°C
(68~86°F) add the fluid to “C” (COLD)
line and then recheck the fluid level
according to the above step 2.
OBA073007OHD076045N
WARNING - Transaxle fluid
The transaxle fluid level should be
checked when the engine is at nor-
mal operating temperature. This
means that the engine, radiator,
radiator hose and exhaust system
etc., are very hot. Exercise great
care not to burn yourself during
this procedure.
Page 280 of 343

Maintenance
28 7
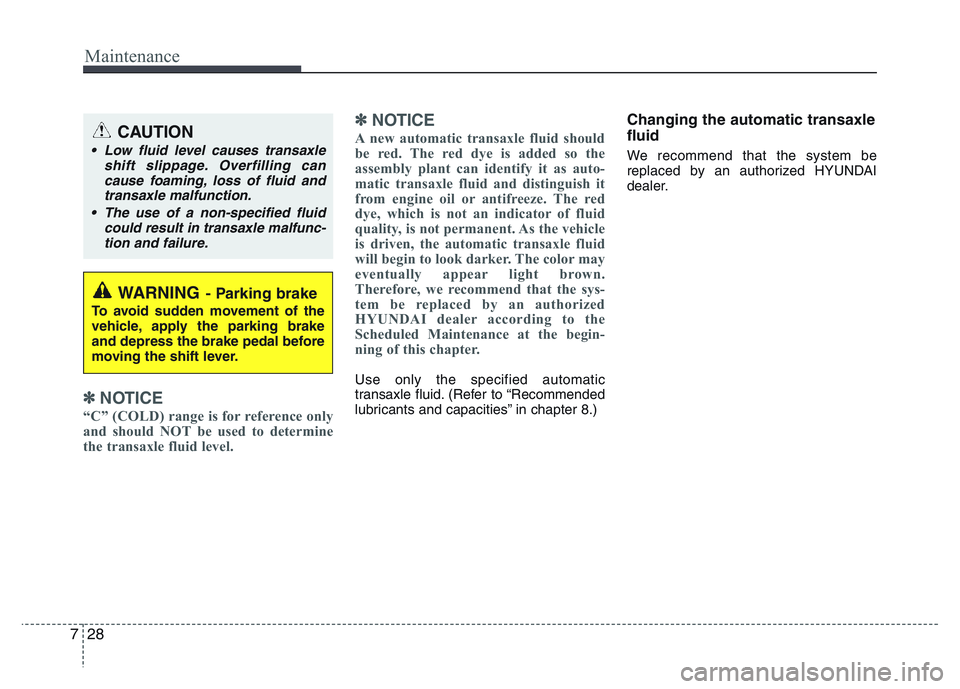
✽NOTICE
“C” (COLD) range is for reference only
and should NOT be used to determine
the transaxle fluid level.
✽NOTICE
A new automatic transaxle fluid should
be red. The red dye is added so the
assembly plant can identify it as auto-
matic transaxle fluid and distinguish it
from engine oil or antifreeze. The red
dye, which is not an indicator of fluid
quality, is not permanent. As the vehicle
is driven, the automatic transaxle fluid
will begin to look darker. The color may
eventually appear light brown.
Therefore, we recommend that the sys-
tem be replaced by an authorized
HYUNDAI dealer according to the
Scheduled Maintenance at the begin-
ning of this chapter.
Use only the specified automatic
transaxle fluid. (Refer to “Recommended
lubricants and capacities” in chapter 8.)
Changing the automatic transaxle
fluid
We recommend that the system be
replaced by an authorized HYUNDAI
dealer.
WARNING- Parking brake
To avoid sudden movement of the
vehicle, apply the parking brake
and depress the brake pedal before
moving the shift lever.
CAUTION
• Low fluid level causes transaxle
shift slippage. Overfilling can
cause foaming, loss of fluid and
transaxle malfunction.
• The use of a non-specified fluid
could result in transaxle malfunc-
tion and failure.
Page 283 of 343
731
Maintenance
3. Replace the air cleaner filter.
4. Reassemble in the reverse order of
removal.Replace the filter according to the
Maintenance Schedule.
If the vehicle is operated in extremely
dusty or sandy areas, replace the ele-
ment more often than the usual recom-
mended intervals. (Refer to
“Maintenance under severe usage condi-
tions” in this chapter.)
CAUTION
• Do not drive with the air cleaner
removed; this will result in exces-
sive engine wear.
• When removing the air cleaner fil-
ter, be careful that dust or dirt
does not enter the air intake, or
damage may result.
• We recommend that you use
parts for replacement from an
authorized HYUNDAI dealer. Use
of improper parts could damage
the air flow sensor or turbo charg-
er.
OBA073027
Page 290 of 343

Maintenance
38 7
BATTERY
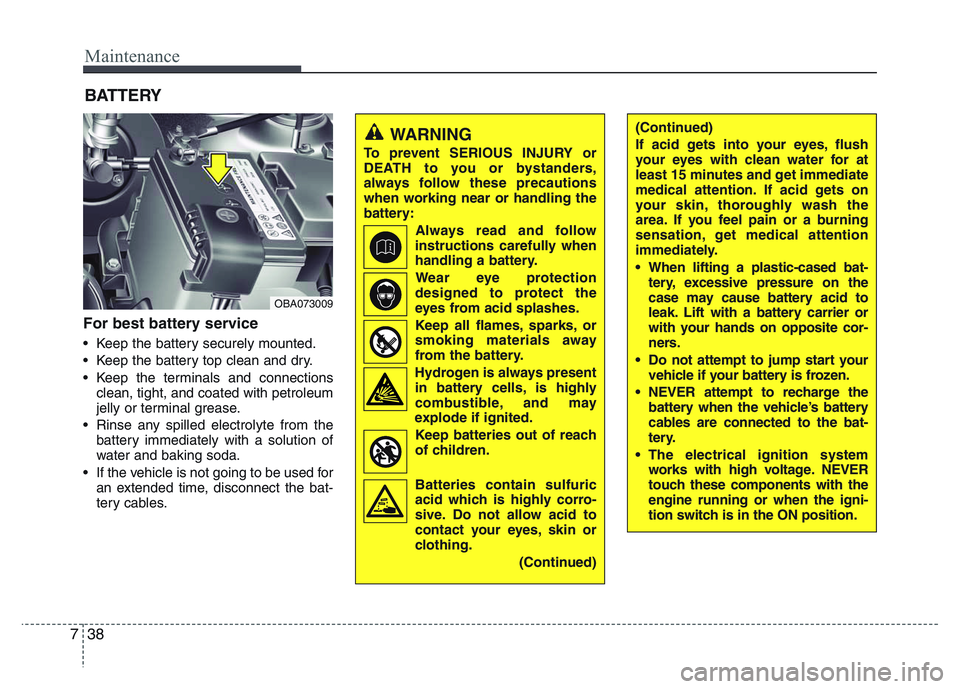
For best battery service
• Keep the battery securely mounted.
• Keep the battery top clean and dry.
• Keep the terminals and connections
clean, tight, and coated with petroleum
jelly or terminal grease.
• Rinse any spilled electrolyte from the
battery immediately with a solution of
water and baking soda.
• If the vehicle is not going to be used for
an extended time, disconnect the bat-
tery cables.
OBA073009
WARNING
To prevent SERIOUS INJURY or
DEATH to you or bystanders,
always follow these precautions
when working near or handling the
battery:
Always read and follow
instructions carefully when
handling a battery.
Wear eye protection
designed to protect the
eyes from acid splashes.
Keep all flames, sparks, or
smoking materials away
from the battery.
Hydrogen is always present
in battery cells, is highly
combustible, and may
explode if ignited.
Keep batteries out of reach
of children.
Batteries contain sulfuric
acid which is highly corro-
sive. Do not allow acid to
contact your eyes, skin or
clothing.
(Continued)
(Continued)
If acid gets into your eyes, flush
your eyes with clean water for at
least 15 minutes and get immediate
medical attention. If acid gets on
your skin, thoroughly wash the
area. If you feel pain or a burning
sensation, get medical attention
immediately.
• When lifting a plastic-cased bat-
tery, excessive pressure on the
case may cause battery acid to
leak. Lift with a battery carrier or
with your hands on opposite cor-
ners.
• Do not attempt to jump start your
vehicle if your battery is frozen.
• NEVER attempt to recharge the
battery when the vehicle’s battery
cables are connected to the bat-
tery.
• The electrical ignition system
works with high voltage. NEVER
touch these components with the
engine running or when the igni-
tion switch is in the ON position.
Page 292 of 343

Maintenance
40 7
Reset items
Items should be reset after the battery
has been discharged or the battery has
been disconnected.
• Auto up/down window (See chapter 4)
• Climate control system
(See chapter 4)
• Audio (See chapter 4)(Continued)
• Before performing maintenance
or recharging the battery, turn off
all accessories and stop the
engine.
• The negative battery cable must
be removed first and installed
last when the battery is discon-
nected.WARNING- Recharging
battery
When recharging the battery,
observe the following precautions:
• The battery must be removed
from the vehicle and placed in an
area with good ventilation.
• Do not allow cigarettes, sparks,
or flame near the battery.
• Watch the battery during charging,
and stop or reduce the charging
rate if the battery cells begin
gassing (boiling) violently or if the
temperature of the electrolyte of
any cell exceeds 49°C (120°F).
• Wear eye protection when check-
ing the battery during charging.
• Disconnect the battery charger in
the following order.
1. Turn off the battery charger main
switch.
2. Unhook the negative clamp from
the negative battery terminal.
3. Unhook the positive clamp from
the positive battery terminal.
(Continued)
Page 304 of 343

Maintenance
52 7
FUSES
A vehicle’s electrical system is protected
from electrical overload damage by
fuses.
This vehicle has 2 fuse panels, one locat-
ed in the driver’s side panel bolster, the
other in the engine compartment near
the battery.
If any of your vehicle’s lights, acces-
sories, or controls do not work, check the
appropriate circuit fuse. If a fuse has
blown, the element inside the fuse will
melt.
If the electrical system does not work,
first check the driver’s side fuse panel.
Always replace a blown fuse with one of
the same rating.
If the replacement fuse blows, this indi-
cates an electrical problem. Avoid using
the system involved and we recommend
that you consult an authorized HYUNDAI
dealer.
✽NOTICE
Three kinds of fuses are used: blade
type for lower amperage rating, car-
tridge type, and fusible link for higher
amperage ratings.OJC070046D Normal Normal ■Blade type
■Cartridge type
■Multi fuseBlown
Blown
Normal Blown
WARNING - Fuse replace-
ment
• Never replace a fuse with any-
thing but another fuse of the
same rating.
• A higher capacity fuse could
cause damage and possibly a
fire.
• Never install a wire or aluminum
foil instead of the proper fuse -
even as a temporary repair. It may
cause extensive wiring damage
and a possible fire.
CAUTION
Do not use a screwdriver or any
other metal object to remove fuses
because it may cause a short circuit
and damage the system.
Page 305 of 343
753
Maintenance
3. Pull the suspected fuse straight out.
Use the removal tool provided in the
engine compartment fuse panel.
4. Remove and check the suspected
fuse; replace it if it is blown.
5. Push in a new fuse of the same rating,
and make sure it fits tightly in the clips.
If it fits loosely, we recommend that you
consult an authorized HYUNDAI dealer.
OBA073013
■Left-hand drive - Type A
■Right-hand drive - Type A
■Left-hand drive - Type B
■Right-hand drive - Type B
OBA073011/OBA073011IN/OBA073011L/OBA073011R
Instrument panel fuse replacement
1. Turn the ignition switch and all other switches off.
2. Open the fuse panel cover.
Page 306 of 343
Maintenance
54 7
In an emergency, if you do not have a
spare, use a fuse of the same rating from
a circuit you may not need for operating
the vehicle, such as the cigarette lighter
fuse.
If the headlights or other electrical com-
ponents do not work and the fuses are
OK, check the fuse block in the engine
compartment. If a fuse is blown, it must
be replaced.
Fuse switch (for Type A)
Always, put the fuse switch at the ON
position.
If you move the switch to the OFF posi-
tion, some items must be reset and
remote key or smart key may not work
properly.
CAUTION
• Always place the fuse switch in
the ON position while driving the
vehicle. If the switch is in the OFF
position, a warning will appear on
the instrument cluster. (Refer to
“Instrument Cluster” in chapter 4.)
• The theft alarm system will not
activate with the fuse switch in the
OFF position.
OBA073012
OBA073012IN
■Left-hand drive
■Right-hand drive