Page 113 of 534
3-28
Convenient features of your vehicle
Automatic-Dimming Night Vision
Safety™ (NVS®
) Mirror
(if equipped)
The NVS ®
Mirror automatically
reduces glare by monitoring light lev- els in the front and the rear of the
vehicle. Any object that obstructs
either light sensor will degrade the
automatic dimming control feature.
For more information regarding NVS ®
mirrors and other applica-
tions, please refer to the Gentexwebsite:
www.gentex.com Your mirror will automatically dim
upon detecting glare from the vehi-
cles traveling behind you. The auto-dimming function can be controlled
by pressing the Dimming ON/OFF
button:
1. Pressing and holding the button
for 3 seconds turns the auto-dim- ming function OFF which is indi-
cated by the green Status
Indicator LED turning off.
2. Pressing and holding the button for 3 seconds again turns the auto-dimming function ON which is indi-
cated by the green Status Indicator
LED turning on.
The mirror defaults to the ON posi-
tion each time the vehicle is started.
Z-Nav™ Compass Display
The NVS™ Mirror in your vehicle is
also equipped with a Z-Nav™
Compass that shows the vehicle
Compass heading in the Display
Window using the 8 basic cardinalheadings (N, NE, E, SE, etc.).
Integrated HomeLink ®
Wireless
Control System
The HomeLink ®
Wireless Control
System can replace up to three
hand-held radio-frequency (RF)
transmitters with a single built-in
device. This innovative feature will
learn the radio frequency codes of
most current transmitters to operate
devices such as gate operators,
garage door openers, entry door
locks, security systems, even home
lighting. Both standard and rolling
code-equipped transmitters can be
programmed by following the out-
lined procedures. Additional HomeLink ®
information
can be found at: www.homelink.com
or by calling 1-800-355-3515.
Retain the original transmitter of the
RF device you are programming for
use in other vehicles as well as forfuture HomeLink ®
programming. It is
also suggested that upon the sale of
the vehicle, the programmedHomeLink ®
buttons be erased for
security purposes.
Page 129 of 534
3-44
Convenient features of your vehicle
Sunroof resetting procedure:
1. Place the ignition switch to the ONposition or start the engine. It is recommended to reset the sun-
roof while the engine is running.
2. Push the control lever forward. The sunroof will close completelyor tilt depending on the condition
of the sunroof.
3. Release the control lever when the sunroof stops moving.
4. Push the control lever forward about 10 seconds.
- When the sunroof is in the closed position :
The glass will tilt and slightly move up and down.
- When the sunroof is in the tilt position:
The glass will slightly move up and down.
Do not release the lever until the
operation is completed.
If you release the lever during opera-
tion, start the procedure again fromstep 2. 5. Within 3 seconds, push and hold
the control lever forward until the
sunroof operates as follows:
Tilt down �Slide Open �Slide
Close.
Do not release the lever until the
operation is completed.
If you release the lever during opera-
tion, start the procedure again fromstep 2.
6. Release the sunroof control lever after all steps have completed. (The sunroof system has beenreset.)
Information
If the sunroof is not reset when the vehicle battery is disconnected or
discharged, or the sunroof fuse is
blown, the sunroof may not operate
normally.
For more detailed information, we recommend that you contact an
authorized HYUNDAI dealer.Sunroof Open Warning (if equipped)
If the driver turns off the enginewhen the sunroof is not fully
closed, the warning chime will
sound for approximately 3 seconds
and the sunroof open warning will
appear on the LCD display.
If the driver turns off the engine and opens the door when the sun-roof is not fully closed, the open
sunroof warning will appear on the
LCD display until the door is closedor the sunroof is fully closed.
Close the sunroof securely when
leaving your vehicle.
i
Page 134 of 534
3-49
Convenient features of your vehicle
3
Smart Trunk (if equipped)
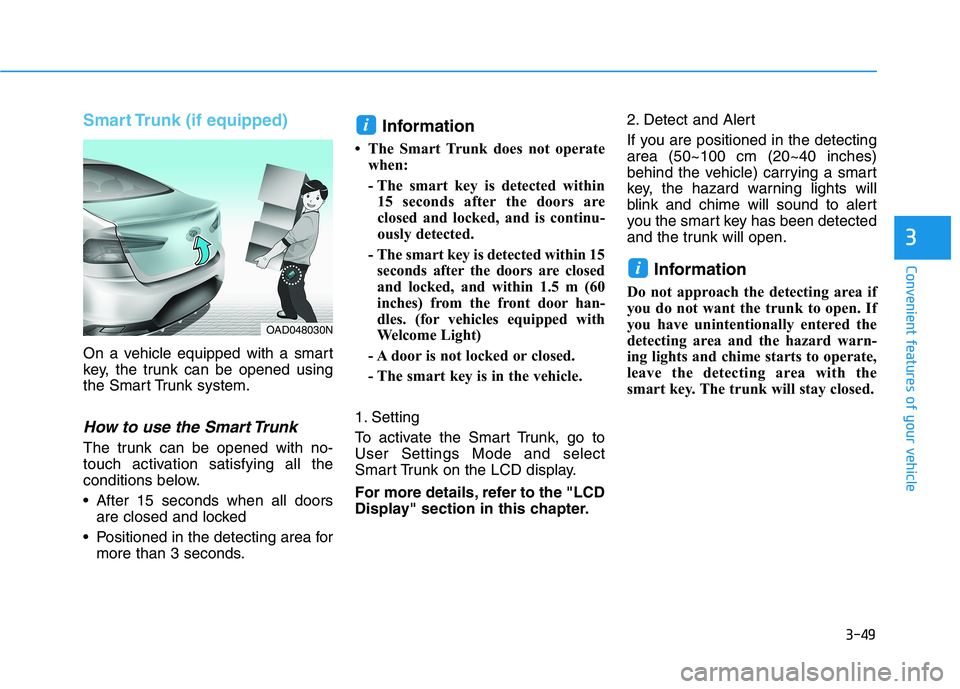
On a vehicle equipped with a smart
key, the trunk can be opened using
the Smart Trunk system.
How to use the Smart Trunk
The trunk can be opened with no-
touch activation satisfying all the
conditions below.
After 15 seconds when all doorsare closed and locked
Positioned in the detecting area for more than 3 seconds. Information
The Smart Trunk does not operate when:
- The smart key is detected within15 seconds after the doors are
closed and locked, and is continu-
ously detected.
- The smart key is detected within 15 seconds after the doors are closed
and locked, and within 1.5 m (60
inches) from the front door han-
dles. (for vehicles equipped with
Welcome Light)
- A door is not locked or closed.
- The smart key is in the vehicle.
1. Setting
To activate the Smart Trunk, go to User Settings Mode and select
Smart Trunk on the LCD display.
For more details, refer to the "LCD
Display" section in this chapter. 2. Detect and Alert
If you are positioned in the detecting area (50~100 cm (20~40 inches)
behind the vehicle) carrying a smart
key, the hazard warning lights will
blink and chime will sound to alert
you the smart key has been detected
and the trunk will open.
Information
Do not approach the detecting area if
you do not want the trunk to open. If
you have unintentionally entered the
detecting area and the hazard warn-
ing lights and chime starts to operate,
leave the detecting area with the
smart key. The trunk will stay closed.
i
i
OAD048030N
Page 140 of 534
3-55
Convenient features of your vehicle
3
IINN SSTT RR UU MM EENN TT CC LLUU SSTT EERR
1. Tachometer
2. Speedometer
3. Engine coolant temperature gauge
4. Fuel gauge
5. Warning and indicator lights
6. LCD display (including Trip computer)
OAD048100C/OAD048206C
■■Conventional cluster
The actual cluster in the vehicle may
differ from the illustration.
■■Supervision cluster (Type A)
Page 141 of 534
3-56
Convenient features of your vehicle
OAD048103C/OAD048102C
The actual cluster in the vehicle may
differ from the illustration.
■■Supervision cluster (Type B)
1. Tachometer
2. Speedometer
3. Engine coolant temperature gauge
4. Fuel gauge
5. Warning and indicator lights
6. LCD display (including Trip computer)
■■Supervision cluster (Type C)
Page 142 of 534
3-57
Convenient features of your vehicle
3
Instrument Cluster Control
Adjusting instrument clusterillumination
When the vehicle's parking lights or headlights are on, press the illumina-
tion control button to adjust the
brightness of the instrument panelillumination. When pressing the illumination con-
trol button, the interior switch illumi-nation intensity is also adjusted. The brightness of the instrument
panel illumination is displayed.
If the brightness reaches the maxi- mum or minimum level, a chimewill sound.
OAD048108N Never adjust the instrument
cluster while driving. Doing socould lead to driver distraction
which may cause an accident
and lead to vehicle damage,
serious injury, or death.
WARNING■
Conventional cluster ■Supervision cluster
OAD045115/OAD048569L
Page 146 of 534
3-61
Convenient features of your vehicle
3
Range
The range is the estimated dis-tance the vehicle can be driven with the remaining fuel.
If the estimated distance is below 1 km (1 mi.), the trip computer will
display "----" as range. Information
If the vehicle is not on level ground or the battery power has been inter-
rupted, the range function may not
operate correctly.
The range may differ from the actu- al driving distance as it is only an
estimate of the available driving
range for the vehicle and driving
conditions.
The trip computer may not register additional fuel if less than 6 liters
(1.6 gallon) of fuel are added to the
vehicle.
The range may vary significantly based on driving conditions, driving
habits, and condition of the vehicle.
Outside temperature gauge
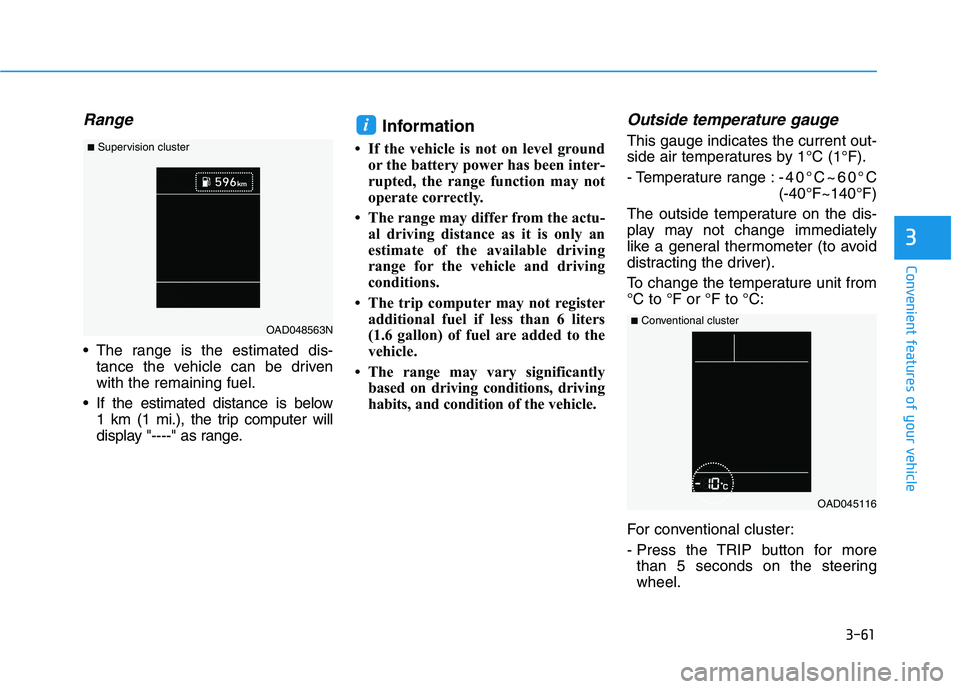
This gauge indicates the current out-
side air temperatures by 1°C (1°F).
- Temperature range : -40°C~60°C (-40°F~140°F)
The outside temperature on the dis-
play may not change immediately
like a general thermometer (to avoid
distracting the driver).
To change the temperature unit from °C to °F or °F to °C:
For conventional cluster:
- Press the TRIP button for more than 5 seconds on the steering wheel.i
OAD045116
■
Conventional cluster
OAD048563N
■
Supervision cluster
Page 147 of 534
3-62
Convenient features of your vehicle
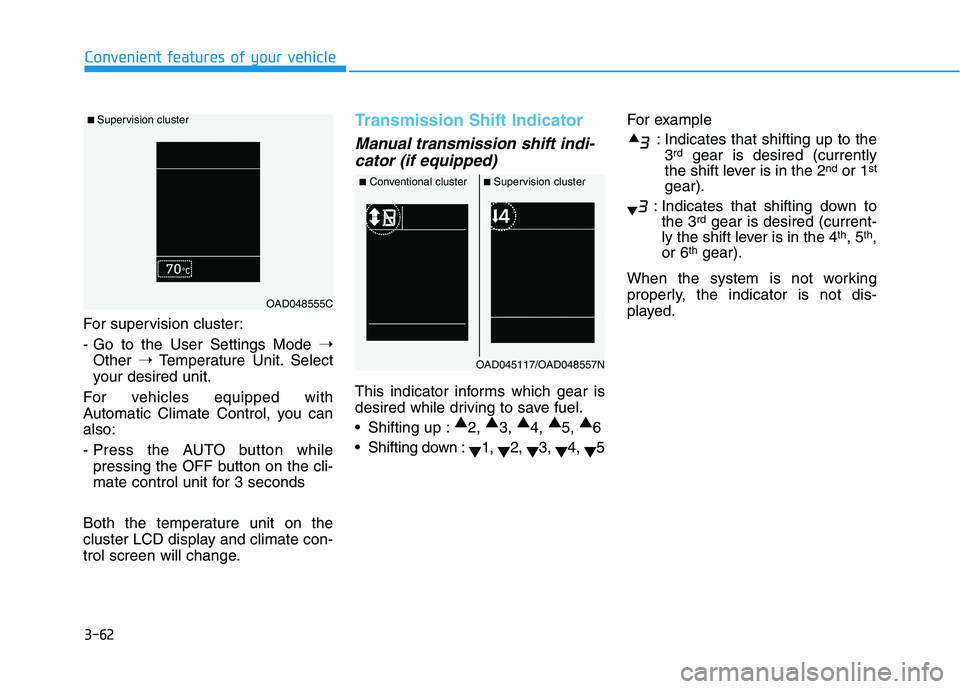
For supervision cluster:
- Go to the User Settings Mode ➝
Other ➝Temperature Unit. Select
your desired unit.
For vehicles equipped with
Automatic Climate Control, you canalso:
- Press the AUTO button while pressing the OFF button on the cli-
mate control unit for 3 seconds
Both the temperature unit on the
cluster LCD display and climate con-
trol screen will change.
Transmission Shift Indicator
Manual transmission shift indi- cator (if equipped)
This indicator informs which gear is
desired while driving to save fuel.
Shifting up : ▲
2, ▲
3, ▲
4, ▲
5, ▲
6
Shifting down : ▼1,
▼2,
▼3,
▼4,
▼5 For example
: Indicates that shifting up to the3 rd
gear is desired (currently
the shift lever is in the 2 nd
or 1 st
gear).
: Indicates that shifting down to the 3 rd
gear is desired (current-
ly the shift lever is in the 4 th
, 5 th
,
or 6 th
gear).
When the system is not working
properly, the indicator is not dis-
played.
■ Supervision cluster
OAD048555C
■ Conventional cluster ■Supervision cluster
OAD045117/OAD048557N