2018 Hyundai Elantra eco
[x] Cancel search: ecoPage 463 of 526

7-45
7
Maintenance
Recommended InflationPressure
Vehicle manufacturer's recommend-
ed tire inflation pressure as shown
on the tire placard.
Radial Ply Tire
A pneumatic tire in which the ply
cords that extend to the beads are
laid at 90 degrees to the centerline of
the tread.
Rim
A metal support for a tire and upon
which the tire beads are seated.
Sidewall
The portion of a tire between the
tread and the bead.
Speed Rating
An alphanumeric code assigned to a
tire indicating the maximum speed at
which a tire can operate.
Traction
The friction between the tire and the
road surface. The amount of grip pro-
vided.
Tread
The portion of a tire that comes into
contact with the road.
Treadwear Indicators
Narrow bands, sometimes called
"wear bars", that show across the
tread of a tire when only 1/16 inch of
tread remains.
UTQGS
Uniform Tire Quality Grading
Standards is a tire information sys-
tem that provides consumers with
ratings for a tire's traction, tempera-
ture and treadwear. Ratings are
determined by tire manufacturers
using government testing proce-
dures. The ratings are molded into
the sidewall of the tire.
Vehicle Capacity Weight
The number of designated seating
positions multiplied by 150 lbs. (68
kg) plus the rated cargo and luggage
load.
Vehicle Maximum Load on theTire
Load on an individual tire due to curb
and accessory weight plus maximum
occupant and cargo weight.
Vehicle Normal Load on the Tire
Load on an individual tire that is
determined by distributing to each
axle its share of the curb weight,
accessory weight, and normal occu-
pant weight and dividing by 2.
Vehicle Placard
A label permanently attached to a
vehicle showing the original equip-
ment tire size and recommended
inflation pressure.
Page 464 of 526

7-46
Maintenance
All Season Tires
HYUNDAI specifies all season tires
on some models to provide good
performance for use all year round,
including snowy and icy road condi-
tions. All season tires are identified
by ALL SEASON and/or M+S (Mud
and Snow) on the tire sidewall. Snow
tires have better snow traction than
all season tires and may be more
appropriate in some areas.
Summer Tires
HYUNDAI specifies summer tires on
some models to provide superior
performance on dry roads. Summer
tire performance is substantially
reduced in snow and ice. Summer
tires do not have the tire traction rat-
ing M+S (Mud and Snow) on the tire
side wall. If you plan to operate your
vehicle in snowy or icy conditions,
HYUNDAI recommends the use of
snow tires or all season tires on all
four wheels.
Snow Tires
If you equip your car with snow tires,
they should be the same size and
have the same load capacity as the
original tires. Snow tires should be
installed on all four wheels; other-
wise, poor handling may result. Snow
tires should carry 4 psi (28 kPa)
more air pressure than the pressure
recommended for the standard tires
on the tire label on the driver’s side of
the center pillar, or up to the maxi-
mum pressure shown on the tire
sidewall, whichever is less. Do not
drive faster than 75 mph (120 km/h)
when your vehicle is equipped with
snow tires.
Radial-Ply Tires
Radial-ply tires provide improved
tread life, road hazard resistance and
smoother high speed ride. The radi-
al-ply tires used on this vehicle are of
belted construction, and are selected
to complement the ride and handling
characteristics of your vehicle.Radial-ply tires have the same load
carrying capacity, as bias-ply or bias
belted tires of the same size, and use
the same recommended inflation
pressure. Mixing of radial-ply tires
with bias-ply or bias belted tires is
not recommended. Any combina-
tions of radial-ply and bias-ply or bias
belted tires when used on the same
vehicle will seriously deteriorate
vehicle handling. The best rule to fol-
low is: Identical pairs of radial-ply
tires should always be used as a set
for the front tires and a set for the
rear tires.
Longer wearing tires can be more
susceptible to irregular tread wear. It
is very important to follow the tire
rotation interval in this chapter to
achieve the tread life potential of
these tires. Cuts and punctures in
radial-ply tires are repairable only in
the tread area, because of sidewall
flexing. Consult your tire dealer for
radial-ply tire repairs.
Page 465 of 526

7-47
7
Maintenance
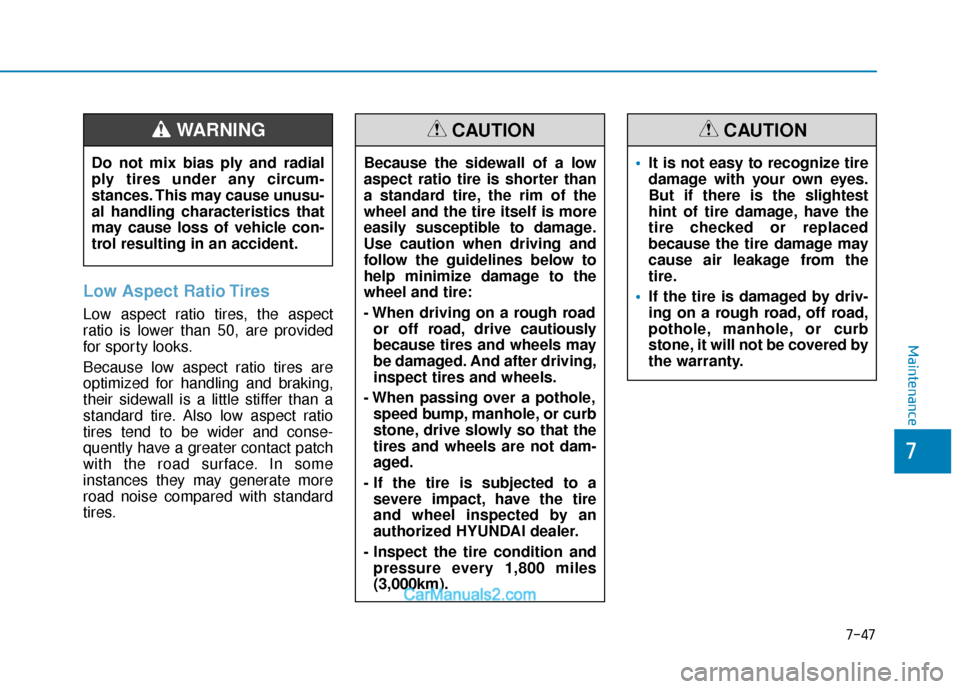
Low Aspect Ratio Tires
Low aspect ratio tires, the aspect
ratio is lower than 50, are provided
for sporty looks.
Because low aspect ratio tires are
optimized for handling and braking,
their sidewall is a little stiffer than a
standard tire. Also low aspect ratio
tires tend to be wider and conse-
quently have a greater contact patch
with the road surface. In some
instances they may generate more
road noise compared with standard
tires.Do not mix bias ply and radial
ply tires under any circum-
stances. This may cause unusu-
al handling characteristics that
may cause loss of vehicle con-
trol resulting in an accident.
WARNING
Because the sidewall of a low
aspect ratio tire is shorter than
a standard tire, the rim of the
wheel and the tire itself is more
easily susceptible to damage.
Use caution when driving and
follow the guidelines below to
help minimize damage to the
wheel and tire:
- When driving on a rough road
or off road, drive cautiously
because tires and wheels may
be damaged. And after driving,
inspect tires and wheels.
- When passing over a pothole, speed bump, manhole, or curb
stone, drive slowly so that the
tires and wheels are not dam-
aged.
- If the tire is subjected to a severe impact, have the tire
and wheel inspected by an
authorized HYUNDAI dealer.
- Inspect the tire condition and pressure every 1,800 miles
(3,000km).
CAUTION
It is not easy to recognize tire
damage with your own eyes.
But if there is the slightest
hint of tire damage, have the
tire checked or replaced
because the tire damage may
cause air leakage from the
tire.
If the tire is damaged by driv-
ing on a rough road, off road,
pothole, manhole, or curb
stone, it will not be covered by
the warranty.
CAUTION
Page 478 of 526

7-60
Maintenance
Headlamp (Halogen bulb)
Always handle them carefully, andavoid scratches and abrasions. If the
bulbs are lit, avoid contact with liquids.
Never touch the glass with bare hands. Residual oil may cause the bulb to
overheat and burst when lit.
A bulb should be operated only when installed in a headlamp.
If a bulb becomes damaged or cracked, replace it immediately and
carefully dispose of it.
1. Open the hood.
2. Disconnect the negative battery cable.
3. Remove the headlamp bulb cover byturning it counterclockwise.
4. Disconnect the headlamp bulb socket- connector.
5. Unsnap the headlamp bulb retaining wire by pressing the end and pushing
it upward.
6. Remove the bulb from the headlamp assembly.
7. Install a new headlamp bulb and snap the headlamp bulb retaining wire into
position by aligning the wire with the
groove on the bulb.
8. Connect the headlamp bulb socket- connector.
OLMB073042L
Handle halogen bulbs with care.
Halogen bulbs contain pressur-
ized gas that will produce flying
pieces of glass that could cause
injuries if broken.
Wear eye protection when chang-
ing a bulb. Allow the bulb to cool
down before handling it.
WARNING
OAD075032
■High/Low beam
LowHigh
Page 481 of 526

7-63
7
Maintenance
Always handle them carefully, andavoid scratches and abrasions. If the
bulbs are lit, avoid contact with liquids.
Never touch the glass with bare hands. Residual oil may cause the bulb to
overheat and burst when lit.
A bulb should be operated only when installed in a headlamp.
If a bulb becomes damaged or cracked, replace it immediately and
carefully dispose of it.
1. Open the hood.
2. Disconnect the negative battery cable.
3. Remove the headlamp bulb cover byturning it counterclockwise.
4. Disconnect the headlamp bulb socket- connector.
5. Unsnap the headlamp bulb retaining wire by pressing the end and pushing
it upward.
6. Remove the bulb from the headlamp assembly.
7. Install a new headlamp bulb and snap the headlamp bulb retaining wire into
position by aligning the wire with the
groove on the bulb. 8. Connect the headlamp bulb socket-
connector.
9. Install the headlamp bulb cover by turning it clockwise.
Information
The headlamp aiming should be adjusted
after an accident or after the headlamp
assembly is reinstalled at an authorized
HYUNDAI dealer.
i
OAD075032
■High/Low beam
LowHigh
Page 484 of 526

7-66
Maintenance
Headlamp (High, Halogen type)
Always handle them carefully, andavoid scratches and abrasions. If the
bulbs are lit, avoid contact with liquids.
Never touch the glass with bare hands. Residual oil may cause the bulb to
overheat and burst when lit.
A bulb should be operated only when installed in a headlamp.
If a bulb becomes damaged or cracked, replace it immediately and
carefully dispose of it.
1. Open the hood.
2. Disconnect the negative battery cable.
3. Remove the headlamp bulb cover byturning it counterclockwise.
4. Disconnect the headlamp bulb socket- connector.
5. Unsnap the headlamp bulb retaining wire by pressing the end and pushing
it upward.
6. Remove the bulb from the headlamp assembly.
7. Install a new headlamp bulb and snap the headlamp bulb retaining wire into
position by aligning the wire with the
groove on the bulb.
OLMB073042L
Handle halogen bulbs with care.
Halogen bulbs contain pressur-
ized gas that will produce flying
pieces of glass that could cause
injuries if broken.
Wear eye protection when chang-
ing a bulb. Allow the bulb to cool
down before handling it.
WARNING
OAD075079N
Page 498 of 526

7-80
Maintenance
Keep your garage dry
Don’t park your car in a damp, poorly
ventilated garage. This creates a favor-
able environment for corrosion. This is
particularly true if you wash your vehicle
in the garage or drive it into the garage
when it is still wet or covered with snow,
ice or mud. Even a heated garage can
contribute to corrosion unless it is well
ventilated so moisture is dispersed.
Keep paint and trim in good condition
Scratches or chips in the finish should be
covered with "touch-up" paint as soon as
possible to reduce the possibility of cor-
rosion. If bare metal is showing through,
the attention of a qualified body and paint
shop is recommended.
Bird droppings are highly corrosive and
may damage painted surfaces in just a
few hours. Always remove bird droppings
as soon as possible.
Interior Care
Interior general precautions
Prevent caustic solutions such as per-
fume and cosmetic oil, from contacting
the interior parts because they may
cause damage or discoloration. If they do
contact the interior parts, wipe them off
immediately. See the instructions for the
proper way to clean vinyl.
Never allow water or other liquids tocome in contact with electrical/elec-
tronic components inside the vehi-
cle as this may damage them.
When cleaning leather products (steering wheel, seats etc.), use neu-
tral detergents or low alcohol con-
tent solutions. If you use high alco-
hol content solutions or acid/ alka-
line detergents, the color of the
leather may fade or the surface may
get stripped off.
Cleaning the upholstery andinterior trim
Vinyl (if equipped)
Remove dust and loose dirt from vinyl
with a whisk broom or vacuum cleaner.
Clean vinyl surfaces with a vinyl cleaner.
Fabric (if equipped)
Remove dust and loose dirt from fabric
with a whisk broom or vacuum cleaner.
Clean with a mild soap solution recom-
mended for upholstery or carpets.
Remove fresh spots immediately with a
fabric spot cleaner. If fresh spots do not
receive immediate attention, the fabric
can be stained and its color can be
affected. Also, its fire-resistant properties
can be reduced if the material is not
properly maintained.
Using anything but recommended
cleaners and procedures may affect
the fabric's appearance and fire-
resistant properties.
NOTICE
NOTICE
Page 500 of 526

7-82
Maintenance
Cleaning the leather seats- Remove all contaminations instantly.Refer to instructions below for
removal of each contaminant.
- Cosmetic products (sunscreen, foun- dation, etc.)
Apply cleansing cream on a cloth and
wipe the contaminate spot. Wipe off
the cream with a wet cloth and
remove water with a dry cloth.
- Beverages (coffee, soft drink, etc.) Apply a small amount of neutral
detergent and wipe until contamina-
tions do not smear.
- Oil Remove oil instantly with absorbable
cloth and wipe with stain remover
used only for natural leather.
- Chewing gum Harden the gum with ice and remove
gradually.Cleaning the seat belt webbing
Clean the belt webbing with any mild
soap solution recommended for cleaning
upholstery or carpet. Follow the instruc-
tions provided with the soap. Do not
bleach or re-dye the webbing because
this may weaken the seat belt.
Cleaning the interior windowglass
If the interior glass surfaces of the vehi-
cle become fogged (that is, covered with
an oily, greasy or waxy film), they should
be cleaned with glass cleaner. Follow the
directions on the glass cleaner container.
Do not scrape or scratch the inside of
the rear window. This may result in
damage to the rear window defroster
grid.
NOTICE