Page 136 of 763
134
uuGauges and Displays uDriver Information Interface
Instrument Panel
Customization flow
Press the (home) button.
ENTER“Trip B” Reset Timing
Reverse Alert Tone
Fuel Efficiency Backlight
“Trip A” Reset Timing
Language Selection
Adjust Alarm VolumeMeter Setup
ENTERSettings
Arrange Apps
Show Tachometer3
4
3
4
3
4
3
4
3
4
Vehicle Customization
ENTER
P. 131
P. 132
Interior Light Dimming Time
Headlight Auto OFF Timer
ENTERLighting Setup3
4ENTER
18 US ODYSSEY-31THR6010.book 134 ページ 2018年12月6日 木曜日 午後4時18分
Page 138 of 763

136
uuGauges and Displays uDriver Information Interface
Instrument Panel
List of customizable options
*1:Default SettingSetup Group Customizable Features
Description Selectable settings
Meter Setup
Language SelectionChanges the displayed language.English*1/Français /Español
“Trip A” Reset TimingChanges the setting of how the distance and
average fuel economy of trip computer A is reset.When Fully Refueled /IGN OFF /
Manually Reset*1
“Trip B” Reset TimingChanges the setting of how the distance and
average fuel economy of trip computer B is reset.When Fully Refueled/IGN OFF /
Manually Reset*1
Adjust Alarm VolumeChanges the volume setting for buzzers, warnings,
turn signals, and other alerting systems.High /Mid*1/Low
Reverse Alert ToneCauses the beeper to s ound once when the gear
position is changed to
( R.ON*1/ OFF
Fuel Efficiency
BacklightTurns the ambient meter feature on and off.ON*1/OFF
Lighting
Setup Interior Light
Dimming Time
Changes the length of time the interior lights stay on
after you close the doors.
60sec
/30sec
*1/15sec
Headlight Auto OFF
Timer Changes the length of time the exterior lights stay
on after you close the driver’s door.
60sec
/30sec/ 15sec
*1/0sec
18 US ODYSSEY-31THR6010.book 136 ページ 2018年12月6日 木曜日 午後4時18分
Page 141 of 763
139
uuGauges and Displays uDriver Information Interface
Continued
Instrument Panel
3. Press the / button to select Meter
Setup , then press the ENTER button.
u Language Selection appears first in the
display.
4. Press the / button to select “Trip A”
Reset Timing , then press the ENTER
button.
u The display swit ches to the
customization setup screen, where you
can select When Fully Refueled , IGN
OFF , Manually Reset , or Exit.
5. Press the / button to select When
Fully Refueled, then press the ENTER
button.
u The SETUP “When Fully Refueled”
screen appears, then the display returns
to the customizat ion menu screen.34
34
34
18 US ODYSSEY-31THR6010.book 139 ページ 2018年12月6日 木曜日 午後4時18分
Page 269 of 763

267
Features
Audio System Basic Operation
To use the audio system, the power mode must be in ACCESSORY or ON.Use the selector knob or MENU/CLOCK
button to access some audio functions.
Selector knob: Rotate left or right to scroll
through the available ch oices. Press to set
your selection.
MENU/CLOCK button: Press to select any
mode.
The available modes in clude the wallpaper,
display, clock, language setup, and play
modes. Play modes can be also selected from
scan, random, repeat, and so on.
(Back) button: Press to go back to the previous display.
(Sound) button: Press to select the sound setting mode.
(Day/Night) button: Press to change the audio/information screen brightness.
Press , then adjust the brightness using . u Each time you press , the mode sw itches between the daytime mode,
nighttime mode and off mode.
Models with color audio system1 Audio System Basic Operation
These indications are used to show how to operate
the selector knob.
Rotate to select.
Press to enter.
Menu Items
2 Adjusting the Clock P. 142
2 Wallpaper Setup P. 270
2 Display Setup P. 273
2 Scan P. 275, 281
2 Play Mode P. 278, 281
2 RDS Settings P. 275
2 Bluetooth P. 282
One of the operating system s used in this unit is
eCos.
For software license terms and condition, visit their
website (eCos license URL:
http://ecos.sourceware.org/license-overview.html )
For source code disclo sure and other details
regarding eCos, visit:
http://www.hondaopensource2.com
Press the SOURCE ,
(+, (-, or button on
the steering wheel to change any audio setting.
2 Audio Remote Controls P. 264
(Back)
Button
Selector
Knob
MENU/
CLOCK
Button
(Day/Night)
Button
(Sound)
Button
Menu Display
18 US ODYSSEY-31THR6010.book 267 ページ 2018年12月6日 木曜日 午後4時18分
Page 405 of 763

403
uuBlu-ray/DVD Rear Entertainment System*uPlaying a DVD/Blu-rayTM
Continued
Features
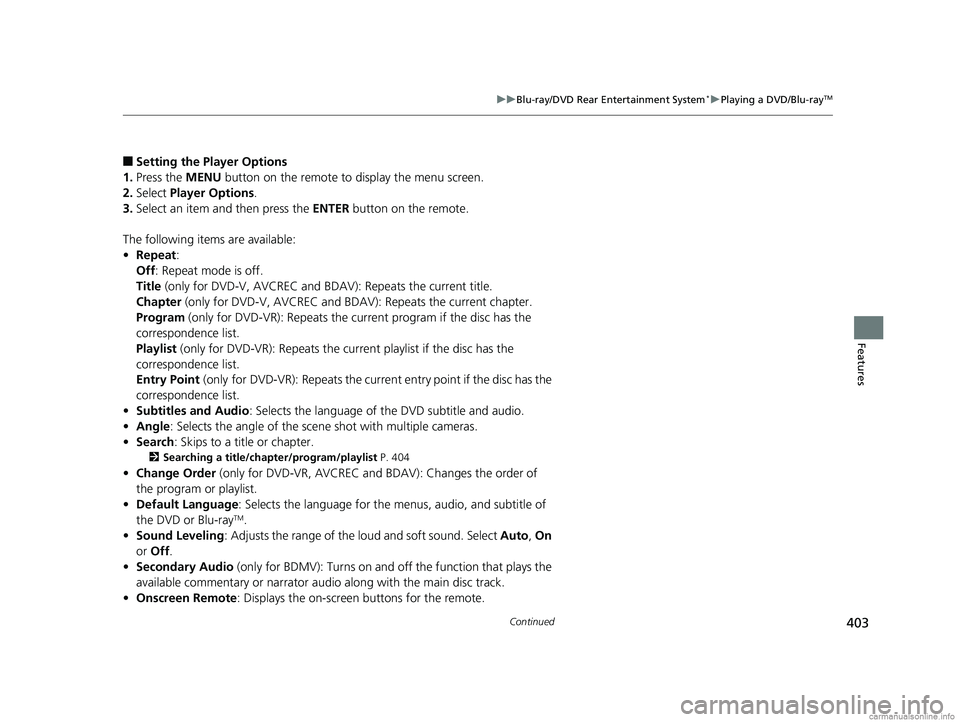
■Setting the Player Options
1. Press the MENU button on the remote to display the menu screen.
2. Select Player Options .
3. Select an item and then press the ENTER button on the remote.
The following items are available:
• Repeat :
Off : Repeat mode is off.
Title (only for DVD-V, AVCREC and B DAV): Repeats the current title.
Chapter (only for DVD-V, AVCREC and B DAV): Repeats the current chapter.
Program (only for DVD-VR): Repeats the curre nt program if the disc has the
correspondence list.
Playlist (only for DVD-VR): Repeats the cu rrent playlist if the disc has the
correspondence list.
Entry Point (only for DVD-VR): Repeats the curre nt entry point if the disc has the
correspondence list.
• Subtitles and Audio : Selects the language of the DVD subtitle and audio.
• Angle : Selects the angle of the scen e shot with multiple cameras.
• Search : Skips to a title or chapter.
2Searching a title/chapter/program/playlist P. 404
•Change Order (only for DVD-VR, AVCREC and BDAV): Changes the order of
the program or playlist.
• Default Language : Selects the language for the menus, audio, and subtitle of
the DVD or Blu-ray
TM.
• Sound Leveling : Adjusts the range of the loud and soft sound. Select Auto, On
or Off .
• Secondary Audio (only for BDMV): Turns on and o ff the function that plays the
available commentary or narrator audi o along with the main disc track.
• Onscreen Remote : Displays the on-screen buttons for the remote.
18 US ODYSSEY-31THR6010.book 403 ページ 2018年12月6日 木曜日 午後4時18分
Page 407 of 763

405
uuBlu-ray/DVD Rear Entertainment System*uPlaying a DVD/Blu-rayTM
Continued
Features
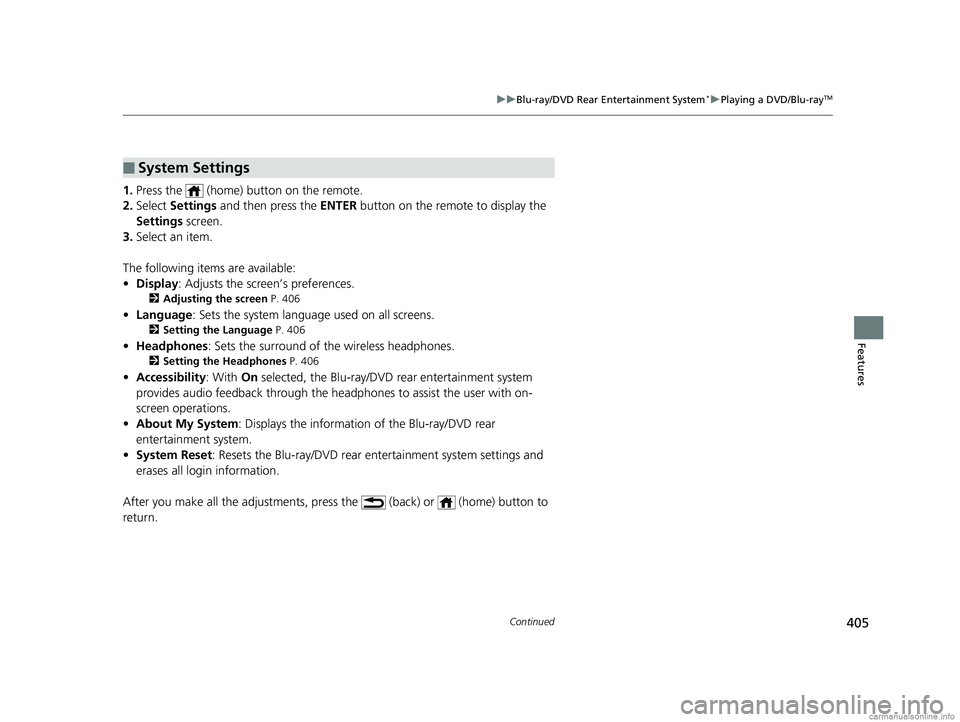
1. Press the (home) button on the remote.
2. Select Settings and then press the ENTER button on the remote to display the
Settings screen.
3. Select an item.
The following items are available:
• Display : Adjusts the screen’s preferences.
2Adjusting the screen P. 406
•Language : Sets the system language used on all screens.
2Setting the Language P. 406
•Headphones : Sets the surround of the wireless headphones.
2Setting the Headphones P. 406
•Accessibility : With On selected, the Blu-ray/DVD rear entertainment system
provides audio feedback through the headphones to assist the user with on-
screen operations.
• About My System : Displays the information of the Blu-ray/DVD rear
entertainment system.
• System Reset : Resets the Blu-ray/DVD rear entertainment system settings and
erases all login information.
After you make all the adjustments, press the (back) or (home) button to
return.
■System Settings
18 US ODYSSEY-31THR6010.book 405 ページ 2018年12月6日 木曜日 午後4時18分
Page 408 of 763

406
uuBlu-ray/DVD Rear Entertainment System*uPlaying a DVD/Blu-rayTM
Features
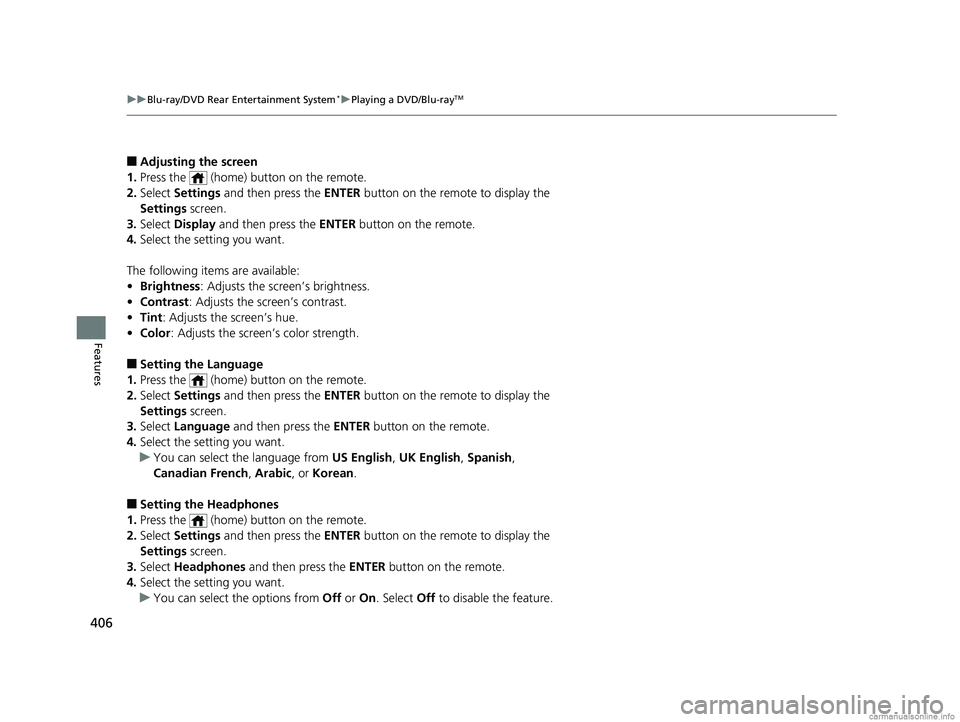
■Adjusting the screen
1. Press the (home) button on the remote.
2. Select Settings and then press the ENTER button on the remote to display the
Settings screen.
3. Select Display and then press the ENTER button on the remote.
4. Select the setting you want.
The following items are available:
• Brightness : Adjusts the screen’s brightness.
• Contrast : Adjusts the screen’s contrast.
• Tint : Adjusts the screen’s hue.
• Color : Adjusts the screen’s color strength.
■Setting the Language
1. Press the (home) button on the remote.
2. Select Settings and then press the ENTER button on the remote to display the
Settings screen.
3. Select Language and then press the ENTER button on the remote.
4. Select the setting you want.
u You can select the language from US English, UK English , Spanish,
Canadian French , Arabic , or Korean .
■Setting the Headphones
1. Press the (home) button on the remote.
2. Select Settings and then press the ENTER button on the remote to display the
Settings screen.
3. Select Headphones and then press the ENTER button on the remote.
4. Select the setting you want.
u You can select the options from Off or On. Select Off to disable the feature.
18 US ODYSSEY-31THR6010.book 406 ページ 2018年12月6日 木曜日 午後4時18分
Page 445 of 763
443
uuCustomized Features u
Continued
Features
■Customization Flow
Press the MENU/CLOCK button.
Adjust Clock
BluetoothAdd New Device
Connect an Audio Device
Display AdjustmentBrightness
Contrast
Black Level
Rear CameraCamera Guideline
RDS Settings*1RDS Information
Radio Text
Display Change
WallpaperSelect
Import
DeleteColor Theme
Language
Clock Format*1 : FM mode
Settings
18 US ODYSSEY-31THR6010.book 443 ページ 2018年12月6日 木曜日 午後4時18分