Page 465 of 763
463
uuCustomized Features u
Continued
Features
*1:Default SettingSetup
Group Customizable Features
DescriptionSelectable Settings
Vehicle
Lighting
Setup
Interior Light
Dimming TimeChanges the length of time the interior lights stay
on after you close the doors.60 sec/30 sec*1/15
sec
Headlight Auto Off
TimerChanges the length of time the exterior lights stay
on after you close the driver’s door.60 sec /30 sec/ 15
sec*1/ 0 sec
Auto Light
SensitivityChanges the timing for the headlights to come on.Max /High /Mid*1/
Low /Min
Wireless
Charger*Turns the wireless charger feature on and off.ON*1/OFF
Maintenance
InformationOil LifeResets the engine oil life display when you have
performed the maintenance service.—
* Not available on all models
18 US ODYSSEY-31THR6010.book 463 ページ 2018年12月6日 木曜日 午後4時18分
Page 515 of 763
Continued513
uuBluetooth ® HandsFreeLink ®u HFL Menus
Features
You can select one from the Bluetooth® device list to be active and receive
notifications. 1.Select .
2. Select Messages.
3. Select Settings .
4. Select Change Connected Phone .
5. Change a desired phone.
2 To change the currently paired phone
P. 502
■Selecting a Phone1 Selecting a Phone
You can only receive notifications from one phone at
a time.
18 US ODYSSEY-31THR6010.book 513 ページ 2018年12月6日 木曜日 午後4時18分
Page 520 of 763

uuBluetooth ® HandsFreeLink ®u HFL Menus
518
Features
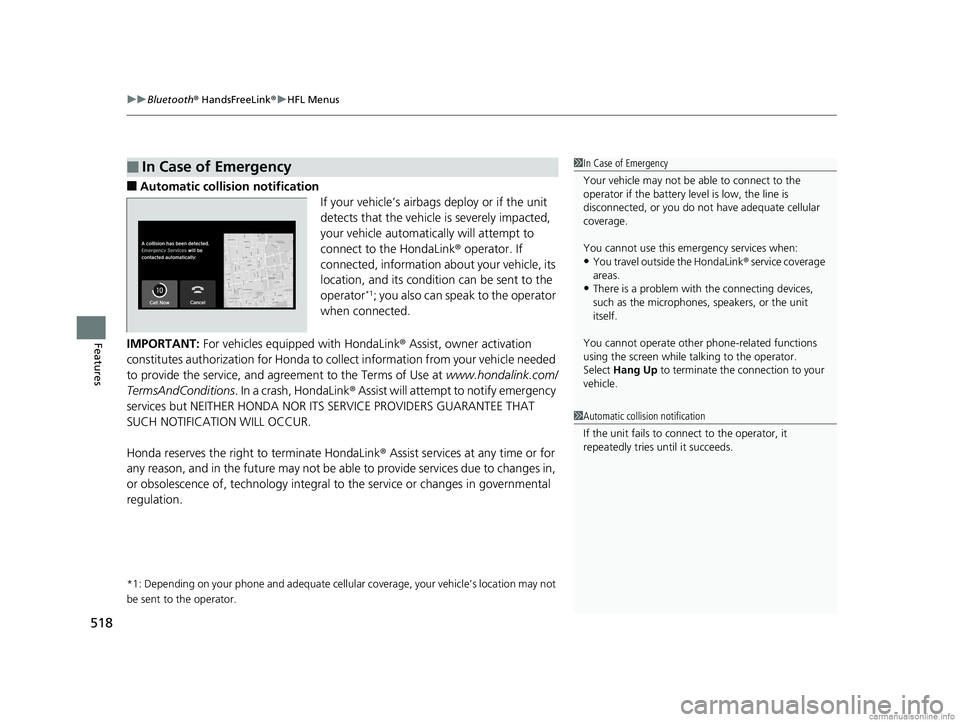
■Automatic collisi on notification
If your vehicle’s airbags deploy or if the unit
detects that the vehicle is severely impacted,
your vehicle automatically will attempt to
connect to the HondaLink ® operator. If
connected, information about your vehicle, its
location, and its condition can be sent to the
operator
*1; you also can speak to the operator
when connected.
IMPORTANT: For vehicles equipp ed with HondaLink® Assist, owner activation
constitutes authorization for Honda to collect information from your vehicle needed
to provide the service, and agr eement to the Terms of Use at www.hondalink.com/
TermsAndConditions . In a crash, HondaLink ® Assist will attempt to notify emergency
services but NEITHER HONDA NOR ITS SERVICE PROVIDERS GUARANTEE THAT
SUCH NOTIFICATION WILL OCCUR.
Honda reserves the right to terminate HondaLink ® Assist services at any time or for
any reason, and in the future may not be ab le to provide services due to changes in,
or obsolescence of, technology integral to the service or changes in governmental
regulation.
*1: Depending on your phone and ad equate cellular coverage, your vehicle’s location may not
be sent to the operator.
■In Case of Emergency1 In Case of Emergency
Your vehicle may not be able to connect to the
operator if the battery level is low, the line is
disconnected, or you do not have adequate cellular
coverage.
You cannot use this emergency services when:
•You travel outside the HondaLink ® service coverage
areas.
•There is a problem with the connecting devices,
such as the microphones, speakers, or the unit
itself.
You cannot operate othe r phone-related functions
using the screen while talking to the operator.
Select Hang Up to terminate the connection to your
vehicle.
1 Automatic collision notification
If the unit fails to connect to the operator, it
repeatedly tries until it succeeds.
18 US ODYSSEY-31THR6010.book 518 ページ 2018年12月6日 木曜日 午後4時18分
Page 523 of 763

521
Features
CabinWatchTM *
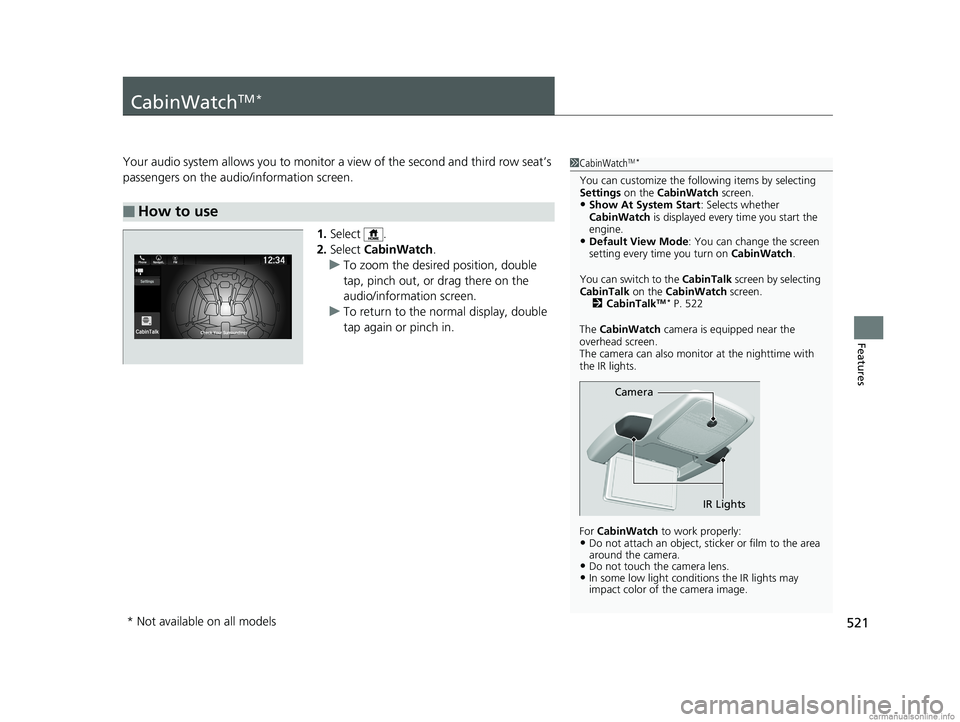
Your audio system allows you to monitor a view of the second and third row seat’s
passengers on the audio/information screen.
1.Select .
2. Select CabinWatch .
u To zoom the desired position, double
tap, pinch out, or drag there on the
audio/information screen.
u To return to the normal display, double
tap again or pinch in.
■How to use
1CabinWatchTM *
You can customize the foll owing items by selecting
Settings on the CabinWatch screen.
•Show At System Start : Selects whether
CabinWatch is displayed every time you start the
engine.
•Default View Mode : You can change the screen
setting every time you turn on CabinWatch.
You can switch to the CabinTalk screen by selecting
CabinTalk on the CabinWatch screen.
2 CabinTalk
TM * P. 522
The CabinWatch camera is equipped near the
overhead screen.
The camera can also monitor at the nighttime with
the IR lights.
For CabinWatch to work properly:
•Do not attach an object, sticker or film to the area
around the camera.
•Do not touch the camera lens.•In some low light conditions the IR lights may
impact color of the camera image.
Camera
IR Lights
* Not available on all models
18 US ODYSSEY-31THR6010.book 521 ページ 2018年12月6日 木曜日 午後4時18分
Page 546 of 763

544
uuWhen Driving uShifting
Driving
Shifting
Change the gear position in acco rdance with your driving needs.
■Shift button positions
1Shifting
To prevent malfunc tion and unintended
engagement:
•Do not spill any liquids on or around shift buttons.
•Do not place or drop any objects on or around shift
buttons.
•Do not let passengers or ch ildren operate the shift
buttons.
The beeper sounds when you depress the accelerator
pedal with the gear position in
( N.
Change the gear position to ( D or (R with the brake
pedal depressed.
When shifting gears in extremely low temperatures
(−22°F/−30°C), there may be a short delay before the
shift is indicated in the di splay. Always confirm you
are in the correct gear before driving.
3WARNING
The vehicle can roll aw ay if left unattended
without confirming that Park is engaged.
A vehicle that rolls away could cause a crash
resulting in serious injury or death.
Always keep your foot on the brake pedal
until you have confirmed that
( P is shown
on the gear position indicator.
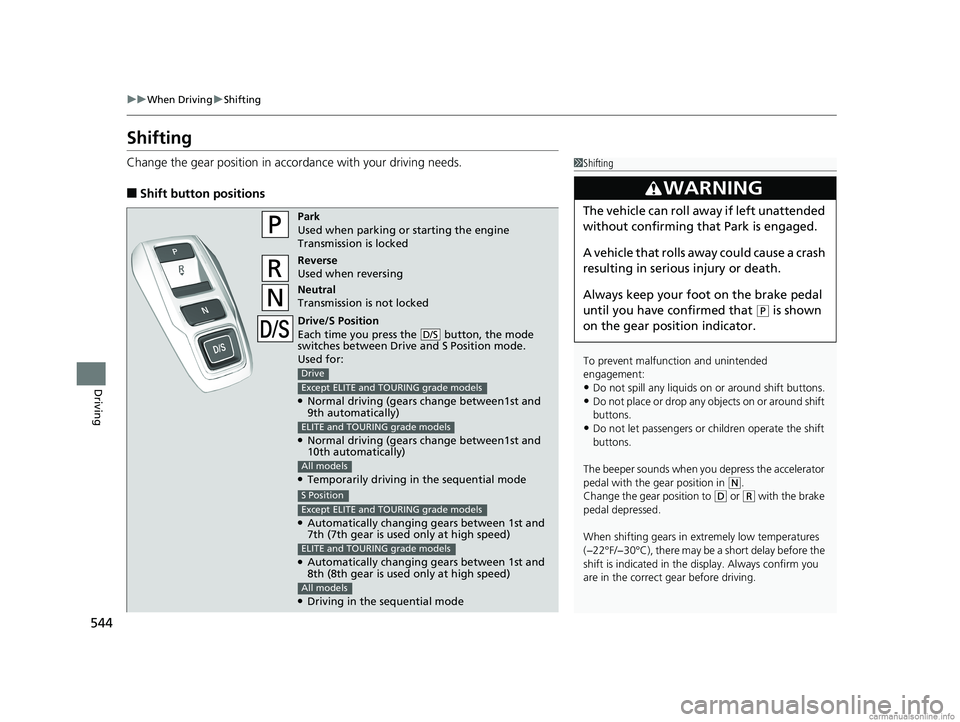
Park
Used when parking or starting the engine
Transmission is locked
Reverse
Used when reversing
Neutral
Transmission is not locked
Drive/S Position
Each time you press the button, the mode
switches between Drive and S Position mode.
Used for:
●Normal driving (gears change between1st and
9th automatically)
●Normal driving (gears change between1st and
10th automatically)
●Temporarily driving in the sequential mode
D/S
Drive
Except ELITE and TOURING grade models
ELITE and TOURING grade models
All models
●Automatically changing gears between 1st and
7th (7th gear is used only at high speed)
●Automatically changing gears between 1st and
8th (8th gear is used only at high speed)
●Driving in the sequential mode
S Position
Except ELITE and TOURING grade models
ELITE and TOURING grade models
All models
18 US ODYSSEY-31THR6010.book 544 ページ 2018年12月6日 木曜日 午後4時18分
Page 548 of 763

uuWhen Driving uShifting
546
Driving
■Shift Operation1Shift Operation
NOTICE
When you change (D to (R and visa versa, depress
the brake pedal to come to a complete stop, then
select the intended gear position while maintaining
brake pressure.
Use the gear position indicator and the shift button
indicator to check the gear position before selecting
a shift button.
If the indicator of the curren tly selected gear position,
or all the gear position indicators are blinking
simultaneously, there is a problem with the
transmission.
Avoid sudden acceleration and have the transmission
checked by a dealer as soon as possible.
The fuel supply may be cut of f if you drive at engine
speeds in or over the tac hometer’s red zone (engine
speed limit). If this happe ns, you may experience a
slight jolt.
When the engine speed is increased while the
transmission is in
( N, (P or (R, the fuel supply may
be cut off even without the engine speed entering
the tachometer’s red zone.
The beeper sounds once when you change to
( R.
2 Vehicle Customization P. 133
2 Customized Features P. 442Models with color audio system
Models with Display Audio
Press the (P button.
Pull back the
( R button.
Press the
( N button.
Press the button.
Each time you pre ss the button, the
mode switches between Drive and S
Position mode.
D/S
Shift Button
Indicator
M (sequential mode) Indicator
Tachometer’s red zone
Sequential Mode Gear Selection
Indicator
Gear Position Indicator
18 US ODYSSEY-31THR6010.book 546 ページ 2018年12月6日 木曜日 午後4時18分
Page 573 of 763

Continued571
uuWhen Driving uAdaptive Cruise Control (ACC)*
Driving
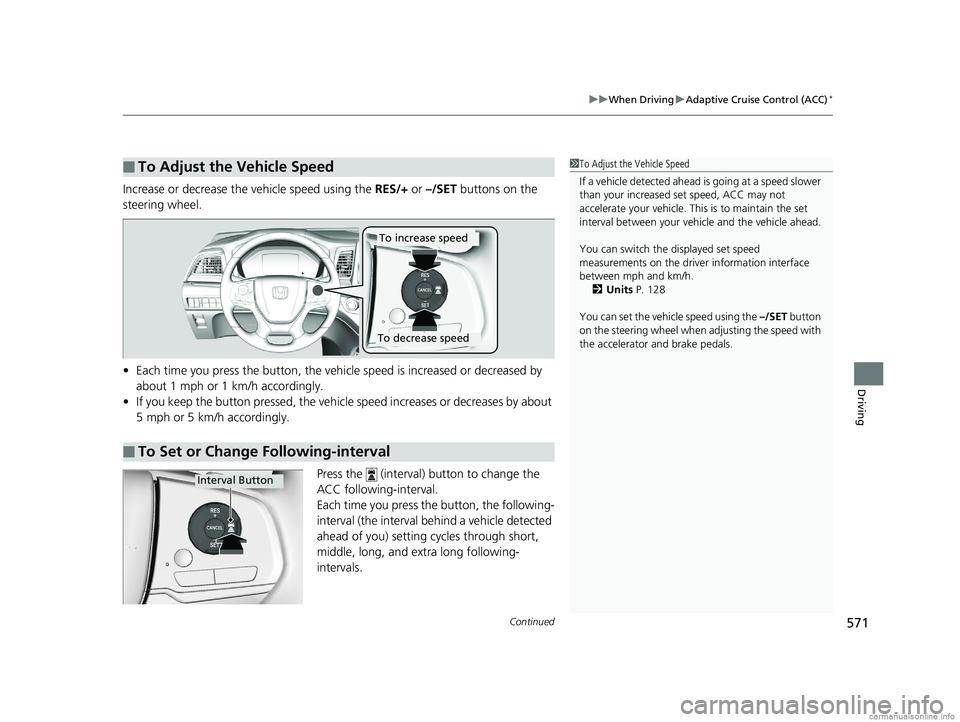
Increase or decrease the vehicle speed using the RES/+ or –/SET buttons on the
steering wheel.
• Each time you press the button, the vehicl e speed is increased or decreased by
about 1 mph or 1 km/h accordingly.
• If you keep the button pressed, the vehicle speed increases or decreases by about
5 mph or 5 km/h accordingly.
Press the (interval) button to change the
ACC following-interval.
Each time you press the button, the following-
interval (the interval behind a vehicle detected
ahead of you) setting cycles through short,
middle, long, and extra long following-
intervals.
■To Adjust the Vehicle Speed1 To Adjust the Vehicle Speed
If a vehicle detected ahead is going at a speed slower
than your increased set speed, ACC may not
accelerate your vehicle. This is to maintain the set
interval between your vehi cle and the vehicle ahead.
You can switch the displayed set speed
measurements on the driver information interface
between mph and km/h. 2 Units P. 128
You can set the vehicle speed using the –/SET button
on the steering wheel when adjusting the speed with
the accelerator and brake pedals.
■To Set or Change Following-interval
To increase speed
To decrease speed
Interval Button
18 US ODYSSEY-31THR6010.book 571 ページ 2018年12月6日 木曜日 午後4時18分
Page 586 of 763
uuWhen Driving uLane Keeping Assist System (LKAS)*
584
Driving
3. Keep your vehicle near the center of the
lane while driving.
u The dotted outer lines change to solid
ones once the system starts operating
after detecting the left and right lane
markings.
To cancel the LKAS:
Press the MAIN or LKAS button.
The LKAS is turned off every time you stop the
engine, even if you turned it on the last time
you drove the vehicle.
■To Cancel1 To Cancel
Pressing the MAIN button also turns ACC on and off.
MAIN ButtonLKAS Button
18 US ODYSSEY-31THR6010.book 584 ページ 2018年12月6日 木曜日 午後4時18分