2018 HONDA CLARITY ELECTRIC wipers
[x] Cancel search: wipersPage 408 of 559
uuWhen Driving uLane Keeping Assist System (LKAS)
406
Driving
The system can be used when the following conditions are met.
• The lane in which you are driving has dete ctable lane markers on both sides, and
your vehicle is in the center of the lane.
• The vehicle speed is between 45 and 90 mph (72 and 145 km/h).
• You are driving on a straight or slightly curved road.
• The turn signals are off.
• The brake pedal is not depressed.
• The wipers are not in continuous operation.
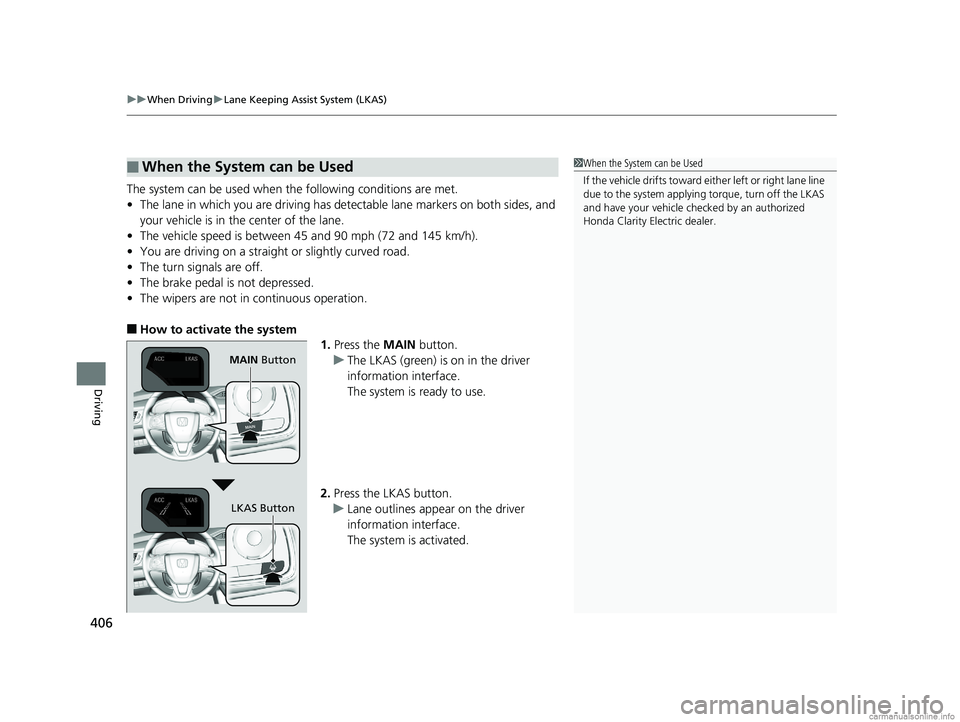
■How to activate the system
1.Press the MAIN button.
u The LKAS (green) is on in the driver
information interface.
The system is ready to use.
2. Press the LKAS button.
u Lane outlines appear on the driver
information interface.
The system is activated.
■When the System can be Used1When the System can be Used
If the vehicle drifts toward ei ther left or right lane line
due to the system applying torque, turn off the LKAS
and have your vehicle checked by an authorized
Honda Clarity Electric dealer.
MAIN Button
LKAS Button
18 CLARITY ELECTRIC CSS-31TRV6100.book 406 ページ 2018年2月5日 月曜日 午後12時0分
Page 410 of 559
408
uuWhen Driving uLane Keeping Assist System (LKAS)
Driving
■The system operation is suspended if
you:
• Set the wipers to continuous operation.
u Turning the wipers off resumes the
LKAS.
• Decrease the vehicle speed to about 40
mph (64 km/h) or less.
u Increasing the vehicle speed to about 45
mph (72 km/h) or more resumes the
LKAS.
• Depress the brake pedal.
u The LKAS resumes and starts detecting
the lane lines again once you release the
brake pedal.
■The LKAS may automatically be suspended when:
• The system fails to detect lane lines.
• The steering wheel is quickly turned.
• You fail to steer the vehicle.
• Driving through a sharp curve.
• Driving at a speed in excess of approximately 90 mph (145 km/h).
Once these conditions no longer exis t, the LKAS automatically resumes.
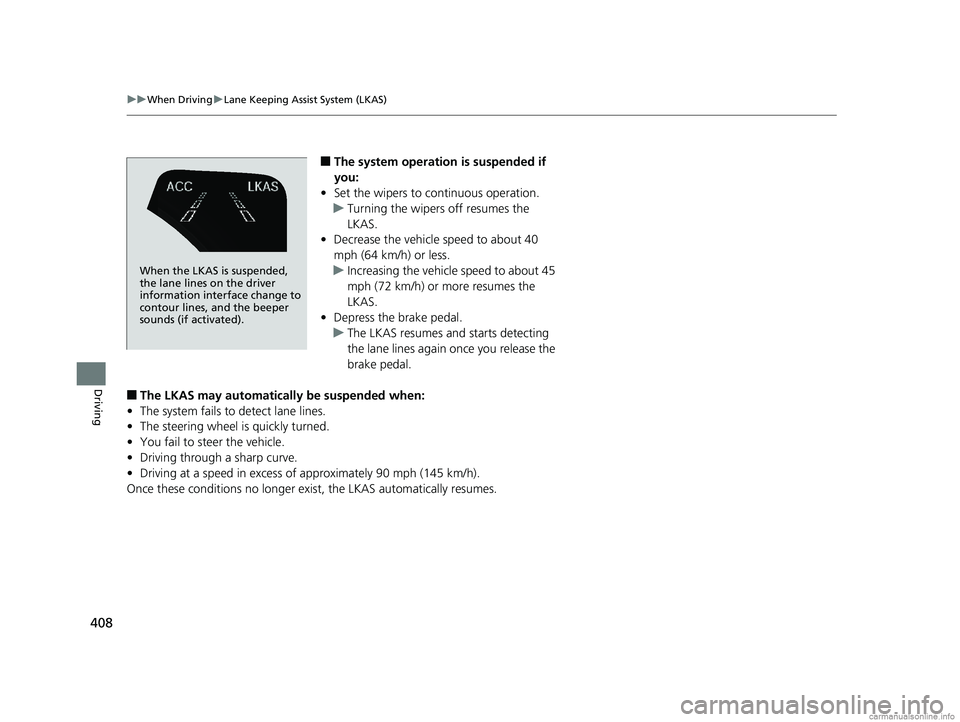
When the LKAS is suspended,
the lane lines on the driver
information interface change to
contour lines, and the beeper
sounds (if activated).
18 CLARITY ELECTRIC CSS-31TRV6100.book 408 ページ 2018年2月5日 月曜日 午後12時0分
Page 468 of 559
466
uuMaintenance Under the Hood uOpening the Hood
Maintenance
Opening the Hood
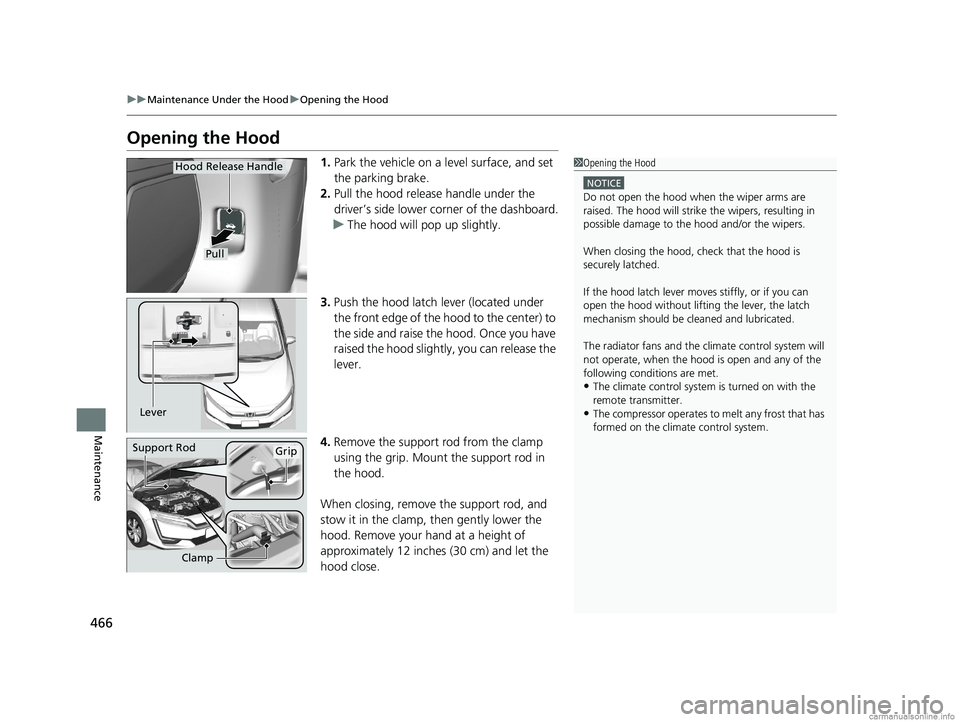
1. Park the vehicle on a level surface, and set
the parking brake.
2. Pull the hood release handle under the
driver’s side lower corner of the dashboard.
u The hood will pop up slightly.
3. Push the hood latch lever (located under
the front edge of the hood to the center) to
the side and raise the hood. Once you have
raised the hood slightly, you can release the
lever.
4. Remove the support rod from the clamp
using the grip. Mount the support rod in
the hood.
When closing, remove the support rod, and
stow it in the clamp, then gently lower the
hood. Remove your hand at a height of
approximately 12 inches (30 cm) and let the
hood close.1 Opening the Hood
NOTICE
Do not open the hood when the wiper arms are
raised. The hood will strike the wipers, resulting in
possible damage to the hood and/or the wipers.
When closing the hood, check that the hood is
securely latched.
If the hood latch lever moves stiffly, or if you can
open the hood without lifti ng the lever, the latch
mechanism should be cl eaned and lubricated.
The radiator fans and the climate control system will
not operate, when the hood is open and any of the
following conditions are met.
•The climate control system is turned on with the
remote transmitter.
•The compressor operates to melt any frost that has
formed on the climate control system.
Pull
Hood Release Handle
Lever
Support RodGrip
Clamp
18 CLARITY ELECTRIC CSS-31TRV6100.book 466 ページ 2018年2月5日 月曜日 午後12時0分
Page 474 of 559
472
Maintenance
Checking and Maintaining Wiper Blades
Checking Wiper Blades
If the wiper blade rubber has deteriorated, it will leave streaks and the hard surfaces
of the blade may scratch the window glass.
Changing the Wiper Blade Rubber
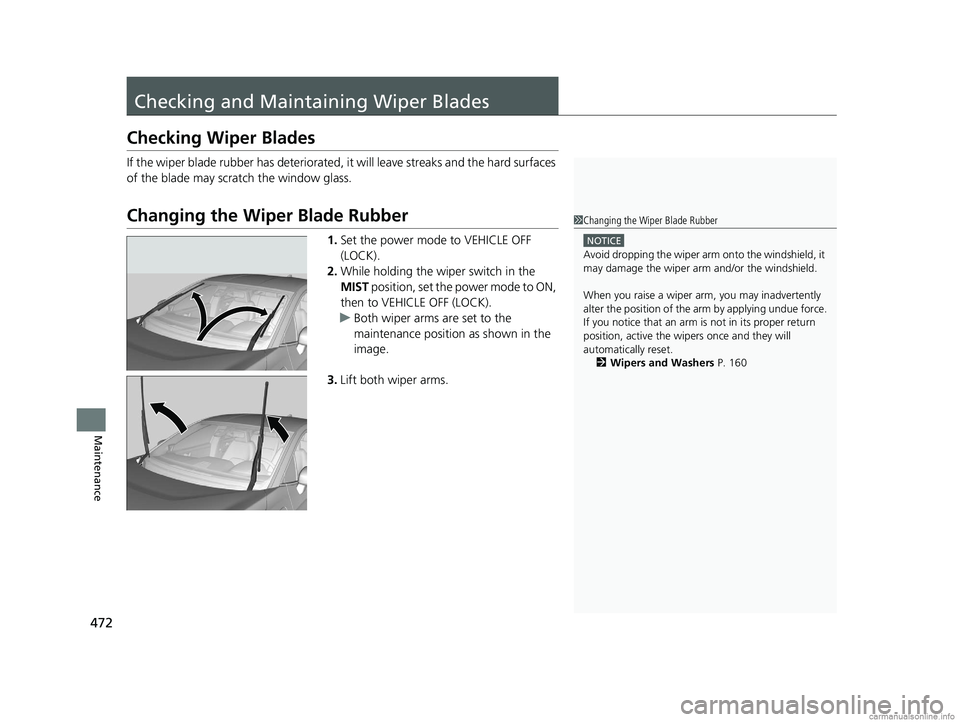
1. Set the power mode to VEHICLE OFF
(LOCK).
2. While holding the wiper switch in the
MIST position, set the power mode to ON,
then to VEHICLE OFF (LOCK).
u Both wiper arms are set to the
maintenance position as shown in the
image.
3. Lift both wiper arms.
1Changing the Wiper Blade Rubber
NOTICE
Avoid dropping the wiper arm onto the windshield, it
may damage the wiper arm and/or the windshield.
When you raise a wiper arm, you may inadvertently
alter the position of the arm by applying undue force.
If you notice that an arm is not in its proper return
position, active the wipers once and they will
automatically reset. 2 Wipers and Washers P. 160
18 CLARITY ELECTRIC CSS-31TRV6100.book 472 ページ 2018年2月5日 月曜日 午後12時0分
Page 493 of 559
Continued491
uuCleaning uExterior Care
Maintenance
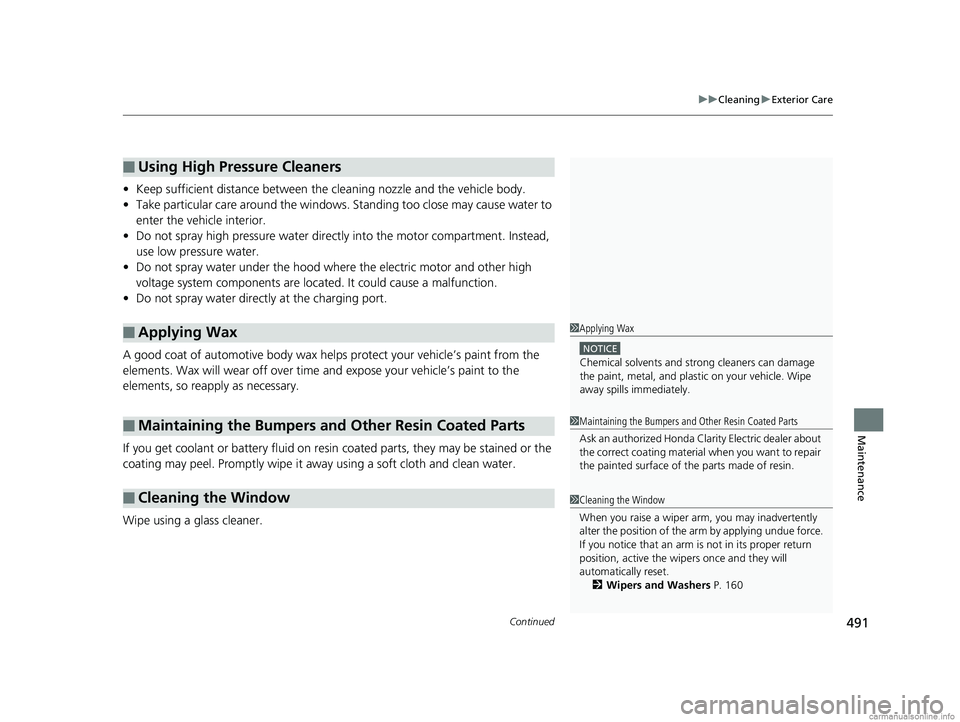
• Keep sufficient distance between the cleaning nozzle and the vehicle body.
• Take particular care around the windows. Standing too close may cause water to
enter the vehicle interior.
• Do not spray high pressure water direct ly into the motor compartment. Instead,
use low pressure water.
• Do not spray water under the hood where the electric motor and other high
voltage system components are located. It could cause a malfunction.
• Do not spray water directly at the charging port.
A good coat of automotive body wax helps protect your vehicle’s paint from the
elements. Wax will wear off over time and expose your vehicle’s paint to the
elements, so reapply as necessary.
If you get coolant or battery fluid on resin coated parts, they may be stained or the
coating may peel. Promptly wipe it away using a soft cloth and clean water.
Wipe using a glass cleaner.
■Using High Pressure Cleaners
■Applying Wax
■Maintaining the Bumpers and Other Resin Coated Parts
■Cleaning the Window
1 Applying Wax
NOTICE
Chemical solvents and st rong cleaners can damage
the paint, metal, and plasti c on your vehicle. Wipe
away spills immediately.
1 Maintaining the Bumpers an d Other Resin Coated Parts
Ask an authorized Honda Clar ity Electric dealer about
the correct coating material when you want to repair
the painted surface of the parts made of resin.
1 Cleaning the Window
When you raise a wiper arm, you may inadvertently
alter the position of the arm by applying undue force.
If you notice that an arm is not in its proper return
position, active the wipers once and they will
automatically reset. 2 Wipers and Washers P. 160
18 CLARITY ELECTRIC CSS-31TRV6100.book 491 ページ 2018年2月5日 月曜日 午後12時0分
Page 555 of 559
553
Index
USB Ports.................................................. 197
Using the Smart Entr y with Push Button
Start System ............................................ 133
V
Vanity Mirrors .............................................. 9
Vehicle Identification Number ................ 538
Vehicle Monitoring System ......................... 2
Vehicle Stability Assist ® (VSA ®) ............... 411
Off Button .............................................. 412
Off Indicator ..................................... 91, 412
System Indicator ............................... 91, 411
Voice Control Operation ......................... 229
Audio Commands ................................... 231
Climate Control Commands.................... 232
General Commands ................................ 232
Music Search Commands ........................ 232
On Screen Commands ............................ 232
Phone Commands .................................. 231
Useful Commands .................................. 231
Voice Portal Screen ................................. 230
Voice Recognition ................................... 229
VSA ® (Vehicle Stability Assist ®) ............... 411
W
Wallpaper ................................................. 213
Warning and Info rmation Messages ...... 100
Warning Indicator On/Blinking ............... 518
Warning Labels .......................................... 80 Warranties (Warranty Manual provided
separately) ............................................... 541
Watts ......................................................... 536
Wear Indicators (Tire) ............................... 480
Wi-Fi Connection ...................................... 264
Window Washers ...................................... 160
Adding/Refilling Fluid ............................... 469
Switch ..................................................... 160
Windows (Opening and Closing) ............. 150
Windshield Cleaning .......................................... 489, 491
Defrosting/Defogging .............................. 190
Washer Fluid ........................................... 469
Wiper Blades ........................................... 472
Wipers and Washers ................................ 160
Winter Tires Snow Tires ............................................... 483
Tire Chains .............................................. 483
Wipers and Washers ................................. 160
Checking and Replacing Wiper Blades ..... 472
WMA ......................................................... 254
Worn Tires ................................................. 475
18 CLARITY ELECTRIC CSS-31TRV6100.book 553 ページ 2018年2月5日 月曜日 午後12時0分