2018 GMC SIERRA key
[x] Cancel search: keyPage 4 of 20

4
REMOTE KEYLESS ENTRY TRANSMITTER (KEY FOB)
DOOR LOCKS
POWER MIRRORS
Door Locks
To lock or unlock all doors, press the power door Lock/ Unlock button, located on the front doors.
Note: To change the lock and unlock settings, go to Settings > Vehicle > Power\
Door Locks.
To open a locked door from inside, pull the inside door handle to unlock\
the door and then pull the door handle again to open the door.
Locking Tailgate
To lock or unlock the tailgate, use the door key or the key fob.
See Keys, Doors and Windows in your Owner’s Manual.
Power Mirror Adjustment
Press the Power Mirror Selector switch to select the driver’s or passenger’s mirror; use the four-way control to adjust the mirror.
Power Folding Mirror
Press the Power Folding Mirror button to fold or unfold the mirrors.
See Keys, Doors and Windows in your Owner’s Manual.
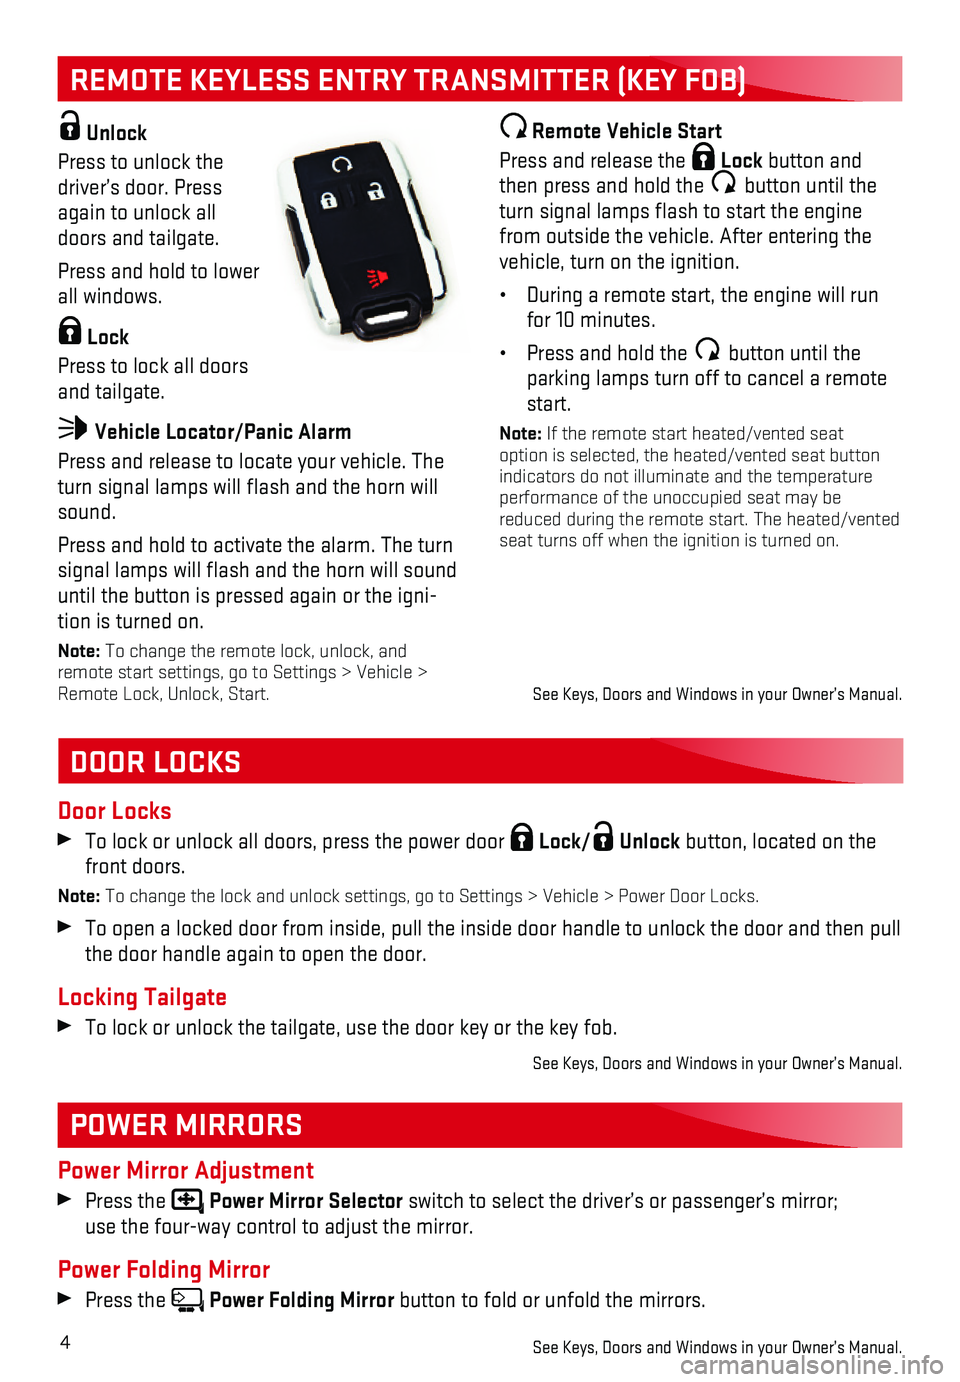
Unlock
Press to unlock the driver’s door. Press again to unlock all doors and tailgate.
Press and hold to lower all windows.
Lock
Press to lock all doors and tailgate.
Vehicle Locator/Panic Alarm
Press and release to locate your vehicle. The turn signal lamps will flash and the horn will sound.
Press and hold to activate the alarm. The turn signal lamps will flash and the horn will sound until the button is pressed again or the igni-tion is turned on.
Note: To change the remote lock, unlock, and remote start settings, go to Settings > Vehicle > Remote Lock, Unlock, Start.
Remote Vehicle Start
Press and release the Lock button and then press and hold the button until the turn signal lamps flash to start the engine from outside the vehicle. After entering the vehicle, turn on the ignition.
• During a remote start, the engine will run for 10 minutes.
• Press and hold the button until the parking lamps turn off to cancel a remote start.
Note: If the remote start heated/vented seat option is selected, the heated/vented seat button indicators do not illuminate and the temperature performance of the unoccupied seat may be reduced during the remote start. The heated/vented seat turns off when the ignition is turned on.
See Keys, Doors and Windows in your Owner’s Manual.
Page 13 of 20

13
BLUETOOTH® SYSTEM
Refer to your Owner’s Manual for important information about using th\
e Bluetooth system while driving.
Before using a Bluetooth-enabled device in the vehicle, it must be paire\
d with the in-vehicle Bluetooth system. The pairing process is disabled when the vehicle is mo\
ving. Not all devices will support all functions. For more information, visit my.gmc.com/learn.
Pair a Phone
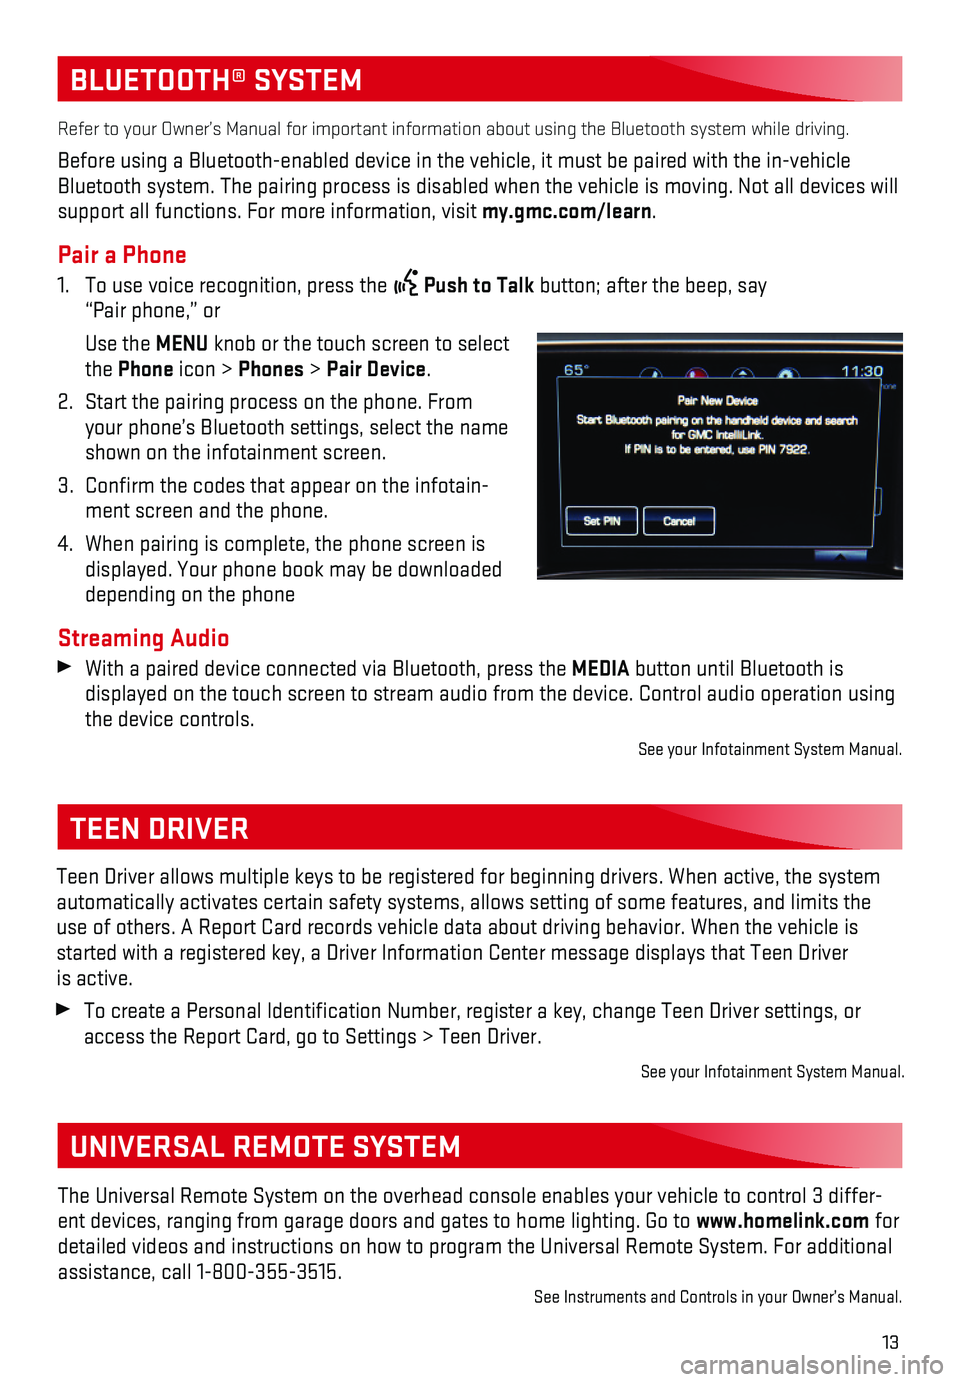
1. To use voice recognition, press the Push to Talk button; after the beep, say “Pair phone,” or
Use the MENU knob or the touch screen to select the Phone icon > Phones > Pair Device.
2. Start the pairing process on the phone. From your phone’s Bluetooth settings, select the name shown on the infotainment screen.
3. Confirm the codes that appear on the infotain-ment screen and the phone.
4. When pairing is complete, the phone screen is displayed. Your phone book may be downloaded depending on the phone
Streaming Audio With a paired device connected via Bluetooth, press the MEDIA button until Bluetooth is
displayed on the touch screen to stream audio from the device. Control a\
udio operation using the device controls.
See your Infotainment System Manual.
TEEN DRIVER
Teen Driver allows multiple keys to be registered for beginning drivers.\
When active, the system automatically activates certain safety systems, allows setting of some f\
eatures, and limits the use of others. A Report Card records vehicle data about driving behavior\
. When the vehicle is started with a registered key, a Driver Information Center message displ\
ays that Teen Driver is active.
To create a Personal Identification Number, register a key, change Tee\
n Driver settings, or access the Report Card, go to Settings > Teen Driver.
See your Infotainment System Manual.
The Universal Remote System on the overhead console enables your vehicle\
to control 3 differ-ent devices, ranging from garage doors and gates to home lighting. Go to\
www.homelink.com for detailed videos and instructions on how to program the Universal Remote \
System. For additional assistance, call 1-800-355-3515.See Instruments and Controls in your Owner’s Manual.
UNIVERSAL REMOTE SYSTEM
Page 15 of 20

15
CRUISE CONTROL
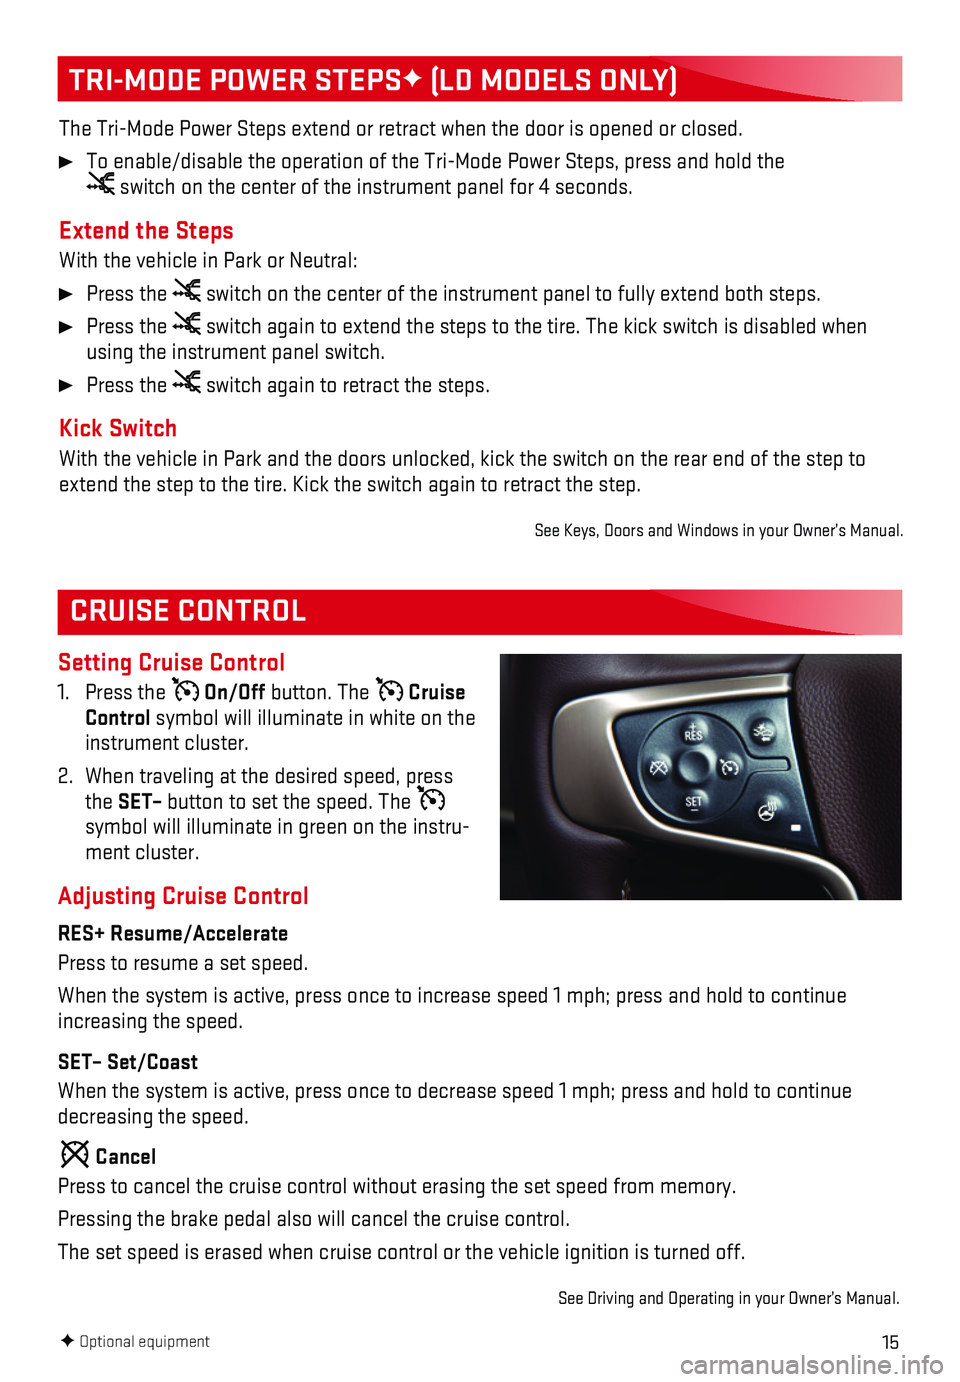
Setting Cruise Control
1. Press the On/Off button. The Cruise Control symbol will illuminate in white on the instrument cluster.
2. When traveling at the desired speed, press the SET– button to set the speed. The symbol will illuminate in green on the instru-ment cluster.
Adjusting Cruise Control
RES+ Resume/Accelerate
Press to resume a set speed.
When the system is active, press once to increase speed 1 mph; press and\
hold to continue increasing the speed.
SET– Set/Coast
When the system is active, press once to decrease speed 1 mph; press and\
hold to continue decreasing the speed.
Cancel
Press to cancel the cruise control without erasing the set speed from me\
mory.
Pressing the brake pedal also will cancel the cruise control.
The set speed is erased when cruise control or the vehicle ignition is t\
urned off.
See Driving and Operating in your Owner’s Manual.
TRI-MODE POWER STEPSF (LD MODELS ONLY)
The Tri-Mode Power Steps extend or retract when the door is opened or cl\
osed.
To enable/disable the operation of the Tri-Mode Power Steps, press and h\
old the switch on the center of the instrument panel for 4 seconds.
Extend the Steps
With the vehicle in Park or Neutral:
Press the switch on the center of the instrument panel to fully extend both steps\
.
Press the switch again to extend the steps to the tire. The kick switch is disabl\
ed when using the instrument panel switch.
Press the switch again to retract the steps.
Kick Switch
With the vehicle in Park and the doors unlocked, kick the switch on the \
rear end of the step to extend the step to the tire. Kick the switch again to retract the step.
See Keys, Doors and Windows in your Owner’s Manual.
F Optional equipment
Page 19 of 20

19
Sunroof Controls
The sunroof controls are located on the over-head console.
SLIDETILT Express Open/
SLIDE TILT
Close
Fully press the rear of the SLIDE switch to express open the sunroof. Gently press and hold the switch to partially open the sunroof.
Fully press the front of the SLIDE switch to express close the sunroof. Gently press and hold the switch to partially close the sunroof.
SLIDETILTVent/
SLIDE TILT
Close
Press the rear of the TILT switch to vent the sunroof from the closed position.
Press the front of the TILT switch to close the sunroof.
Sunshade
Open and close the sunshade manually by pulling it rearward or forward.
See Keys, Doors and Windows in your Owner’s Manual.
POWER REAR WINDOWF
SUNROOFF
The power rear window switch is located on the overhead console.
Press the switch to open the rear window.
Pull the switch to close the rear
window.
Note: The power rear window cannot be operated manually.
See Keys, Doors and Windows in your Owner’s Manual.F Optional equipment
TIRE PRESSURE MONITOR (SINGLE REAR WHEEL MODELS ONLY)
The Low Tire Pressure warning light on the instrument cluster illuminates wh\
en one or more of the vehicle’s tires is significantly underinflated. Fill the t\
ires to the proper tire pressures listed on the Tire and Loading Information label, located below the driver’s\
door latch. Current tire pressures can be viewed on the Driver Information Center.
The Tire Fill Alert provides visual and audible alerts to help when infl\
ating a tire to the recom-mended tire pressure.
Refer to your Owner’s Manual for information about normal monthly tir\
e maintenance.
See Vehicle Care in your Owner’s Manual.