2018 FORD F450 SUPER DUTY instrument cluster
[x] Cancel search: instrument clusterPage 301 of 656
Note:
You can check four-wheel-down
towing status at any time by opening the
driver's door or turning the ignition to the
accessory or on position and verifying a
message displays in the cluster.
To exit four-wheel-down towing and return
the transfer case to its 2H position:
1. With your vehicle still properly secured
to the tow vehicle, put the ignition in
the on position, but do not start the
engine. If your vehicle has an ignition
key, switch the key to on. If your vehicle
has intelligent access, press the engine
START/STOP
button once without
pressing the brake pedal.
2. Press and hold the brake pedal.
3. Shift the transmission out of neutral (N) and into any other gear.
4. Release the brake pedal.
Note: If completed successfully, the
2H
indicator light illuminates and a
confirmation message displays in the
instrument cluster.
Note: If the indicator light and message do
not display, you must perform the procedure
again from the beginning.
Note: You may hear an audible noise as the
transfer case shifts out of its neutral
position. This is normal.
Note: If a message displays in the
instrument cluster stating there is a shift
delay, transfer case gear tooth blockage
may be present. See
Resolving the Shift
Delay Issue after this section.
5. Apply the parking brake and disconnect
the vehicle from the tow vehicle.
6. Release the parking brake, start the engine and shift the transmission to
drive (D) to make sure the transfer
case is out of neutral (N). 7. If the transfer case does not
successfully shift out of neutral (N),
set the parking brake until you can have
your vehicle serviced.
Resolving the Shift Delay Issue
If the instrument cluster displays a shift
delay message, See
Information
Messages (page 131). You need to
perform the following steps:
1. Press and hold the brake pedal.
2. Put the transmission into neutral (N), and then start the engine.
3. With the engine running, shift the transmission to drive (D) and let the
vehicle roll forward, up to
3 ft (1 m).
You may hear an audible noise as the
transfer case shifts out of its neutral
position. This is normal.
4. When the issue is resolved, the instrument cluster displays a message
stating neutral tow is disabled.
298
Super Duty (TFE) Canada/United States of America, enUSA, Edition date: 201709, First Printing Towing
Page 328 of 656
Protected Components
Fuse Rating
Fuse or Relay
Number
Not used.
—
1
Memory seat switch (lumbar power).
7.5A 1
2
Driver door unlock relay.
20A 1
3
Aftermarket electronic brake controller.
5A 1
4
Trailer brake controller Brake On/Off.
Customer access circuits.
Not used.
—
5
Not used.
—
6
Not used.
—
7
Driver window switch mirror fold.
10A 2
8
Brake On/Off / Pressure Switch.
10A 2
9
Not used.
—
10
Combined sense security module.
5A 2
11
Front climate control module.
7.5A 2
12
Instrument cluster.
7.5A 2
13
Smart data link.
Steering column control module.
Extended power restraints module.
10A 2
14
Smart datalink connector power.
10A 2
15
Tailgate release solenoid.
15A 1
16
Head-up display.
5A 2
17
Push button ignition switch.
5A 2
18
Ignition switch.
Key inhibit.
Transmission control switch (tow/haul).
7.5A 2
19
Select Shift switch.
325
Super Duty (TFE) Canada/United States of America, enUSA, Edition date: 201709, First Printing Fuses
Page 342 of 656
Action and description
Message
Press and hold the OK
button until the instrument
cluster displays the
following message.
Hold OK to
Reset
Reset Successful
When the oil change indic-
ator resets the instrument
cluster displays 100%.
Remaining Life
{00}%
If the instrument cluster
displays one of the following
messages, repeat the
process.
Not Reset
Reset Cancelled
ENGINE COOLANT CHECK -
6.2L/6.8L WARNINGS
Never remove the coolant reservoir
cap when the engine is running or
hot.
Do not put coolant in the windshield
washer reservoir. If sprayed on the
windshield, coolant could make it
difficult to see through the windshield. To reduce the risk of personal injury,
make sure the engine is cool before
unscrewing the coolant pressure
relief cap. The cooling system is under
pressure. Steam and hot liquid can come
out forcefully when you loosen the cap
slightly. Do not add coolant further than the
MAX
mark. When the engine is cold, check the
concentration and level of the coolant at
the intervals listed in the scheduled
maintenance information. See Scheduled
Maintenance
(page 581).
Note: Make sure that the coolant level is
between the
MIN and the MAX marks on
the coolant reservoir.
Note: Coolant expands when it is hot. The
level may extend beyond the
MAX mark.
Maintain coolant concentration within
48% to 50%, which equates to a freeze
point between -30°F (-34°C) and -34°F
(-37°C). Coolant concentration should be
checked using a refractometer. We
recommend, Robinair® Coolant and
Battery Refractometer 75240 (Rotunda
tool part number: ROB75240). We do not
recommend the use of hydrometers or
coolant test strips for measuring coolant
concentration.
Note: Automotive fluids are not
interchangeable. Do not use coolant or
windshield washer fluid outside of its
specified function and vehicle location.
Note: Do not use stop leak pellets, cooling
system sealants, or non-specified additives
as they can cause damage to the engine
cooling or heating systems. Resulting
component damage may not be covered by
the vehicle Warranty.
Adding Coolant WARNING
Never remove the coolant reservoir
cap when the engine is running or
hot.
339
Super Duty (TFE) Canada/United States of America, enUSA, Edition date: 201709, First Printing Maintenance
Page 350 of 656
Coolant Change
At specific mileage intervals, as listed in
the scheduled maintenance information,
the coolant should be changed. The
information display may display a message
to change coolant at this time. Add
prediluted coolant approved to the correct
specification. See Capacities and
Specifications (page 421).
Engine-driven Cooling Fan (Fan
Clutch)
Your vehicle may have an engine driven
cooling fan drive (also called a fan clutch).
This fan drive changes the fan speed to
match the vehicle ’s changing cooling air
flow requirements. Fan speed, fan noise
level and fuel consumption all will increase
based on the driving conditions that
include trailer towing, hill climbing, heavy
loads, high speed and high ambient
temperature, individually or in combination.
The fan drive is designed to provide the
minimum fan speed (and resulting
minimum fan noise and fuel consumption)
required to meet the ever changing vehicle
cooling air flow requirements. You will hear
the amount of fan noise increasing and
decreasing as the engine power
requirements and vehicle driving conditions
change as you drive. This is to be expected
as being normal to the operation of your
vehicle. High levels of fan noise might also
be heard when your engine is first started,
and should normally decrease after driving
for a short time.
AUTOMATIC TRANSMISSION
FLUID CHECK
Have an authorized dealer check and
change the transmission fluid and filter at
the correct service interval. See
Scheduled Maintenance
(page 581). Do not use supplemental transmission
fluid additives, treatments or cleaning
agents. The use of these materials may
affect transmission operation and result
in damage to internal transmission
components.
Checking Automatic Transmission
Fluid
For scheduled intervals of the fluid checks
and changes, See
Scheduled
Maintenance (page 581). Your
transmission does not consume fluid.
However, the fluid level should be checked
if the transmission is not working properly,
i.e., if the transmission slips or shifts slowly
or if you notice some sign of fluid leakage.
Automatic transmission fluid expands
when warmed. To obtain an accurate fluid
check, drive the vehicle until it is at normal
operating temperature (approximately
19 mi (30 km)
). Verify that the
transmission fluid temperature gauge,
located on the instrument cluster, is within
normal range.
1. Drive the vehicle
19 mi (30 km)until it
reaches normal operating temperature.
2. Park the vehicle on a level surface and
engage the parking brake.
3. With the engine running, parking brake
engaged and your foot on the brake
pedal, move the gearshift lever through
all of the gear ranges. Allow sufficient
time for each gear to engage.
4. Latch the gearshift lever in P and leave
the engine running.
5. Remove the dipstick, wiping it clean with a clean, dry lint free rag. If
necessary, refer to the Under Hood
Overview in this chapter for the
location of the dipstick.
347
Super Duty (TFE) Canada/United States of America, enUSA, Edition date: 201709, First Printing Maintenance
Page 378 of 656
For fabric, carpets, cloth seats and seats
equipped with side airbags:
•
Remove dust and loose dirt with a
vacuum cleaner.
• Remove light stains and soil with
Motorcraft Professional Strength
Carpet & Upholstery Cleaner.
• If grease or tar is present on the
material, spot-clean the area first with
Motorcraft Spot and Stain Remover. In
Canada, use Motorcraft Multi-Purpose
Cleaner.
• If a ring forms on the fabric after spot
cleaning, clean the entire area
immediately (but do not oversaturate)
or the ring will set.
• Do not use household cleaning
products or glass cleaners, which can
stain and discolor the fabric and affect
the flame retardant abilities of the seat
materials.
CLEANING THE INSTRUMENT
PANEL AND INSTRUMENT
CLUSTER LENS WARNING
Do not use chemical solvents or
strong detergents when cleaning the
steering wheel or instrument panel
to avoid contamination of the airbag
system. Note:
Follow the same procedure as
cleaning leather seats for cleaning leather
instrument panels and leather interior trim
surfaces. See Cleaning Leather Seats
(page 376).
Clean the instrument panel and cluster
lens with a clean, damp and soft cloth,
then use a clean, dry and soft cloth to dry
these areas. •
Avoid cleaners or polishes that increase
the gloss of the upper portion of the
instrument panel. The dull finish in this
area helps protect you from
undesirable windshield reflection.
• Do not use any household cleaning
products or glass cleaners as these
may damage the finish of the
instrument panel, interior trim and
cluster lens.
• Wash or wipe your hands clean if you
have been in contact with certain
products such as insect repellent and
suntan lotion to avoid possible damage
to the interior painted surfaces.
• Do not allow air fresheners and hand
sanitizers to spill onto interior surfaces.
If a spill occurs, wipe off immediately.
Your warranty may not cover these
damages.
If a staining liquid like coffee or juice has
been spilled on the instrument panel or on
interior trim surfaces:
1. Wipe up spilled liquid using a clean, soft cloth as quickly as possible.
2. Use Motorcraft Premium Leather and Vinyl Cleaner or a commercially
available leather cleaning product for
automotive interiors. Test any cleaner
or stain remover on an inconspicuous
area.
3. Alternatively, wipe the surface with a clean, soft cloth and a mild soap and
water solution. Dry the area with a
clean, soft cloth.
4. If necessary, apply more soap and water solution or cleaning product to
a clean, soft cloth and press it onto the
soiled area. Allow this to set at room
temperature for 30 minutes.
5. Remove the soaked cloth, then with a clean, damp cloth, use a rubbing
motion for 60 seconds on the soiled
area.
375
Super Duty (TFE) Canada/United States of America, enUSA, Edition date: 201709, First Printing Vehicle Care
Page 576 of 656
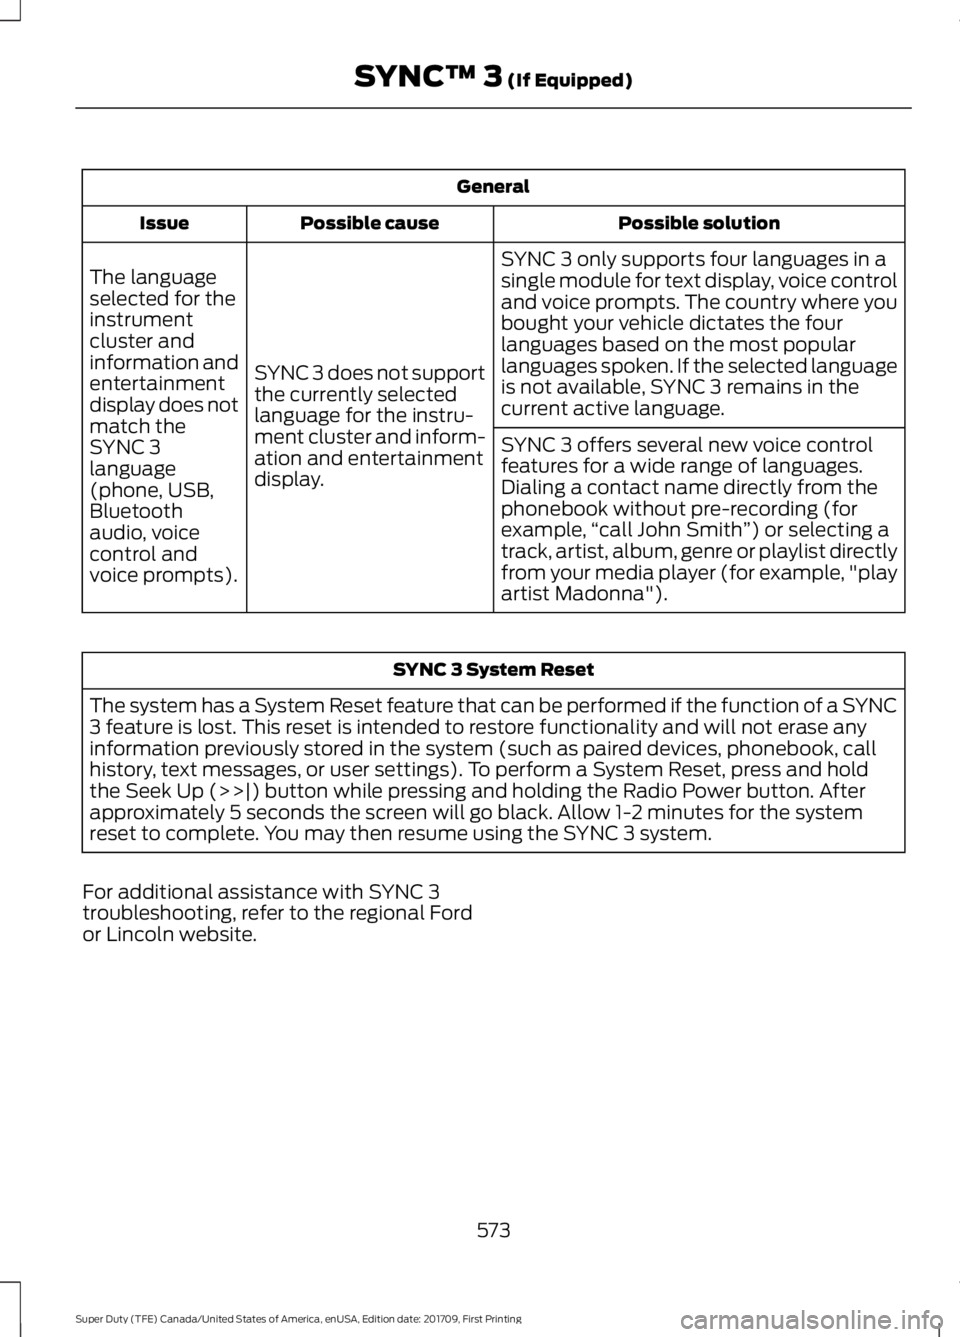
General
Possible solution
Possible cause
Issue
SYNC 3 only supports four languages in a
single module for text display, voice control
and voice prompts. The country where you
bought your vehicle dictates the four
languages based on the most popular
languages spoken. If the selected language
is not available, SYNC 3 remains in the
current active language.
SYNC 3 does not support
the currently selected
language for the instru-
ment cluster and inform-
ation and entertainment
display.
The language
selected for the
instrument
cluster and
information and
entertainment
display does not
match the
SYNC 3
SYNC 3 offers several new voice control
features for a wide range of languages.
Dialing a contact name directly from the
phonebook without pre-recording (for
example,
“call John Smith ”) or selecting a
track, artist, album, genre or playlist directly
from your media player (for example, "play
artist Madonna").
language
(phone, USB,
Bluetooth
audio, voice
control and
voice prompts). SYNC 3 System Reset
The system has a System Reset feature that can be performed if the function of a SYNC
3 feature is lost. This reset is intended to restore functionality and will not erase any
information previously stored in the system (such as paired devices, phonebook, call
history, text messages, or user settings). To perform a System Reset, press and hold
the Seek Up (>>|) button while pressing and holding the Radio Power button. After
approximately 5 seconds the screen will go black. Allow 1-2 minutes for the system
reset to complete. You may then resume using the SYNC 3 system.
For additional assistance with SYNC 3
troubleshooting, refer to the regional Ford
or Lincoln website.
573
Super Duty (TFE) Canada/United States of America, enUSA, Edition date: 201709, First Printing SYNC™ 3 (If Equipped)
Page 646 of 656

Changing the Engine Air Filter - 6.2L/
6.8L................................................................363
Changing the Engine Air Filter - 6.7L Diesel............................................................364
Air Filter Restriction Gauge............................ 365
Changing the Engine-Mounted and Diesel Fuel Conditioner Module Fuel
Filters - 6.7L Diesel...................................366
Diesel Fuel Conditioner Module Filter................................................................... 366
Engine-mounted Fuel Filter.......................... 369
Changing the Engine Oil and Oil Filter...............................................................336
Engine lubrication for severe service operation.......................................................... 337
Changing the Wiper Blades.....................356
Checking MyKey System Status...............65 MyKey Distance.................................................... 65
Number of Admin Keys...................................... 65
Number of MyKeys.............................................. 65
Checking the Wiper Blades
.....................356
Child Restraint and Seatbelt Maintenance.................................................44
Child Restraint Positioning
.........................34
Child Safety.......................................................19
General Information............................................. 19
Child Safety Locks
.........................................35
Left-Hand Side..................................................... 36
Right-Hand Side................................................... 36
Cleaning Leather Seats..............................376 With King Ranch Edition................................. 376
Without King Ranch Edition........................... 376
Cleaning Products
........................................371
Materials................................................................. 371
Cleaning the Engine....................................373
Cleaning the Exhaust - 6.7L Diesel........373
Cleaning the Exterior....................................371 Cleaning the Headlamps................................. 372
Exterior Chrome Parts...................................... 372
Exterior Plastic Parts......................................... 372
Stripes or Graphics............................................ 372
Underbody............................................................ 372
Under Hood.......................................................... 372
Cleaning the Instrument Panel and Instrument Cluster Lens
.........................375
Cleaning the Interior....................................374
Cleaning the Wheels...................................377 Cleaning the Windows and Wiper
Blades............................................................374
Clearing All MyKeys.......................................65
Climate.............................................................527
Climate Control
.............................................148
Climate Controlled Seats..........................165
Cooled Seats........................................................ 166
Heated Seats....................................................... 165
Collision Warning System........................263 Principle Of Operation..................................... 263
Coolant Check See: Engine Coolant Check - 6.2L/6.8L.....339
See: Engine Coolant Check - 6.7L
Diesel................................................................. 343
Crash Sensors and Airbag Indicator.......54
Creating a MyKey...........................................64 Programming or Changing Configurable
Settings............................................................... 64
Cross Traffic Alert........................................259 False Alerts........................................................... 261
Switching the System Off and On...............261
System Errors....................................................... 261
System Lights, Messages and Audible Alerts................................................................. 260
System Limitations............................................ 261
Using the System............................................... 259
Cruise Control
.................................................84
Principle of Operation...................................... 245
Cruise control See: Using Cruise Control............................... 245
Customer Assistance...................................311
D
Data Recording
................................................10
Event Data Recording.......................................... 10
Service Data Recording...................................... 10
Daytime Running Lamps..............................91 Type One - Conventional
(Non-Configurable)........................................ 91
Type Two - Configurable.................................... 91
Diesel Particulate Filter
.............................204
Oxidation Catalytic Converter and Diesel
Particulate Filter System........................... 205
Regeneration....................................................... 204
Digital Radio..................................................454 HD Radio Reception and Station
Troubleshooting............................................ 455
643
Super Duty (TFE) Canada/United States of America, enUSA, Edition date: 201709, First Printing Index
Page 650 of 656

Front Seat Tether Strap Attachment
(Regular Cab)................................................... 30
Rear Seat Tether Strap Attachment (Crew Cab and Super Cab)........................................ 31
Use of Inboard Lower Anchors from the Outboard Seating Positions (Center
Seating Use) .................................................... 28
Using Inflatable Seatbelts (Rear Seat Outboard Positions)...................................... 25
Using Lap and Shoulder Belts (Except Front Center Position of Super Cab and Crew
Cab)....................................................................... 21
Using Lap and Shoulder Belts (Front Center Position of Super Cab and Crew
Cab)...................................................................... 23
Using Lower Anchors and Tethers for CHildren (LATCH)............................................ 27
Using Tether Straps............................................. 29
Instrument Cluster.......................................105
Instrument Lighting Dimmer.....................90 Vehicles With Front Fog Lamps...................... 91
Vehicles Without Front Fog Lamps................91
Instrument Panel Overview.........................17
Interior Lamps.................................................94
Front Interior Lamps........................................... 94
Rear Interior Lamps............................................ 96
Interior Mirror
...................................................101
Automatic Dimming Mirror............................. 102
Manual Dimming Mirror.................................... 101
Introduction.........................................................7
J
Jump Starting the Vehicle........................306 Connecting the Jumper Cables................... 306
Jump Starting...................................................... 307
Preparing Your Vehicle.................................... 306
Removing the Jumper Cables....................... 307
K
Keyless Entry
....................................................70
SECURICODE™ KEYLESS ENTRY
KEYPAD............................................................... 70
Keyless Starting
.............................................178
Ignition Modes...................................................... 178
Keys and Remote Controls.........................56 L
Lane Keeping System
.................................252
Switching the System On and Off...............252
System Display................................................... 253
System Settings................................................. 252
Troubleshooting................................................. 253
Lighting Control
..............................................89
Headlamp Flasher............................................... 90
Headlamp High Beam....................................... 89
Lighting..............................................................89 General Information........................................... 89
Limited Slip Differential............................225
Load Carrying
................................................266
Load Limit......................................................266
Special Loading Instructions for Owners of
Pick-up Trucks and Utility-type
Vehicles............................................................. 270
Vehicle Loading - with and without a Trailer................................................................ 266
Locking and Unlocking.................................67 Activating Intelligent Access............................ 67
Autolock.................................................................. 69
Battery Saver......................................................... 70
Illuminated Entry.................................................. 69
Power Door Locks................................................. 67
Remote Control..................................................... 67
Smart Unlock........................................................ 68
Smart Unlocks for Intelligent Access Keys...................................................................... 68
Lug Nuts See: Changing a Road Wheel....................... 408
M
Maintenance.................................................329 General Information......................................... 329
Manual Climate Control............................148
Manual Seats
.................................................158
Manual Lumbar .................................................. 159
Moving the Seat Backward and Forward............................................................. 159
Recline Adjustment........................................... 159
Memory Function..........................................161 Easy Entry and Exit Feature............................ 162
Linking a PreSet Position to your Remote Control or Intelligent Access Key Fob
........................................................................\
...... 162
647
Super Duty (TFE) Canada/United States of America, enUSA, Edition date: 201709, First Printing Index