2018 FORD F-550 lug nut
[x] Cancel search: lug nutPage 173 of 660
12 Volt DC Power Point
WARNING
Do not plug optional electrical
accessories into the cigar lighter
socket. Incorrect use of the cigar
lighter can cause damage not covered by
the vehicle warranty, and can result in fire
or serious injury. Note:
When you switch the ignition on, you
can use the socket to power 12 volt
appliances with a maximum current rating
of 20 amps.
Note: Do not plug in any device that
supplies power to the vehicle through the
power points, this may result in damage to
vehicle systems.
Note: Do not hang any accessory from the
accessory plug.
Note: Do not use the power point over the
vehicle capacity of 12 volt DC 240 watts or
a fuse may blow.
Note: Always keep the power point caps
closed when not in use.
Do not insert objects other than an
accessory plug into the power point. This
damages the power point and may blow
the fuse.
Run the vehicle for full capacity use of the
power point.
To prevent the battery from running out of
charge:
• Do not use the power point longer than
necessary when the engine is off.
• Do not leave devices plugged in
overnight or when you park your vehicle
for extended periods. Locations
Note:
Timed power points remain on for 30
minutes if the vehicle is in accessory mode.
If you switch the vehicle off, the timed
power points remain on for 75 minutes.
Power points may be in the following
locations:
• On the instrument panel.
• Inside the center console.
• On the rear of the center console.
• In the seat bin.
110 Volt - 400 Watt Capacity AC
Power Outlet WARNING
Do not keep electrical devices
plugged in the power point whenever
the device is not in use. Do not use
any extension cord with the 110 volt AC
power point, since it will defeat the safety
protection design. Doing so may cause the
power point to overload due to powering
multiple devices that can reach beyond
the 400 watt load limit and could result in
fire or serious injury. Note:
This feature works only when the
engine is running.
Note: This feature has a maximum output
of 400 watts when the vehicle is in park (P).
Note: While in drive (D), the maximum
outlet output is 300 watts.
Note: When powering electric devices that
require more than 10 watts in vehicles
equipped with keyless start, the engine must
remain running. If the engine is turned off or
you switch the ignition to accessory mode,
plugged in devices will not be charged.
You can use the power point for electric
devices that require up to 400 watts. It is
on the instrument panel and rear of the
center console.
170
Super Duty (TFE) Canada/United States of America, enUSA, Edition date: 201709, Second Printing Auxiliary Power Points
Page 182 of 660

preventing engine damage due to lack of
proper lubrication. After the 30 second
warm-up period, the accelerator pedal will
be operational again and a message
appears informing you the vehicle is ok to
drive.
When you start the engine in extremely
cold temperatures -15°F (-26°C), we
recommend that you allow the engine to
idle for several minutes before you drive
the vehicle.
Before starting the engine check the
following:
• Make sure all occupants have fastened
their seatbelts.
• Make sure the headlamps and
electrical accessories are off.
• Make sure the parking brake is on.
• Make sure the transmission is in park
(P).
Note: Do not press the accelerator during
starting.
Vehicles with an Ignition Key
Note: Do not touch the accelerator pedal.
1. Fully depress the brake pedal.
2. Turn the key to position
C
Note: A message will appear Engine Start
Pending, Please Wait.
3. Wait until the engine glow-plug indicator turns off.
4. Turn the key to position
D to start the
engine.
5. When the engine starts, release the brake pedal.
Do not crank the engine for more than 10
seconds as starter damage may occur. If
the engine does not start, switch the
ignition off and wait 30 seconds before
trying again. Vehicles with Keyless Start
Note:
Do not touch the accelerator pedal.
Note: If the push button ignition switch is
pressed again prior to the engine starting
the ignition will switch to accessory mode
and will not start.
Note: If the brake pedal is released before
the engine has started, follow the engine
start sequence again.
1. Fully depress the brake pedal.
2. Press the center of the push button ignition switch.
Note: A message will appear Engine Start
Pending, Please Wait.
3. When the engine starts, release the brake pedal.
Diesel Engine Fast Start Glow Plug
System
The diesel engine glow system consists of:
• Eight glow plugs (one per cylinder)
• Glow Plug Control Module
• Engine Coolant Temperature sensor
• Barometric pressure sensor
• Environmental temperature sensor
The powertrain and glow plug control
modules electronically control the glow
plug system. After you switch the ignition
on, the glow plug control module
immediately energizes the glow plugs. The
glow plug control module uses the engine
coolant temperature, barometric pressure
sensor and environmental temperature
sensor to determine how long the glow
plugs stay energized. The required time for
the glow plugs to be energized decreases
as the coolant temperature, barometric
pressure and environmental temperature
increase.
179
Super Duty (TFE) Canada/United States of America, enUSA, Edition date: 201709, Second Printing Starting and Stopping the Engine
Page 185 of 660

We recommend the following cold
weather idling guidelines:
•
You can use Motorcraft® cetane
improvers or non-alcohol-based
cetane improvers from a reputable
manufacturer as needed.
• Maintain the engine cooling system
properly.
• Avoid shutting the engine down after
an extensive idling period. Drive your
vehicle for several miles with the
engine at normal operating
temperatures under a moderate load.
• Consider using an engine block heater.
• For extended idle times use an
approved idle speed increase device.
Winter Operating Tips for Arctic
Operation -20°F (-29°C) and Below
The following information is a guideline
only and is not to be the only source of
possible solutions in resolving extreme
cold temperature issues.
Starting Aids WARNING
Do not use starting fluid, for example
ether, in the air intake system. Such
fluid could cause immediate
explosive damage to the engine and
possible personal injury. The use of the factory engine block heater
assists in engine starting in extreme cold
ambient temperatures See Engine Block
Heater (page 183). Idle Control
Your vehicle may have a factory option for
a stationary elevated idle control through
the upfitter switches in the overhead
console. This allows the operator to
elevate the idle RPM for extended idle
periods, as well as aftermarket equipment
such as PTO operation. You must configure
this feature even if ordered from the
factory. See your authorized dealer for
required upfitting.
Operation in Snow and Rain
Vehicle operation in heavy snowfall or
extreme rain conditions may feed
excessive amounts of snow or water into
the air intake system. This could plug the
air filter with snow and may cause the
engine to lose power and possibly shut
down.
We recommend the following actions after
operating your vehicle up to
200 mi
(320 km) in snowfall or extreme rain:
• Snow: At the earliest opportunity, open
the hood and clear all the snow and ice
from the air filter housing inlet (do not
remove the foam filter) and reset the
air filter restriction gauge.
Note: Removal of the foam filter degrades
your vehicle performance during snow and
hot weather conditions.
• Extreme rain: The air filter dries after
about 15– 30 minutes at highway
speeds. At the earliest opportunity,
open the hood and reset the air filter
restriction gauge.
Refer to Air filter and restriction gauge in
the Maintenance chapter for more
information. See
Changing the Engine
Air Filter (page 363).
182
Super Duty (TFE) Canada/United States of America, enUSA, Edition date: 201709, Second Printing Starting and Stopping the Engine
Page 187 of 660

Note:
The heater is most effective when
outdoor temperatures are below 0°F
(-18°C).
For cold climates that are below
0°F
(-18°C) needing a temporary battery
installation. Order the cold climate pack.
The heater acts as a starting aid by
warming the engine coolant. This allows
the climate control system to respond
quickly. The equipment includes a heater
element (installed in the engine block) and
a wire harness. You can connect the
system to a grounded 120-volt AC
electrical source. We recommend that you do the following
for a safe and correct operation:
•
Make sure your vehicle is parked in a
clean area, clear of combustibles.
• locate the block heater cord in the front
tow hook pocket.
• Use a 16-gauge outdoor extension cord
that is product certified by
Underwriter ’s Laboratory (UL) or
Canadian Standards Association
(CSA). This extension cord must be
suitable for use outdoors, in cold
temperatures, and be clearly marked
Suitable for Use with Outdoor
Appliances. Do not use an indoor
extension cord outdoors. This could
result in an electric shock or become a
fire hazard. •
Use as short an extension cord as
possible.
• Do not use multiple extension cords.
• Make sure that when in operation, the
extension cord plug and heater cord
plug connections are free and clear of
water. This could cause an electric
shock or fire.
• Make sure the heater, heater cord and
extension cord are firmly connected.
• Check for heat anywhere in the
electrical hookup once the system has
been operating for approximately 30
minutes.
• Make sure the system is unplugged and
properly stowed before starting and
driving your vehicle. Make sure the
protective cover seals the prongs of the
block heater cord plug when not in use.
• Make sure the heater system is
checked for proper operation before
winter.
Using the Engine Block Heater
Make sure the receptacle terminals are
clean and dry prior to use. Clean them with
a dry cloth if necessary.
The heater uses 0.4 to 1.0 kilowatt-hours
of energy per hour of use. The system does
not have a thermostat. It achieves
maximum temperature after
approximately three hours of operation.
Using the heater longer than three hours
does not improve system performance and
unnecessarily uses electricity.
184
Super Duty (TFE) Canada/United States of America, enUSA, Edition date: 201709, Second Printing Starting and Stopping the EngineE236180
Page 297 of 660
When Towing a Trailer
•
Check your hitch, electrical connections
and trailer wheel lug nuts thoroughly
after you have traveled 50 mi (80 km).
• Do not drive faster than 70 mph
(113 km/h) during the first 500 mi
(800 km).
• Do not make full-throttle starts.
• When stopped in congested or heavy
traffic during hot weather, place the
gearshift in park (P) to aid engine and
transmission cooling and to help A/C
performance.
• Turn off the speed control with heavy
loads or in hilly terrain. The speed
control may turn off automatically
when you are towing on long, steep
grades.
• Shift to a lower gear when driving down
a long or steep hill. Do not apply the
brakes continuously, as they may
overheat and become less effective.
• If your transmission is equipped with a
Grade Assist or Tow/Haul feature, use
this feature when towing. This provides
engine braking and helps eliminate
excessive transmission shifting for
optimum fuel economy and
transmission cooling.
• If your vehicle is equipped with
Adaptive Steering and you have
enabled Tow/Haul, the Adaptive
Steering system adjusts the steering
response to match your vehicle ’s load.
The system reduces vehicle sensitivity
to steering inputs at higher vehicle
speeds while it maintains the ease of
parking and maneuverability at low
speeds. •
If your vehicle is equipped with
AdvanceTrac with RSC, this system
may turn on during typical cornering
maneuvers with a heavily loaded trailer.
This is normal. Turning the corner at a
slower speed while towing may reduce
this tendency.
• If you are towing a trailer frequently in
hot weather, hilly conditions, at the
gross combined weight rating (or any
combination of these factors), consider
refilling your rear axle with synthetic
gear lubricant (if the axle is not already
filled with it).
• Allow more distance for stopping with
a trailer attached. Anticipate stops and
brake gradually.
• Avoid parking on a grade. However, if
you must park on a grade:
1. Turn the steering wheel to point your vehicle tires away from traffic flow.
2. Set your vehicle parking brake.
3. Place the transmission in park (P).
4. Place wheel chocks in front and back of the trailer wheels. (Chocks not
included with vehicle.)
Your vehicle may be equipped with a
temporary or conventional spare tire. A
"temporary" spare tire is different in size
(diameter or width), tread-type
(All-Season or All Terrain) or is from a
different manufacturer than the road tires
on your vehicle. Consult information on the
tire label or Safety Compliance label for
limitations when using.
Launching or Retrieving a Boat or
Personal Watercraft (PWC)
Note: Disconnect the wiring to the trailer
before
backing the trailer into the water.
Note: Reconnect the wiring to the trailer
after
you remove the trailer from the water.
294
Super Duty (TFE) Canada/United States of America, enUSA, Edition date: 201709, Second Printing Towing
Page 301 of 660
BREAKING-IN
You need to break in new tires for
approximately 300 mi (480 km). During
this time, your vehicle may exhibit some
unusual driving characteristics.
Avoid driving too fast during the first
1,000 mi (1,600 km)
. Vary your speed
frequently and change up through the
gears early. Do not labor the engine.
Drive your new vehicle at least
1,000 mi
(1,600 km) before towing a trailer. Make
sure you use the specified engine oil. See
Capacities and Specifications
(page
427).
Do not add friction modifier compounds
or special break-in oils during the first few
thousand miles (kilometers) of operation.
These additives may prevent piston ring
seating.
ECONOMICAL DRIVING
Your fuel economy is affected by several
things, such as how you drive, the
conditions you drive under, and how you
maintain your vehicle.
You may improve your fuel economy by
keeping these things in mind:
• Accelerate and slow down in a smooth,
moderate fashion.
• Drive at steady speeds without
stopping.
• Anticipate stops; slowing down may
eliminate the need to stop.
• Combine errands and minimize
stop-and-go driving.
• Close the windows for high-speed
driving.
• Drive at reasonable speeds (traveling
at 55 mph [88 km/h] uses 15% less
fuel than traveling at 65 mph [105
km/h]). •
Keep the tires properly inflated and use
only the recommended size.
• Use the recommended engine oil.
• Perform all regularly scheduled
maintenance.
Avoid these actions; they reduce your fuel
economy:
• Sudden accelerations or hard
accelerations.
• Revving the engine before turning it off.
• Idle for periods longer than one minute.
• Warm up your vehicle on cold
mornings.
• Use the air conditioner or front
defroster.
• Use the speed control in hilly terrain.
• Rest your foot on the brake pedal while
driving.
• Drive a heavily loaded vehicle or tow a
trailer.
• Carry unnecessary weight
(approximately 1 mpg [0.4 km/L] is
lost for every 400 lb [180 kilogram] of
weight carried).
• Driving with the wheels out of
alignment.
Conditions
• Heavily loading a vehicle or towing a
trailer may reduce fuel economy at any
speed.
• Adding certain accessories to your
vehicle (for example bug deflectors,
rollbars, light bars, running boards, ski
racks or luggage racks) may reduce
fuel economy.
• To maximize the fuel economy, drive
with the tonneau cover installed (if
equipped).
• Using fuel blended with alcohol may
lower fuel economy.
298
Super Duty (TFE) Canada/United States of America, enUSA, Edition date: 201709, Second Printing Driving Hints
Page 380 of 660
REPAIRING MINOR PAINT
DAMAGE
Authorized dealers have touch-up paint to
match your vehicle
’s color. Your vehicle
color code is printed on a sticker on the
front, left-hand side door jamb. Take your
color code to your authorized dealer to
make sure you get the correct color.
Before repairing minor paint damage, use
a cleaner such as Motorcraft Bug and Tar
Remover to remove particles such as bird
droppings, tree sap, insect deposits, tar
spots, road salt and industrial fallout.
Always read the instructions before using
cleaning products.
CLEANING THE WHEELS (If
Equipped)
1. Regularly clean them with a wheel cleaner. We recommend that you use
Ford approved wheel cleaner if
available.
2. Remove dirt and brake dust with a sponge.
3. Remove tar and grease with a bug and
tar remover. We recommend that you
use Ford approved bug and tar remover
if available.
4. Thoroughly rinse the wheels with water
after cleaning.
If you intend on parking your vehicle for an
extended period after cleaning the wheels
with a wheel cleaner, drive your vehicle for
a few minutes before doing so. This
reduces the risk of corrosion of the brake
discs, brake pads and linings.
Do not clean the wheels when they are hot.
Note: Some car washes could damage
wheel rims and covers. Note:
Using non-recommended cleaners,
harsh cleaning products, chrome wheel
cleaners or abrasive materials could
damage wheel rims and covers.
VEHICLE STORAGE
If you plan on storing your vehicle for 30
days or more, read the following
maintenance recommendations to make
sure your vehicle stays in good operating
condition.
We engineer and test all motor vehicles
and their components for reliable, regular
driving. Under various conditions,
long-term storage may lead to degraded
engine performance or failure unless you
use specific precautions to preserve engine
components.
General
• Store all vehicles in a dry, ventilated
place.
• Protect from sunlight, if possible.
• If vehicles are stored outside, they
require regular maintenance to protect
against rust and damage.
Body
• Wash your vehicle thoroughly to
remove dirt, grease, oil, tar or mud from
exterior surfaces, rear-wheel housing
and the underside of front fenders.
• Periodically wash your vehicle if it is
stored in exposed locations.
• Touch-up exposed or primed metal to
prevent rust.
• Cover chrome and stainless steel parts
with a thick coat of auto wax to prevent
discoloration. Re-wax as necessary
when you wash your vehicle.
• Lubricate all hood, door and luggage
compartment hinges and latches with
a light grade oil.
377
Super Duty (TFE) Canada/United States of America, enUSA, Edition date: 201709, Second Printing Vehicle Care
Page 414 of 660
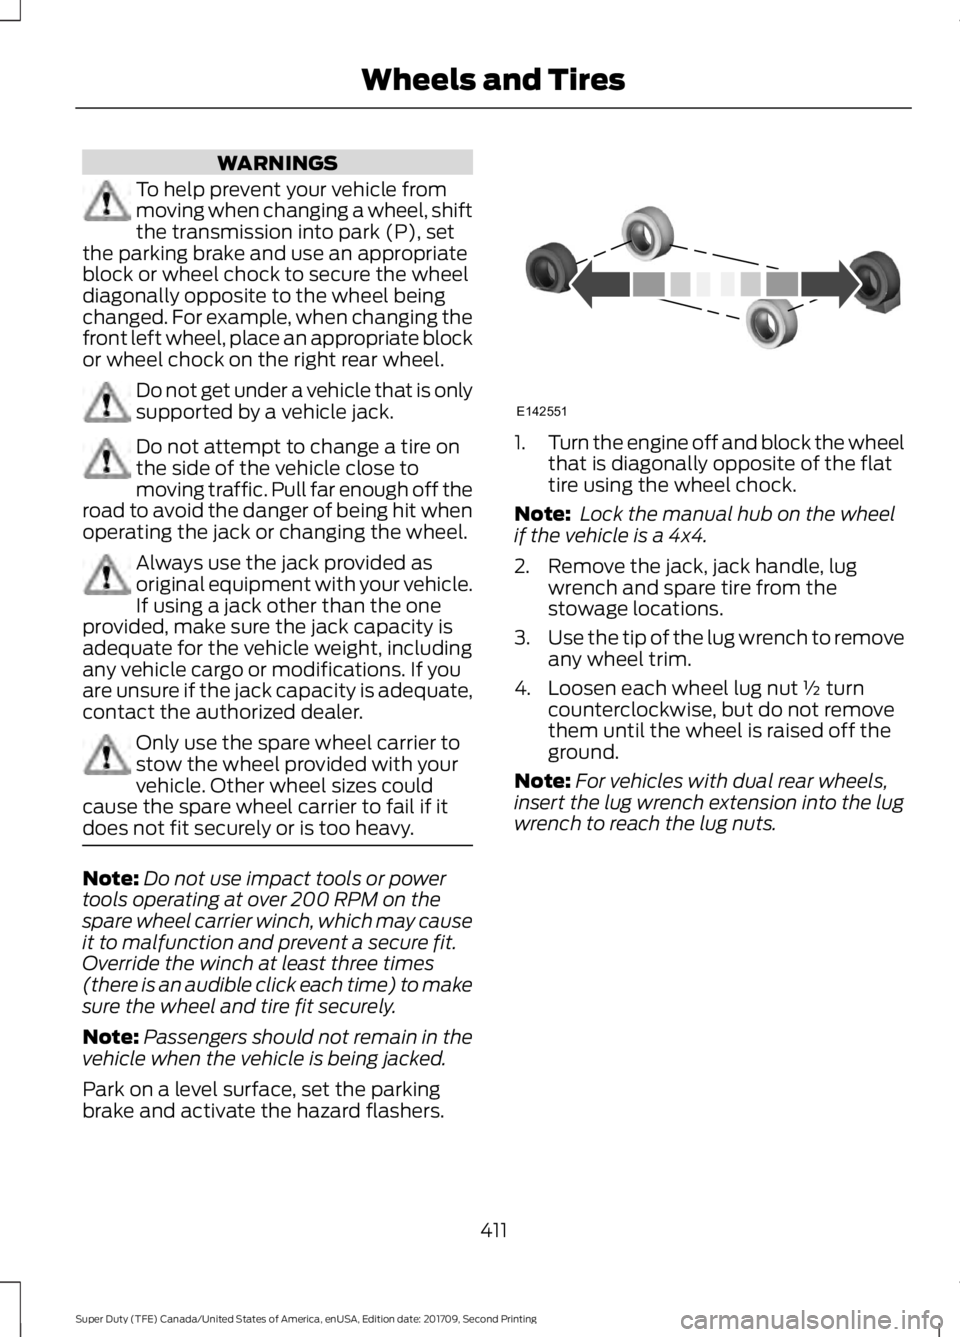
WARNINGS
To help prevent your vehicle from
moving when changing a wheel, shift
the transmission into park (P), set
the parking brake and use an appropriate
block or wheel chock to secure the wheel
diagonally opposite to the wheel being
changed. For example, when changing the
front left wheel, place an appropriate block
or wheel chock on the right rear wheel. Do not get under a vehicle that is only
supported by a vehicle jack.
Do not attempt to change a tire on
the side of the vehicle close to
moving traffic. Pull far enough off the
road to avoid the danger of being hit when
operating the jack or changing the wheel. Always use the jack provided as
original equipment with your vehicle.
If using a jack other than the one
provided, make sure the jack capacity is
adequate for the vehicle weight, including
any vehicle cargo or modifications. If you
are unsure if the jack capacity is adequate,
contact the authorized dealer. Only use the spare wheel carrier to
stow the wheel provided with your
vehicle. Other wheel sizes could
cause the spare wheel carrier to fail if it
does not fit securely or is too heavy. Note:
Do not use impact tools or power
tools operating at over 200 RPM on the
spare wheel carrier winch, which may cause
it to malfunction and prevent a secure fit.
Override the winch at least three times
(there is an audible click each time) to make
sure the wheel and tire fit securely.
Note: Passengers should not remain in the
vehicle when the vehicle is being jacked.
Park on a level surface, set the parking
brake and activate the hazard flashers. 1.
Turn the engine off and block the wheel
that is diagonally opposite of the flat
tire using the wheel chock.
Note: Lock the manual hub on the wheel
if the vehicle is a 4x4.
2. Remove the jack, jack handle, lug wrench and spare tire from the
stowage locations.
3. Use the tip of the lug wrench to remove
any wheel trim.
4. Loosen each wheel lug nut ½ turn counterclockwise, but do not remove
them until the wheel is raised off the
ground.
Note: For vehicles with dual rear wheels,
insert the lug wrench extension into the lug
wrench to reach the lug nuts.
411
Super Duty (TFE) Canada/United States of America, enUSA, Edition date: 201709, Second Printing Wheels and TiresE142551