2018 FORD F-150 instrument cluster
[x] Cancel search: instrument clusterPage 210 of 641
AUTOMATIC TRANSMISSION
WARNING: Always fully apply the
parking brake and make sure you shift
into park (P). Failure to follow this
instruction could result in personal injury
or death. WARNING:
Do not use tow/haul
when the road surface is slippery. Failure
to follow this instruction could result in
the loss of control of your vehicle. WARNING:
When your vehicle is
stationary, keep the brake pedal fully
pressed when shifting gears. Failure to
follow this instruction could result in
personal injury, death or property
damage.
Note: Under certain conditions, you may
not be able to shift out of park (P) unless
the intelligent access key is inside the
vehicle.
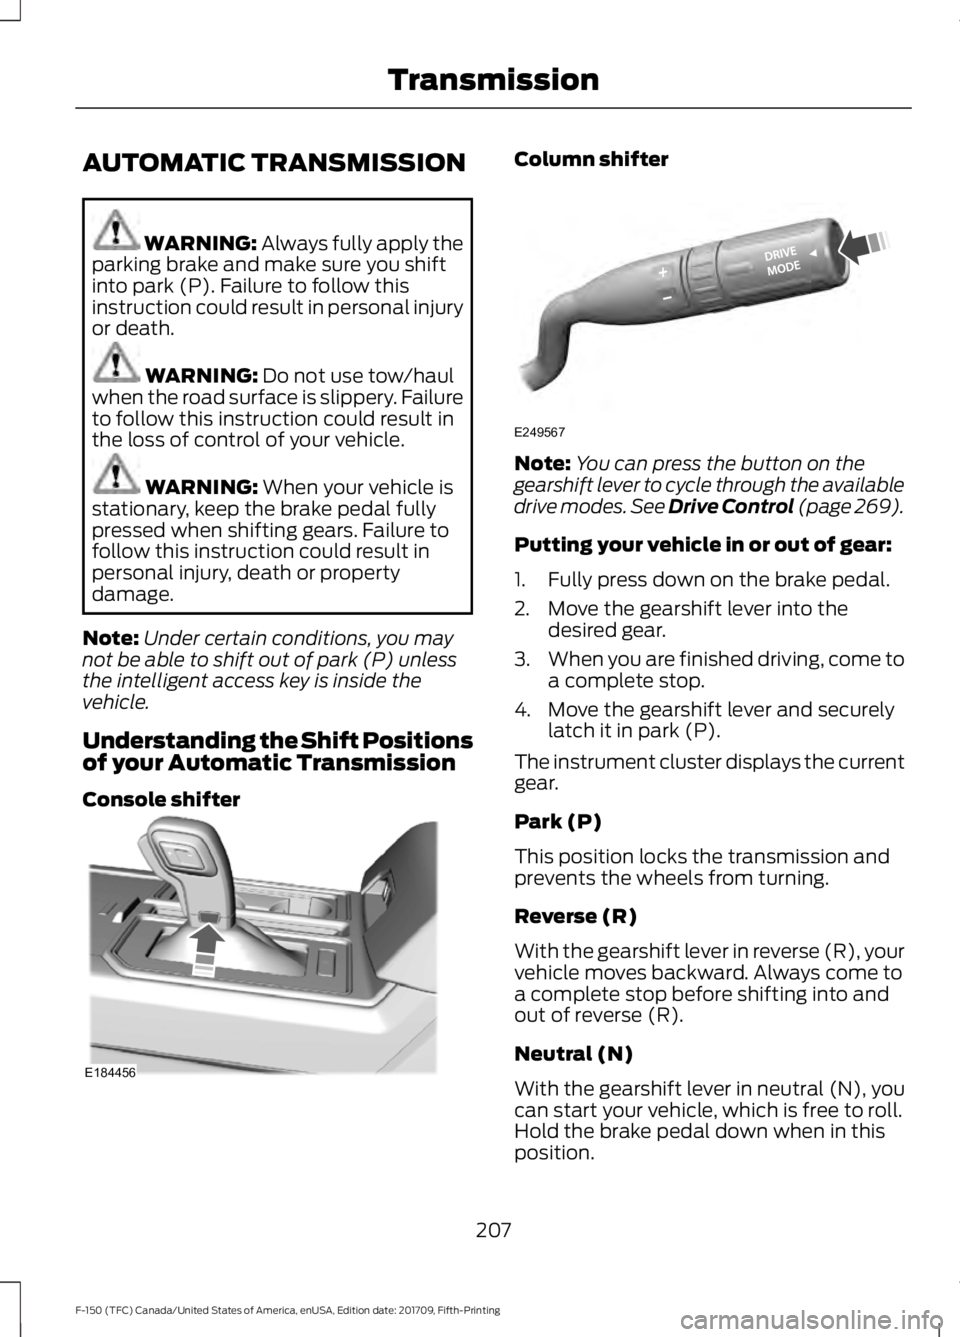
Understanding the Shift Positions
of your Automatic Transmission
Console shifter Column shifter
Note:
You can press the button on the
gearshift lever to cycle through the available
drive modes. See Drive Control (page 269).
Putting your vehicle in or out of gear:
1. Fully press down on the brake pedal.
2. Move the gearshift lever into the desired gear.
3. When you are finished driving, come to
a complete stop.
4. Move the gearshift lever and securely latch it in park (P).
The instrument cluster displays the current
gear.
Park (P)
This position locks the transmission and
prevents the wheels from turning.
Reverse (R)
With the gearshift lever in reverse (R), your
vehicle moves backward. Always come to
a complete stop before shifting into and
out of reverse (R).
Neutral (N)
With the gearshift lever in neutral (N), you
can start your vehicle, which is free to roll.
Hold the brake pedal down when in this
position.
207
F-150 (TFC) Canada/United States of America, enUSA, Edition date: 201709, Fifth-Printing TransmissionE184456 E249567
Page 211 of 641
Drive (D)
Drive (D) is the normal driving position for
the best fuel economy, and allows
automatic upshifts and downshifts through
all available gears.
Manual (M) with Floor-shifter
With the gearshift lever in manual (M), the
driver can change gears up or down as
desired. By moving the gearshift lever from
drive position drive (D) to manual (M) you
now have control of selecting the gear you
desire using buttons on the shift lever. See
Understanding your SelectShift
Automatic
™ transmission later in this
section.
To return to normal drive (D) position,
move the gearshift lever back to drive (D).
The transmission operates in all available
gears.
Third (3) with Column-shifter - 6-speed
Transmission operates in third (3) gear
only. Use third (3) gear for improved
traction on slippery roads.
Second (2) - 6-speed
Transmission operates in second (2) gear
only. Use second (2) gear to start-up on
slippery roads.
First (1) - 6-speed
• Transmission operates in first (1) gear
only.
• Provides maximum engine braking.
• Allows upshifts by moving gearshift
lever.
• Does not downshift into first (1) gear
at high speeds; allows for first (1) gear
when vehicle reaches slower speeds. Tow Mode To activate tow mode, press the
button on the gearshift lever
until tow mode is selected. The
indicator light illuminates in the instrument
cluster when the system becomes active.
The tow mode feature:
• Moves upshifts to higher engine speeds
to reduce the frequency of
transmission shifting.
• Provides engine braking in all forward
gears, which slows your vehicle and
assists you in controlling your vehicle
when descending a grade.
• Depending on driving conditions and
load conditions, may downshift the
transmission, slow your vehicle and
control your vehicle speed when
descending a hill, without pressing the
accelerator pedal. The amount of
downshift braking provided varies
based upon the amount you press the
brake pedal.
The tow mode feature improves
transmission operation when towing a
trailer or a heavy load. All transmission
gear ranges are available when using tow
mode.
To deactivate the tow mode feature and
return to normal driving mode, press the
button on the gearshift lever twice. The
indicator light deactivates when the
system turns off. Tow mode also
deactivates when you power down your
vehicle.
Sport Mode To activate Sport Mode, press
the button on the gearshift lever
until sport mode is selected. The
SPORT or
S indicator light illuminates in
the instrument display when the system
becomes active.
208
F-150 (TFC) Canada/United States of America, enUSA, Edition date: 201709, Fifth-Printing TransmissionE161509 E176099
Page 213 of 641
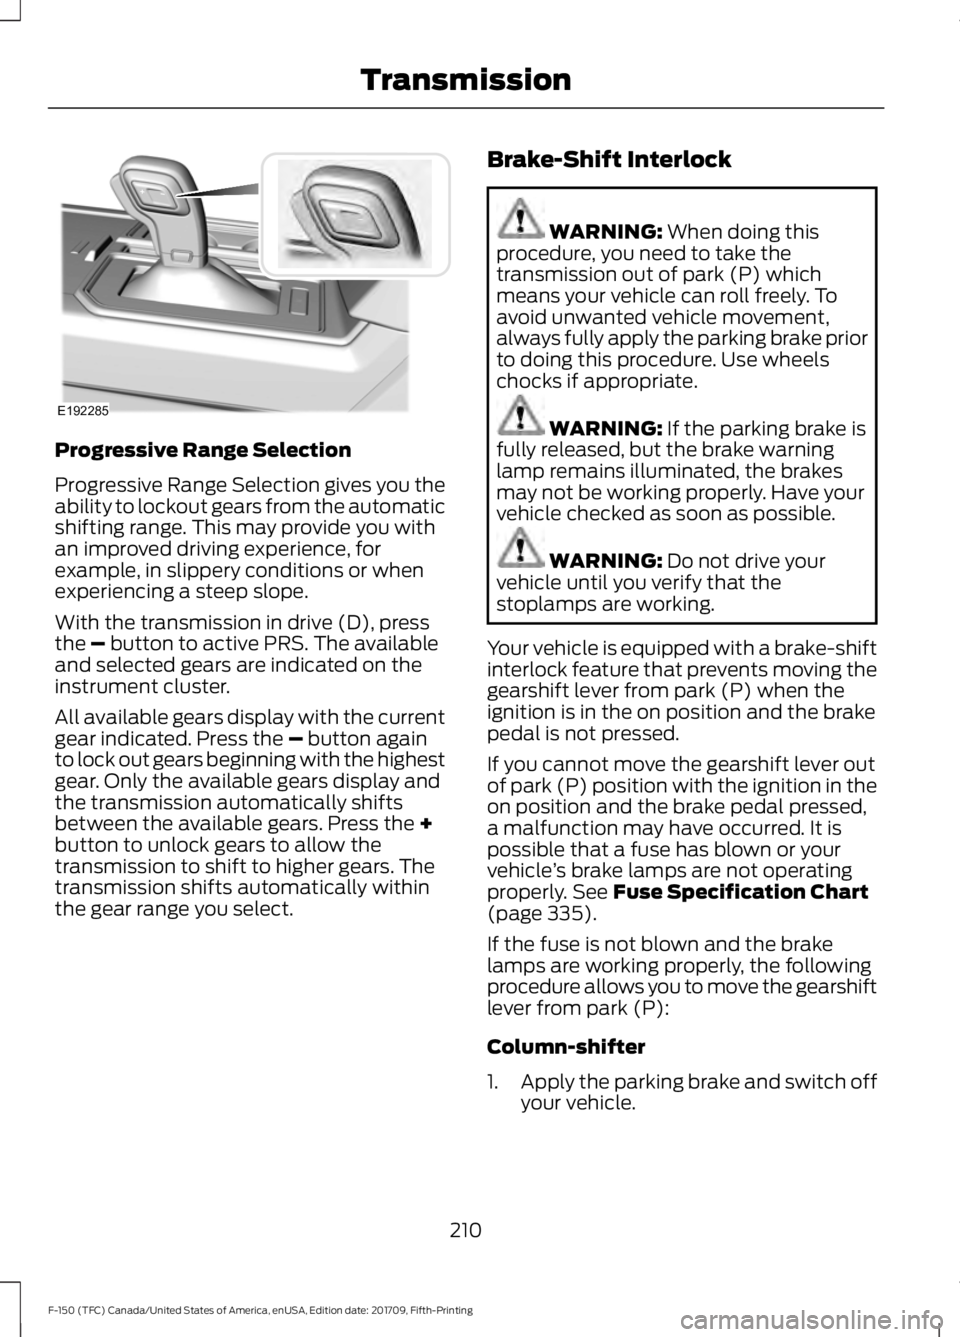
Progressive Range Selection
Progressive Range Selection gives you the
ability to lockout gears from the automatic
shifting range. This may provide you with
an improved driving experience, for
example, in slippery conditions or when
experiencing a steep slope.
With the transmission in drive (D), press
the – button to active PRS. The available
and selected gears are indicated on the
instrument cluster.
All available gears display with the current
gear indicated. Press the
– button again
to lock out gears beginning with the highest
gear. Only the available gears display and
the transmission automatically shifts
between the available gears. Press the
+
button to unlock gears to allow the
transmission to shift to higher gears. The
transmission shifts automatically within
the gear range you select. Brake-Shift Interlock WARNING:
When doing this
procedure, you need to take the
transmission out of park (P) which
means your vehicle can roll freely. To
avoid unwanted vehicle movement,
always fully apply the parking brake prior
to doing this procedure. Use wheels
chocks if appropriate. WARNING:
If the parking brake is
fully released, but the brake warning
lamp remains illuminated, the brakes
may not be working properly. Have your
vehicle checked as soon as possible. WARNING:
Do not drive your
vehicle until you verify that the
stoplamps are working.
Your vehicle is equipped with a brake-shift
interlock feature that prevents moving the
gearshift lever from park (P) when the
ignition is in the on position and the brake
pedal is not pressed.
If you cannot move the gearshift lever out
of park (P) position with the ignition in the
on position and the brake pedal pressed,
a malfunction may have occurred. It is
possible that a fuse has blown or your
vehicle ’s brake lamps are not operating
properly.
See Fuse Specification Chart
(page 335).
If the fuse is not blown and the brake
lamps are working properly, the following
procedure allows you to move the gearshift
lever from park (P):
Column-shifter
1. Apply the parking brake and switch off
your vehicle.
210
F-150 (TFC) Canada/United States of America, enUSA, Edition date: 201709, Fifth-Printing TransmissionE192285
Page 224 of 641
ELECTRONIC LOCKING
DIFFERENTIAL (IF EQUIPPED)
Note: The electronic locking differential is
for off-road use only and is not for use on
dry pavement. Using the electronic locking
differential on dry pavement will result in
increased tire wear, noise and vibration.
The electronic locking differential is a
device housed in the rear axle that allows
both rear wheels to turn at the same
speed. The electronic locking differential
can provide additional traction should your
vehicle become stuck. You can activate
the differential electronically and shift it
on the fly within the differential operating
speed range. The differential is for use in
mud, rocks, sand, or any off-road condition
where you need maximum traction. It is
not for use on dry pavement.
The following conditions will affect the
electronic locking differential:
• The electronic locking differential will
not engage if your vehicle speed is
above
20 mph (32 km/h) in 4x2, 4x4
Auto, or 4x4 High modes.
• The electronic locking differential will
not engage if your vehicle speed is
above or
56 mph (90 km/h) in 4X4
Low.
• The electronic locking differential may
not engage if you press your
accelerator pedal during an
engagement attempt. A message may
display in the instrument display
guiding you to release the accelerator
pedal.
• In 4x2, 4x4 Auto, and 4x4 High modes,
the electronic locking differential will
automatically disengage at speeds
above
25 mph (41 km/h) and will
automatically reengage at speeds
below
20 mph (32 km/h). •
In 4L (4X4 low), the electronic locking
differential will automatically
disengage at speeds above
62 mph
(100 km/h) and will automatically
reengage at speeds below 56 mph
(90 km/h).
• The AdvanceTrac system has the
ability to take over control of the
electronic locking differential and
disable it during driving maneuvers
when necessary.
When you switch the system on, if you do
not meet the required conditions for
electronic locking differential activation,
the instrument cluster will display the
appropriate information guiding you
through the proper activation process.
Activating the Electronic Locking
Differential
Note: Do not use electronic locking
differential on dry, hard surfaced roads.
Doing so will produce excessive noise,
vibration and increase tire wear.
Note: If the electronic locking differential
has difficulty disengaging, release the
accelerator pedal and turn the steering
wheel in the opposite direction while rolling.
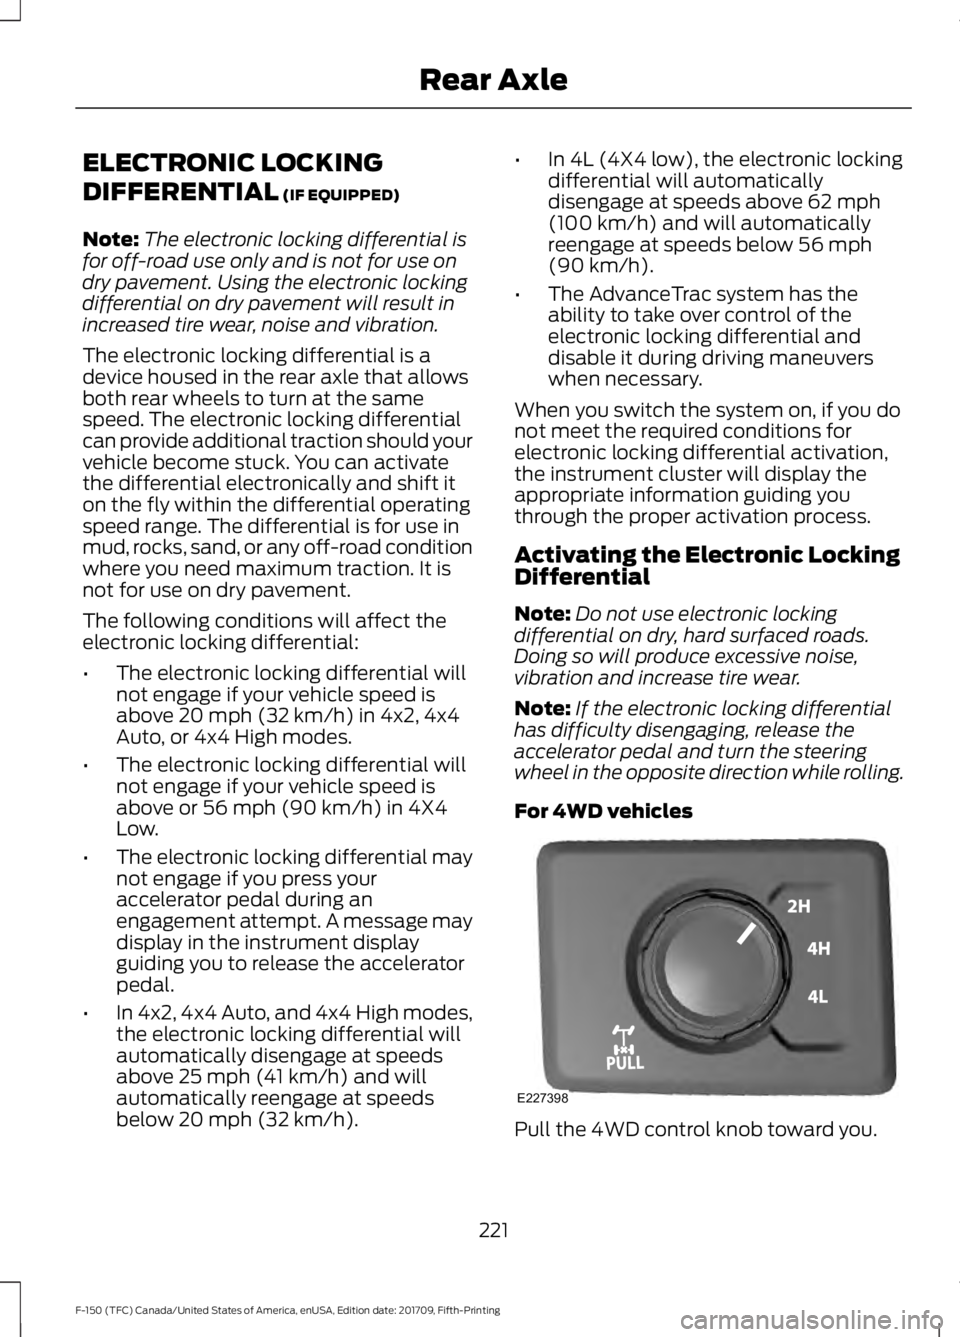
For 4WD vehicles Pull the 4WD control knob toward you.
221
F-150 (TFC) Canada/United States of America, enUSA, Edition date: 201709, Fifth-Printing Rear AxleE227398
Page 230 of 641
PRINCIPLE OF OPERATION
The traction control system helps avoid
drive wheel spin and loss of traction.
If your vehicle begins to slide, the system
applies the brakes to individual wheels
and, when needed, reduces engine power
at the same time. If the wheels spin when
accelerating on slippery or loose surfaces,
the system reduces engine power in order
to increase traction.
USING TRACTION CONTROL
WARNING: The stability and
traction control light illuminates steadily
if the system detects a failure. Make sure
you did not manually disable the traction
control system using the switch. If the
stability control and traction control light
is still illuminating steadily, have the
system serviced by an authorized dealer
immediately. Operating your vehicle with
traction control disabled could lead to
an increased risk of loss of vehicle
control, vehicle rollover, personal injury
and death.
The system automatically turns on each
time you switch the ignition on.
If your vehicle is stuck in mud or snow,
switching traction control off may be
beneficial as this allows the wheels to spin.
Note: When you switch traction control off,
stability control remains fully active. Switching the System Off The switch for the stability and traction
control system is on the instrument panel.
When you switch the system off, a
message and an illuminated icon appear
on the instrument cluster.
Use the switch again to return the traction
control system to normal operation.
Your vehicle may have MyKey restrictions
regarding this feature. See
Principle of
Operation (page 63).
System Indicator Lights and
Messages The stability and traction control
light temporarily illuminates on
engine start-up and flashes:
• When a driving condition activates
either of the systems.
• If a problem occurs in either of the
systems. The stability and traction control
off light temporarily illuminates
on engine start-up and stays on:
• When you switch the traction control
system off.
• When you select an alternative stability
control mode.
227
F-150 (TFC) Canada/United States of America, enUSA, Edition date: 201709, Fifth-Printing Traction ControlE166706 E138639 E130458
Page 234 of 641
PRINCIPLE OF OPERATION
WARNING: Hill descent control
cannot control descent in all surface
conditions and circumstances, such as
ice or extremely steep grades. Hill
descent control is a driver assist system
and cannot substitute for good judgment
by the driver. Failure to do so may result
in loss of vehicle control, crash or serious
injury. WARNING:
Hill descent control
does not provide hill hold at zero miles
per hour (0 kilometers per hour). When
stopped, you must apply the parking
brake or place the vehicle in P (Park), or
it may roll away.
Hill descent control allows you to set and
maintain vehicle speed while descending
steep grades in various surface conditions.
Hill descent control can maintain vehicle
speeds on downhill grades between 2 mph
(3 km/h) and 12 mph (20 km/h). Above 20
mph (32 km/h), the system remains
armed, but you cannot use the system to
set or maintain the descent speed.
Hill descent control requires a cooling
down interval after a period of sustained
use. The amount of time that the feature
can remain active before cooling varies
with conditions. The system provides a
warning in the message center and a tone
sounds when the system is about to
disengage for cooling. At this time,
manually apply the brakes as needed to
maintain descent speed. USING HILL DESCENT
CONTROL Press and release the hill
descent button on the
instrument panel. A light in the
cluster illuminates and a tone sounds
when you switch this on.
To increase descent speed, press the
accelerator pedal until you reach the speed
you desire. To decrease descent speed,
press the brake pedal until you reach the
speed you desire.
When accelerating or decelerating, once
you reach the descent speed you desire,
remove your feet from the pedals and the
hill descent control maintains the vehicle
speed you chose.
Note: You may observe a noise from the
ABS pump motor during hill descent control
operation. This is a normal characteristic of
the ABS and is no reason for concern.
Note: Refer to the Raptor Supplement for
further information on Trail Control.
Hill descent modes
• At speeds between
2 mph (3 km/h)
and 20 mph (32 km/h): When you
press this button, the light flashes
indicating this feature is active. Your
vehicle maintains the speed you desire
when in this mode.
• At speeds between
20 mph (32 km/h)
and 40 mph (64 km/h): When you
press this button, the light is solid and
a message appears in the information
display indicating this feature is active.
Your vehicle does not maintain the
speed you desire and you cannot set
your descent speed.
231
F-150 (TFC) Canada/United States of America, enUSA, Edition date: 201709, Fifth-Printing Hill Descent Control
(If Equipped)E163957
Page 249 of 641

Setting the Adaptive Cruise Speed
Note:
When adaptive cruise control is
active, the speedometer may vary slightly
from the set speed displayed in the
information display.
1. Drive to desired speed.
2. Press SET-.
3. A green indicator light, the current gap
setting and your set speed appear in
the information display.
4. Take your foot off the accelerator pedal. 5. A vehicle image illuminates if the
system detects a vehicle in front of you.
Setting the Adaptive Cruise Speed
When Your Vehicle is Stationary
1. Follow a vehicle to a complete stop. 2. Keep the brake pedal fully pressed.
3. Press
RES+.
4. The set speed adjusts to
20 mph
(30 km/h).
5. A green indicator light, the current gap
setting and your set speed appear in
the information display.
Following a Vehicle WARNING:
When following a
vehicle, your vehicle does not always
decelerate quickly enough to avoid a
crash without driver intervention. Always
apply the brakes when necessary. Failing
to do so may result in a crash, serious
injury or death. WARNING: Adaptive cruise control
only warns of vehicles detected by the
radar sensor. In some cases there may
be no warning or a delayed warning. You
should always apply the brakes when
necessary. Failure to do so may result in
a crash, serious injury or death.
Note: When you are following a vehicle and
you switch on a direction indicator, adaptive
cruise control may provide a small
temporary acceleration to help you pass.
Note: The brakes may emit noise when
applied by the system.
When a vehicle ahead of you enters the
same lane or a slower vehicle is ahead in
the same lane, the vehicle speed adjusts
to maintain a preset gap distance. A
vehicle graphic illuminates in the
instrument cluster.
246
F-150 (TFC) Canada/United States of America, enUSA, Edition date: 201709, Fifth-Printing Cruise ControlE183738 E183738
Page 272 of 641
DRIVE CONTROL
Selectable Drive Modes
The system delivers a driving experience
through a suite of sophisticated electronic
vehicle systems. These systems optimize
steering, handling and powertrain
response. This provides a single location
to control multiple systems performance
settings.
Changing the drive mode automatically
changes the functionality of the following
systems:
•
Electronic stability control and traction
control maintains your vehicle control
in adverse conditions or high
performance driving. See Stability
Control (page 228).
• Electronic throttle control enhances
the powertrain response to your inputs.
• Transmission controls are optimized
with shift schedules tuned to each
terrain.
Using the System
The system automatically tailors your
vehicle configuration for each mode you
select.
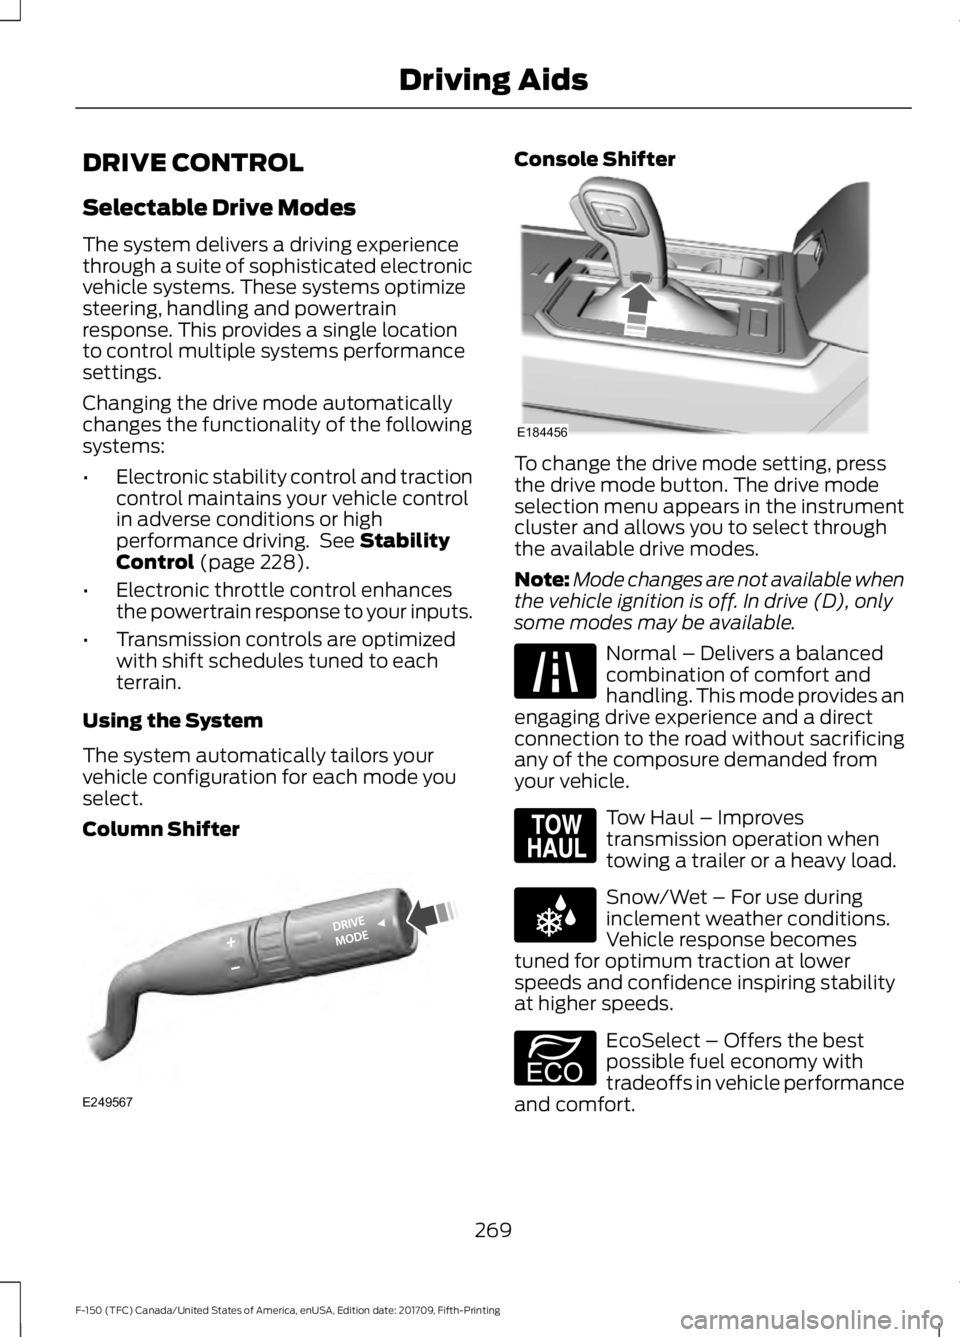
Column Shifter Console Shifter
To change the drive mode setting, press
the drive mode button. The drive mode
selection menu appears in the instrument
cluster and allows you to select through
the available drive modes.
Note:
Mode changes are not available when
the vehicle ignition is off. In drive (D), only
some modes may be available. Normal – Delivers a balanced
combination of comfort and
handling. This mode provides an
engaging drive experience and a direct
connection to the road without sacrificing
any of the composure demanded from
your vehicle. Tow Haul – Improves
transmission operation when
towing a trailer or a heavy load.
Snow/Wet – For use during
inclement weather conditions.
Vehicle response becomes
tuned for optimum traction at lower
speeds and confidence inspiring stability
at higher speeds. EcoSelect – Offers the best
possible fuel economy with
tradeoffs in vehicle performance
and comfort.
269
F-150 (TFC) Canada/United States of America, enUSA, Edition date: 201709, Fifth-Printing Driving AidsE249567 E184456 E225310 E161509 E225312 E194390