2018 FORD EXPEDITION locking diff
[x] Cancel search: locking diffPage 109 of 571
Engine Coolant Temperature
Gauge
WARNING: Do not remove the
coolant reservoir cap when the cooling
system is hot. Wait 10 minutes for the
cooling system to cool down. Cover the
coolant reservoir cap with a thick cloth
to prevent the possibility of scalding and
slowly remove the cap. Failure to follow
this instruction could result in personal
injury.
Indicates engine coolant temperature. At
normal operating temperature, the level
indicator is in the normal range. If the
engine coolant temperature exceeds the
normal range, stop your vehicle as soon as
possible, switch off the engine and let the
engine cool.
Fuel Gauge
The fuel gauge indicates about how much
fuel is in the fuel tank.
The arrow adjacent to the fuel pump
symbol indicates on which side of your
vehicle the fuel filler door is located.
Note: The fuel gauge may vary slightly
when your vehicle is moving or on a slope.
Low Fuel Reminder
A low fuel level reminder displays and
sounds when the distance to empty
reaches
75 mi (120 km) to empty for
MyKey, and at 50 mi (80 km), 25 mi
(40 km), 10 mi (20 km) and 0 mi (0 km)
for all vehicle keys.
Note: The low fuel reminder can appear at
different fuel gauge positions depending on
fuel economy conditions. This variation is
normal. Transmission Fluid Temperature
Gauge
Indicates transmission fluid temperature.
At normal operating temperature, the level
indicator is in the normal range. If the
transmission fluid temperature exceeds
the normal range, stop your vehicle as soon
as possible and verify the airflow is not
restricted by snow or debris blocking
airflow through the grille.
Special operating conditions such as
snowplowing, towing, or off-road use may
cause higher than normal operating
temperatures. See
Special Operating
Conditions Scheduled Maintenance
(page
504).
To lower the transmission temperature
into the normal range, alter the severity of
your driving conditions. Operating the
transmission for extended periods with the
gauge in the higher than normal area may
cause internal transmission damage. If the
gauge continues to show high
temperatures, see an authorized dealer.
Turbo Boost Gauge
(If Equipped)
Indicates the amount of manifold air
pressure in the engine.
WARNING LAMPS AND
INDICATORS
The following warning lamps and
indicators alert you to a vehicle condition
that may become serious. Some lamps
illuminate when you start your vehicle to
make sure they work. If any lamps remain
on after starting your vehicle, refer to the
respective system warning lamp for further
information.
Note: Some warning indicators appear in
the information display and operate the
same as a warning lamp but do not
illuminate when you start your vehicle.
106
Expedition (TB8) Canada/United States of America, enUSA, Edition date: 201708, Third-Printing- Instrument Cluster
Page 131 of 571

Action
Message
Displays if the electronic limited slip differential system
temporarily turns off due to overheating or an undersized
spare tire. If an undersized spare tire is installed, replace the
spare tire with a full-sized tire as soon as possible. If not, stop the vehicle in a safe location and allow the system to cool.
Electronic Limited Slip
Differential Temporarily Disabled
Displays if the electronic limited slip differential has limitedfunctionality. This could be due to an undersized spare tire
or caused by the system overheating. If an undersized spare
tire is installed, replace the spare tire with a full-sized tire as soon as possible. If an undersized spare tire is not installed, the vehicle has reduced functionality. Have your vehicle checked as soon as possible.
Electronic Limited Slip
Differential Reduced Torque
Displays when you select a drive mode that does not allowthe electronic limited slip differential to turn on. This may
also display when the electronic limited slip differential has a fault and the vehicle requests the locking feature.
Electronic Limited Slip
Differential Locking
Feature Not Available
The transfer case is in the neutral position. This message
indicates that your vehicle is safe to be towed with all four wheels on the ground.
Neutral Tow Enabled
Leave Transmission in Neutral
The transfer case is NOT in the neutral position. This messageindicates that your vehicle is NOT safe to be towed with all four wheels on the ground.
Neutral Tow Disabled
Engine Action
Message
The engine has reduced power to help reduce highengine temperature.
Power Reduced to Lower Engine
Temp
Four-Wheel Drive Action
Message
A 4X4 system fault is present. Contact an authorizeddealer as soon as possible.
Check 4x4
The 4X4 system is making a shift.
4x4 Shift in Progress
Displays when you attempt to switch to 4X4 LOW andyou do not shift the transmission to neutral (N).
For 4x4 LOW Shift to N
128
Expedition (TB8) Canada/United States of America, enUSA, Edition date: 201708, Third-Printing- Information Displays
Page 208 of 571
Truck and utility vehicles can differ from
some other vehicles. Your vehicle may be
higher to allow it to travel over rough
terrain without getting hung up or
damaging underbody components.
The differences that make your vehicle so
versatile also make it handle differently
than an ordinary passenger car.
Maintain steering wheel control at all
times, especially in rough terrain. Since
sudden changes in terrain can result in
abrupt steering wheel motion, make sure
you grip the steering wheel from the
outside. Do not grip the spokes.
Drive cautiously to avoid vehicle damage
from concealed objects such as rocks and
stumps.
You should either know the terrain or
examine maps of the area before driving.
Map out your route before driving in the
area. To maintain steering and braking
control of your vehicle, you must have all
four wheels on the ground and they must
be rolling, not sliding or spinning.
Driving Off-Road With Truck and
Utility Vehicles
Note:
On some models, the initial shift from
two-wheel drive to four-wheel drive when
your vehicle is moving can cause some
momentary clunk and ratcheting sounds.
This is the front drivetrain coming up to
speed and the automatic locking hubs
engaging and is not cause for concern.
Note: Your vehicle may have a front air dam
that can become damaged, due to reduced
ground clearance, when taking your vehicle
off-road. You may remove this air dam by
removing eight bolts.
Four-wheel drive vehicles are specially
equipped for driving on sand, snow, mud
and rough terrain and have operating
characteristics that are somewhat
different from conventional vehicles, both
on and off the road. The transfer case supples power to all four
wheels. On four-wheel drive vehicles, the
transfer case allows you to select different
4WD modes when necessary. You can find
information on transfer case operation and
shifting procedures in this chapter. You can
find information on transfer case
maintenance in the Maintenance chapter.
You should become thoroughly familiar
with this information before you operate
your vehicle.
Four-wheel drive, when you select a 4WD
mode, uses all four wheels to power your
vehicle. This increases traction, enabling
you to drive over terrain and road
conditions that a conventional two-wheel
drive vehicle cannot.
Basic Operating Principles
•
Drive slower in strong crosswinds which
can affect the normal steering
characteristics of your vehicle.
• When driving your vehicle on surfaces
made slippery by loose sand, water,
gravel, snow or ice proceed with care.
• Do not use 4H or 4L on dry, hard
surfaced roads. Doing so can produce
excessive noise, increase tire wear and
may damage drive components. 4H or
4L modes are only for consistently
slippery or loose surfaces.
If Your Vehicle leaves the Road
If your vehicle leaves the road, reduce your
vehicle speed and avoid severe braking.
When your vehicle speed decreases, ease
your vehicle back onto the road. Do not
turn the steering wheel sharply when
returning your vehicle to the road.
It may be safer to stay on the shoulder of
the road and slow down gradually before
returning to the road. You may lose control
if you do not slow down or if you turn the
steering wheel too sharply or abruptly.
205
Expedition (TB8) Canada/United States of America, enUSA, Edition date: 201708, Third-Printing- Four-Wheel Drive (If Equipped)
Page 213 of 571
LIMITED SLIP DIFFERENTIAL
(IF EQUIPPED)
The Electronic Limited Slip Differential
(eLSD) system directs torque, enabling the
vehicle to drive over terrain and road
conditions that a conventional axle cannot.
The system is active at all times and
requires no input from the driver.
Note:
If your vehicle is not at optimal
operating conditions or a system fault is
present, a warning may be displayed in the
instrument cluster. Depending on the
warning, your vehicle may need to be
serviced. For more information regarding the
system information messages, See
Information Messages (page 123).
Locking Function
(If Equipped) The lock button engages
‘locker
mode ’.
With the locker engaged, the system
electronically locks the differential causing
both half shafts to turn at the same rate.
This increases traction during off road
events.
The locker mode may automatically
disengage based on certain conditions
such as vehicle speed. When engaged, a
telltale in the instrument cluster will
illuminate amber and the switch button
will be illuminated. When the speed is
exceeded the telltale will turn gray, the
locker will be disengaged and be in
standby mode until the speed conditions
are met. If the eLSD system is faulted and
the locker cannot engage, a warning
message will be displayed in the
instrument cluster and the switch button
will flash. Spare Tire
If your vehicle is equipped with an
Electronic Limited Slip Differential, a spare
tire of a different size than the tire
provided, should not be used. If a spare tire
is installed, a message may appear,
indicating the system has disabled
automatically or reduced function to
prevent system overheat and damage. It
is recommended to reinstall the repaired
or replaced road tire as soon as possible.
When the road tire is replaced, the system
will resume normal operation on the next
key cycle.
Trailer Towing
The Electronic Limited Slip Differential
enhances vehicle stability during trailer tow
operation. During high demand trailering
events (such as steep grades, high speeds
or with a spare tire), the system may
provide a warning in the instrument cluster
and reduce function or enter a temporarily
disabled state. To resume normal function,
stop the vehicle in a safe location and
allow the unit to adequately cool. Once
the system has reached normal operating
temperatures, system function will be
restored and the Electronic Limited Slip
Differential Restored message will be
displayed.
210
Expedition (TB8) Canada/United States of America, enUSA, Edition date: 201708, Third-Printing- Rear AxleE163170
Page 285 of 571
For best results:
•
Use a long, straight, smooth and level
road when attempting to calibrate.
• Drive straight forward.
• Drive between 4 mph (6 km/h) and
24 mph (39 km/h).
System Operation
The following warnings or difficulties may
occur during feature operation. Tips to
resolve them are listed below.
The system is not available:
• The system relies on many
sub-systems in your vehicle to operate
correctly. If those sub-systems are not
operating correctly the system may not
be available.
• Low battery voltage is a condition
which prevents the system from
operating. Please make sure the
battery is correctly charged if the
system is not available.
• You may need to drive your vehicle
straight forward above
25 mph
(40 km/h) before the system is
available again.
• If the message still displays take your
vehicle to an authorized dealer for
service.
Sticker lost:
• If the system cannot initially find the
sticker, it may be necessary for you to
change the lighting conditions by
moving the vehicle and trailer or
waiting until conditions change.
• Check for the following if you receive
the lost sticker message while using
the system.
• Stop your vehicle as soon as the
message displays.
• Make sure the sticker is visible and the
pattern is discernable in the rear view
camera image. •
Clean the sticker and camera to make
sure they are unobstructed.
• Clean the lens with a soft, lint-free
cloth and water.
• Clean the sticker with isopropyl rubbing
alcohol sprayed directly onto the
sticker, and then wipe clean with a soft
cloth.
• Remove any items that may be
blocking the view of the sticker.
Depending on your trailer configuration
and any equipment mounted to your
trailer it is possible for the sticker to be
blocked from view of the camera as it
rotates on the hitch ball but not be
blocked during setup. Remove the
obstruction if possible. It is necessary
to remove the sticker from its current
location if the obstruction cannot be
cleared and place a new sticker that is
visible to the camera in all positions of
the trailer behind your vehicle.
• Placing the sticker on a surface angled
away from the vehicle reduces
performance. Use a drawbar that
positions the trailer level to the ground
when attached to vehicle. This typically
provides a level surface to mount the
sticker. Place the sticker on a bracket
or other object when no level surface
is available.
• Make sure the entire sticker is on a flat
surface that is completely visible to the
camera. Do not fold the sticker over an
edge on the trailer frame. This can
degrade performance.
• Shadows on the sticker may effect
tracking performance under some
lighting conditions. Moving the sticker
to another location within the allowed
placement area may improve
performance. Use the change sticker
option in your Towing menu if you
move the sticker.
282
Expedition (TB8) Canada/United States of America, enUSA, Edition date: 201708, Third-Printing- Towing
Page 565 of 571
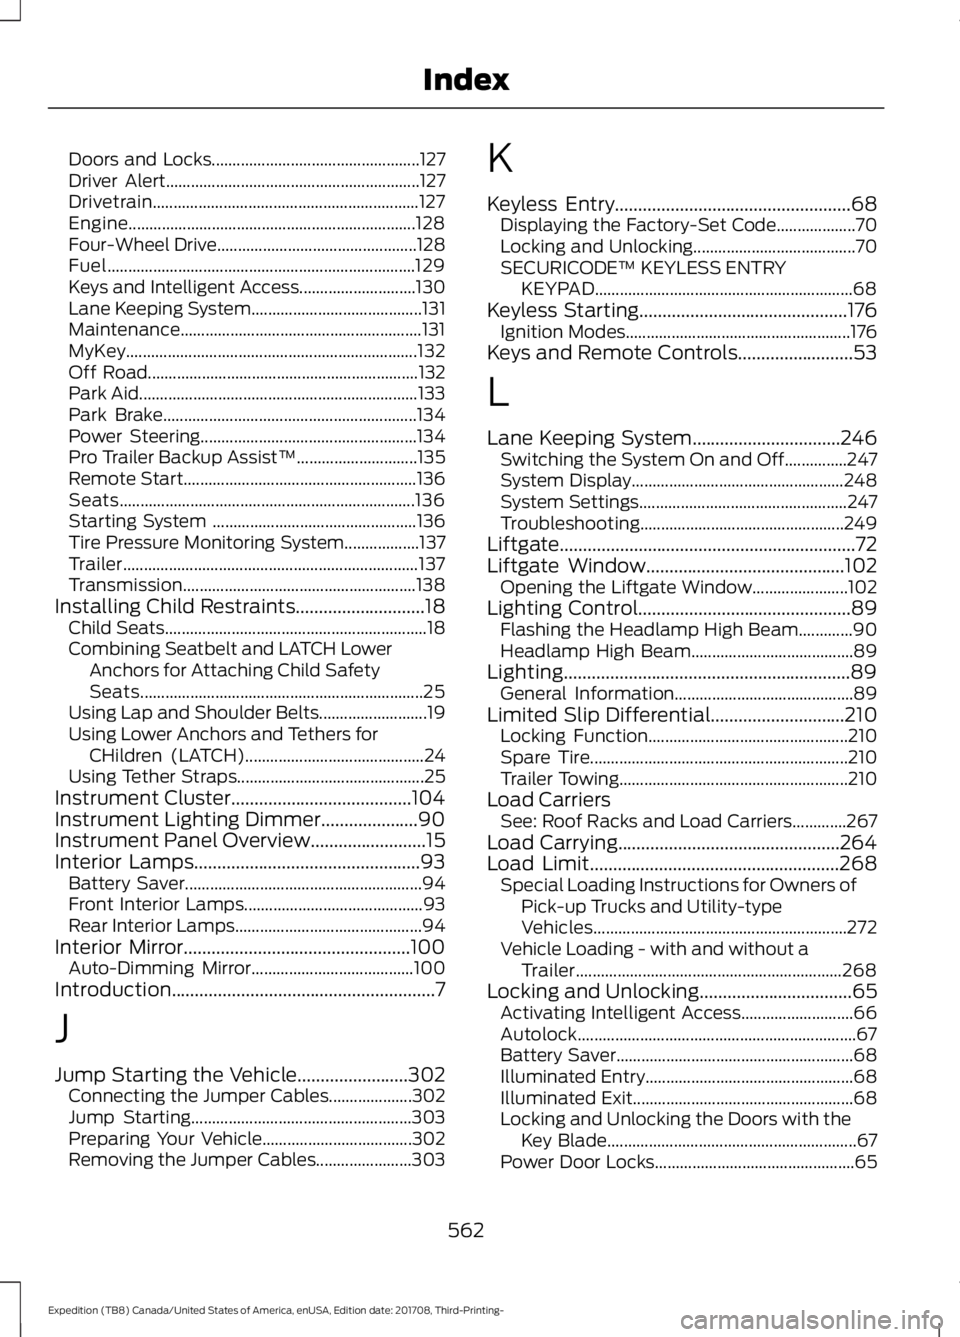
Doors and Locks..................................................
127
Driver Alert............................................................. 127
Drivetrain................................................................ 127
Engine..................................................................... 128
Four-Wheel Drive................................................ 128
Fuel........................................................................\
.. 129
Keys and Intelligent Access............................ 130
Lane Keeping System......................................... 131
Maintenance.......................................................... 131
MyKey...................................................................... 132
Off Road................................................................. 132
Park Aid................................................................... 133
Park Brake............................................................. 134
Power Steering.................................................... 134
Pro Trailer Backup Assist™............................. 135
Remote Start........................................................ 136
Seats....................................................................... 136
Starting System ................................................. 136
Tire Pressure Monitoring System.................. 137
Trailer....................................................................... 137
Transmission........................................................ 138
Installing Child Restraints............................18
Child Seats............................................................... 18
Combining Seatbelt and LATCH Lower Anchors for Attaching Child Safety
Seats.................................................................... 25
Using Lap and Shoulder Belts.......................... 19
Using Lower Anchors and Tethers for CHildren (LATCH)........................................... 24
Using Tether Straps............................................. 25
Instrument Cluster.......................................104
Instrument Lighting Dimmer.....................90
Instrument Panel Overview
.........................15
Interior Lamps.................................................93
Battery Saver......................................................... 94
Front Interior Lamps........................................... 93
Rear Interior Lamps............................................. 94
Interior Mirror
.................................................100
Auto-Dimming Mirror....................................... 100
Introduction.........................................................7
J
Jump Starting the Vehicle........................302 Connecting the Jumper Cables.................... 302
Jump Starting..................................................... 303
Preparing Your Vehicle.................................... 302
Removing the Jumper Cables....................... 303K
Keyless Entry
...................................................68
Displaying the Factory-Set Code................... 70
Locking and Unlocking....................................... 70
SECURICODE™ KEYLESS ENTRY KEYPAD.............................................................. 68
Keyless Starting.............................................176 Ignition Modes...................................................... 176
Keys and Remote Controls.........................53
L
Lane Keeping System
................................246
Switching the System On and Off...............247
System Display................................................... 248
System Settings.................................................. 247
Troubleshooting................................................. 249
Liftgate................................................................72
Liftgate Window...........................................102 Opening the Liftgate Window....................... 102
Lighting Control
..............................................89
Flashing the Headlamp High Beam.............90
Headlamp High Beam....................................... 89
Lighting..............................................................89 General Information........................................... 89
Limited Slip Differential
.............................210
Locking Function................................................ 210
Spare Tire.............................................................. 210
Trailer Towing....................................................... 210
Load Carriers See: Roof Racks and Load Carriers.............267
Load Carrying................................................264
Load Limit
......................................................268
Special Loading Instructions for Owners of
Pick-up Trucks and Utility-type
Vehicles............................................................. 272
Vehicle Loading - with and without a Trailer................................................................ 268
Locking and Unlocking.................................65 Activating Intelligent Access........................... 66
Autolock................................................................... 67
Battery Saver......................................................... 68
Illuminated Entry.................................................. 68
Illuminated Exit..................................................... 68
Locking and Unlocking the Doors with the Key Blade............................................................ 67
Power Door Locks................................................ 65
562
Expedition (TB8) Canada/United States of America, enUSA, Edition date: 201708, Third-Printing- Index