Page 499 of 568
Snow ModeSelecting “Snow” within the head unit will activate snow
mode for use on loose traction surfaces. When in Snow
mode (depending on certain operating conditions), the
transmission may use second gear (rather than first gear)
during launches, to minimize wheel slippage. The Trans-
mission is set to “Snow” setting highlighted in blue.
Stability Control is set to “Full” highlighted in blue.
All-Wheel Drive is set to “50/50” highlighted in blue.
Steering is set to “Street” highlighted in yellow. Suspension
is set to “Street” highlighted in yellow.
Paddle shifters can be enabled or disabled by pressing the
“Snow Set-up” button on the touchscreen.
Drive Mode (Snow)
10
MULTIMEDIA 497
Page 500 of 568
Auto Mode
Auto mode is enabled upon ignition on, or by selecting
“Auto” within the head unit. The Transmission, Stability
Control and All-Wheel Drive modes are set to their “Street”settings highlighted in yellow. Steering and Suspension can
be configured in either the “Street,” “Sport,” or “Track”
and the Paddle Shifters may be enabled or disabled while
in auto set-up mode.
Auto Mode (Default)
Auto Mode Set-Up (Default)
498 MULTIMEDIA
Page 501 of 568
Custom Mode
Custom Mode may be selected by pushing the “Custom” button
on the head unit. Custom Mode allows you to create a custom
configuration that is saved for quick selection of your favorite
settings. While in Custom Mode, the All-Wheel Drive, Stability
Control, Transmission, Steering, Suspension, and Paddle Shifter
settings are shown in their current configuration.
While in the Custom Mode screen, press the “Custom
Set-Up” button on the touchscreen to access the selectable
options. Select which mode suits your driving needs for a
custom driving experience.
Custom Mode
Custom Mode Set-Up
10
MULTIMEDIA 499
Page 505 of 568

Factory Default” button on the touchscreen to change back
to factory settings, or press the “Shift Light Off” button on
the touchscreen to turn the system off completely.
VALET MODE
To enter Valet Mode press the “Valet” button on the
touchscreen and a popup screen will ask you if you would
like to enter Valet Mode, after selecting “Yes” you will be
asked to enter a four digit PIN code. The PIN code is not
set, so you are free to select any four digit numeric
combination that will be easy to remember.
While in Valet Mode the following vehicle configurations
are set and locked to prevent unauthorized modification:
•All-Wheel Drive is set to 50/50.
• Transmission locks out access to first gear and up-shifts
earlier than normal.
• Steering wheel paddle shifters are disabled.
• The Drive Mode interface is not available. Pushing the
SRT button on the console will display the unlock
keypad.
• The ESC Off button is disabled.
• The Launch Control button is disabled.
• Engine power is reduced.
Valet Mode Activation
10
MULTIMEDIA 503
Page 508 of 568

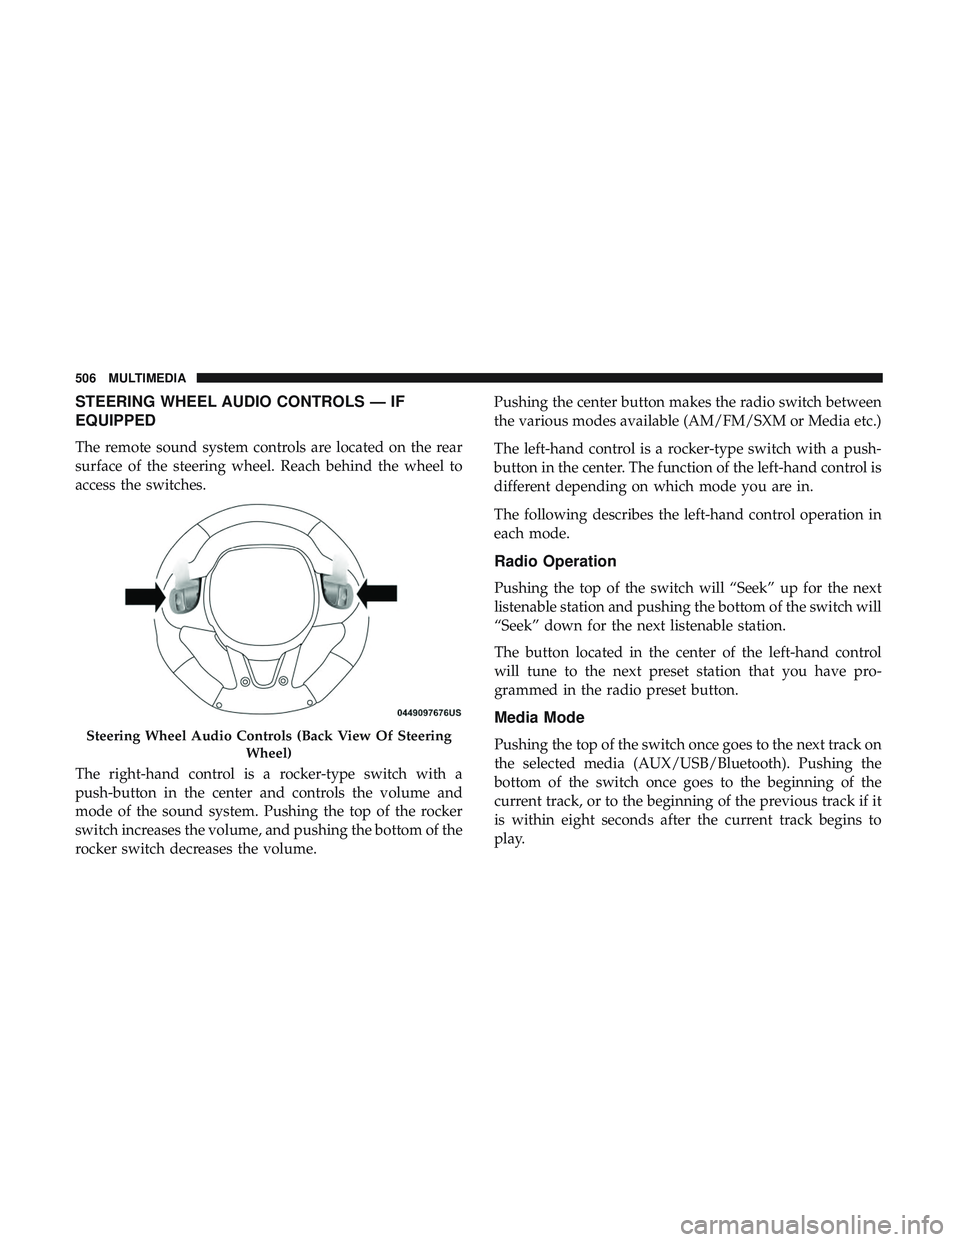
STEERING WHEEL AUDIO CONTROLS — IF
EQUIPPED
The remote sound system controls are located on the rear
surface of the steering wheel. Reach behind the wheel to
access the switches.
The right-hand control is a rocker-type switch with a
push-button in the center and controls the volume and
mode of the sound system. Pushing the top of the rocker
switch increases the volume, and pushing the bottom of the
rocker switch decreases the volume.Pushing the center button makes the radio switch between
the various modes available (AM/FM/SXM or Media etc.)
The left-hand control is a rocker-type switch with a push-
button in the center. The function of the left-hand control is
different depending on which mode you are in.
The following describes the left-hand control operation in
each mode.
Radio Operation
Pushing the top of the switch will “Seek” up for the next
listenable station and pushing the bottom of the switch will
“Seek” down for the next listenable station.
The button located in the center of the left-hand control
will tune to the next preset station that you have pro-
grammed in the radio preset button.
Media Mode
Pushing the top of the switch once goes to the next track on
the selected media (AUX/USB/Bluetooth). Pushing the
bottom of the switch once goes to the beginning of the
current track, or to the beginning of the previous track if it
is within eight seconds after the current track begins to
play.Steering Wheel Audio Controls (Back View Of Steering
Wheel)
506 MULTIMEDIA
Page 529 of 568
NOTE:If you see the NAV icon on the bottom bar, or in the
Apps menus, of your touchscreen, you have the Uconnect
4C NAV system. If not, you have a Uconnect 4C system.
Get Started
All you need to control your Uconnect system with your
voice are the buttons on your steering wheel.
Helpful hints for using Voice Recognition:
1. Visit UconnectPhone.com to check mobile device and feature compatibility and to find phone pairing instruc-
tions.
2. Reduce background noise. Wind and passenger conver- sations are examples of noise that may impact recogni-
tion.
3. Speak clearly at a normal pace and volume while facing straight ahead. The microphone is positioned on the
rearview mirror and aimed at the driver.
4. Each time you give a Voice Command, you must first push either the Voice Recognition (VR) or Phone button,
wait until afterthe beep, then say your Voice Command.
Uconnect 4C NAV10
MULTIMEDIA 527
Page 534 of 568
Apple iPhone iOS 6 or later supports readingincoming
text messages only. To enable this feature on your Apple
iPhone, follow these four simple steps:
TIP: Voice Text Reply is not compatible with iPhone, but if
your vehicle is equipped with Siri Eyes Free, you can use
your voice to send a text message.Climate
Too hot? Too cold? Adjust vehicle temperatures hands-free
and keep everyone comfortable while you keep moving
ahead. (If vehicle is equipped with climate control.)
Push the VR button
. After the beep, say one of the
following commands:
• “Set driver temperature to 70degrees”
• “Set passenger temperature to 70degrees”
TIP: Voice Command for Climate may only be used to
adjust the interior temperature of your vehicle. Voice
Command will not work to adjust the heated seats or
steering wheel if equipped.
iPhone Notification Settings
1 — Select “Settings”
2 — Select “Bluetooth”
3 — Select The (i) For The Paired Vehicle
4 — Turn On “Show Notifications” 532 MULTIMEDIA
Page 538 of 568

•Press the “Location” button on the bottom menu bar of
the app to bring up a map to locate your vehicle or send
a location to your Uconnect Navigation using Vehicle
Finder and Send & Go , if equipped.
• Press the “Settings” side menu in the upper left corner of
the app to bring up app settings.
NOTE: For further information please visit
DriveUconnect.com (U.S. Residents) or DriveUconnect.ca
(Canadian Residents).
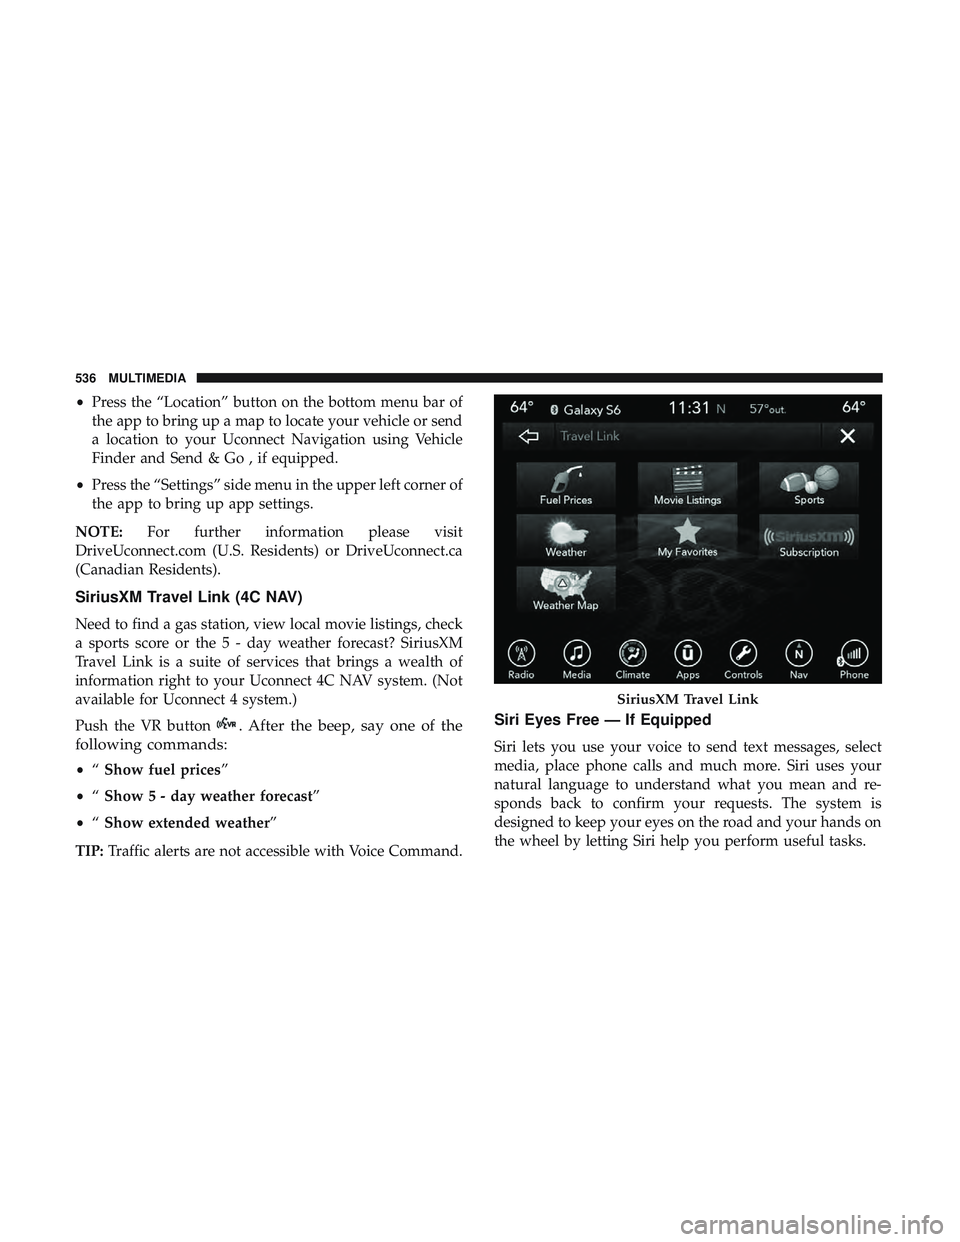
SiriusXM Travel Link (4C NAV)
Need to find a gas station, view local movie listings, check
a sports score or the 5 - day weather forecast? SiriusXM
Travel Link is a suite of services that brings a wealth of
information right to your Uconnect 4C NAV system. (Not
available for Uconnect 4 system.)
Push the VR button
. After the beep, say one of the
following commands:
• “Show fuel prices”
• “Show 5 - day weather forecast”
• “Show extended weather”
TIP: Traffic alerts are not accessible with Voice Command.
Siri Eyes Free — If Equipped
Siri lets you use your voice to send text messages, select
media, place phone calls and much more. Siri uses your
natural language to understand what you mean and re-
sponds back to confirm your requests. The system is
designed to keep your eyes on the road and your hands on
the wheel by letting Siri help you perform useful tasks.
SiriusXM Travel Link
536 MULTIMEDIA