Page 18 of 592

▫Closing Sunroof ........................106
▫ Wind Buffeting ........................107
▫ Sunshade Operation .....................107
▫ Pinch Protect Feature ....................107
▫ Venting Sunroof — Express ................107
▫ Sunroof Maintenance ....................107
▫ Ignition Off Operation ...................107
▫ Relearn Procedure ..................... .108
� HOOD ...............................108
▫ Opening The Hood .....................108
▫ Closing The Hood ..................... .109
� LIFTGATE ............................ .109
▫ Power Liftgate — If Equipped .............109
▫ Cargo Area Features ....................111
� GARAGE DOOR OPENER — IF EQUIPPED ....114
▫ Before You Begin Programming HomeLink .....114▫
Programming A Rolling Code ..............115
▫ Programming A Non-Rolling Code ...........116
▫ Canadian/Gate Operator Programming .......117
▫ Using HomeLink .......................118
▫ Security ..............................118
▫ Troubleshooting Tips ....................118
▫ General Information .....................119
� INTERNAL EQUIPMENT ..................120
▫ Storage ............................. .120
▫ Cupholders ..........................125
▫ Electrical Power Outlets ..................128
▫ Power Inverter — If Equipped .............132
▫ Sunglasses Bin
Door ....................133
� ROOF LUGGAGE RACK — IF EQUIPPED ......133
▫ Deploying The Crossbars .................134
▫ Stowing The Crossbars ...................136
16 GETTING TO KNOW YOUR VEHICLE
Page 61 of 592
WARNING!(Continued)
position the seat will not provide the proper stability
for child seats and/or passengers. An improperly
latched seat could cause serious injury.
Folding Third Row
Both third row seats can be folded forward to increase the
cargo area. To lower either seat, pull on the release handle
located on back of the seat and lower the seat using the pull
strap located next to the release handle.
NOTE:The second row seats must be in their full upright
position or tumbled when folding the third row seats.
To raise the seat, pull the seat toward you using the strap
located on the back of the seat.
NOTE: You may experience deformation in the seat cush-
ion from the seat belt buckles if the seats are left folded for
an extended period of time. This is normal and by simply
opening the seats to the open position, over time the seat
cushion will return to its normal shape.
Release Handles
Third Row Folded
3
GETTING TO KNOW YOUR VEHICLE 59
Page 66 of 592

WARNING!(Continued)
re-installation instructions above prior to operating
the vehicle or occupying a seat.
• Sitting in a seat with the head restraint in its lowered
position could result in serious injury or death in a
collision. Always make sure the outboard head re-
straints are in their upright positions when the seat is
to be occupied. NOTE:
For proper routing of a Child Seat Tether, refer to
“Occupant Restraints” in “Safety” for further information.
WARNING!
• A loose head restraint thrown forward in a collision
or hard stop could cause serious injury or death to
occupants of the vehicle. Always securely stow re-
moved head restraints in a location outside the
occupant compartment.
• ALL the head restraints MUST be reinstalled in the
vehicle to properly protect the occupants. Follow the
re-installation instructions above prior to operating
the vehicle or occupying a seat.
Power Folding Third Row Head Restraints
For improved visibility when in reverse, the third row head
restraints can be folded using the Uconnect System.
Press the “Controls” button located on the bottom of the
Uconnect display.
Press the Headrest Fold button
to power fold the third
row head restraints.
Center Head Restraint Release Button
64 GETTING TO KNOW YOUR VEHICLE
Page 67 of 592
NOTE:
•The head restraints can only be folded downward using
the Headrest Fold button. The head restraints must be
raised manually when occupying the third row.
• Do not fold if there are passengers seated in the third
row seats.
STEERING WHEEL
Manual Tilt/Telescoping Steering Column — If
Equipped
This feature allows you to tilt the steering column upward
or downward. It also allows you to lengthen or shorten the
steering column. The tilt/telescoping lever is located below
the steering wheel at the end of the steering column. To unlock the steering column, push the lever downward
(toward the floor). To tilt the steering column, move the
steering wheel upward or downward as desired. To
lengthen or shorten the steering column, pull the steering
wheel outward or push it inward as desired. To lock the
steering column in position, push the lever upward until
fully engaged.Tilt/Telescoping Lever
3
GETTING TO KNOW YOUR VEHICLE 65
Page 68 of 592

WARNING!
Do not adjust the steering column while driving.
Adjusting the steering column while driving or driv-
ing with the steering column unlocked, could cause the
driver to lose control of the vehicle. Failure to follow
this warning may result in serious injury or death.
Power Tilt/Telescoping Steering Column — If
Equipped
This feature allows you to tilt the steering column upward
or downward. It also allows you to lengthen or shorten the
steering column. The power tilt/telescoping steering col-
umn lever is located below the multifunction lever on the
steering column.To tilt the steering column, move the lever up or down as
desired. To lengthen or shorten the steering column, pull
the lever toward you or push the lever away from you as
desired.
NOTE:
For vehicles equipped with Driver Memory Seat,
you can use your key fob or the memory switch on the
driver’s door trim panel to return the tilt/telescopic steer-
ing column to pre-programmed positions. Refer to “Driver
Memory Seat” in this section for further information.
Power Tilt/Telescoping Steering Column
66 GETTING TO KNOW YOUR VEHICLE
Page 70 of 592

MIRRORS
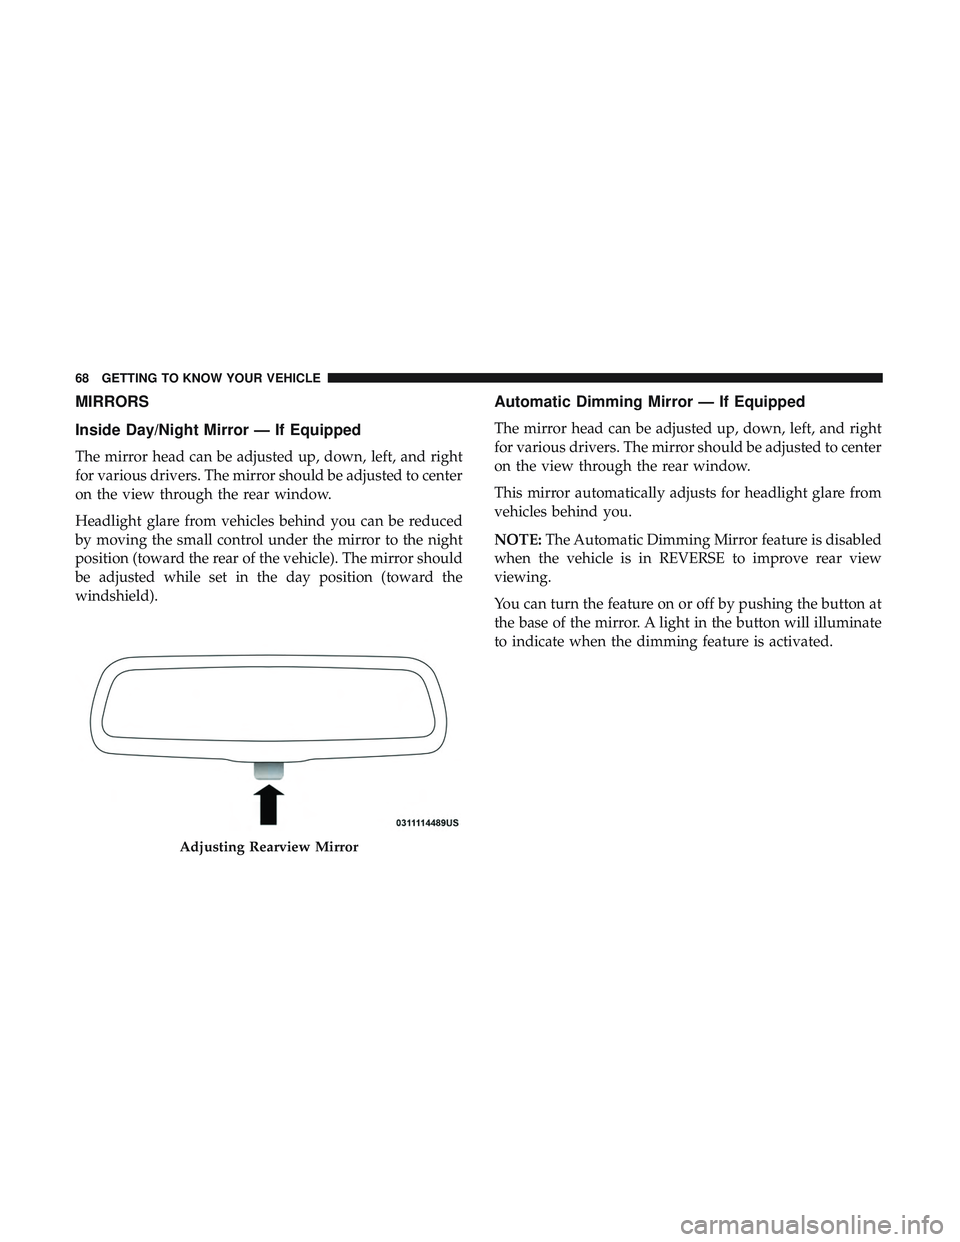
Inside Day/Night Mirror — If Equipped
The mirror head can be adjusted up, down, left, and right
for various drivers. The mirror should be adjusted to center
on the view through the rear window.
Headlight glare from vehicles behind you can be reduced
by moving the small control under the mirror to the night
position (toward the rear of the vehicle). The mirror should
be adjusted while set in the day position (toward the
windshield).
Automatic Dimming Mirror — If Equipped
The mirror head can be adjusted up, down, left, and right
for various drivers. The mirror should be adjusted to center
on the view through the rear window.
This mirror automatically adjusts for headlight glare from
vehicles behind you.
NOTE:The Automatic Dimming Mirror feature is disabled
when the vehicle is in REVERSE to improve rear view
viewing.
You can turn the feature on or off by pushing the button at
the base of the mirror. A light in the button will illuminate
to indicate when the dimming feature is activated.
Adjusting Rearview Mirror
68 GETTING TO KNOW YOUR VEHICLE
Page 74 of 592

Sun Visor “Slide-On-Rod” Feature — If Equipped
The sun visor “Slide-On-Rod” feature allows for additional
flexibility in positioning the sun visor to block out the sun.
1. Fold down the sun visor.
2. Unclip the visor from the center clip.
3. Pivot the sun visor toward the side window.
4. Extend the sun visor blade for additional sun blockage.
NOTE:The sun visor blade can also be extended while the
sun visor is against the windshield for additional sun
blockage through the front of the vehicle.
EXTERIOR LIGHTS
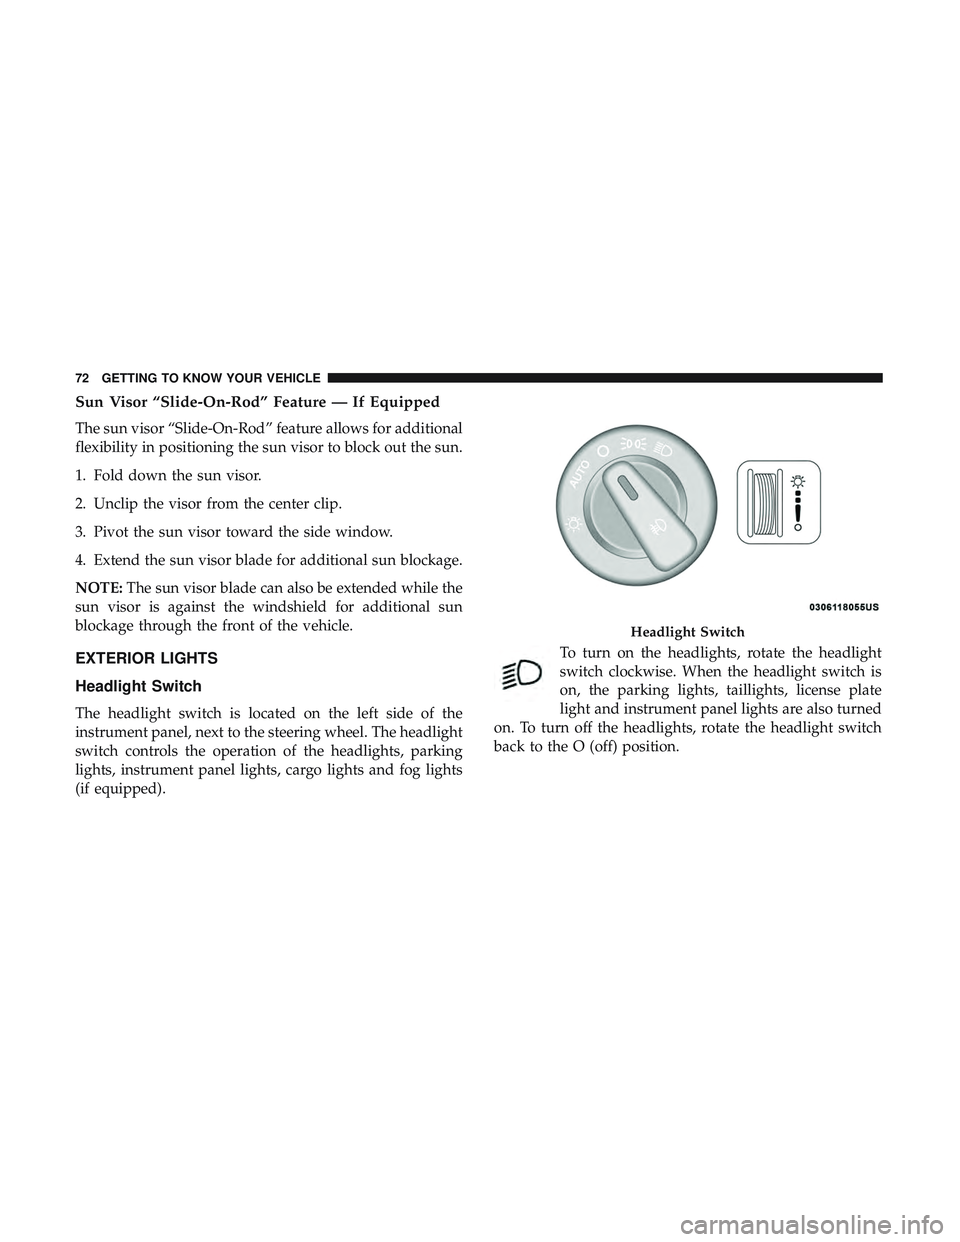
Headlight Switch
The headlight switch is located on the left side of the
instrument panel, next to the steering wheel. The headlight
switch controls the operation of the headlights, parking
lights, instrument panel lights, cargo lights and fog lights
(if equipped). To turn on the headlights, rotate the headlight
switch clockwise. When the headlight switch is
on, the parking lights, taillights, license plate
light and instrument panel lights are also turned
on. To turn off the headlights, rotate the headlight switch
back to the O (off) position.
Headlight Switch
72 GETTING TO KNOW YOUR VEHICLE
Page 76 of 592

High/Low Beam Switch
Push the multifunction lever toward the instrument panel
to switch the headlights to high beams. Pulling the multi-
function back toward the steering wheel will turn the low
beams back on, or shut the high beams off.
Automatic High Beam — If Equipped
The Automatic High Beam Headlamp Control system
provides increased forward lighting at night by automat-
ing high beam control through the use of a digital camera
mounted on the inside rearview mirror. This camera de-
tects vehicle specific light and automatically switches from
high beams to low beams until the approaching vehicle is
out of view.
NOTE:
•The Automatic High Beam Headlamp Control can be
turned on or off by selecting “ON” under “Auto High
Beam” within your Uconnect settings, as well as turning
the headlight switch to the AUTO position. Refer to
“Uconnect Settings” in “Multimedia” for further infor-
mation.
• Broken, muddy, or obstructed headlights and taillights
of vehicles in the field of view will cause headlights to
remain on longer (closer to the vehicle). Also, dirt, film, and other obstructions on the windshield or camera lens
will cause the system to function improperly.
If the windshield or Automatic High Beam Headlamp
Control mirror is replaced, the mirror must be re-aimed to
ensure proper performance. See your local authorized
dealer.Flash-To-Pass
You can signal another vehicle with your headlights by
lightly pulling the multifunction lever toward you. This
will cause the high beam headlights to turn on, and remain
on, until the lever is released.
Automatic Headlights
This system automatically turns the headlights on or off
according to ambient light levels. To turn the system on,
rotate the headlight switch counterclockwise to the AUTO
position. When the system is on, the headlight time delay
feature is also on. This means the headlights will stay on
for up to 90 seconds after you place the ignition into the
OFF position. The headlight time delay can be pro-
grammed 0/30/60/90 seconds.
Refer to “Uconnect Settings” in “Multimedia” for further
information.
74 GETTING TO KNOW YOUR VEHICLE