Page 489 of 592

NOTE:
•FCA US LLC or your dealer may contact you directly
regarding software updates.
• To help further improve vehicle security and minimize
the potential risk of a security breach, vehicle owners
should:
• Routinely check www.driveuconnect.com/support/
software-update.html (U.S. Residents) or www.driveu-
connect.ca (Canadian Residents) to learn about avail-
able Uconnect software updates.
• Only connect and use trusted media devices (e.g.
personal mobile phones, USBs, CDs).
Privacy of any wireless and wired communications cannot
be assured. Third parties may unlawfully intercept infor-
mation and private communications without your consent.
For further information, refer to “Data Collection & Pri-
vacy” in your Uconnect Owner ’s Manual Supplement or
“Onboard Diagnostic System (OBD II) Cybersecurity” in
“Getting To Know Your Instrument Panel”.UCONNECT SETTINGS
The Uconnect system uses a combination of buttons on the
touchscreen and buttons on the faceplate located on the
center of the instrument panel that allow you to access and
change the customer programmable features. Many fea-
tures can vary by vehicle.
Uconnect 4 Buttons On Touchscreen And Buttons On Faceplate
1 — Uconnect Buttons On The Touchscreen
2 — Uconnect Buttons On The Faceplate
10
MULTIMEDIA 487
Page 490 of 592

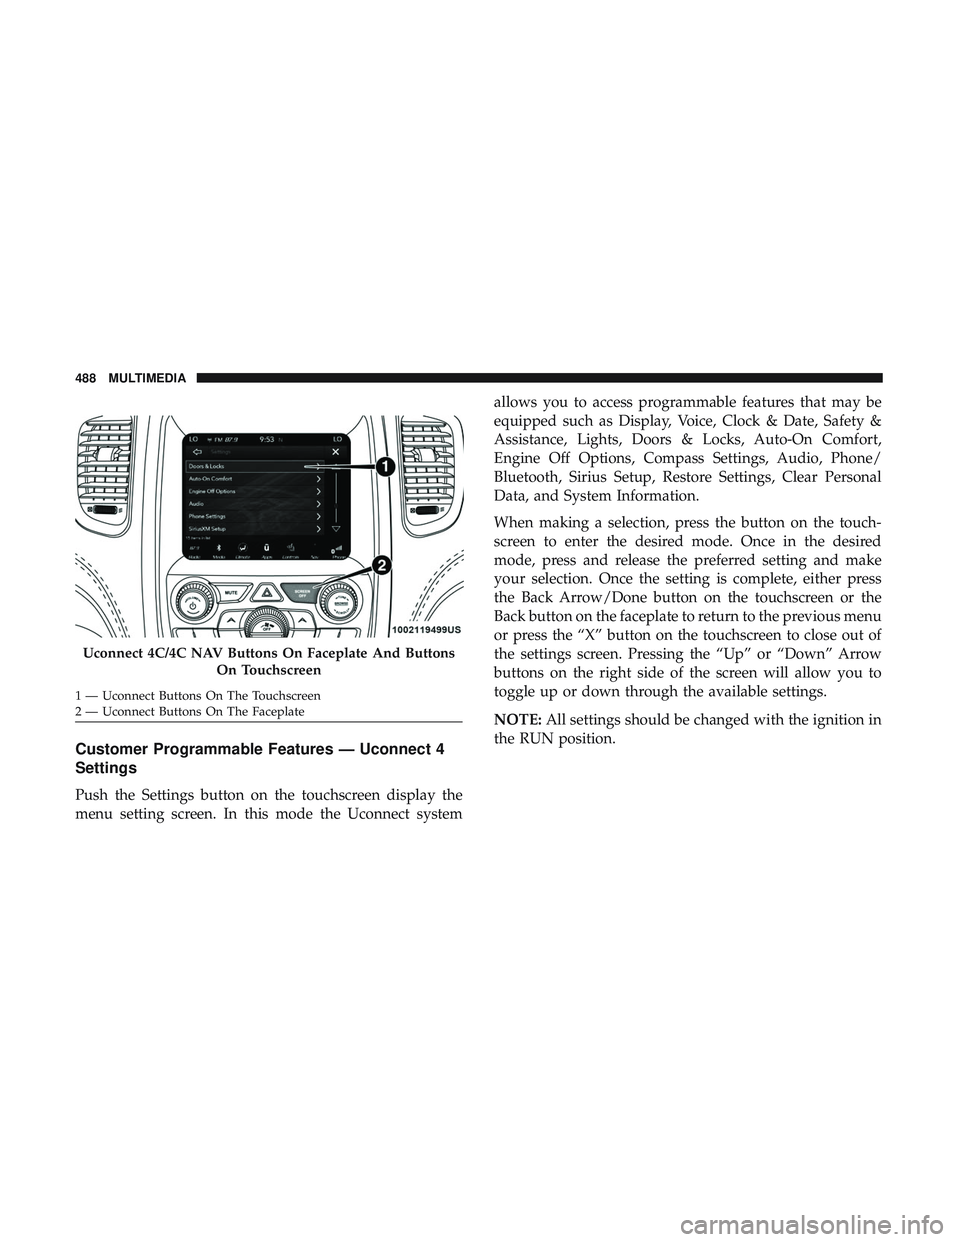
Customer Programmable Features — Uconnect 4
Settings
Push the Settings button on the touchscreen display the
menu setting screen. In this mode the Uconnect systemallows you to access programmable features that may be
equipped such as Display, Voice, Clock & Date, Safety &
Assistance, Lights, Doors & Locks, Auto-On Comfort,
Engine Off Options, Compass Settings, Audio, Phone/
Bluetooth, Sirius Setup, Restore Settings, Clear Personal
Data, and System Information.
When making a selection, press the button on the touch-
screen to enter the desired mode. Once in the desired
mode, press and release the preferred setting and make
your selection. Once the setting is complete, either press
the Back Arrow/Done button on the touchscreen or the
Back button on the faceplate to return to the previous menu
or press the “X” button on the touchscreen to close out of
the settings screen. Pressing the “Up” or “Down” Arrow
buttons on the right side of the screen will allow you to
toggle up or down through the available settings.
NOTE:
All settings should be changed with the ignition in
the RUN position.
Uconnect 4C/4C NAV Buttons On Faceplate And Buttons
On Touchscreen
1 — Uconnect Buttons On The Touchscreen
2 — Uconnect Buttons On The Faceplate 488 MULTIMEDIA
Page 491 of 592
Display
After pressing the “Display” button on the touchscreen, the
following settings will be available:
Setting NameSelectable Options
Display Mode Manual Auto
Display Brightness With Headlights ON +-
NOTE:
To make changes to the �Display Brightness with Headlights ON� setting, the headlights must be on and the interior
dimmer switch must not be in the �party�or�parade� positions.
Display Brightness With Headlights OFF +-
NOTE:
To make changes to the �Display Brightness with Headlights OFF� setting, the headlights must be off and the interior
dimmer switch must not be in the �party�or�parade� positions.
10
MULTIMEDIA 489
Page 504 of 592
Audio
After pressing the “Audio” button on the touchscreen, the
following settings will be available:
Setting NameSelectable Options
Equalizer BassMidTreble
NOTE:
When in this display you may adjust the “Bass”, “Mid” and “Treble” settings. Adjust the settings with the “+” and
“–” setting buttons on the touchscreen or by selecting any point on the scale between the “+” and “–” buttons on the
touchscreen. Bass/Mid/Treble also allow you to simply slide your finger up or down to change the setting as well as
press directly on the desired setting. Balance/Fade Up Arrow
Button Down Ar-
row Button Left Arrow
Button Right Ar-
row Button Center “C”
Button
NOTE:
When in this display you may adjust the “Balance/Fade” of the audio by using the “Arrow” button on the touch-
screen to adjust the sound level from the front and rear or right and left side speakers. Press the “Center ‘C’ Button”
on the touchscreen to reset the balance and fade to the factory setting.
502 MULTIMEDIA
Page 509 of 592

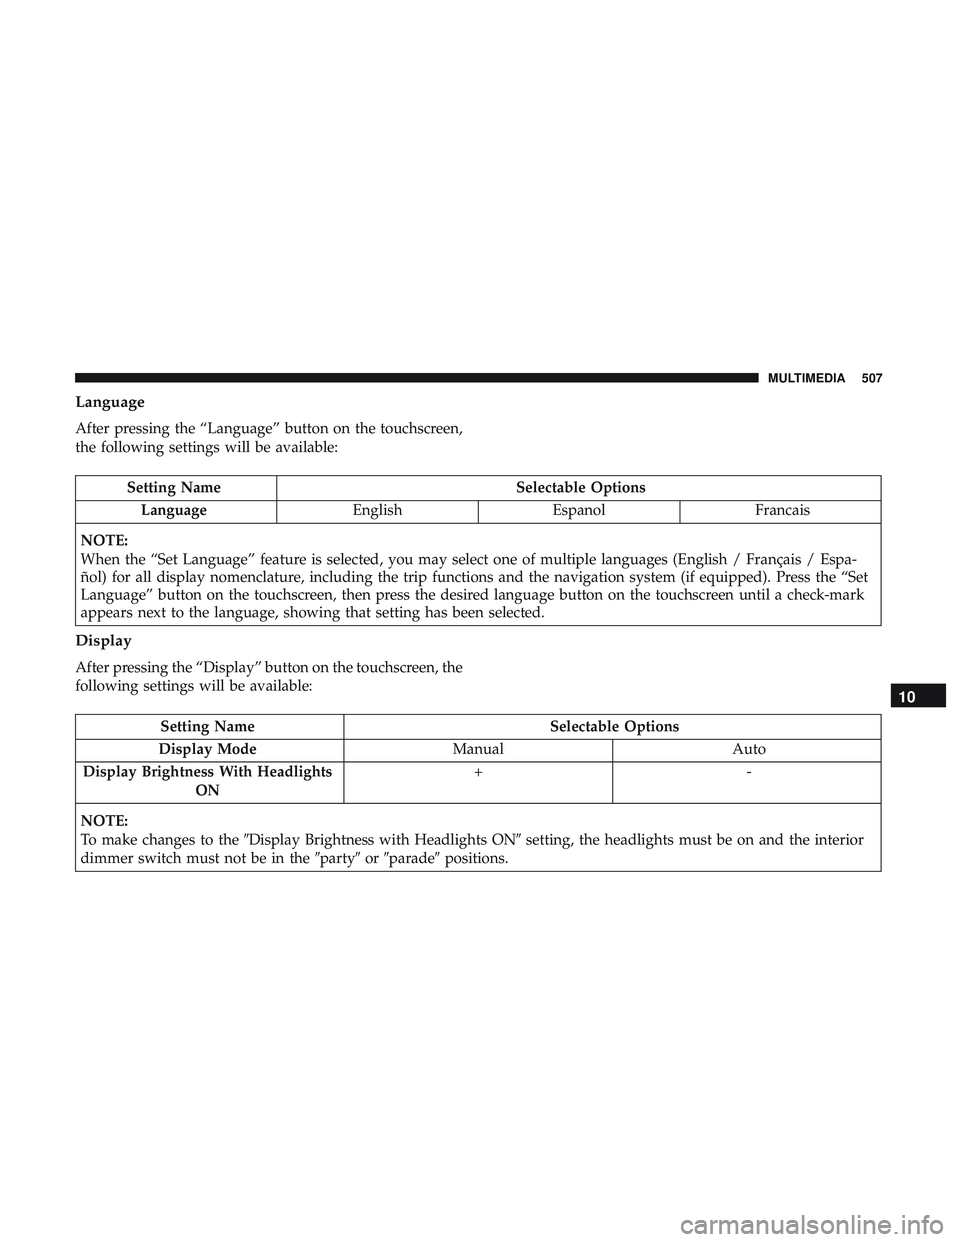
Language
After pressing the “Language” button on the touchscreen,
the following settings will be available:
Setting NameSelectable Options
Language EnglishEspanol Francais
NOTE:
When the “Set Language” feature is selected, you may select one of multiple languages (English / Français / Espa-
ñol) for all display nomenclature, including the trip functions and the navigation system (if equipped). Press the “Set
Language” button on the touchscreen, then press the desired language button on the touchscreen until a check-mark
appears next to the language, showing that setting has been selected.
Display
After pressing the “Display” button on the touchscreen, the
following settings will be available:
Setting Name Selectable Options
Display Mode ManualAuto
Display Brightness With Headlights ON +-
NOTE:
To make changes to the �Display Brightness with Headlights ON� setting, the headlights must be on and the interior
dimmer switch must not be in the �party�or�parade� positions.
10
MULTIMEDIA 507
Page 510 of 592
Setting NameSelectable Options
Display Brightness With Headlights OFF +-
NOTE:
To make changes to the �Display Brightness with Headlights OFF� setting, the headlights must be off and the interior
dimmer switch must not be in the �party�or�parade� positions.
Set Theme OnOff
NOTE:
When the “Set Theme” feature is selected, you may select the theme for the display screen. To make your selection,
press the �Set Theme� button on the touchscreen, then select the desired theme option button until a check-mark ap-
pears showing that the setting has been selected.
Touchscreen Beep OnOff
Control Screen Time-Out — If Equipped On
Off
NOTE:
When the “Control Screen Time-Out” feature is selected, the Controls Screen will stay open for five seconds before
the screen times out. With the feature deselected, the screen will stay open until it is manually closed.
508 MULTIMEDIA
Page 517 of 592

Setting NameSelectable Options
NOTE:
The “LaneSense Warning” setting determines at what distance the LaneSense system warns you, through steering
wheel feedback, of a possible lane departure. LaneSense Strength — If Equipped Low
Medium High
Blind Spot Alert — If Equipped Off
LightsLights & Chime
NOTE:
When the “Blind Spot Alert” feature is selected, the Blind Spot Alert system is activated and shows a visual alert in
the outside mirrors, or it shows a visual alert in the outside mirrors as well as play an audible alert when the turn
signal is on. When “Off” is selected, the Blind Spot Alert system is deactivated.
If your vehicle has experienced any damage in the area where the sensor is located, even if the fascia is not damaged,
the sensor may have become misaligned. Take your vehicle to an authorized dealer to verify sensor alignment. A sen-
sor that is misaligned results in the Blind Spot Alert System not operating to specification. Electronic Power Steering Default — If Equipped Normal
SportComfort
NOTE:
When the “Electronic Power Steering Default” is selected, it allows you to change the default setting of your vehicle
to either normal, sport, or comfort.
10
MULTIMEDIA 515
Page 524 of 592
Audio
After pressing the “Audio” button on the touchscreen, the
following settings will be available:
Setting NameSelectable Options
Balance/Fade Speaker Icon
NOTE:
When in this display you may adjust the “Balance/Fade” of the audio by pressing and dragging the “Speaker Icon”
toward any location in the box. Equalizer BassMid Treble
NOTE:
When in this display you may adjust the “Bass”, “Mid” and “Treble” settings. Adjust the settings with the “+” and
“–” setting buttons on the touchscreen or by selecting any point on the scale between the “+” and “–” buttons on the
touchscreen. Bass/Mid/Treble also allow you to simply slide your finger up or down to change the setting as well as
press directly on the desired setting. Speed Adjusted Vol- ume Off
12 3
Surround Sound — If Equipped On
Off
AUX Volume Offset — If Equipped +-
522 MULTIMEDIA