Page 269 of 516

IN CASE OF EMERGENCY
CONTENTS
�HAZARD WARNING FLASHERS ............269
� ASSIST AND SOS MIRROR — IF EQUIPPED . . . .269
� BULB REPLACEMENT ....................275
▫ Replacement Bulbs .....................275
▫ Replacing Exterior Bulbs ..................276
� FUSES ............................... .278
▫ General Information .....................279
▫ Underhood Fuses ..................... .280
▫ Rear Interior Fuses .....................284
� JACKING AND TIRE CHANGING ...........290
▫ Jack Location/Spare Tire Stowage ...........291
▫ Preparations For Jacking .................292
▫ Jacking And Changing A Tire ..............293
▫ Road Tire Installation ...................297 �
TIRE SERVICE KIT — IF EQUIPPED ..........297
▫ Tire Service Kit Storage ..................298
▫ Tire Service Kit Components And Operation . . .298
▫ Tire Service Kit Usage Precautions ..........299
▫ Sealing A Tire With Tire Service Kit .........301
� JUMP STARTING ....................... .305
▫ Preparations For Jump Start ...............306
▫ Jump Starting Procedure .................307
� IF YOUR ENGINE OVERHEATS .............308
� MANUAL PARK RELEASE — 8 SPEED
TRANSMISSION ....................... .309
� FREEING A STUCK VEHICLE ..............311
7
Page 292 of 516

CavityCartridge Fuse Mini-FuseDescription
68 –10 Amp Red Dual USB Power Outlet –
R/A Sense (Charger/300)
Rear Sunshade (Charger/
300) RR USB Timer
69 ––Fuse – Spare
70 ––Fuse – Spare
JACKING AND TIRE CHANGING
WARNING!
•Do not attempt to change a tire on the side of the
vehicle close to moving traffic. Pull far enough off
the road to avoid the danger of being hit when
operating the jack or changing the wheel.
• Being under a jacked-up vehicle is dangerous. The
vehicle could slip off the jack and fall on you. You
could be crushed. Never put any part of your body
(Continued)
WARNING! (Continued)
under a vehicle that is on a jack. If you need to get
under a raised vehicle, take it to a service center
where it can be raised on a lift.
• Never start or run the engine while the vehicle is on
a jack.
• The jack is designed to be used as a tool for changing
tires only. The jack should not be used to lift the
vehicle for service purposes. The vehicle should be
jacked on a firm level surface only. Avoid ice or
slippery areas.
290 IN CASE OF EMERGENCY
Page 294 of 516

5. Rotate the fastener securing the jack counterclockwise toremove it.
6. Remove the jack and lug wrench assembly from under the spare tire. Turn the jack screw to the left to loosen the
lug wrench, and remove the wrench from the jack
assembly.
WARNING!
A loose tire or jack thrown forward in a collision or
hard stop could endanger the occupants of the vehicle.
(Continued)
WARNING! (Continued)
Always stow the jack parts and the spare tire in the
places provided. Have the deflated (flat) tire repaired
or replaced immediately.
Preparations For Jacking
1. Park the vehicle on a firm, level surface as far from the
edge of the roadway as possible. Avoid icy or slippery
areas.
WARNING!
Do not attempt to change a tire on the side of the
vehicle close to moving traffic, pull far enough off the
road to avoid being hit when operating the jack or
changing the wheel.
2. Turn on the Hazard Warning flasher.
3. Apply the parking brake.
4. Place the gear selector into PARK (automatic transmis- sion) or FIRST GEAR (manual transmission).
5. Turn the ignition OFF.
Jack Fastener
292 IN CASE OF EMERGENCY
Page 295 of 516

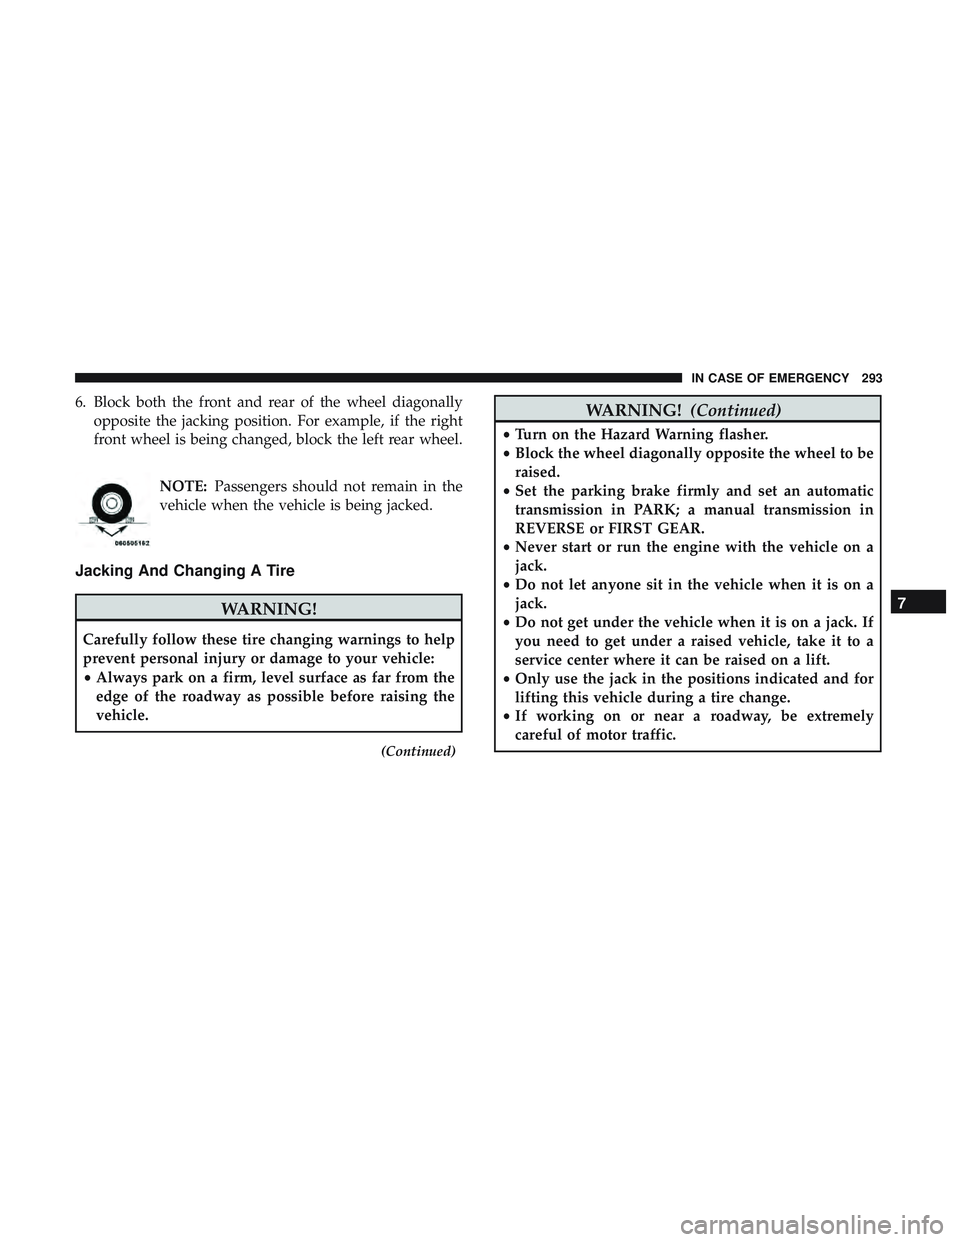
6. Block both the front and rear of the wheel diagonallyopposite the jacking position. For example, if the right
front wheel is being changed, block the left rear wheel.
NOTE:Passengers should not remain in the
vehicle when the vehicle is being jacked.
Jacking And Changing A Tire
WARNING!
Carefully follow these tire changing warnings to help
prevent personal injury or damage to your vehicle:
• Always park on a firm, level surface as far from the
edge of the roadway as possible before raising the
vehicle.
(Continued)
WARNING! (Continued)
•Turn on the Hazard Warning flasher.
• Block the wheel diagonally opposite the wheel to be
raised.
• Set the parking brake firmly and set an automatic
transmission in PARK; a manual transmission in
REVERSE or FIRST GEAR.
• Never start or run the engine with the vehicle on a
jack.
• Do not let anyone sit in the vehicle when it is on a
jack.
• Do not get under the vehicle when it is on a jack. If
you need to get under a raised vehicle, take it to a
service center where it can be raised on a lift.
• Only use the jack in the positions indicated and for
lifting this vehicle during a tire change.
• If working on or near a roadway, be extremely
careful of motor traffic.
7
IN CASE OF EMERGENCY 293
Page 296 of 516
CAUTION!
Do not attempt to raise the vehicle by jacking on
locations other than those indicated in the Jacking
Instructions for this vehicle.1. Remove the spare tire, jack, and lug wrench.
2. If equipped with aluminum wheels where the center cap
covers the lug nuts, use the lug wrench to pry the center
cap off carefully before raising the vehicle.
3. Before raising the vehicle, use the lug wrench to loosen, but not remove, the lug nuts on the wheel with the flat
tire. Turn the lug nuts counterclockwise one turn while
the wheel is still on the ground.
Jack Warning Label
Jack Engagement Locations
294 IN CASE OF EMERGENCY
Page 297 of 516
4. Place the jack underneath the lift area that is closest tothe flat tire. Turn the jack screw clockwise to firmly
engage the jack saddle with the lift area of the sill flange.
NOTE: If the vehicle is too low for jack placement, slide the
jack on its side and rotate it up into position.
5. Raise the vehicle just enough to remove the flat tire andinstall the spare tire.
WARNING!
Raising the vehicle higher than necessary can make the
vehicle less stable. It could slip off the jack and hurt
someone near it. Raise the vehicle only enough to
remove the tire.
6. Remove the lug nuts and tire.
Front Jacking Location
Rear Jacking Location
7
IN CASE OF EMERGENCY 295
Page 298 of 516

7. Mount the spare tire.
CAUTION!
Do not attempt to raise the vehicle by jacking on
locations other than those indicated.NOTE:
•For vehicles so equipped, do not attempt to install a
center cap or wheel cover on the compact spare.
• Refer to “Compact Spare Tire” and to “Limited-Use
Spare” under “Tires—General Information” in “Servic-
ing And Maintenance” for additional warnings, cau-
tions, and information about the spare tire, its use, and
operation.
8. Install the lug nuts with the cone shaped end of the lug nut toward the wheel. Lightly tighten the lug nuts.
WARNING!
To avoid the risk of forcing the vehicle off the jack, do
not tighten the wheel nuts fully until the vehicle has
been lowered. Failure to follow this warning may
result in serious injury.
9. Lower the vehicle to the ground by turning the jack handle counterclockwise.
10. Refer to “Torque Specifications” in “Technical Specifi- cations” section for proper lug nut torque.
Mounting Spare Tire
296 IN CASE OF EMERGENCY
Page 503 of 516

Cybersecurity............................ .404
Daytime Running Lights ......................55
Dealer Service ............................ .334
Deck Lid Power Release ...........................79
Defroster, Windshield ....................... .189
Delay (Intermittent) Wipers ....................61
Diagnostic System, Onboard ...................118
Dimmer Switch Headlight ...............................55
Dipsticks Oil (Engine) ........................... .332
Disable Vehicle Towing ..................... .313
Disposal Antifreeze (Engine Coolant) .................352
Disturb ................................. .484
Door Ajar ................................112
Door Ajar Light ............................112
Door Locks Automatic ..............................39
Door Opener, Garage .........................82
Doors ....................................32
Drag And Drop Menu ...................... .403
Drive Modes ............................. .458Driver ’s Seat Back Tilt
........................39
Driving Through Flowing, Rising, Or Shallow Standing
Water ................................ .264
Electrical Power Outlets .......................91
Electric Brake Control System ..................123
Anti-Lock Brake System ....................122
Electronic Roll Mitigation ...............124, 131
Electric Remote Mirrors .......................52
Electronic Power Distribution Center (Fuses) .......280
Electronic Speed Control (Cruise Control) ......220, 222
Electronic Stability Control (ESC) ...............125
Electronic Throttle Control Warning Light .........111
Emergency, In Case Of Freeing Vehicle When Stuck .................311
Jacking ........................... .290, 358
Jump Starting ....................305, 306, 307
Towing ............................... .313
Emission Control System Maintenance ............119
Engine .......................... .329, 330, 331
Air Cleaner ............................ .339
Block
Heater ........................... .199
Break-In Recommendations .................200
Checking Oil Level ...................... .332
12
INDEX 501