2018 DODGE CHALLENGER change key battery
[x] Cancel search: change key batteryPage 25 of 516

General Information
The following regulatory statement applies to all radio
frequency (RF) devices equipped in this vehicle:
This device complies with Part 15 of the FCC Rules and
with Industry Canada license-exempt RSS standard(s).
Operation is subject to the following two conditions:
1. This device may not cause harmful interference, and
2. This device must accept any interference received, in-cluding interference that may cause undesired opera-
tion.
NOTE: Changes or modifications not expressly approved
by the party responsible for compliance could void the
user ’s authority to operate the equipment.
IGNITION SWITCH
Keyless Push Button Ignition
This feature allows the driver to operate the ignition with
the push of a button as long as the key fob is in the
passenger compartment.
The Keyless Push Button Ignition has four operating
positions, three of which are labeled and will illuminate
when in position. The three positions are OFF, ACC, and
ON/RUN. The fourth position is START. During start,
ON/RUN will illuminate.
NOTE: If the ignition switch does not change with the
push of a button, the key fob may have a low or dead
battery. In this situation, a back up method can be used to
operate the ignition switch. Put the nose side (side opposite
of the emergency key) of the key fob against the ENGINE
START/STOP button and push to operate the ignition
switch.
3
GETTING TO KNOW YOUR VEHICLE 23
Page 40 of 516

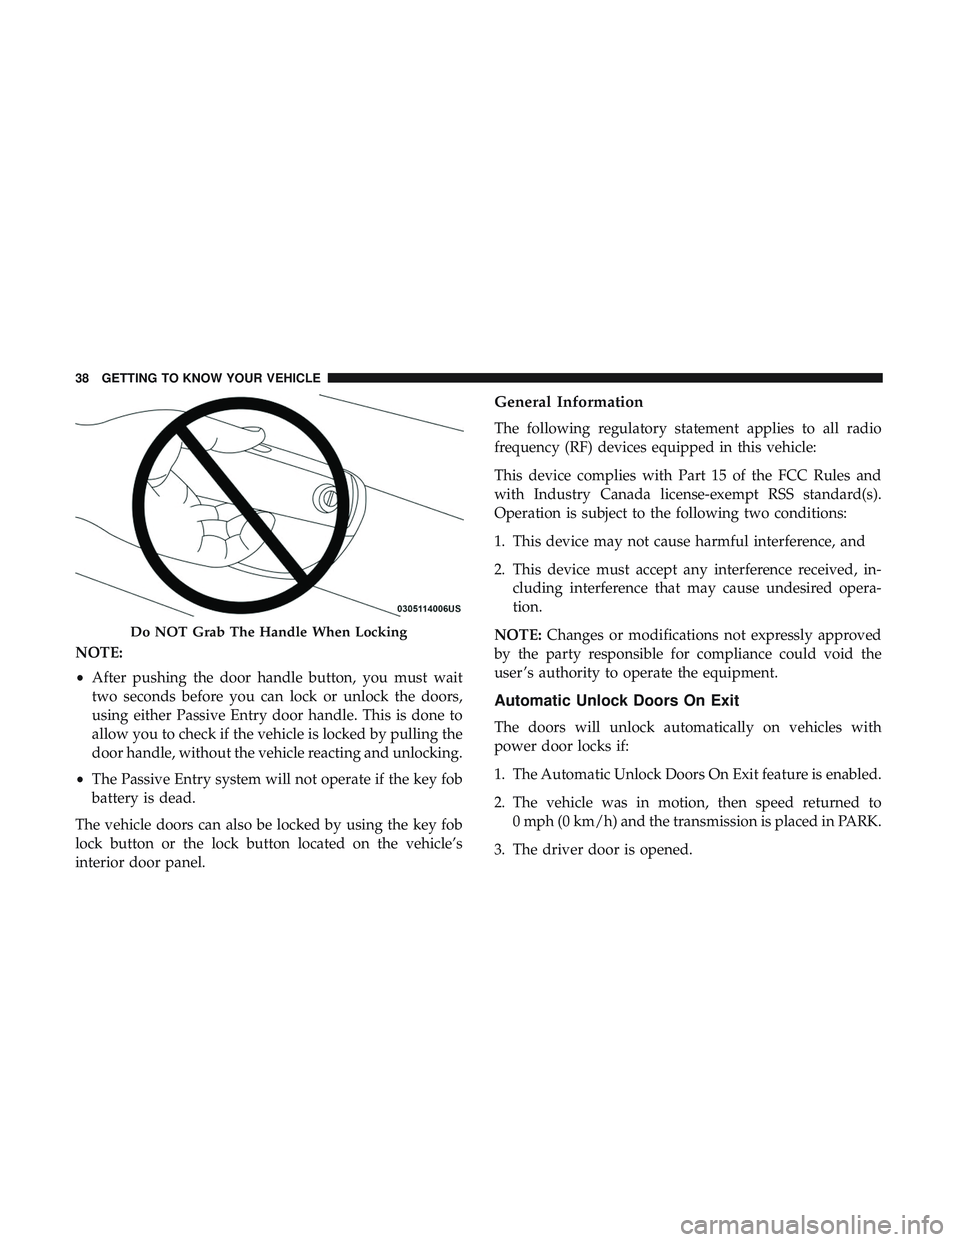
NOTE:
•After pushing the door handle button, you must wait
two seconds before you can lock or unlock the doors,
using either Passive Entry door handle. This is done to
allow you to check if the vehicle is locked by pulling the
door handle, without the vehicle reacting and unlocking.
• The Passive Entry system will not operate if the key fob
battery is dead.
The vehicle doors can also be locked by using the key fob
lock button or the lock button located on the vehicle’s
interior door panel.
General Information
The following regulatory statement applies to all radio
frequency (RF) devices equipped in this vehicle:
This device complies with Part 15 of the FCC Rules and
with Industry Canada license-exempt RSS standard(s).
Operation is subject to the following two conditions:
1. This device may not cause harmful interference, and
2. This device must accept any interference received, in- cluding interference that may cause undesired opera-
tion.
NOTE: Changes or modifications not expressly approved
by the party responsible for compliance could void the
user ’s authority to operate the equipment.
Automatic Unlock Doors On Exit
The doors will unlock automatically on vehicles with
power door locks if:
1. The Automatic Unlock Doors On Exit feature is enabled.
2. The vehicle was in motion, then speed returned to 0 mph (0 km/h) and the transmission is placed in PARK.
3. The driver door is opened.
Do NOT Grab The Handle When Locking
38 GETTING TO KNOW YOUR VEHICLE
Page 60 of 516

Turn Signals
Move the multifunction lever up or down and the arrows
on each side of the instrument cluster display flash to show
proper operation of the front and rear turn signal lights.
NOTE:
•If either light remains on and does not flash, or there is
a very fast flash rate, check for a defective outside light
bulb. If an indicator fails to light when the lever is
moved, it would suggest that the indicator bulb is
defective.
• A “Turn Signal On” message will appear in the instru-
ment cluster display and a continuous chime will sound
if the vehicle is driven more than 1 mile (1.6 km) with
either turn signal on.
Lane Change Assist — If Equipped
Tap the multifunction lever up or down once, without
moving beyond the detent, and the turn signal (right or
left) will flash three times then automatically turn off.
INTERIOR LIGHTS
The interior lights come on when a door is opened.
To protect the battery, the interior lights will turn off
automatically ten minutes after the ignition is moved to the
OFF position. This will occur if the interior lights were
switched on manually or are on because a door is open.
The Battery Protection also includes the glove compart-
ment light and the trunk light. To restore interior light
operation after automatic battery protection is enabled
(lights off), either place the ignition in the ON/RUN
position or cycle the light switch.
Map/Reading Lights
These lights are mounted between the sun visors on the
overhead console. Each light is turned on by pushing the
lens. Push the lens a second time to turn off the light. These
lights also turn on when a door is opened, when the unlock
button on the remote keyless entry key fob is pushed, or
when the dimmer control is turned fully upward, past the
second detent.
58 GETTING TO KNOW YOUR VEHICLE
Page 93 of 516

convenient access to beverage cans or bottles while main-
taining a resting place for the rear occupant’s elbows.
Electrical Power Outlets
Your vehicle is equipped with 12 Volt (13 Amp) power
outlets that can be used to power cellular phones, small
electronics and other low powered electrical accessories.
The power outlets are labeled with either a “key” or a
“battery” symbol to indicate how the outlet is powered.
Power outlets labeled with a “key” can be powered when
the ignition is in the ON or ACC position, while the outlets
labeled with a “battery” are connected directly to the
battery and powered at all times.These power outlets can also operate a conventional cigar
lighter unit.
NOTE:
•
The front integrated center stack power outlet can be
changed from switched “ignition” to constant “battery”
powered all the time by moving the integrated center
stack fuse #12 in the Rear Power Distribution Center
from fuse location “IGN” to “B+.” Refer to “Fuses” in
“In Case Of Emergency.”
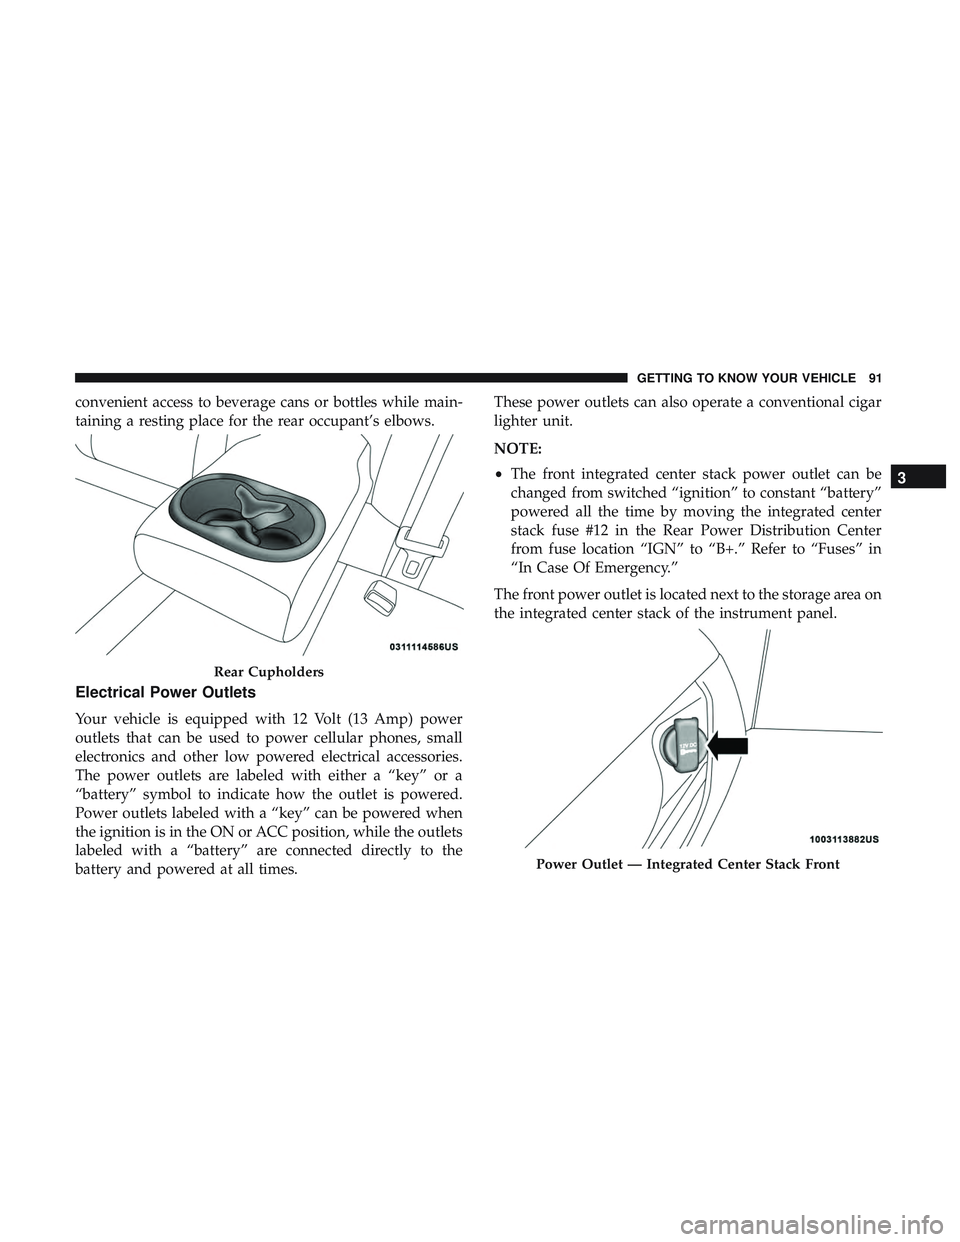
The front power outlet is located next to the storage area on
the integrated center stack of the instrument panel.
Rear Cupholders
Power Outlet — Integrated Center Stack Front
3
GETTING TO KNOW YOUR VEHICLE 91
Page 171 of 516

Your vehicle may also be designed to perform any of these
other functions in response to the Enhanced Accident
Response System:
•Turn off the Fuel Filter Heater, Turn off the HVAC
Blower Motor, Close the HVAC Circulation Door
• Cut off battery power to the:
• Engine
• Electric Motor (if equipped)
• Electric power steering
• Brake booster
• Electric park brake
• Automatic transmission gear selector
• Horn
• Front wiper
• Headlamp washer pump
NOTE: After an accident, remember to cycle the ignition to
the STOP (OFF/LOCK) position and remove the key from
the ignition switch to avoid draining the battery. Carefully
check the vehicle for fuel leaks in the engine compartment
and on the ground near the engine compartment and fuel
tank before resetting the system and starting the engine. If
there are no fuel leaks or damage to the vehicle electrical devices (e.g. headlights) after an accident, reset the system
by following the procedure described below.
Enhanced Accident Response System Reset
Procedure
In order to reset the Enhanced Accident Response System
functions after an event, the ignition switch must be
changed from ignition START or ON/RUN to ignition OFF.
Carefully check the vehicle for fuel leaks in the engine
compartment and on the ground near the engine compart-
ment and fuel tank before resetting the system and starting
the engine.
Maintaining Your Air Bag System
WARNING!
•
Modifications to any part of the air bag system could
cause it to fail when you need it. You could be
injured if the air bag system is not there to protect
you. Do not modify the components or wiring, in-
cluding adding any kind of badges or stickers to the
steering wheel hub trim cover or the upper passenger
side of the instrument panel. Do not modify the front
(Continued)
5
SAFETY 169
Page 501 of 516

Apple CarPlay........................... .487
Arming System Security Alarm ...........................31
Assist, Hill Start .......................... .129
Audio Systems (Radio) ...................... .403
Auto Down Power Windows ...................74
Automatic Door Locks .....................38, 39
Automatic Headlights ........................56
Automatic High Beams .......................55
Automatic Temperature Control (ATC) ............70
Automatic Transmission ..................... .209
Adding Fluid .....................356, 398, 400
Fluid And Filter Change ...................356
Fluid Change .......................... .356
Fluid Level Check .....................355, 356
Fluid Type ...................... .355, 398, 400
Special Additives ........................ .356
Automatic Transmission Limp Home Mode .....38, 214
Autostick Operation ............................. .215
AW D Towing ............................... .314
Axle Fluid ........................... .398, 400
Axle Lubrication ....................... .398, 400Back-Up
................................ .248
Battery ...............................110,333
Charging System Light .....................110
Keyless Key Fob Replacement ................20
Location .............................. .333
Belts, Seat ............................... .188
Blind Spot Monitoring ...................... .132
Body Mechanism Lubrication ..................344
B-Pillar Location .......................... .364
Brake Assist System ........................ .123
Brake Control System ....................... .123
Brake Fluid ....................... .353, 398, 400
Brake System ......................... .353, 389
Fluid Check ..................... .353, 398, 400
Master Cylinder ........................ .353
Parking .............................. .202
W
arning Light ...................... .109, 389
Brake/Transmission Interlock ..................209
Break-In Recommendations, New Vehicle ..........200
Brightness, Interior Lights .....................59
Bulb Replacement ......................... .275
Bulbs, Light .......................... .191, 275
Camera, Rear ............................ .248
Capacities, Fluid .......................... .396
12
INDEX 499
Page 506 of 516

Hood Release..............................78
Ignition ..................................23
Switch .................................23
Information Center, Vehicle ....................99
Inside Rearview Mirror ....................50, 269
Instrument Cluster Descriptions ......................... .96, 117
Display .............................. .102
Instrument Panel Lens Cleaning ................386
Interior Appearance Care .....................385
Interior Lights ..............................58
Intermittent Wipers (Delay Wipers) ...............61
Introduction ................................4
iPod/USB/MP3 Control ..................... .469
Bluetooth Streaming Audio .................469
Jacking Instructions ........................ .293
Jack Location ............................ .291
Jack Operation ........................ .293, 358
Jump Starting ..................... .305, 306, 307
Key Fob Arm The System ..........................31
Panic Alarm .............................19 Programming Additional Key Fobs
..........22, 30
Unlatch The Trunk ........................19
Key Fob Battery Service (Remote Keyless Entry) .....20
Key Fob Programming (Remote Keyless Entry) ......22
Key-In Reminder ............................25
Keyless Enter-N-Go ..........................34
Enter The Trunk ..........................19
Keys ....................................17
Replacement ......................... .22, 30
Lane Change And Turn Signals .................58
Lane Change Assist ..........................58
Lap/Shoulder Belts ........................ .150
Latches ................................. .191
Hood ..................................78
Lead Free Gasoline ........................ .391
Leaks, Fluid ............................. .191
Life Of Tires ............................. .372
Light Bulbs .......................... .191, 275
Lights .................................. .191
AirBag ........................ .108, 158, 188
Automatic
Headlights ......................56
Brake Assist Warning ..................... .128
Brake Warning ...................... .109, 389
Bulb Replacement ....................... .275
504 INDEX