Page 276 of 516

WARNING!(Continued)
vehicle. Only use Uconnect features and SiriusXM
Guardian services when it is safe to do so. Failure to do
so may result in an accident involving serious injury or
death.
NOTE:
• Your vehicle may be transmitting data as authorized by
the subscriber.
• Never place anything on or near the vehicle’s LTE
(voice/data) or 4G (data) and GPS antennas. You could
prevent LTE (voice/data) or 4G (data) and GPS signal
reception, which can prevent your vehicle from placing
an emergency call. An operable LTE (voice/data) or 4G
(data) network connection and a GPS signal is required
for the SOS Call system to function properly. General Information
This device complies with Part 15 of the FCC Rules.
Operation is subject to the following two conditions: (1)
This device may not cause harmful interference, and (2)
this device must accept any interference received, includ-
ing interference that may cause undesired operation.
NOTE:
Changes or modifications not expressly approved
by the party responsible for compliance could void the
user’s authority to operate the equipment.
CAUTION!
To avoid damage to the mirror during cleaning, never
spray any cleaning solution directly onto the mirror.
Apply the solution onto a clean cloth and wipe the
mirror clean.
274 IN CASE OF EMERGENCY
Page 280 of 516

WARNING!
A transient high voltage occurs at the bulb sockets of
HID headlamps when the headlamp switch is turned
ON. It may cause serious electrical shock or electrocu-
tion if not serviced properly. See your authorized
dealer for service.
NOTE: On vehicles equipped with HID headlamps, when
the headlamps are turned on, there is a blue hue to the
lamps. This diminishes and becomes more white after
approximately ten seconds, as the system charges.
Front/Rear Side Marker Lamp
The Side Markers use LED lamps that are not serviceable
separately. The Side Markers must be replaced as an
assembly, see your authorized dealer.
Tail/Turn And Stop Lamp
The Tail/Turn and Stop Lamps use LED lamps that are not
serviceable separately. The Tail/Turn and Stop Lamps must
be replaced as an assembly, see your authorized dealer.
Center Tail/Backup Lamp
The Center Tail/Backup Lamp use LED lamps that are not
serviceable separately. The Center Tail/Backup Lamp must
be replaced as an assembly; see your authorized dealer.
Center High Mounted Stop Lamp (CHMSL)
The CHMSL Lamp uses LED sources that are not service-
able separately. The CHMSL Lamp must be replaced as an
assembly; see your authorized dealer.
License Lamp
The License Lamp uses an LED source that is not service-
able separately. The License Lamp must be replaced as an
assembly; see your authorized dealer.
FUSES
WARNING!
• When replacing a blown fuse, always use an appro-
priate replacement fuse with the same amp rating as
the original fuse. Never replace a fuse with another
fuse of higher amp rating. Never replace a blown
fuse with metal wires or any other material. Do not
(Continued)
278 IN CASE OF EMERGENCY
Page 281 of 516

WARNING!(Continued)
place a fuse inside a circuit breaker cavity or vice
versa. Failure to use proper fuses may result in
serious personal injury, fire and/or property damage.
• Before replacing a fuse, make sure that the ignition is
off and that all the other services are switched off
and/or disengaged.
• If the replaced fuse blows again, contact an autho-
rized dealer.
• If a general protection fuse for safety systems (air
bag system, braking system), power unit systems
(engine system, transmission system) or steering
system blows, contact an authorized dealer.
General Information
The fuses protect electrical systems against excessive cur-
rent.
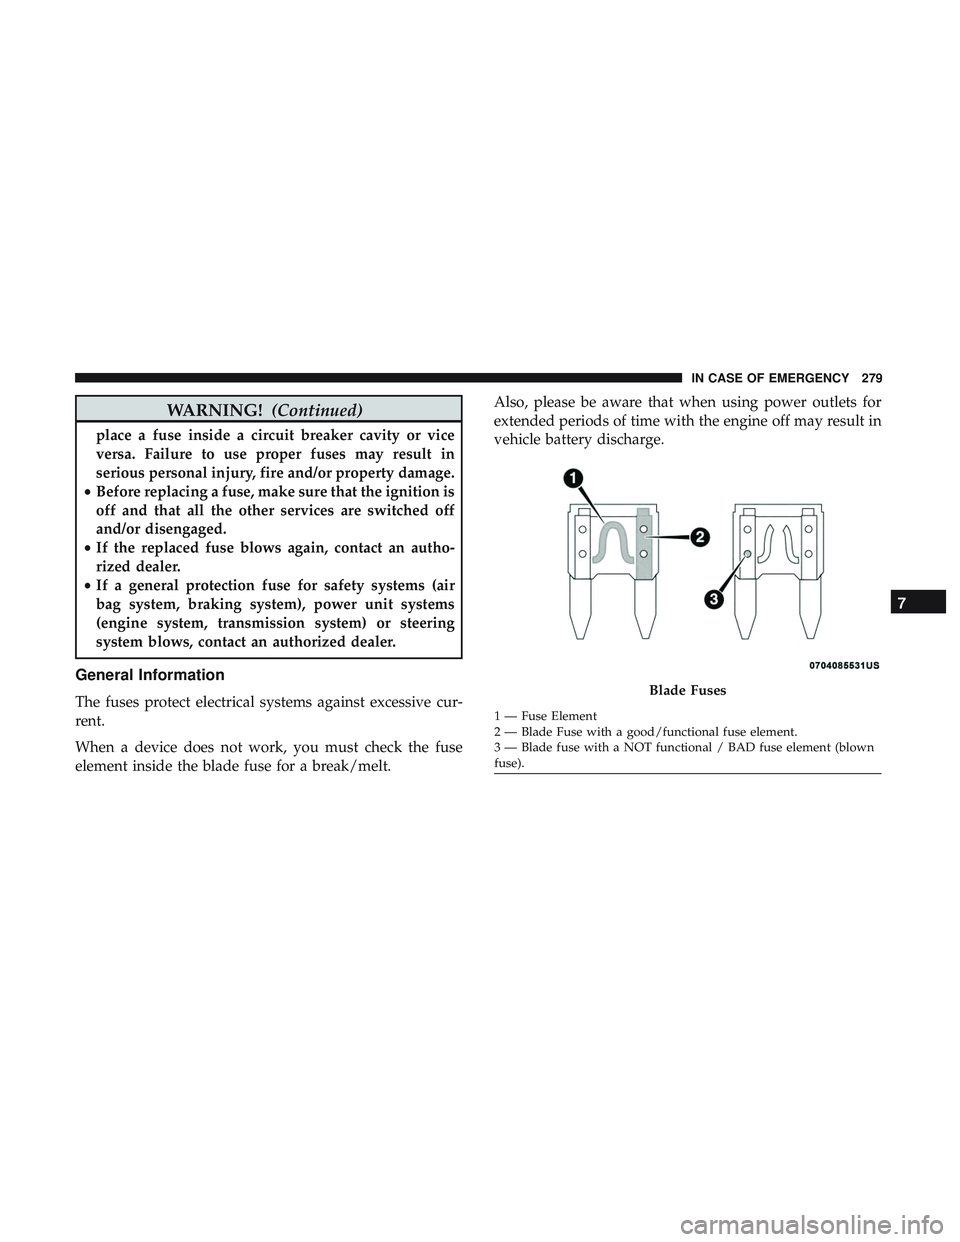
When a device does not work, you must check the fuse
element inside the blade fuse for a break/melt. Also, please be aware that when using power outlets for
extended periods of time with the engine off may result in
vehicle battery discharge.Blade Fuses
1 — Fuse Element
2 — Blade Fuse with a good/functional fuse element.
3 — Blade fuse with a NOT functional / BAD fuse element (blown
fuse).
7
IN CASE OF EMERGENCY 279
Page 292 of 516

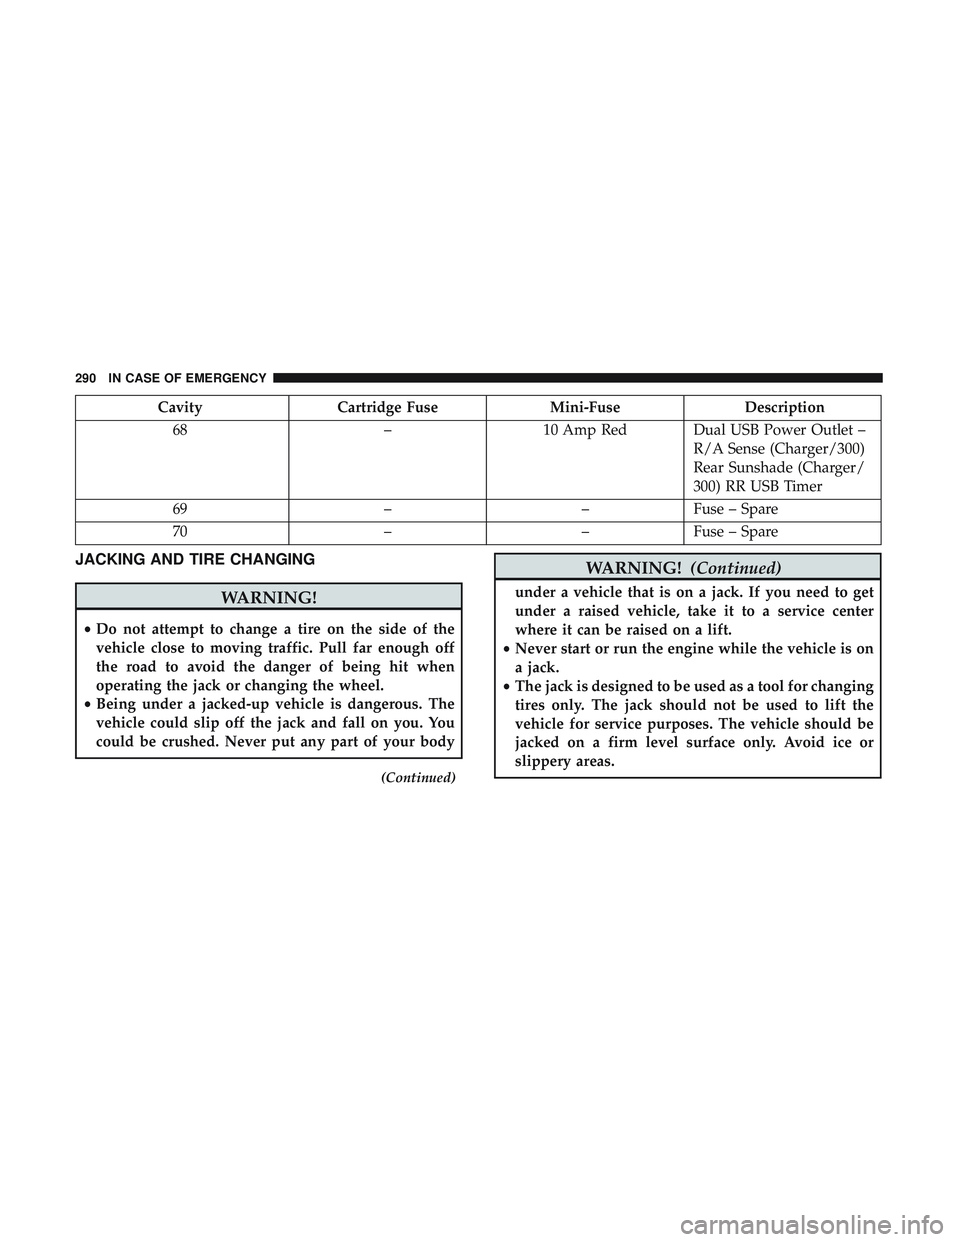
CavityCartridge Fuse Mini-FuseDescription
68 –10 Amp Red Dual USB Power Outlet –
R/A Sense (Charger/300)
Rear Sunshade (Charger/
300) RR USB Timer
69 ––Fuse – Spare
70 ––Fuse – Spare
JACKING AND TIRE CHANGING
WARNING!
•Do not attempt to change a tire on the side of the
vehicle close to moving traffic. Pull far enough off
the road to avoid the danger of being hit when
operating the jack or changing the wheel.
• Being under a jacked-up vehicle is dangerous. The
vehicle could slip off the jack and fall on you. You
could be crushed. Never put any part of your body
(Continued)
WARNING! (Continued)
under a vehicle that is on a jack. If you need to get
under a raised vehicle, take it to a service center
where it can be raised on a lift.
• Never start or run the engine while the vehicle is on
a jack.
• The jack is designed to be used as a tool for changing
tires only. The jack should not be used to lift the
vehicle for service purposes. The vehicle should be
jacked on a firm level surface only. Avoid ice or
slippery areas.
290 IN CASE OF EMERGENCY
Page 294 of 516

5. Rotate the fastener securing the jack counterclockwise toremove it.
6. Remove the jack and lug wrench assembly from under the spare tire. Turn the jack screw to the left to loosen the
lug wrench, and remove the wrench from the jack
assembly.
WARNING!
A loose tire or jack thrown forward in a collision or
hard stop could endanger the occupants of the vehicle.
(Continued)
WARNING! (Continued)
Always stow the jack parts and the spare tire in the
places provided. Have the deflated (flat) tire repaired
or replaced immediately.
Preparations For Jacking
1. Park the vehicle on a firm, level surface as far from the
edge of the roadway as possible. Avoid icy or slippery
areas.
WARNING!
Do not attempt to change a tire on the side of the
vehicle close to moving traffic, pull far enough off the
road to avoid being hit when operating the jack or
changing the wheel.
2. Turn on the Hazard Warning flasher.
3. Apply the parking brake.
4. Place the gear selector into PARK (automatic transmis- sion) or FIRST GEAR (manual transmission).
5. Turn the ignition OFF.
Jack Fastener
292 IN CASE OF EMERGENCY
Page 295 of 516

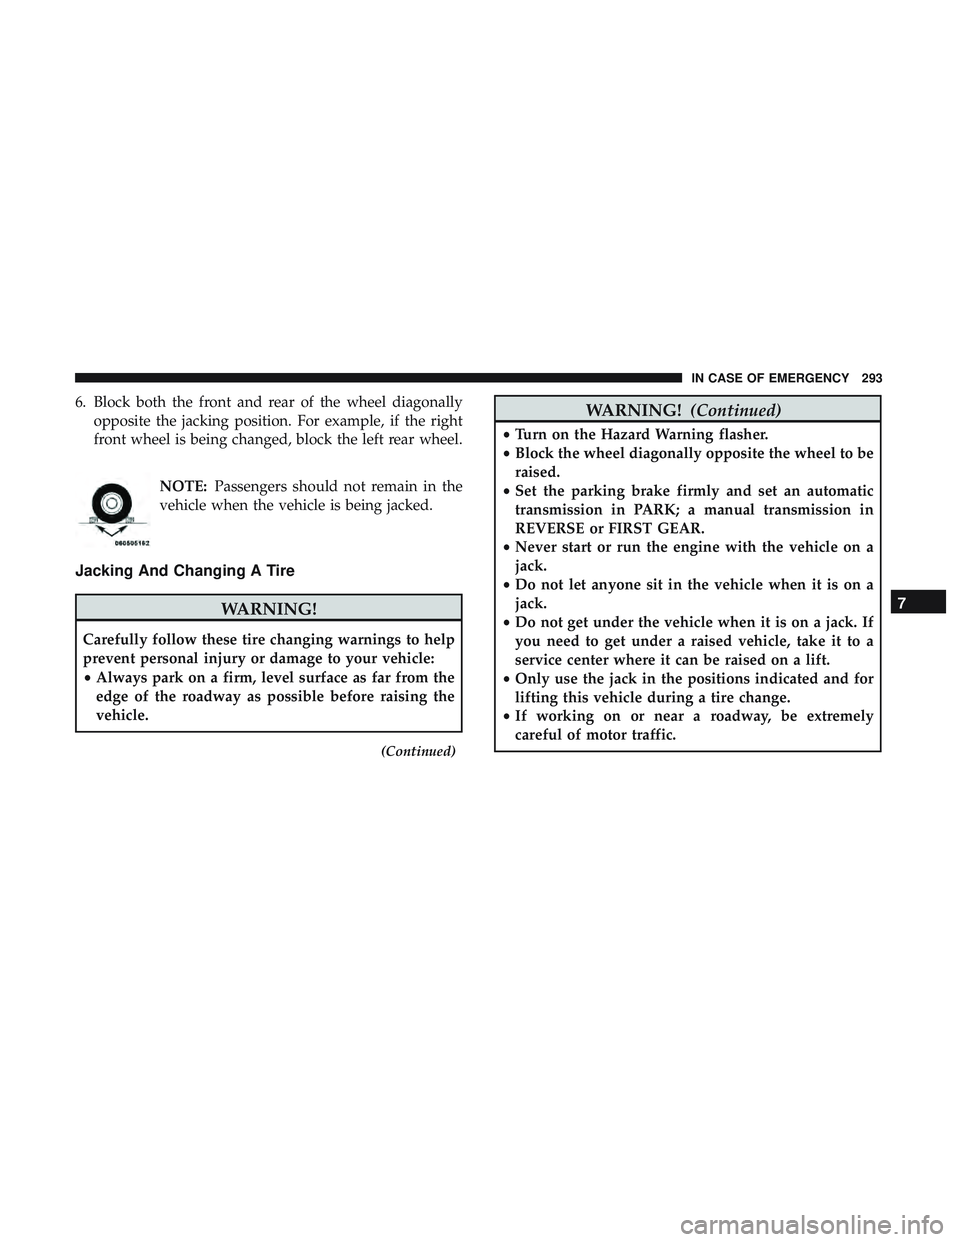
6. Block both the front and rear of the wheel diagonallyopposite the jacking position. For example, if the right
front wheel is being changed, block the left rear wheel.
NOTE:Passengers should not remain in the
vehicle when the vehicle is being jacked.
Jacking And Changing A Tire
WARNING!
Carefully follow these tire changing warnings to help
prevent personal injury or damage to your vehicle:
• Always park on a firm, level surface as far from the
edge of the roadway as possible before raising the
vehicle.
(Continued)
WARNING! (Continued)
•Turn on the Hazard Warning flasher.
• Block the wheel diagonally opposite the wheel to be
raised.
• Set the parking brake firmly and set an automatic
transmission in PARK; a manual transmission in
REVERSE or FIRST GEAR.
• Never start or run the engine with the vehicle on a
jack.
• Do not let anyone sit in the vehicle when it is on a
jack.
• Do not get under the vehicle when it is on a jack. If
you need to get under a raised vehicle, take it to a
service center where it can be raised on a lift.
• Only use the jack in the positions indicated and for
lifting this vehicle during a tire change.
• If working on or near a roadway, be extremely
careful of motor traffic.
7
IN CASE OF EMERGENCY 293
Page 296 of 516
CAUTION!
Do not attempt to raise the vehicle by jacking on
locations other than those indicated in the Jacking
Instructions for this vehicle.1. Remove the spare tire, jack, and lug wrench.
2. If equipped with aluminum wheels where the center cap
covers the lug nuts, use the lug wrench to pry the center
cap off carefully before raising the vehicle.
3. Before raising the vehicle, use the lug wrench to loosen, but not remove, the lug nuts on the wheel with the flat
tire. Turn the lug nuts counterclockwise one turn while
the wheel is still on the ground.
Jack Warning Label
Jack Engagement Locations
294 IN CASE OF EMERGENCY
Page 297 of 516
4. Place the jack underneath the lift area that is closest tothe flat tire. Turn the jack screw clockwise to firmly
engage the jack saddle with the lift area of the sill flange.
NOTE: If the vehicle is too low for jack placement, slide the
jack on its side and rotate it up into position.
5. Raise the vehicle just enough to remove the flat tire andinstall the spare tire.
WARNING!
Raising the vehicle higher than necessary can make the
vehicle less stable. It could slip off the jack and hurt
someone near it. Raise the vehicle only enough to
remove the tire.
6. Remove the lug nuts and tire.
Front Jacking Location
Rear Jacking Location
7
IN CASE OF EMERGENCY 295