Page 62 of 516
Dome Light Position
Rotate the dimmer control completely upward to the
second detent to turn on the interior lights. The interior
lights will remain on when the dimmer control is in this
position.
Interior Light Defeat (Off)
Rotate the instrument panel dimmer control to the extreme
bottom (O) off position. The interior lights will remain off
when the doors are open.Parade Mode (Daytime Brightness Feature)
Rotate the instrument panel dimmer control upward to the
first detent. This feature brightens all text displays such as
the odometer, instrument cluster display, and radio when
the position lights or headlights are on.
WINDSHIELD WIPERS AND WASHERS
The multifunction lever operates the windshield wipers
and washer when the ignition is placed in the ON/RUN or
ACC position. The multifunction lever is located on the left
side of the steering column.
Instrument Panel Dimmer
Windshield Wiper/Washer Control
60 GETTING TO KNOW YOUR VEHICLE
Page 66 of 516
CLIMATE CONTROLS
Automatic Climate Control Overview
Uconnect 4 With 7–inch Display Automatic Climate Controls
64 GETTING TO KNOW YOUR VEHICLE
Page 67 of 516
Uconnect 4C/4C NAV With 8.4–inch Display Automatic Climate Controls
3
GETTING TO KNOW YOUR VEHICLE 65
Page 72 of 516

in front of the radiator), for an accumulation of dirt or
insects. Clean with a gentle water spray from the front of
the radiator and through the condenser.
MAX A/C
MAX A/C sets the control for maximum cooling perfor-
mance.
Press and release to toggle between MAX A/C and the
prior settings. The button illuminates when MAX A/C is
on.
In MAX A/C, the blower level and mode position can be
adjusted to desired user settings. Pressing other settings
will cause the MAX A/C operation to switch to the selected
setting and MAX A/C to exit.
Recirculation
When outside air contains smoke, odors, or high humidity,
or if rapid cooling is desired, you may wish to recirculate
interior air by pressing the recirculation control button. The
recirculation indicator will illuminate when this button is
selected. Press the button a second time to turn off the
recirculation mode and allow outside air into the vehicle. NOTE:
In cold weather, use of recirculation mode may lead
to excessive window fogging. The recirculation feature
may be unavailable (button on the touchscreen greyed out)
if conditions exist that could create fogging on the inside of
the windshield.
Automatic Temperature Control (ATC) — If
Equipped
Automatic Operation
1. Push the AUTO button on the faceplate, or the AUTO button on the touchscreen on the Automatic Tempera-
ture Control (ATC) Panel.
2. Next, adjust the temperature you would like the system to maintain by adjusting the driver and passenger
temperature control buttons. Once the desired tempera-
ture is displayed, the system will achieve and automati-
cally maintain that comfort level.
3. When the system is set up for your comfort level, it is not necessary to change the settings. You will experience
the greatest efficiency by simply allowing the system to
function automatically.
70 GETTING TO KNOW YOUR VEHICLE
Page 73 of 516

NOTE:
•It is not necessary to move the temperature settings for
cold or hot vehicles. The system automatically adjusts
the temperature, mode, and blower speed to provide
comfort as quickly as possible.
• The temperature can be displayed in U.S. or Metric units
by selecting the US/Metric customer-programmable fea-
ture. Refer to the “Uconnect Settings” in “Multimedia”
for further information.
To provide you with maximum comfort in the Automatic
mode during cold start-ups, the blower fan will remain on
low until the engine warms up. The blower will increase in
speed and transition into Auto mode.
Manual Operation Override
This system offers a full complement of manual override
features. The AUTO symbol in the front ATC display will
be turned off when the system is being used in the manual
mode.
Operating Tips
NOTE: Refer to the chart at the end of this section for
suggested control settings for various weather conditions.
Summer Operation
The engine cooling system must be protected with a
high-quality antifreeze coolant to provide proper corrosion
protection and to protect against engine overheating. OAT
coolant (conforming to MS.90032) is recommended.
Winter Operation
To ensure the best possible heater and defroster perfor-
mance, make sure the engine cooling system is functioning
properly and the proper amount, type, and concentration
of coolant is used. Use of the Air Recirculation mode
during Winter months is not recommended, because it may
cause window fogging.
Vacation/Storage
Before you store your vehicle, or keep it out of service (i.e.,
vacation) for two weeks or more, run the air conditioning
system at idle for about five minutes, in fresh air with the
blower setting on high. This will ensure adequate system
lubrication to minimize the possibility of compressor dam-
age when the system is started again.
3
GETTING TO KNOW YOUR VEHICLE 71
Page 81 of 516

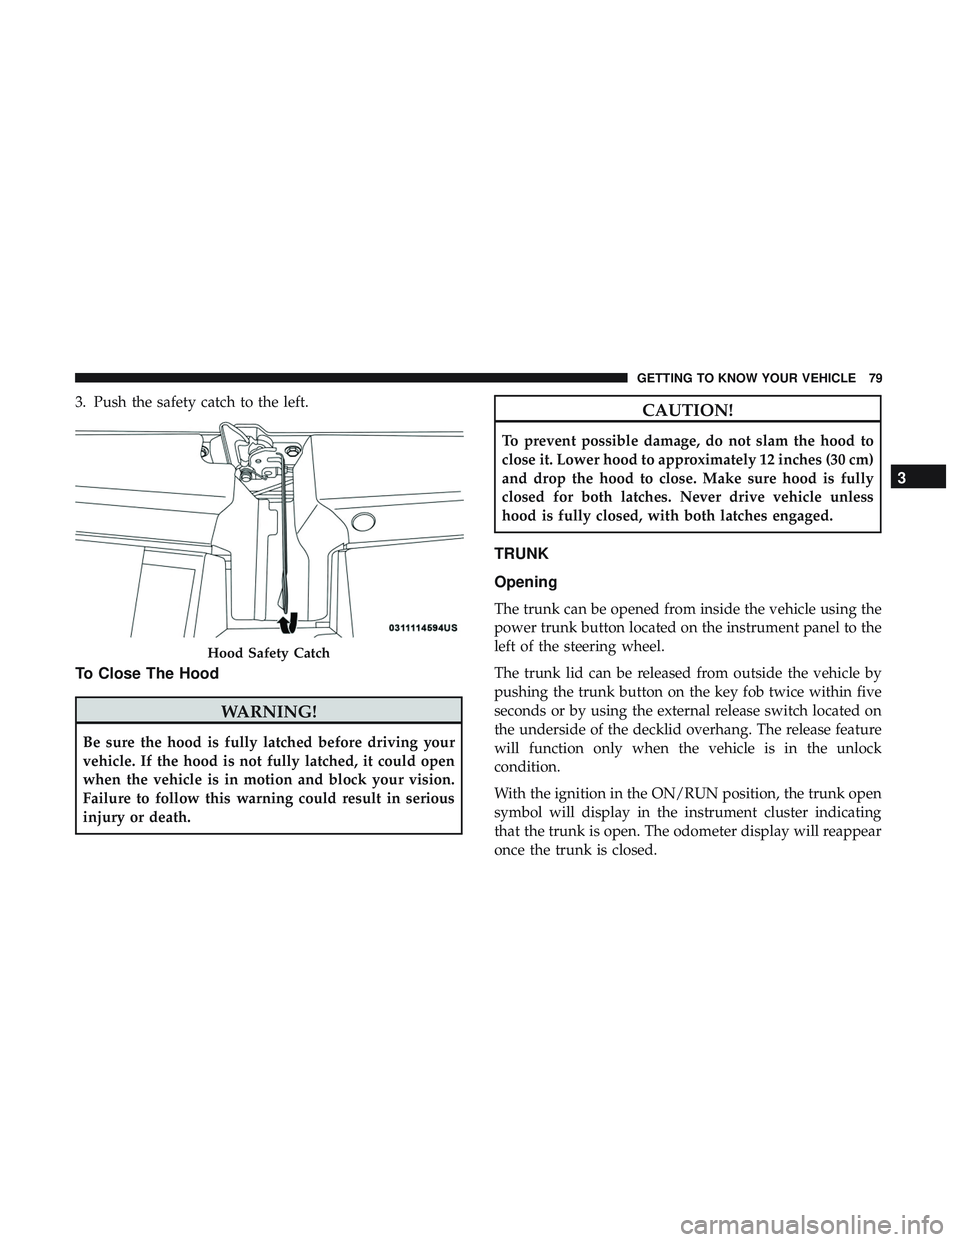
3. Push the safety catch to the left.
To Close The Hood
WARNING!
Be sure the hood is fully latched before driving your
vehicle. If the hood is not fully latched, it could open
when the vehicle is in motion and block your vision.
Failure to follow this warning could result in serious
injury or death.
CAUTION!
To prevent possible damage, do not slam the hood to
close it. Lower hood to approximately 12 inches (30 cm)
and drop the hood to close. Make sure hood is fully
closed for both latches. Never drive vehicle unless
hood is fully closed, with both latches engaged.
TRUNK
Opening
The trunk can be opened from inside the vehicle using the
power trunk button located on the instrument panel to the
left of the steering wheel.
The trunk lid can be released from outside the vehicle by
pushing the trunk button on the key fob twice within five
seconds or by using the external release switch located on
the underside of the decklid overhang. The release feature
will function only when the vehicle is in the unlock
condition.
With the ignition in the ON/RUN position, the trunk open
symbol will display in the instrument cluster indicating
that the trunk is open. The odometer display will reappear
once the trunk is closed.
Hood Safety Catch
3
GETTING TO KNOW YOUR VEHICLE 79
Page 82 of 516

With the ignition in the OFF position, the trunk open
symbol will display until the trunk is closed.
NOTE:Refer to “Keyless Enter-N-Go — Passive Entry” in
”Doors” in “Getting To Know Your Vehicle” for further
information on trunk operation with the Passive Entry
feature.
Opening From Inside The Vehicle
Interior Power Trunk Release
The trunk can be opened from inside the
vehicle using the power trunk release
button located on the instrument panel
to the left of the steering wheel.
NOTE:The transmission must be in
PARK before the button will operate.
Opening From Outside The Vehicle
To Unlock/Open The Trunk
The trunk may be unlocked/opened using either of the
following methods:
• Key Fob Trunk Release Button •
Passive Entry Button
Key Fob Trunk Release Button Push the power trunk button on the key fob
twice within five seconds to release the trunk.
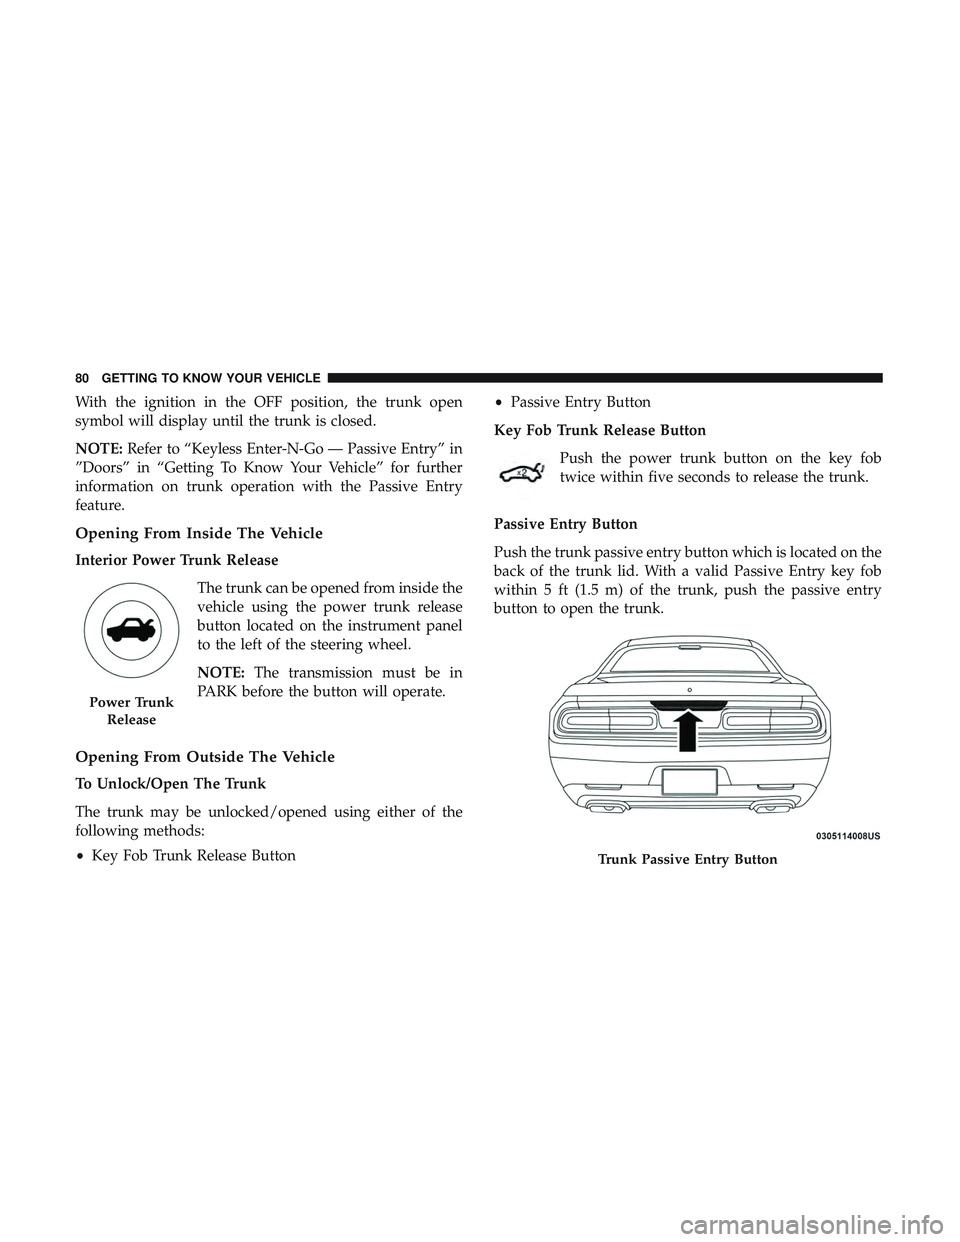
Passive Entry Button
Push the trunk passive entry button which is located on the
back of the trunk lid. With a valid Passive Entry key fob
within 5 ft (1.5 m) of the trunk, push the passive entry
button to open the trunk.
Power Trunk Release
Trunk Passive Entry Button
80 GETTING TO KNOW YOUR VEHICLE
Page 97 of 516
GETTING TO KNOW YOUR INSTRUMENT PANEL
CONTENTS
�INSTRUMENT CLUSTER ...................96
▫ Instrument Cluster Descriptions .............97
� INSTRUMENT CLUSTER DISPLAY ............99
▫ Location And Controls ...................99
� WARNING LIGHTS AND MESSAGES .........108
▫ Red Warning Lights .....................108
▫ Yellow Warning Lights ...................112
▫ Yellow Indicator Lights ...................116
▫ Green Indicator Lights ...................116 ▫
White Indicator Lights ...................117
▫ Blue Indicator Lights ....................118
� ONBOARD DIAGNOSTIC SYSTEM — OBD II . . .118
▫ Onboard Diagnostic System (OBD II)
Cybersecurity ..........................118
� EMISSIONS INSPECTION AND MAINTENANCE
PROGRAMS ...........................1194