Page 270 of 400

268
F Lower the vehicle again fully.
F F old jack 2 and detach it.
F
I
f your vehicle is so equipped, tighten the
security bolt using the wheelbrace 1
fitted
with the security socket 4 .
F
T
ighten the other bolts using
wheelbrace 1
o n l y.
F
S
tow the tools in the tool box. Tyre under-inflation detection
The steel spare wheel does not have a
sensor.
After changing a wheel
Stow the punctured wheel in the carrier.
Go to a CITROËN dealer or a qualified
workshop as soon as possible.
Have the punctured wheel checked. After
inspection, the technician will let you know
if the tyre can be repaired or if it must be
replaced.
Some driving aid functions should be
disabled, e.g. the Active Safety Brake.
If your vehicle has tyre under-inflation
detection, check the tyre pressures and
reinitialise the system.
For more information on Under-inflation
detection , refer to the corresponding
section. Wheel with hub cap
When refitting the wheel
, refit the hub
cap starting by placing its notch facing the
valve and press around its edge with the
palm of your hand.
Fastening the steel wheel
If your vehicle is fitted with alloy wheels,
when tightening the bolts on fitting, it is
normal to notice that the washers do not
come into contact with the spare wheel.
The wheel is secured by the conical
contact of each bolt.The tyre inflation pressures are given on
this label.
In the event of a breakdown
Page 278 of 400
276
Third brake lamp (side-hinged
doors)
Ty p e A, W5W-5W
F
O
pen the left-hand rear door. F
R
emove the lamp.
F
T
urn the bulb holder a quarter turn anti-
clockwise.
F C hange the faulty bulb.
To refit, press on the lamp to clip it in place.
Number plate lamps (side-hinged
doors)
Ty p e A , W5W-5W
F
I
nsert a thin screwdriver into one of the cut-
outs in the lens.
F
P
ush it outwards to unclip it.
F
R
emove the lens.
F
C
hange the faulty bulb.
To refit, press on the lens to clip it in place.
Courtesy lamps (front and rear)
F Remove the plastic cover using a thin screwdriver.
F
U
sing a screwdriver through the aperture,
push the lamp towards the outside.
F
D
isconnect the electrical connector. Ty p e A
, W5W-5W
F
U
nclip the lens by inserting a thin
screwdriver into the cut-outs at each side of
the lamp.
F
P
ull out the bulb and replace it.
F
C
lip the lens in place and ensure that it is
secure.
In the event of a breakdown
Page 286 of 400

284
12 V battery
Procedure for starting the engine using another
battery or charging a discharged battery.
Lead-acid starter batteries
Batteries contain harmful substances
such as sulphuric acid and lead.
They must be disposed of in
accordance with regulations and must
not, in any circumstances, be discarded
with household waste.
Take used remote control batteries and
vehicle batteries to a special collection
point.
Protect your eyes and face before
handling the battery.
All operations on the battery must be
carried out in a well ventilated area and
away from naked flames and sources of
sparks, so as to avoid the risk of explosion
or fire.
Wash your hands afterwards.
Access to the battery
The battery is located under the bonnet.
F O pen the bonnet using the interior release
lever, then the exterior safety catch.
F
S
ecure the bonnet stay.
For more information on the Bonnet
and Engine , refer to the corresponding
section.
Starting using another
battery
When your vehicle's battery is discharged, the
engine can be started using a back-up battery
(external or from another vehicle) and jump
leads or a battery booster.
F
R
emove the plastic cover to access the (+)
terminal, if your vehicle has one.
The battery (-) terminal is not accessible.
A remote earth point is provided at the front of
the vehicle. Never try to start the engine by connecting
a battery charger.
Never use a 24
V or higher battery
b o o s t e r.
Check beforehand that the back-up
battery has a nominal voltage of 12
V and
a capacity at least equal to that of the
discharged battery.
The two vehicles must not be in contact
with each other.
Switch off all the electrical consumers
on both vehicles (audio system, wipers,
lighting, etc.).
Make sure that the jump leads are not
close to moving parts of the engine
(fan, belts, etc.).
Do not disconnect the (+) terminal while
the engine is running.
In the event of a breakdown
Page 317 of 400

22
Connection sharing
The system offers to connect the telephone
with 3 profiles:
-
"Telephone " (hands-free kit, telephone
only),
-
"Streaming " (streaming: wireless playing of
the audio files on the telephone),
-
"Mobile internet data ".
The " Mobile internet data " profile
must be activated for connected
navigation (where the vehicle does not
have "Emergency and assistance call"
services), having first activated sharing of
this connection on your smartphone.
Select one or more profiles.
Press " OK" to confirm.
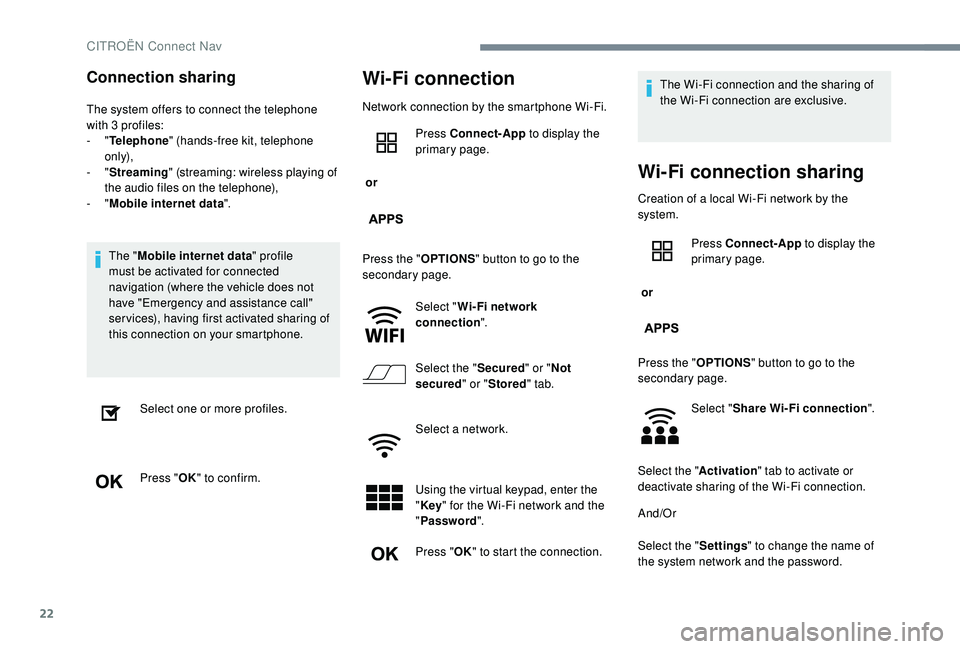
Wi-Fi connection
Network connection by the smartphone Wi-Fi.
or Press Connect-App
to display the
primary page.
Press the " OPTIONS" button to go to the
secondary page.
Select "Wi- Fi network
connection ".
Select the " Secured" or "Not
secured " or "Stored " tab.
Select a network.
Using the virtual keypad, enter the
" Key " for the Wi-Fi network and the
" Password ".
Press " OK" to start the connection. The Wi-Fi connection and the sharing of
the Wi-Fi connection are exclusive.
Wi-Fi connection sharing
Creation of a local Wi-Fi network by the
system.
or
Press Connect-App
to display the
primary page.
Press the " OPTIONS" button to go to the
secondary page.
Select "Share Wi-Fi connection ".
Select the " Activation" tab to activate or
deactivate sharing of the Wi-Fi connection.
And/Or
Select the " Settings" to change the name of
the system network and the password.
CITROËN Connect Nav
Page 318 of 400

23
Press "OK" to confirm.
To protect against unauthorised access
and make your systems as secure as
possible, the use of a complex security
code or password is recommended.
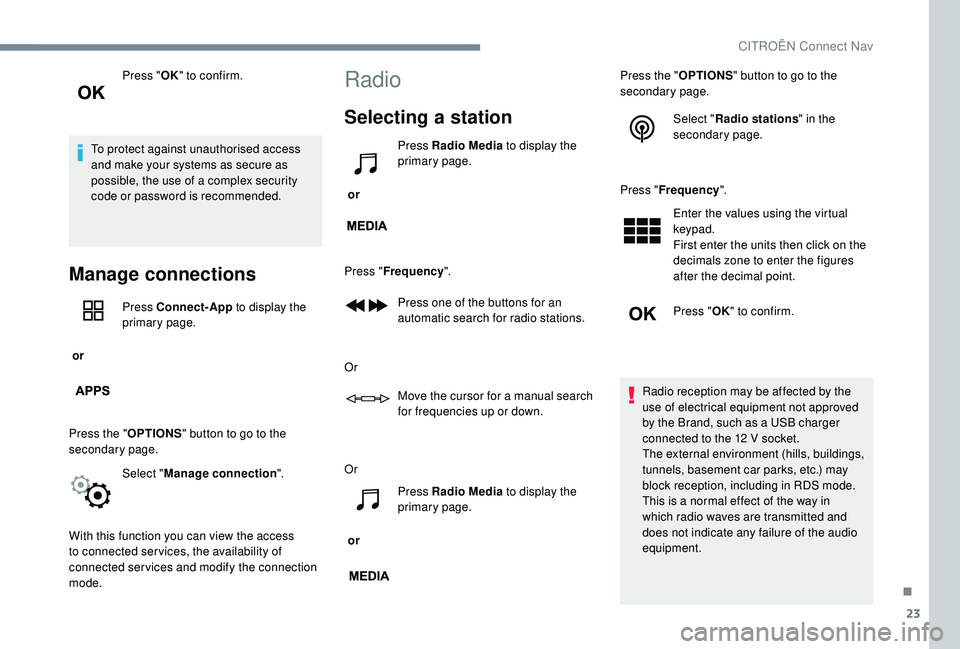
Manage connections
or Press Connect-App
to display the
primary page.
Press the " OPTIONS" button to go to the
secondary page.
Select "Manage connection ".
With this function you can view the access
to connected ser vices, the availability of
connected services and modify the connection
mode.
Radio
Selecting a station
or Press Radio Media
to display the
primary page.
Press " Frequency ".
Press one of the buttons for an
automatic search for radio stations.
Or Move the cursor for a manual search
for frequencies up or down.
Or
or Press Radio Media
to display the
primary page. Press the "
OPTIONS" button to go to the
secondary page.
Select "Radio stations " in the
secondary page.
Press " Frequency ".
Enter the values using the virtual
keypad.
First enter the units then click on the
decimals zone to enter the figures
after the decimal point.
Press " OK" to confirm.
Radio reception may be affected by the
use of electrical equipment not approved
by the Brand, such as a USB charger
connected to the 12
V socket.
The external environment (hills, buildings,
tunnels, basement car parks, etc.) may
block reception, including in RDS mode.
This is a normal effect of the way in
which radio waves are transmitted and
does not indicate any failure of the audio
equipment.
.
CITROËN Connect Nav