2018 CHEVROLET CRUZE air condition
[x] Cancel search: air conditionPage 4 of 404

Chevrolet Cruze Owner Manual (GMNA-Localizing-U.S./Canada/Mexico-
11348462) - 2018 - crc - 5/15/17
Introduction 3
Danger, Warning, and
Caution
Warning messages found on vehicle
labels and in this manual describe
hazards and what to do to avoid or
reduce them.
{Danger
Danger indicates a hazard with a
high level of risk which will result
in serious injury or death.
{Warning
Warning indicates a hazard that
could result in injury or death.
Caution
Caution indicates a hazard that
could result in property or vehicle
damage.
A circle with a slash through it is a
safety symbol which means“Do
Not,” “Do not do this,” or“Do not let
this happen.”
Symbols
The vehicle has components and
labels that use symbols instead of
text. Symbols are shown along with
the text describing the operation or
information relating to a specific
component, control, message,
gauge, or indicator.
M: Shown when the owner ’s
manual has additional instructions
or information.
*: Shown when the service
manual has additional instructions
or information.
0: Shown when there is more
information on another page —
“see page.” Vehicle Symbol Chart
Here are some additional symbols
that may be found on the vehicle
and what they mean. See the
features in this manual for
information.
9:
Airbag Readiness Light
#:Air Conditioning
!:Antilock Brake System (ABS)
$:Brake System Warning Light
":Charging System
I: Cruise Control
`:Do Not Puncture
^:Do Not Service
B:Engine Coolant Temperature
O:Exterior Lamps
_: Flame/Fire Prohibited
.:Fuel Gauge
+: Fuses
3:Headlamp High/Low-Beam
Changer
j: LATCH System Child Restraints
*:Malfunction Indicator Lamp
Page 8 of 404

Chevrolet Cruze Owner Manual (GMNA-Localizing-U.S./Canada/Mexico-
11348462) - 2018 - crc - 5/15/17
In Brief 7
1.Air Vents 0193.
2. Headlamp High/Low-Beam
Changer 0155.
Turn Signal Lever. See Turn
and Lane-Change Signals
0 157.
Driver Information Center (DIC)
Buttons (If Equipped).
See Driver Information Center
(DIC) (Base) 0138 orDriver
Information Center (DIC)
(Uplevel) 0141.
3. Instrument Cluster 0120.
4. Windshield Wiper/Washer
0111.
5. Infotainment 0161.
6. Light Sensor. See Automatic
Headlamp System 0155.
7. Hazard Warning Flashers
0156.
8. Heated Front Seats 064 (If
Equipped).
9. Instrument Panel Fuse Block
0295. 10.
Climate Control Systems (With
Heater Only) 0188 orClimate
Control Systems (With Air
Conditioning) 0186.
Automatic Climate Control
System 0190 (If Equipped).
11. Power Outlets 0115.
USB Port 0169.
12. Wireless Charging Pocket (If Equipped). See Wireless
Charging 0117.
13. Traction Control/Electronic
Stability Control 0231.
Assistance Systems for
Parking or Backing 0236.
14. Shift Lever. SeeAutomatic Transmission
0 224 orManual Transmission
0 227.
15. Steering Wheel Controls 0110.
Driver Information Center (DIC)
Controls (If Equipped).
See Driver Information Center
(DIC) (Base) 0138 orDriver
Information Center (DIC)
(Uplevel) 0141. 16.
Horn 0111.
17. Steering Wheel Adjustment
0110.
18. Cruise Control 0233.
Heated Steering Wheel 0111
(If Equipped).
Forward Collision Alert (FCA)
System 0238 (If Equipped).
Lane Keep Assist (LKA) 0242
(If Equipped).
19. Hood Release. See Hood
0 261.
20. Data Link Connector (DLC) (Out of View). See Malfunction
Indicator Lamp (Check Engine
Light) 0130.
21. Exterior Lamp Controls 0153.
Fog Lamps 0157 (If
Equipped).
Instrument Panel Illumination
Control 0158.
Page 15 of 404

Chevrolet Cruze Owner Manual (GMNA-Localizing-U.S./Canada/Mexico-
11348462) - 2018 - crc - 5/15/17
14 In Brief
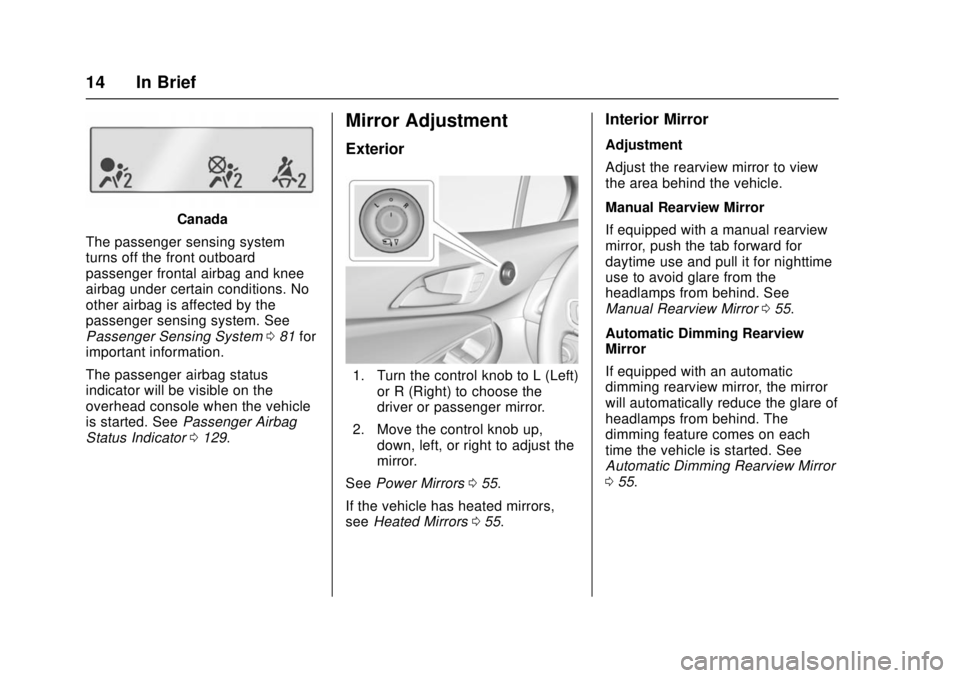
Canada
The passenger sensing system
turns off the front outboard
passenger frontal airbag and knee
airbag under certain conditions. No
other airbag is affected by the
passenger sensing system. See
Passenger Sensing System 081 for
important information.
The passenger airbag status
indicator will be visible on the
overhead console when the vehicle
is started. See Passenger Airbag
Status Indicator 0129.
Mirror Adjustment
Exterior
1. Turn the control knob to L (Left)
or R (Right) to choose the
driver or passenger mirror.
2. Move the control knob up, down, left, or right to adjust the
mirror.
See Power Mirrors 055.
If the vehicle has heated mirrors,
see Heated Mirrors 055.
Interior Mirror
Adjustment
Adjust the rearview mirror to view
the area behind the vehicle.
Manual Rearview Mirror
If equipped with a manual rearview
mirror, push the tab forward for
daytime use and pull it for nighttime
use to avoid glare from the
headlamps from behind. See
Manual Rearview Mirror 055.
Automatic Dimming Rearview
Mirror
If equipped with an automatic
dimming rearview mirror, the mirror
will automatically reduce the glare of
headlamps from behind. The
dimming feature comes on each
time the vehicle is started. See
Automatic Dimming Rearview Mirror
0 55.
Page 19 of 404

Chevrolet Cruze Owner Manual (GMNA-Localizing-U.S./Canada/Mexico-
11348462) - 2018 - crc - 5/15/17
18 In Brief
Climate Control System (With Air Conditioning)
1. Fan Control
2. A/C (Air Conditioning)
3. Air Delivery Mode Controls
4. Defrost
5. TEMP (Temperature Control)6. Heated Front Seats (If
Equipped)
7. Rear Window Defogger
8. Recirculation
Page 21 of 404

Chevrolet Cruze Owner Manual (GMNA-Localizing-U.S./Canada/Mexico-
11348462) - 2018 - crc - 5/15/17
20 In Brief
Automatic Climate Control System
1. Fan Control
2. AUTO (Automatic Operation)
3. Air Delivery Mode Controls
4. Defrost
5. Temperature Control
6. A/C (Air Conditioning) or(Comfort/Eco Air Conditioning,
If Equipped) 7. Heated Front Seats (If
Equipped)
8. Rear Window Defogger
9. Recirculation
10. Power
See Climate Control Systems (With
Heater Only) 0188 orClimate
Control Systems (With Air
Conditioning) 0186 and Automatic
Climate Control System 0190 (if
equipped).
Transmission
Automatic Transmission
Manual Mode
Driver Shift Control (DSC) allows the
automatic transmission to be shifted
similar to a manual transmission.
Electronic Range Select (ERS)
allows for the selection of a range of
gears.
See Manual Mode 0226.
Manual Transmission
Up-Shift Light
If the vehicle has a manual
transmission, it will have an up-shift
light that indicates when to shift to
the next higher gear for the best fuel
economy.
See Manual Transmission 0227.
Page 43 of 404

Chevrolet Cruze Owner Manual (GMNA-Localizing-U.S./Canada/Mexico-
11348462) - 2018 - crc - 5/15/17
42 Keys, Doors, and Windows
1. Press the button on the side ofthe transmitter near the bottom
and pull the key out.
2. Separate the two halves of thetransmitter using a flat tool
inserted into the area near the
key slot.
3. Remove the battery by pushing
on the battery and sliding it
toward the bottom of the
transmitter.
4. Insert the new battery, positive side facing the back cover.
Push the battery down until it is
held in place. Replace with a
CR2032 or equivalent battery.
5. Snap the battery cover back on to the transmitter.
Remote Vehicle Start
If equipped, this feature allows the
engine to be started from outside
the vehicle. See Engine Exhaust
0 217.
/:This button will be on the RKE
transmitter if the vehicle has remote
start.
If equipped with remote start, the
climate control system will come on
when the vehicle is started remotely,
depending on the outside
temperature.
The rear window defogger and
heated seats, if equipped, may also
come on. See “Remote Start
Climate Control Operation” in
Climate Control Systems (With
Heater Only) 0188 orClimate
Control Systems (With Air
Conditioning) 0186 and Heated
Front Seats 064.
Laws in some local communities
may restrict the use of remote
starters. For example, some laws
require a person using remote start
Page 83 of 404

Chevrolet Cruze Owner Manual (GMNA-Localizing-U.S./Canada/Mexico-
11348462) - 2018 - crc - 5/15/17
82 Seats and Restraints
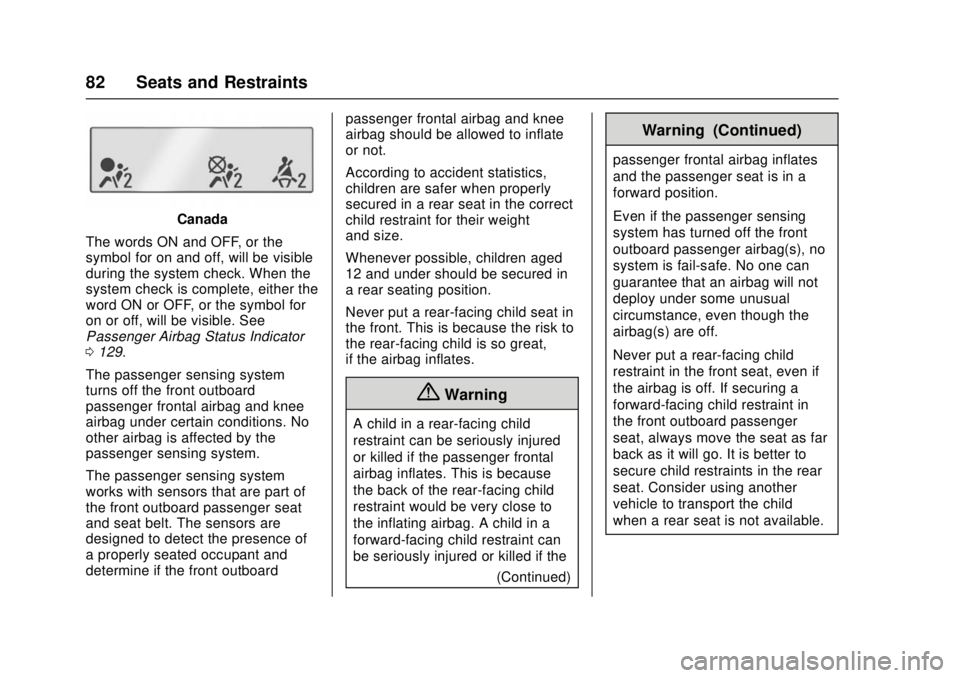
Canada
The words ON and OFF, or the
symbol for on and off, will be visible
during the system check. When the
system check is complete, either the
word ON or OFF, or the symbol for
on or off, will be visible. See
Passenger Airbag Status Indicator
0 129.
The passenger sensing system
turns off the front outboard
passenger frontal airbag and knee
airbag under certain conditions. No
other airbag is affected by the
passenger sensing system.
The passenger sensing system
works with sensors that are part of
the front outboard passenger seat
and seat belt. The sensors are
designed to detect the presence of
a properly seated occupant and
determine if the front outboard passenger frontal airbag and knee
airbag should be allowed to inflate
or not.
According to accident statistics,
children are safer when properly
secured in a rear seat in the correct
child restraint for their weight
and size.
Whenever possible, children aged
12 and under should be secured in
a rear seating position.
Never put a rear-facing child seat in
the front. This is because the risk to
the rear-facing child is so great,
if the airbag inflates.
{Warning
A child in a rear-facing child
restraint can be seriously injured
or killed if the passenger frontal
airbag inflates. This is because
the back of the rear-facing child
restraint would be very close to
the inflating airbag. A child in a
forward-facing child restraint can
be seriously injured or killed if the
(Continued)
Warning (Continued)
passenger frontal airbag inflates
and the passenger seat is in a
forward position.
Even if the passenger sensing
system has turned off the front
outboard passenger airbag(s), no
system is fail-safe. No one can
guarantee that an airbag will not
deploy under some unusual
circumstance, even though the
airbag(s) are off.
Never put a rear-facing child
restraint in the front seat, even if
the airbag is off. If securing a
forward-facing child restraint in
the front outboard passenger
seat, always move the seat as far
back as it will go. It is better to
secure child restraints in the rear
seat. Consider using another
vehicle to transport the child
when a rear seat is not available.
Page 104 of 404

Chevrolet Cruze Owner Manual (GMNA-Localizing-U.S./Canada/Mexico-
11348462) - 2018 - crc - 5/15/17
Seats and Restraints 103
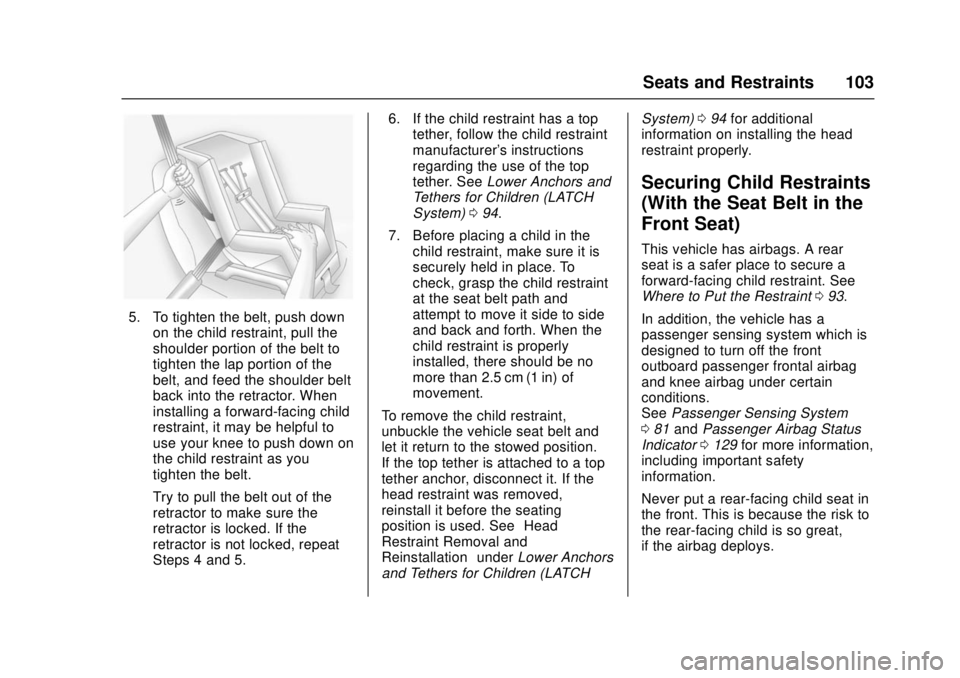
5. To tighten the belt, push downon the child restraint, pull the
shoulder portion of the belt to
tighten the lap portion of the
belt, and feed the shoulder belt
back into the retractor. When
installing a forward-facing child
restraint, it may be helpful to
use your knee to push down on
the child restraint as you
tighten the belt.
Try to pull the belt out of the
retractor to make sure the
retractor is locked. If the
retractor is not locked, repeat
Steps 4 and 5. 6. If the child restraint has a top
tether, follow the child restraint
manufacturer's instructions
regarding the use of the top
tether. See Lower Anchors and
Tethers for Children (LATCH
System) 094.
7. Before placing a child in the child restraint, make sure it is
securely held in place. To
check, grasp the child restraint
at the seat belt path and
attempt to move it side to side
and back and forth. When the
child restraint is properly
installed, there should be no
more than 2.5 cm (1 in) of
movement.
To remove the child restraint,
unbuckle the vehicle seat belt and
let it return to the stowed position.
If the top tether is attached to a top
tether anchor, disconnect it. If the
head restraint was removed,
reinstall it before the seating
position is used. See “Head
Restraint Removal and
Reinstallation” underLower Anchors
and Tethers for Children (LATCH System)
094 for additional
information on installing the head
restraint properly.
Securing Child Restraints
(With the Seat Belt in the
Front Seat)
This vehicle has airbags. A rear
seat is a safer place to secure a
forward-facing child restraint. See
Where to Put the Restraint 093.
In addition, the vehicle has a
passenger sensing system which is
designed to turn off the front
outboard passenger frontal airbag
and knee airbag under certain
conditions.
See Passenger Sensing System
0 81 and Passenger Airbag Status
Indicator 0129 for more information,
including important safety
information.
Never put a rear-facing child seat in
the front. This is because the risk to
the rear-facing child is so great,
if the airbag deploys.