2018 CHEVROLET COLORADO Inspect brake system
[x] Cancel search: Inspect brake systemPage 123 of 421
Chevrolet Colorado Owner Manual (GMNA-Localizing-U.S./Canada/Mexico-
11349743) - 2018 - crc - 10/12/17
122 Instruments and Controls
the atmosphere. A few driving
trips with the adapter removed
may turn off the light.
. Poor fuel quality can cause
inefficient engine operation and
poor driveability, which may go
away once the engine is warmed
up. If this occurs, change the
fuel brand. It may require at
least one full tank of the proper
fuel to turn the light off. See Fuel
0 255.
If the light remains on, see your
dealer.
Emissions Inspection and
Maintenance Programs
If the vehicle requires an Emissions
Inspection/Maintenance test, the
test equipment will likely connect to
the vehicle's Data Link
Connector (DLC).
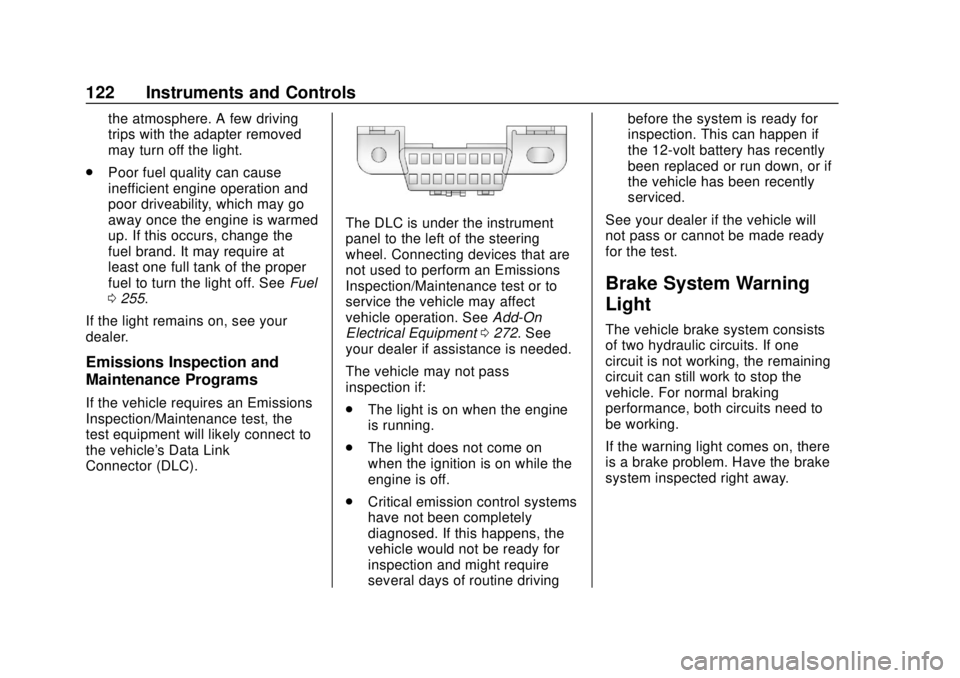
The DLC is under the instrument
panel to the left of the steering
wheel. Connecting devices that are
not used to perform an Emissions
Inspection/Maintenance test or to
service the vehicle may affect
vehicle operation. See Add-On
Electrical Equipment 0272. See
your dealer if assistance is needed.
The vehicle may not pass
inspection if:
. The light is on when the engine
is running.
. The light does not come on
when the ignition is on while the
engine is off.
. Critical emission control systems
have not been completely
diagnosed. If this happens, the
vehicle would not be ready for
inspection and might require
several days of routine driving before the system is ready for
inspection. This can happen if
the 12-volt battery has recently
been replaced or run down, or if
the vehicle has been recently
serviced.
See your dealer if the vehicle will
not pass or cannot be made ready
for the test.
Brake System Warning
Light
The vehicle brake system consists
of two hydraulic circuits. If one
circuit is not working, the remaining
circuit can still work to stop the
vehicle. For normal braking
performance, both circuits need to
be working.
If the warning light comes on, there
is a brake problem. Have the brake
system inspected right away.
Page 218 of 421

Chevrolet Colorado Owner Manual (GMNA-Localizing-U.S./Canada/Mexico-
11349743) - 2018 - crc - 10/12/17
Driving and Operating 217
This position locks the ignition and
steering wheel. It also locks the
transmission on automatic
transmission vehicles. The key can
be removed in LOCK/OFF.
The steering can bind with the
wheels turned off center. If this
happens, move the steering wheel
from right to left while turning the
key to ACC/ACCESSORY. If this
does not work, then the vehicle
needs service.
Do not turn the engine off when the
vehicle is moving. This will cause a
loss of power assist in the brake
and steering systems and disable
the airbags.
If the vehicle must be shut off in an
emergency:1. Brake using a firm and steady pressure. Do not pump the
brakes repeatedly. This may
deplete power assist, requiring
increased brake pedal force.
2. Shift the vehicle to N (Neutral). This can be done while the
vehicle is moving. After shifting
to N (Neutral), continue to firmly apply the brakes and
steer the vehicle to a safe
location.
3. Come to a complete stop. Shift to P (Park) with an automatic
transmission, or Neutral with a
manual transmission. Turn the
ignition to LOCK/OFF.
4. Set the parking brake. See Parking Brake 0239.
{Warning
Turning off the vehicle while
moving may cause loss of power
assist in the brake and steering
systems and disable the airbags.
While driving, only shut the
vehicle off in an emergency.
If the vehicle cannot be pulled over,
and must be shut off while driving,
turn the ignition to ACC/
ACCESSORY.
On vehicles with an automatic
transmission, the shift lever must be
in P (Park) to turn the ignition switch
to LOCK/OFF.
Caution
Using a tool to force the key to
turn in the ignition could cause
damage to the switch or break the
key. Use the correct key, make
sure it is all the way in, and turn it
only with your hand. If the key
cannot be turned by hand, see
your dealer.
1 (ACC/ACCESSORY) : This
position lets things like the radio
and the windshield wipers operate
while the engine is off. It also
unlocks the steering wheel. Use this
position if the vehicle must be
pushed or towed.
2 (ON/RUN) : This position can be
used to operate the electrical
accessories and to display some
instrument cluster warning and
indicator lights. This position can
also be used for service and
diagnostics, and to verify the proper
operation of the malfunction
indicator lamp as may be required
for emission inspection purposes.
Page 262 of 421

Chevrolet Colorado Owner Manual (GMNA-Localizing-U.S./Canada/Mexico-
11349743) - 2018 - crc - 10/12/17
Driving and Operating 261
vehicle may show signs similar to
engine overheating. To avoid this,
let the engine run while parked,
preferably on level ground, with the
transmission in P (Park) for a few
minutes before turning the engine
off. If the overheat warning comes
on, seeEngine Overheating 0291.
Parking on Hills
{Warning
Parking the vehicle on a hill with
the trailer attached can be
dangerous. If something goes
wrong, the rig could start to move.
People can be injured, and both
the vehicle and the trailer can be
damaged. When possible, always
park the rig on a flat surface.
If parking the rig on a hill: 1. Press the brake pedal, but do not shift into P (Park) yet. Turn
the wheels into the curb if
facing downhill or into traffic if
facing uphill. 2. Have someone place chocks
under the trailer wheels.
3. When the wheel chocks are in place, release the regular
brakes until the chocks absorb
the load.
4. Reapply the brake pedal. Then apply the parking brake and
shift into P (Park).
5. Release the brake pedal.Leaving After Parking on a Hill
1. Apply and hold the brake pedal.
2. Start the engine.
3. Shift into a gear.
4. Release the parking brake.
5. Let up on the brake pedal.
6. Drive slowly until the trailer is clear of the chocks.
7. Stop and have someone pick up and store the chocks.
Maintenance when Trailer
Towing
The vehicle needs service more
often when pulling a trailer. See
Maintenance Schedule 0365.
Things that are especially important
in trailer operation are automatic
transmission fluid, engine oil, axle
lubricant, belts, cooling system, and
brake system. It is a good idea to
inspect these before and during
the trip.
Check periodically to see that all
hitch nuts and bolts are tight.
Trailer Towing
Do not tow a trailer during break-in.
See New Vehicle Break-In 0216.
{Warning
The driver can lose control when
pulling a trailer if the correct
equipment is not used or the
vehicle is not driven properly. For
example, if the trailer is too heavy
(Continued)
Page 273 of 421

Chevrolet Colorado Owner Manual (GMNA-Localizing-U.S./Canada/Mexico-
11349743) - 2018 - crc - 10/12/17
272 Driving and Operating
appear on the Driver Information
Center (DIC). The effect that these
devices may have on vehicle
handling or trailer brake
performance is unknown.
{Warning
Use of electronic trailer sway
control devices could result in
reduced trailer brake
performance, loss of trailer
brakes, or other malfunctions, and
could cause a crash. You or
others could be injured or killed.
Before using one of these
devices:. Ask the device or trailer
manufacturer if the device
has been thoroughly tested
for compatibility with the
make, model, and year of
the vehicle as well as
optional equipment installed
on the vehicle.
(Continued)
Warning (Continued)
.Before driving on the open
roads, check that the trailer
brakes are working properly.
Drive the vehicle with the
trailer attached on a level
road surface that is free of
traffic at about 32-40 km/h
(20-25 mph) and fully apply
the manual trailer brake
apply lever. Also check that
the trailer brake lamps and
other lamps are functioning
correctly.
. If the trailer brakes are not
operating properly at any
time, or if a DIC message
indicates problems with the
trailer connections or trailer
brakes, carefully pull the
vehicle over to the side of
the road when traffic
conditions allow.
Conversions and
Add-Ons
Add-On Electrical
Equipment
{Warning
The Data Link Connector (DLC)
is used for vehicle service
and Emission Inspection/
Maintenance testing. See
Malfunction Indicator Lamp
(Check Engine Light) 0120.
A device connected to the DLC —
such as an aftermarket fleet or
driver-behavior tracking device —
may interfere with vehicle
systems. This could affect vehicle
operation and cause a crash.
Such devices may also access
information stored in the vehicle’s
systems.
Page 275 of 421

Chevrolet Colorado Owner Manual (GMNA-Localizing-U.S./Canada/Mexico-
11349743) - 2018 - crc - 10/12/17
274 Vehicle Care
Vehicle Care
General Information
General Information . . . . . . . . . . 275
California Proposition65 Warning . . . . . . . . . . . . . . . . . 275
California Perchlorate Materials Requirements . . . . . 276
Accessories and Modifications . . . . . . . . . . . . . . . . 276
Vehicle Checks
Doing Your OwnService Work . . . . . . . . . . . . . . . 276
Hood . . . . . . . . . . . . . . . . . . . . . . . . . 277
Engine Compartment Overview . . . . . . . . . . . . . . . . . . . . 278
Engine Oil . . . . . . . . . . . . . . . . . . . . 281
Engine Oil Life System . . . . . . . 283
Automatic Transmission Fluid . . . . . . . . . . . . . . . . . . . . . . . . 285
Manual Transmission Fluid . . . 285
Hydraulic Clutch . . . . . . . . . . . . . . 285
Engine Air Cleaner/Filter . . . . . . 286
Cooling System . . . . . . . . . . . . . . 287
Engine Overheating . . . . . . . . . . 291
Engine Fan . . . . . . . . . . . . . . . . . . . 292
Washer Fluid . . . . . . . . . . . . . . . . . 293
Brakes . . . . . . . . . . . . . . . . . . . . . . . 293 Brake Fluid . . . . . . . . . . . . . . . . . . . 294
Battery - North America . . . . . . 295
Four-Wheel Drive . . . . . . . . . . . . . 296
Front Axle . . . . . . . . . . . . . . . . . . . . 297
Rear Axle . . . . . . . . . . . . . . . . . . . . 298
Starter Switch Check . . . . . . . . . 298
Automatic Transmission Shift
Lock Control Function
Check . . . . . . . . . . . . . . . . . . . . . . . 299
Ignition Transmission Lock Check . . . . . . . . . . . . . . . . . . . . . . . 299
Park Brake and P (Park) Mechanism Check . . . . . . . . . . 300
Wiper Blade Replacement . . . . 300
Windshield Replacement . . . . . 301
Gas Strut(s) . . . . . . . . . . . . . . . . . . 301
Headlamp Aiming
Headlamp Aiming . . . . . . . . . . . . 302
Bulb Replacement
Bulb Replacement . . . . . . . . . . . . 302
Halogen Bulbs . . . . . . . . . . . . . . . . 302
Headlamps, Front Turn Signal, Sidemarker, and Parking
Lamps . . . . . . . . . . . . . . . . . . . . . . 303
Taillamps, Turn Signal, Stoplamps, and Back-Up
Lamps . . . . . . . . . . . . . . . . . . . . . . 303 Center High-Mounted
Stoplamp (CHMSL) and
Cargo Lamp . . . . . . . . . . . . . . . . . 304
Electrical System
Electrical System Overload . . . 305
Fuses and Circuit Breakers . . . 305
Engine Compartment FuseBlock . . . . . . . . . . . . . . . . . . . . . . . . 306
Instrument Panel Fuse Block . . . . . . . . . . . . . . . . . . . . . . . . 310
Wheels and Tires
Tires . . . . . . . . . . . . . . . . . . . . . . . . . . 312
All-Season Tires . . . . . . . . . . . . . . 313
Winter Tires . . . . . . . . . . . . . . . . . . 313
All-Terrain Tires . . . . . . . . . . . . . . . 314
Tire Sidewall Labeling . . . . . . . . 314
Tire Designations . . . . . . . . . . . . . 316
Tire Terminology andDefinitions . . . . . . . . . . . . . . . . . . 317
Tire Pressure . . . . . . . . . . . . . . . . . 320
Tire Pressure Monitor System . . . . . . . . . . . . . . . . . . . . . . 321
Tire Pressure Monitor Operation . . . . . . . . . . . . . . . . . . . 322
Tire Inspection . . . . . . . . . . . . . . . . 325
Tire Rotation . . . . . . . . . . . . . . . . . 325
When It Is Time for New Tires . . . . . . . . . . . . . . . . . . . . . . . . 326
Buying New Tires . . . . . . . . . . . . . 327
Page 286 of 421
Chevrolet Colorado Owner Manual (GMNA-Localizing-U.S./Canada/Mexico-
11349743) - 2018 - crc - 10/12/17
Vehicle Care 285
Automatic Transmission
Fluid
How to Check Automatic
Transmission Fluid
It is not necessary to check the
transmission fluid level.
A transmission fluid leak is the only
reason for fluid loss. If a leak
occurs, take the vehicle to your
dealer and have it repaired as soon
as possible.
There is a special procedure for
checking and changing the
transmission fluid. Because this
procedure is difficult, this should be
done at your dealer. Contact your
dealer for additional information or
the procedure can be found in the
service manual. To purchase a
service manual, seeService
Publications Ordering Information
0 391.
Change the fluid and filter at the
intervals listed in Maintenance
Schedule 0365, and be sure to use
the fluid listed in Recommended
Fluids and Lubricants 0374.
Manual Transmission
Fluid
How to Check Manual
Transmission Fluid
It is not necessary to check the
manual transmission fluid level.
A transmission fluid leak is the only
reason for fluid loss. If a leak
occurs, take the vehicle to your
dealer and have it repaired as soon
as possible. See Recommended
Fluids and Lubricants 0374 for the
proper fluid to use.
Hydraulic Clutch
For vehicles with a manual
transmission, it is not necessary to
regularly check brake/clutch fluid
unless there is a leak suspected.
Adding fluid will not correct a leak.
A fluid loss in this system could
indicate a problem. Have the
system inspected and repaired.
When to Check and What
to Use
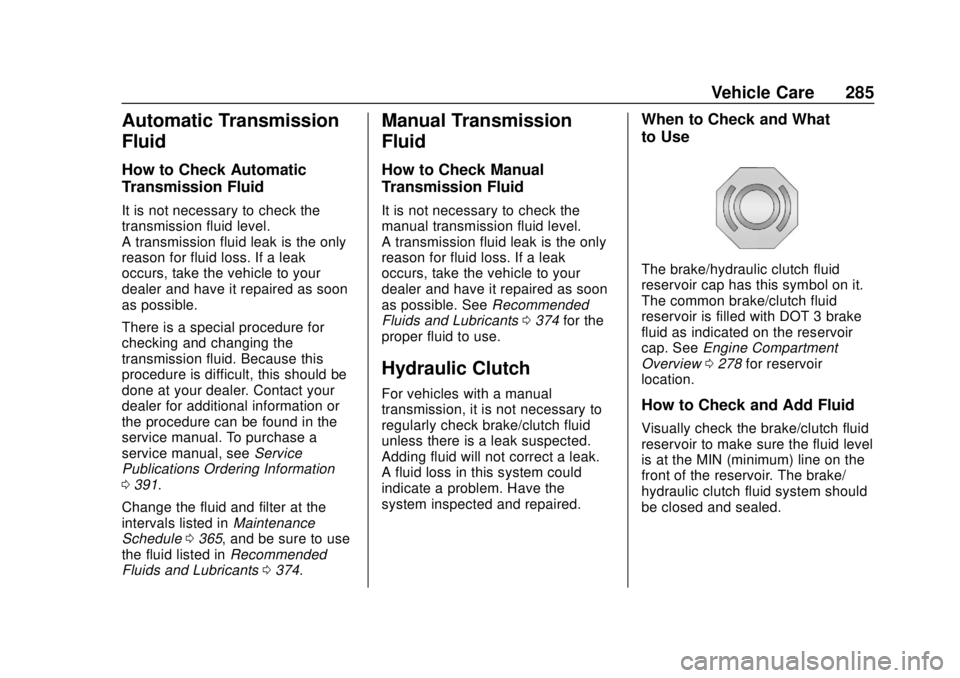
The brake/hydraulic clutch fluid
reservoir cap has this symbol on it.
The common brake/clutch fluid
reservoir is filled with DOT 3 brake
fluid as indicated on the reservoir
cap. See Engine Compartment
Overview 0278 for reservoir
location.
How to Check and Add Fluid
Visually check the brake/clutch fluid
reservoir to make sure the fluid level
is at the MIN (minimum) line on the
front of the reservoir. The brake/
hydraulic clutch fluid system should
be closed and sealed.
Page 295 of 421
Chevrolet Colorado Owner Manual (GMNA-Localizing-U.S./Canada/Mexico-
11349743) - 2018 - crc - 10/12/17
294 Vehicle Care
heard all the time the vehicle is
moving, except when applying the
brake pedal firmly.
{Warning
The brake wear warning sound
means that soon the brakes will
not work well. That could lead to
a crash. When the brake wear
warning sound is heard, have the
vehicle serviced.
Caution
Continuing to drive with worn-out
brake pads could result in costly
brake repair.
Some driving conditions or climates
can cause a brake squeal when the
brakes are first applied or lightly
applied. This does not mean
something is wrong with the brakes.
Properly torqued wheel nuts are
necessary to help prevent brake
pulsation. When tires are rotated, inspect brake pads for wear and
evenly tighten wheel nuts in the
proper sequence to torque
specifications in
Capacities and
Specifications 0379.
Brake linings should always be
replaced as complete axle sets.
Brake Pedal Travel
See your dealer if the brake pedal
does not return to normal height,
or if there is a rapid increase in
pedal travel. This could be a sign
that brake service may be required.
Replacing Brake System Parts
Always replace brake system parts
with new, approved replacement
parts. If this is not done, the brakes
may not work properly. The braking
performance expected can change
in many other ways if the wrong
replacement brake parts are
installed or parts are improperly
installed.
Brake Fluid
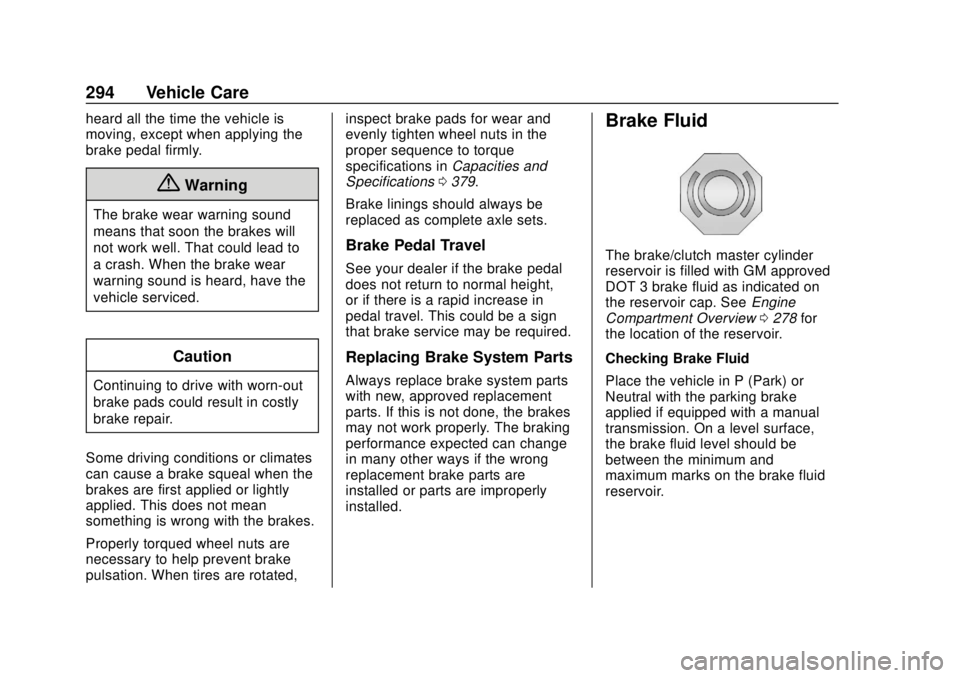
The brake/clutch master cylinder
reservoir is filled with GM approved
DOT 3 brake fluid as indicated on
the reservoir cap. See Engine
Compartment Overview 0278 for
the location of the reservoir.
Checking Brake Fluid
Place the vehicle in P (Park) or
Neutral with the parking brake
applied if equipped with a manual
transmission. On a level surface,
the brake fluid level should be
between the minimum and
maximum marks on the brake fluid
reservoir.
Page 328 of 421

Chevrolet Colorado Owner Manual (GMNA-Localizing-U.S./Canada/Mexico-
11349743) - 2018 - crc - 10/12/17
Vehicle Care 327
SeeTire Inspection 0325 andTire
Rotation 0325 for additional
information.
The rubber in tires ages over time.
This also applies to the spare tire,
if the vehicle has one, even if it is
never used. Multiple factors
including temperatures, loading
conditions, and inflation pressure
maintenance affect how fast aging
takes place. GM recommends that
tires, including the spare if
equipped, be replaced after six
years, regardless of tread wear. The
tire manufacture date is the last four
digits of the DOT Tire Identification
Number (TIN) which is molded into
one side of the tire sidewall. The
first two digits represent the week
(01-52) and the last two digits, the
year. For example, the third week of
the year 2010 would have a
four-digit DOT date of 0310.
Vehicle Storage
Tires age when stored normally
mounted on a parked vehicle. Park
a vehicle that will be stored for at
least a month in a cool, dry, clean area away from direct sunlight to
slow aging. This area should be free
of grease, gasoline, or other
substances that can deteriorate
rubber.
Parking for an extended period can
cause flat spots on the tires that
may result in vibrations while
driving. When storing a vehicle for
at least a month, remove the tires or
raise the vehicle to reduce the
weight from the tires.
Buying New Tires
GM has developed and matched
specific tires for the vehicle. The
original equipment tires installed
were designed to meet General
Motors Tire Performance Criteria
Specification (TPC Spec)
system rating. When
replacement tires are needed,
GM strongly recommends
buying tires with the same TPC
Spec rating.
GM's exclusive TPC Spec
system considers over a dozen
critical specifications that impact
the overall performance of the
vehicle, including brake system
performance, ride and handling,
traction control, and tire
pressure monitoring
performance. GM's TPC Spec
number is molded onto the tire's
sidewall near the tire size. If the
tires have an all-season tread
design, the TPC Spec number
will be followed by MS for mud
and snow. See
Tire Sidewall
Labeling 0314 for additional
information.
GM recommends replacing worn
tires in complete sets of four.
Uniform tread depth on all tires
will help to maintain the
performance of the vehicle.
Braking and handling
performance may be adversely
affected if all the tires are not
replaced at the same time.
If proper rotation and