2018 BUICK ENCORE steering wheel
[x] Cancel search: steering wheelPage 2 of 16

2
Driver Information Center Controls (on lever)
Cruise Control/Forward Collision AlertF Buttons
Driver Information Center
Storage CompartmentEngine Start/ Stop Button
Audio Steering Wheel ControlsWindshield Wipers Lever
Exterior/Interior Lamp Controls
Power Window/Mirror Controls
Tilt/Telescope Steering Wheel Lever
Symbols
Power Steering
Traction Control Off
Engine Coolant Temperature
Brake System Warning
Cruise Control Set
Low Tire Pressure
StabiliTrak Active
StabiliTrak Off
Security
Check Engine
Oil Pressure
Charging System
INSTRUMENT PANEL
Page 3 of 16

3
Refer to your Owner's Manual to learn about the information being relayed by the lights, gauges and indicators on the instrument cluster.
See In Brief in your Owner's Manual.
Infotainment System
Parking AssistF/Lane Departure WarningF Buttons
Passenger’s Heated Seat ButtonF
Hazard Warning Flashers Button
Accessory Power Outlet/USB Ports/Auxiliary Input Jack (in storage compartment)
Driver’s Heated Seat ButtonF
Heated Steering Wheel ButtonF
Climate Controls
Traction Control and StabiliTrak Button
Safety Belt Reminder
Airbag Readiness
Antilock Brake System
Lane Departure Warning
Lights On
Forward Collision Alert
F Optional equipment
Page 4 of 16

4
REMOTE VEHICLE STARTF
With the vehicle parked, push down the lever on the left side of the steering column to adjust the steering wheel. The steering wheel can then be moved up or down and in or out. Pull up the lever to lock the steering wheel in place.
See Instruments and Controls in your Owner's Manual.
F Optional equipment
TILT/TELESCOPE STEERING WHEEL
KEYLESS ACCESS SYSTEM
Use Remote Vehicle Start to start the engine from outside the vehicle. During a remote start, the engine will run for 15 minutes.
Press and release the Lock button and then press and hold the Remote Start
button until the turn signal lamps flash. After entering the vehicle, turn on the ignition.
Press and hold the button until the parking lamps turn off to cancel a remote start.
Note: To change the remote start settings, go to Settings > Vehicle > Remote Lock, Unlock, Start.
See Keys, Doors and Windows in your Owner's Manual.
Keyless Access enables operation of the doors, liftgate and ignition without removing the Remote Keyless Entry transmitter from a pocket or purse. The transmitter must be within 3 feet of the door to be unlocked or within 3 feet of the liftgate.
Keyless Unlocking
With the transmitter within range:
Press the lock button on the driver’s door
handle to unlock the driver’s door; press it again within 5 seconds to unlock all doors and the liftgate.
Press the lock button on the passenger’s door handle to unlock all doors and the liftgate.
Press the touchpad on the liftgate handle to open the liftgate.
Keyless Locking
With the ignition off, the transmitter out of the vehicle, and all doors closed:
Press the lock button on any door handle to lock all doors and the liftgate immediately.
If Passive Locking is turned on, all doors and the liftgate will lock automatically after a short delay once all doors and the liftgate are closed.
Note: To change the door lock settings, go to Settings > Vehicle > Remote Lock, Unlock, Start.
See Keys, Doors and Windows in your Owner's Manual.
Page 9 of 16

9
See your Infotainment System Manual.
F Optional equipment
BUICK INFOTAINMENT SYSTEM
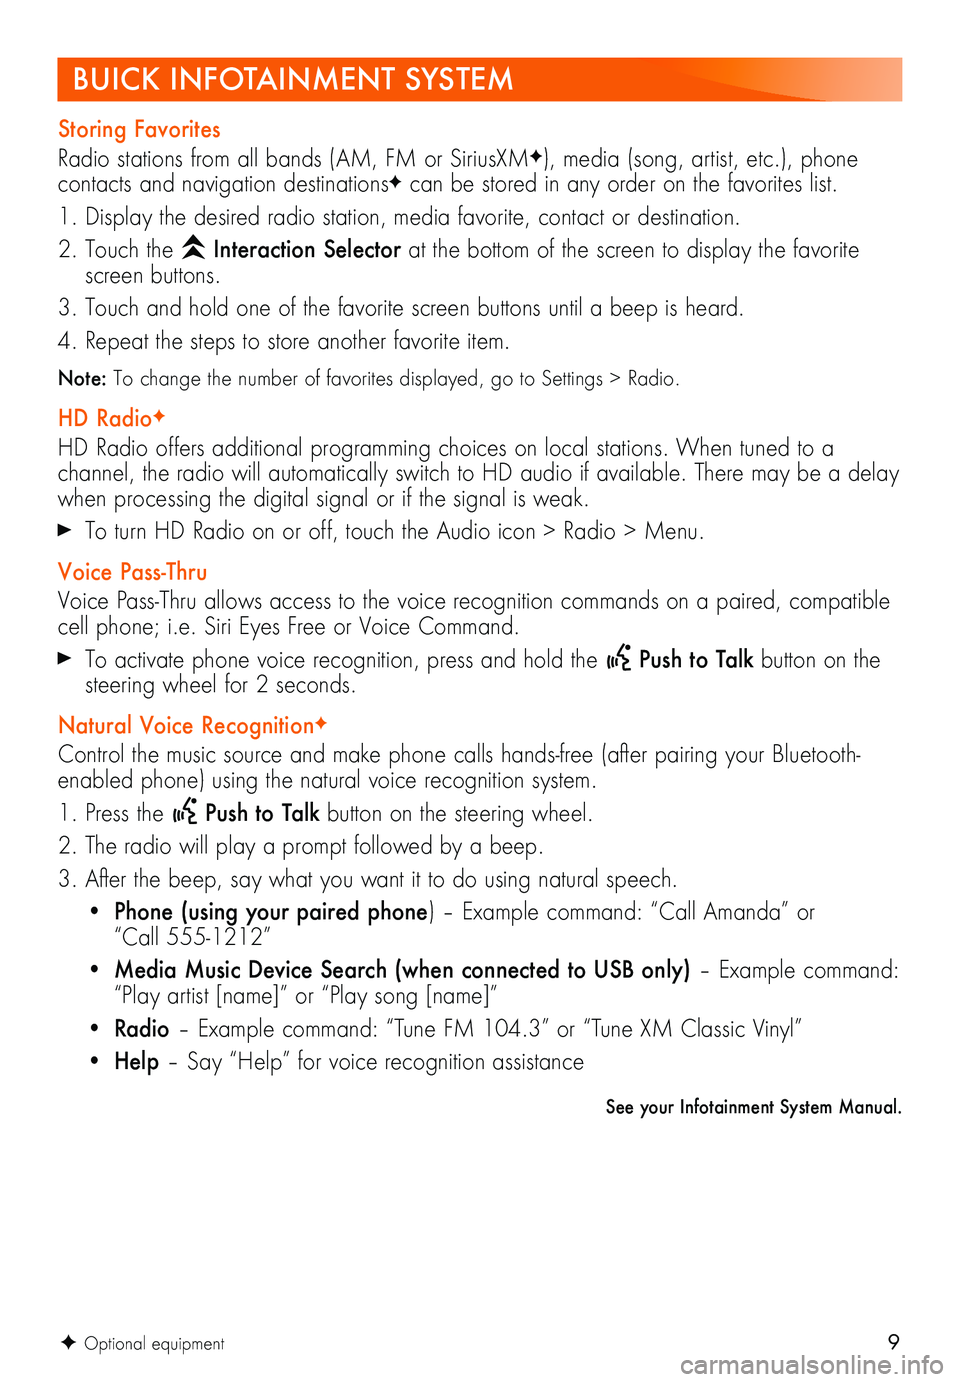
Storing Favorites
Radio stations from all bands (AM, FM or SiriusXMF), media (song, artist, etc.), phone
contacts and navigation destinationsF can be stored in any order on the favorites list.
1. Display the desired radio station, media favorite, contact or destination.
2. Touch the Interaction Selector at the bottom of the screen to display the favorite screen buttons.
3. Touch and hold one of the favorite screen buttons until a beep is heard.
4. Repeat the steps to store another favorite item.
Note: To change the number of favorites displayed, go to Settings > Radio.
HD RadioF
HD Radio offers additional programming choices on local stations. When tuned to a
channel, the radio will automatically switch to HD audio if available. There may be a delay when processing the digital signal or if the signal is weak.
To turn HD Radio on or off, touch the Audio icon > Radio > Menu.
Voice Pass-Thru
Voice Pass-Thru allows access to the voice recognition commands on a paired, compatible cell phone; i.e. Siri Eyes Free or Voice Command.
To activate phone voice recognition, press and hold the Push to Talk button on the steering wheel for 2 seconds.
Natural Voice RecognitionF
Control the music source and make phone calls hands-free (after pairing your Bluetooth-enabled phone) using the natural voice recognition system.
1. Press the Push to Talk button on the steering wheel.
2. The radio will play a prompt followed by a beep.
3. After the beep, say what you want it to do using natural speech.
• Phone (using your paired phone) – Example command: “Call Amanda” or “Call 555-1212”
• Media Music Device Search (when connected to USB only) – Example command: “Play artist [name]” or “Play song [name]”
• Radio – Example command: “Tune FM 104.3” or “Tune XM Classic Vinyl”
• Help – Say “Help” for voice recognition assistance
Page 10 of 16

10
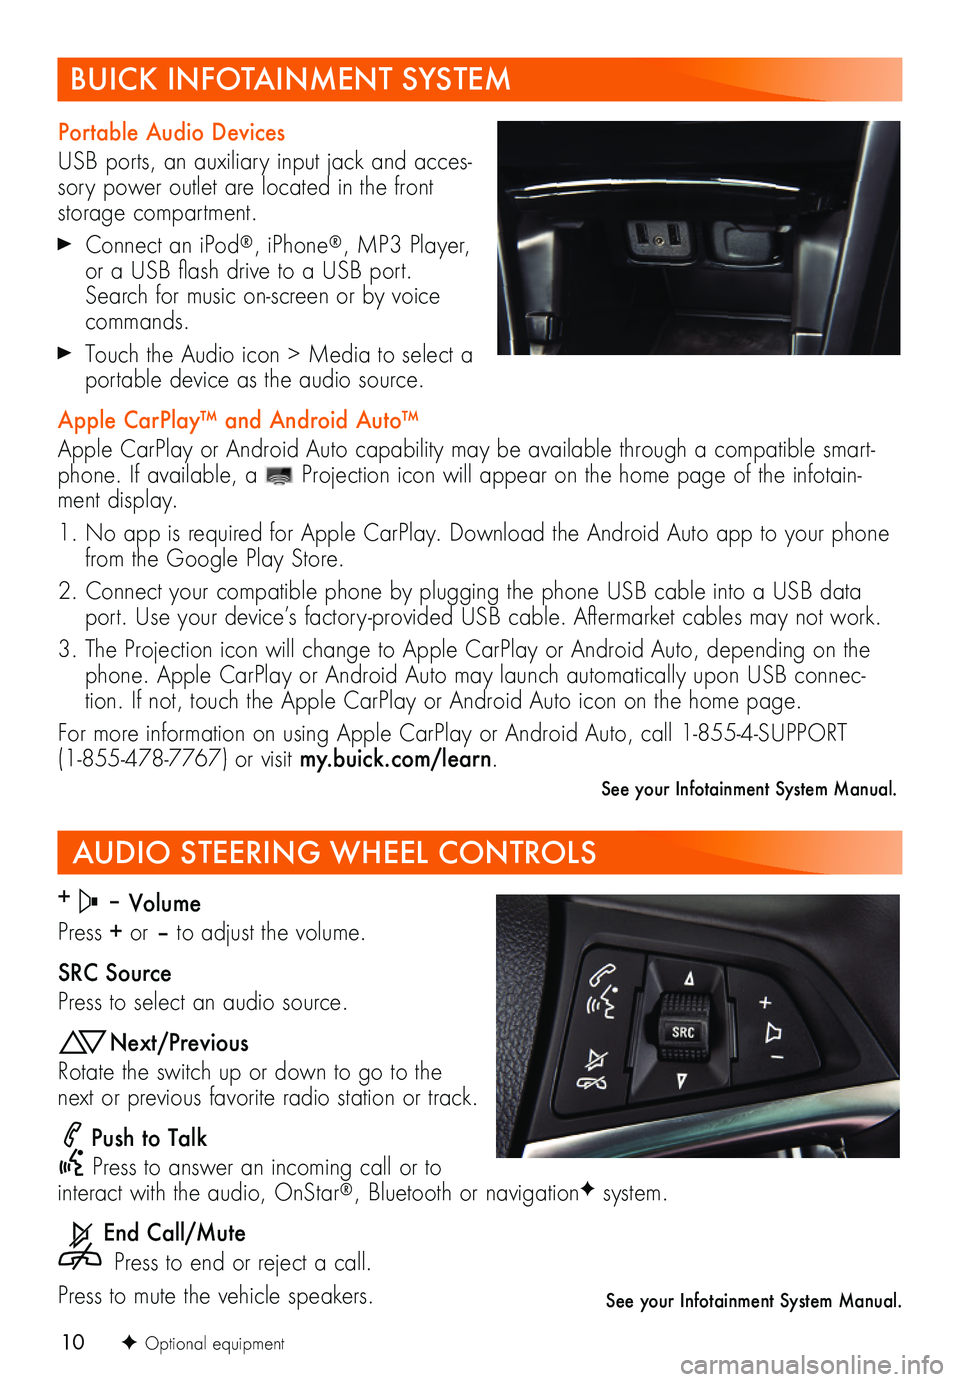
AUDIO STEERING WHEEL CONTROLS
+ – Volume
Press + or – to adjust the volume.
SRC Source
Press to select an audio source.
Next/Previous
Rotate the switch up or down to go to the next or previous favorite radio station or track.
Push to Talk
Press to answer an incoming call or to interact with the audio, OnStar®, Bluetooth or navigationF system.
End Call/Mute
Press to end or reject a call.
Press to mute the vehicle speakers.
F Optional equipment
See your Infotainment System Manual.
BUICK INFOTAINMENT SYSTEM
Portable Audio Devices
USB ports, an auxiliary input jack and acces-sory power outlet are located in the front storage compartment.
Connect an iPod®, iPhone®, MP3 Player, or a USB flash drive to a USB port. Search for music on-screen or by voice commands.
Touch the Audio icon > Media to select a portable device as the audio source.
Apple CarPlay™ and Android Auto™
Apple CarPlay or Android Auto capability may be available through a compatible smart-phone. If available, a Projection icon will appear on the home page of the infotain-ment display.
1. No app is required for Apple CarPlay. Download the Android Auto app to your phone from the Google Play Store.
2. Connect your compatible phone by plugging the phone USB cable into a USB data port. Use your device’s factory-provided USB cable. Aftermarket cables may not work.
3. The Projection icon will change to Apple CarPlay or Android Auto, depending on the phone. Apple CarPlay or Android Auto may launch automatically upon USB connec-tion. If not, touch the Apple CarPlay or Android Auto icon on the home page.
For more information on using Apple CarPlay or Android Auto, call 1-855-4-SUPPORT (1-855-478-7767) or visit my.buick.com/learn.
See your Infotainment System Manual.
Page 12 of 16

12
CLIMATE CONTROLS
Driver’s Heated Seat ControlFDefog Mode
Passenger’s Temperature ControlF
Passenger’s Heated Seat ControlFFloor Mode
Driver’s Temperature ControlVent Mode
Air Conditioning Control
Recirculation Mode
Fan Speed Control/Off
Defrost Mode
AUTOF
Automatic OperationRear Window/ Outside Mirror Defogger
Heated Steering WheelF
Automatic Dual Zone OperationF
1. Press AUTO.
2. Set the temperature for the driver and front passenger. Allow time for the system to
automatically reach the desired temperature.
If the functions are adjusted manually, automatic operation is canceled.
The three air delivery mode buttons can be selected in any combination.
To turn off the system, continually press the Fan Speed Control downward until all lights are off.
IonizerF
The ionizer, which removes contaminants such as pollen and dust to help clean the air inside the vehicle, turns on automatically with the climate control system.
To turn on or off, go to Settings > Vehicle > Climate and Air Quality.
See Climate Controls in your Owner's Manual.
Dual Automatic Climate ControlsF shown
F Optional equipment
Page 13 of 16

13
Lane Departure WarningF
The Lane Departure Warning indicator on the instrument cluster is green when a lane marking is detected. If a detected lane marking is crossed without using a turn signal in that direction, the system flashes an amber indicator and 3 beeps sound on the side of the departure direction.
To turn the system Off or On, press the Lane Departure Warning button on the
center of the instrument panel.
Forward Collision AlertF
The Vehicle Ahead indicator is green on the instrument cluster when a vehicle is detected and is amber when following a vehicle ahead too closely. When approaching a vehicle directly ahead too rapidly, a red alert flashes on the windshield and rapid beeps sound.
Press the Forward Collision Alert button on the steering wheel to select a follow gap setting of Far, Medium, Near, or Off.
Side Blind Zone AlertF
While driving, the system displays a warning symbol on the left or right side mirror when a vehicle is detected in that side blind zone area. The warning symbol flashes if a turn signal is activated when a vehicle has been detected on the same side.
To turn the system Off or On, go to Settings > Vehicle > Collision/Detection Systems > Side Blind Zone Alert.
DRIVER ASSISTANCE SYSTEMS
CRUISE CONTROL
Setting Cruise Control
1. Press the On/Off button. The Cruise Control symbol will illuminate in white on the instrument cluster.
2. When traveling at the desired speed, rotate the thumbwheel down to the SET position to set the speed. The
symbol will illuminate in green on the instrument cluster.
See Driving and Operating in your Owner's Manual.
F Optional equipment
Cancel
Press to cancel the cruise control but retain the set speed in memory.
Pressing the brake pedal also will cancel the cruise control.
Turn off cruise control or the vehicle ignition to erase the cruise control set speed.
Adjusting Cruise Control
RES/+ Resume/Accelerate
Rotate the thumbwheel up to resume a set speed. When the system is active, rotate the thumbwheel up to increase speed.
SET/– Set/Coast
When the system is active, rotate the thumb-wheel down to decrease speed.
See Driving and Operating in your Owner's Manual.