2018.5 OPEL GRANDLAND X engine
[x] Cancel search: enginePage 107 of 273

Instruments and controls105Vehicle messages
Messages are indicated in the Driver
Information Centre, in some cases
together with a warning and signal
chime.
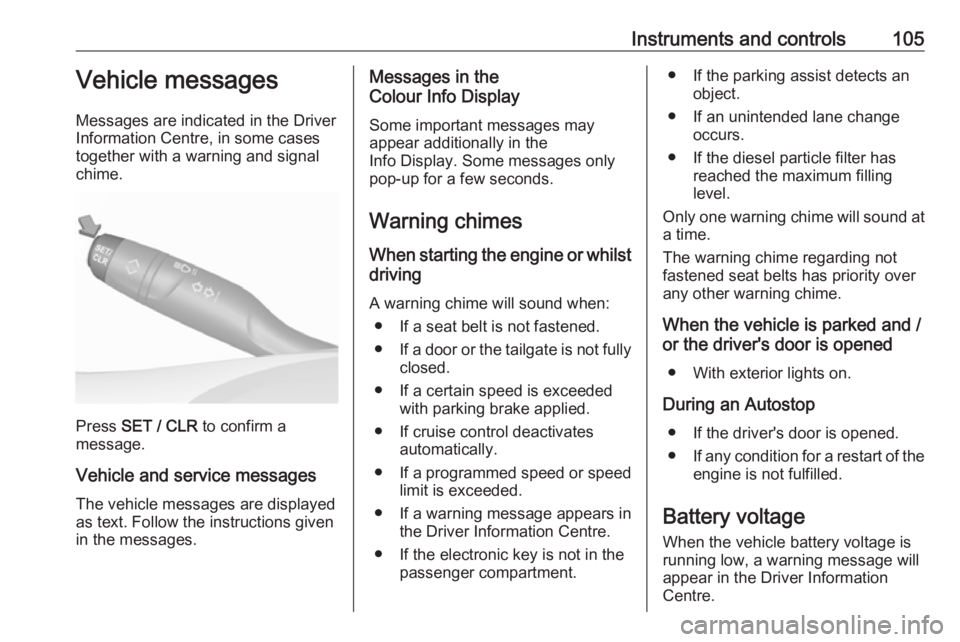
Press SET / CLR to confirm a
message.
Vehicle and service messages The vehicle messages are displayed
as text. Follow the instructions given
in the messages.
Messages in the
Colour Info Display
Some important messages may
appear additionally in the
Info Display. Some messages only
pop-up for a few seconds.
Warning chimes
When starting the engine or whilst driving
A warning chime will sound when: ● If a seat belt is not fastened.
● If a door or the tailgate is not fully
closed.
● If a certain speed is exceeded with parking brake applied.
● If cruise control deactivates automatically.
● If a programmed speed or speed
limit is exceeded.
● If a warning message appears in the Driver Information Centre.
● If the electronic key is not in the passenger compartment.● If the parking assist detects anobject.
● If an unintended lane change occurs.
● If the diesel particle filter has reached the maximum filling
level.
Only one warning chime will sound at
a time.
The warning chime regarding not
fastened seat belts has priority over
any other warning chime.
When the vehicle is parked and /
or the driver's door is opened
● With exterior lights on.
During an Autostop ● If the driver's door is opened.
● If any condition for a restart of the
engine is not fulfilled.
Battery voltage When the vehicle battery voltage is
running low, a warning message will
appear in the Driver Information
Centre.
Page 108 of 273

106Instruments and controlsWhen the vehicle is being driven, the
load reduction function temporarily
deactivates certain functions, such as
the air conditioning, the heated rear
window, heated steering wheel, etc.
The deactivated functions are
reactivated automatically as soon as
conditions permit.Vehicle personalisation
The vehicle's behaviour can be
personalised by changing the settings in the Info Display.
Depending on vehicle equipment and
country-specific regulations some of
the functions described below may
not be available.
Some functions are only displayed or
active when the engine is running.
Graphic Info Display
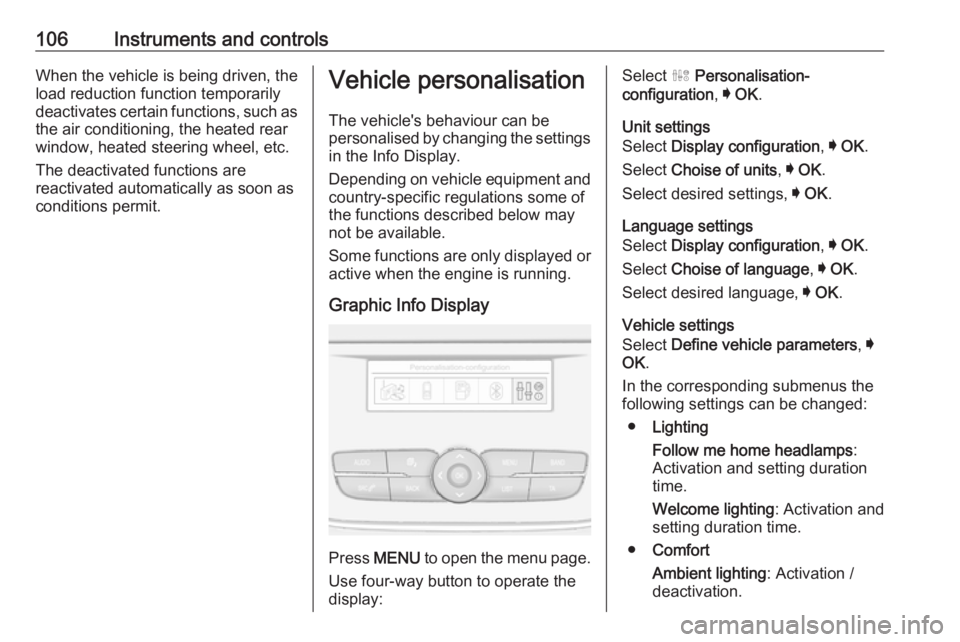
Press MENU to open the menu page.
Use four-way button to operate the
display:
Select ˆ Personalisation-
configuration , I OK .
Unit settings
Select Display configuration , I OK .
Select Choise of units , I OK .
Select desired settings, I OK .
Language settings
Select Display configuration , I OK .
Select Choise of language , I OK .
Select desired language, I OK .
Vehicle settings
Select Define vehicle parameters , I
OK .
In the corresponding submenus the
following settings can be changed:
● Lighting
Follow me home headlamps :
Activation and setting duration
time.
Welcome lighting : Activation and
setting duration time.
● Comfort
Ambient lighting : Activation /
deactivation.
Page 114 of 273

112Instruments and controlsStolen vehicle assistance
If the vehicle is stolen, report the theft
to the authorities and request OnStar
stolen vehicle assistance. Use any
phone to call an advisor. Find the
respective OnStar phone number on
our country-specific website.
OnStar can provide support in
locating and recovering the vehicle.Theft alert
When the anti-theft alarm system is
triggered, a notification is sent to
OnStar. You are then informed about
this event by text message or email.Restart prevention
By sending remote signals, OnStar can prevent the vehicle from
restarting once it has been turned off.
On-demand diagnostics
At any time e.g. if the vehicle displays a vehicle message, press Z to
contact an advisor and ask to
complete a real-time diagnostic check
to directly determine the issue.
Depending on the results, the advisor
will provide further support.
Diagnostic report
The vehicle automatically transmits
diagnostic data to OnStar which
sends a monthly email report to you
and your preferred workshop.
Note
The workshop notification function
can be disabled in your account.
The report contains the status of key
operating systems of the vehicle like
engine, transmission, airbags, ABS,
and other major systems. It also
provides information on possible
maintenance items and tyre pressure (only with tyre pressure monitoring
system).
To look at the information in greater detail, select the link within the email and log in to your account.
OnStar settings
OnStar PIN
To have full access to all OnStar
services, a four-digit PIN is required. The PIN has to be personalised when first talking to an advisor.
To change the PIN, press Z to call an
advisor.Account data
An OnStar subscriber has an account
where all the data is stored. To
request a change of the account
information, press Z and talk to an
advisor or log in to your account.
If the OnStar service is used on
another vehicle, press Z and request
that the account be transferred to the
new vehicle.
Note
In any case, if the vehicle is disposed of, sold or otherwise transferred,
immediately inform OnStar about
the changes and terminate the
OnStar service on this vehicle.
Vehicle location
The vehicle location is transmitted to
OnStar when service is requested or
triggered. A message on the Info Display informs about this
transmission.
To activate or deactivate the
transmission of the vehicle location,
press and hold j until an audio
message is heard.
Page 117 of 273

Lighting115Tail lightsTail lights are illuminated together
with low / high beam and sidelights.
Automatic light control
When the automatic light control
function is switched on and the
engine is running, the system
switches between daytime running
lights and headlights automatically
depending on the external lighting
conditions and information given by
the wiper system.
Daytime running light 3 116.
Automatic headlight activation
During poor lighting conditions the
headlights are switched on.
Additionally, headlights are switched
on if the windscreen wipers have
been activated for several wipes.
Tunnel detection
When a tunnel is entered, headlights
are switched on immediately.
High beam
Push lever to switch from low to high
beam.
Pull lever to deactivate high beam.
High beam assist 3 116.
Headlight flash
To activate the headlight flash, pull
lever.
Pulling lever deactivates high beam.
Page 118 of 273

116LightingHeadlight range adjustment
Manual headlight range
adjustment
To adapt headlight range to the
vehicle load to prevent dazzling, turn
thumb wheel ? to required position.
0:front seats occupied1:all seats occupied2:all seats occupied and load
compartment laden3:driver's seat occupied and load
compartment ladenDaytime running lights
Daytime running lights increase
visibility of the vehicle during daylight.
They are switched on automatically
when the engine is running.
The system switches between
daytime running lights and low beam
automatically, depending on the
lighting conditions.
LED headlights
LED headlight system contains a
variety of particular LEDs in each
headlight which enables the control of the adaptive forward lighting
functions.
Light distribution and intensity of light
are variably triggered depending on
the lighting conditions, road type and
driving situation. The vehicle adapts
the headlights automatically to the
situation to enable optimal light
performance for the driver.
Some adaptive forward lighting
functions of the LED headlights can
be deactivated or activated in thevehicle personalisation menu. Select
the relevant setting in Settings, I
Vehicle in the Info Display.
Vehicle personalisation 3 106.
The lighting functions are only
available with light switch in position
AUTO .
Country light
Activated automatically at a speed
between 55 km/h and 115 km/h when driving in rural areas. The illumination
of the current lane and the side of the road is improved. Oncoming and
preceding vehicles are not dazzled.
Page 126 of 273

124Climate controlClimate controlClimate control systems.............124
Heating and ventilation system 124
Air conditioning system ...........125
Electronic climate control system .................................... 127
Auxiliary heater ........................132
Air vents ..................................... 132
Adjustable air vents .................132
Fixed air vents ......................... 133
Glovebox cooler ......................133
Maintenance .............................. 133
Air intake ................................. 133
Pollen filter ............................... 133
Air conditioning regular operation ................................ 133
Service .................................... 133Climate control systems
Heating and ventilation system
Controls for: ● temperature £
● air distribution l, M and K
● fan speed Z
● demisting and defrosting à
● heated rear window and exterior mirrors b
● heated seats ß
Heated rear window b 3 41.
Heated exterior mirrors b3 39.
Heated seats ß 3 51.
Temperature
Adjust the temperature by turning
£ to the desired temperature.red area:warmerblue area:colder
Heating will not be fully effective until
the engine has reached normal
operating temperature.
Air distribution
l:to windscreen and front door
windowsM:to head area via adjustable air
ventsK:to foot well and windscreen
All combinations are possible.
Fan speed
Adjust the air flow by turning Z to the
desired speed.
clockwise:increaseanticklockwise:decrease
Page 128 of 273

126Climate controlHeating will not be fully effective until
the engine has reached normal
operating temperature.
Air distributionl:to windscreen and front door
windowsM:to head area via adjustable air
ventsK:to foot well and windscreen
All combinations are possible.
Fan speed
Adjust the air flow by turning Z to the
desired speed.
clockwise:increaseanticlockwise:decreaseCooling A/C
Press A/C to switch on cooling. The
LED in the button illuminates to
indicate activation. Cooling is only
functional when the engine is running and fan is switched on.
Press A/C again to switch off cooling.
The air conditioning system cools and
dehumidifies (dries) as soon as the
outside temperature is slightly above
the freezing point. Therefore,
condensation may form and drip from
under the vehicle.
If no cooling or drying is required,
switch off the cooling system for fuel
saving reasons.
Activated cooling may inhibit
Autostops. Stop-start system 3 140.
Air recirculation system
Press 4 to activate air recirculation
mode. The LED in the button
illuminates to indicate activation.
Press 4 again to deactivate air
recirculation mode.
9 Warning
The exchange of fresh air is
reduced in air recirculation mode.
In operation without cooling the air humidity increases, so the
Page 129 of 273

Climate control127windows may mist up from inside.
The quality of the passenger
compartment air deteriorates,
which may cause the vehicle
occupants to feel drowsy.
In warm and very humid ambient air
conditions, the windscreen may mist
up from outside when cold air is
directed towards it. If windscreen
mists up from outside, activate
windscreen wiper and deactivate l.
Maximum cooling
Briefly open the windows so that hot
air can disperse quickly.
● Switch on cooling A/C.
● Press 4 for air recirculation
system on.
● Press M for air distribution.
● Set temperature control £ to
coldest level.
● Set fan speed Z to highest level.
● Open all vents.
Demisting and defrosting the
windows
● Press à: the air distribution is
directed towards the windscreen.
● Set temperature controller £ to
warmest level.
● Switch on cooling A/C, if
required.
● Set fan speed Z to highest level.
● Switch on heated rear window b.
● Switch on heated windscreen ,.
● Open side air vents as required and direct them towards the doorwindows.
Note
If à is pressed while the engine is
running, an Autostop will be inhibited until à is pressed again.
If à is pressed while the engine is in
an Autostop, the engine will restart
automatically.
Stop-start system 3 140.
Electronic climate control system
The dual zone climate control allows
different temperatures for driver side
and front passenger side.
In automatic mode, temperature, fan
speed and air distribution are
regulated automatically.