Page 103 of 273

Lighting10150 km/h. High beam is switched off at
a speed below 35 km/h, but high beam assist remains active.
The green control indicator f
illuminates continuously when the
high beam assist is activated, the blue one 7 illuminates when high beam is
on.
Control indicator f 3 81, 7 3 81.
Pushing the stalk once switches on
manual high beam without high beam assist.
High beam assist switches
automatically back to low beam
when:
● Driving in urban areas.
● Reverse parking function is active.
● Rear fog light is switched on.
If there are no restrictions detected,
the system switches back to high
beam.Deactivation
If high beam assist is active and high
beam is on, press f once or pull the
stalk once to deactivate high beam
assist.
If high beam assist is active and high
beam is off, press f once to
deactivate high beam assist.
Pushing the stalk to activate manual high beam will also deactivate highbeam assist.
Headlight flash in conjunction with high beam assist
Headlight flash by pulling the stalk
once will not deactivate high beam
assist when high beam is off.
Headlight flash by pulling the stalk
once deactivates high beam assist
when high beam is on.
Fault in headlight system
When the system detects a failure in
the headlight system, it selects a
preset position to avoid dazzling of
oncoming traffic. A warning is
displayed in the Driver Information
Centre.Headlight flash
To activate the headlight flash, pull
stalk.
Pulling stalk deactivates high beam.
Headlight range adjustment
Manual headlight range
adjustment
To adapt headlight range to the
vehicle load to prevent dazzling: turn
thumb wheel ? to required position.
Page 104 of 273
102Lighting0:front seats occupied1:all seats occupied2:all seats occupied and load
compartment laden3:driver's seat occupied and load
compartment laden
Daytime running lights
Daytime running lights increase
visibility of the vehicle during daylight.
While the daytime running light is
active, the tail lights and the sidelights are switched off.
Please remember that the low beam
should be switched on when required.
Hazard warning flashers Operated by pressing ¨.
In the event of an accident with airbag
deployment, the hazard warning
flashers are activated automatically.
Turn lightsstalk up:right turn lightstalk down:left turn light
A resistance point can be felt when
moving the stalk.
Constant flashing is activated when
the stalk is being moved beyond the
resistance point. It is deactivated
when the steering wheel is moved in
the opposite direction or stalk is
manually moved back to its neutral
position.
Page 111 of 273

Infotainment system1091Display / touch screen ........113
2 m (knob)
Turn: adjust volume ............110
3 m (button)
Short press: mute system ...110
or deactivate mute
function if mute function is
active ................................... 110
or exit low power mode if
low power mode is active ....110
Long press: turn on low
power mode ........................ 110
4 p
Press: display the
Infotainment home screen ..113
5 t / v
Short press: skip to
previous or next station
when radio active ................121
or skip to previous or next
track when external
devices active .....................128Long press: seek up or
down when radio active ......121
or fast forward or fast
rewind when external
devices active .....................128Steering wheel controls
1w
Short press: open OnStar
menu if no phone
connected ........................... 110
or open the phone menu .....137
or take phone call if phone connected ........................... 137
Long press: activate
speech recognition ..............133
Page 112 of 273
110Infotainment system2Five-way controller
Press buttons: operate
menus on the Driver
Information Centre ................82
3 n
Press: end / decline call ......137
or deactivate speech recognition .......................... 133
or activate / deactivate
mute function ...................... 110
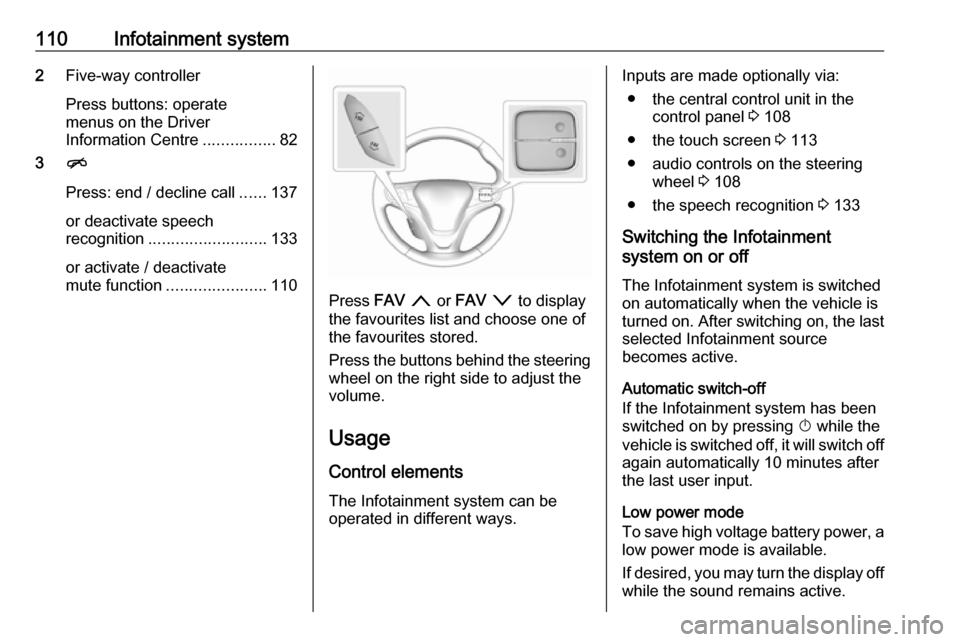
Press FAV n or FAV o to display
the favourites list and choose one of
the favourites stored.
Press the buttons behind the steering wheel on the right side to adjust the
volume.
Usage
Control elements
The Infotainment system can be
operated in different ways.
Inputs are made optionally via:
● the central control unit in the control panel 3 108
● the touch screen 3 113
● audio controls on the steering wheel 3 108
● the speech recognition 3 133
Switching the Infotainment
system on or off
The Infotainment system is switched
on automatically when the vehicle is turned on. After switching on, the last selected Infotainment source
becomes active.
Automatic switch-off
If the Infotainment system has been
switched on by pressing X while the
vehicle is switched off, it will switch off again automatically 10 minutes after
the last user input.
Low power mode
To save high voltage battery power, a
low power mode is available.
If desired, you may turn the display off while the sound remains active.
Page 119 of 273
Infotainment system117
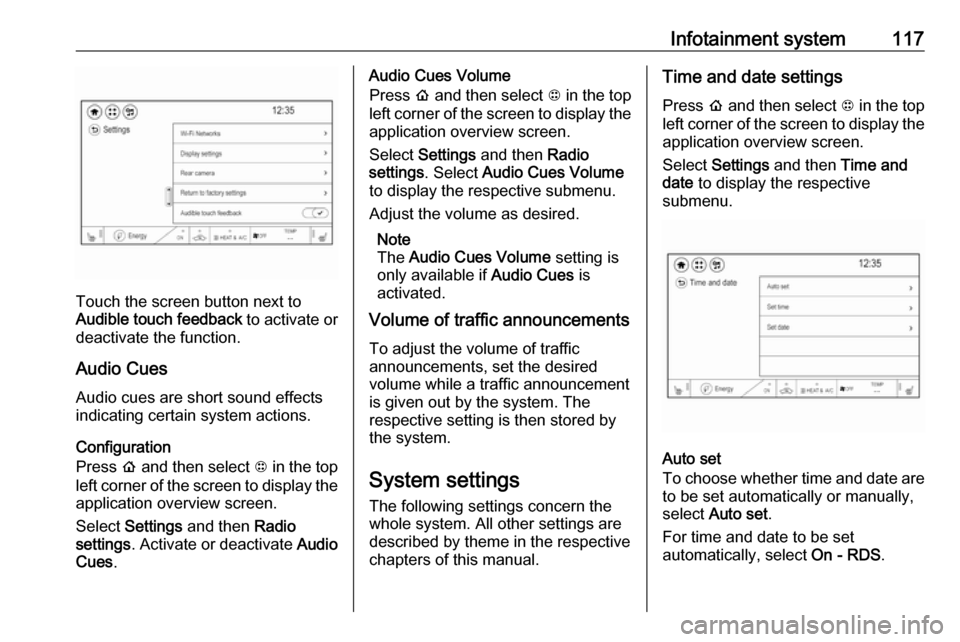
Touch the screen button next to
Audible touch feedback to activate or
deactivate the function.
Audio Cues Audio cues are short sound effects
indicating certain system actions.
Configuration
Press p and then select 1 in the top
left corner of the screen to display the application overview screen.
Select Settings and then Radio
settings . Activate or deactivate Audio
Cues .
Audio Cues Volume
Press p and then select 1 in the top
left corner of the screen to display the application overview screen.
Select Settings and then Radio
settings . Select Audio Cues Volume
to display the respective submenu.
Adjust the volume as desired.
Note
The Audio Cues Volume setting is
only available if Audio Cues is
activated.
Volume of traffic announcements
To adjust the volume of traffic
announcements, set the desired
volume while a traffic announcement
is given out by the system. The
respective setting is then stored by
the system.
System settings The following settings concern the
whole system. All other settings are
described by theme in the respective
chapters of this manual.Time and date settings
Press p and then select 1 in the top
left corner of the screen to display the application overview screen.
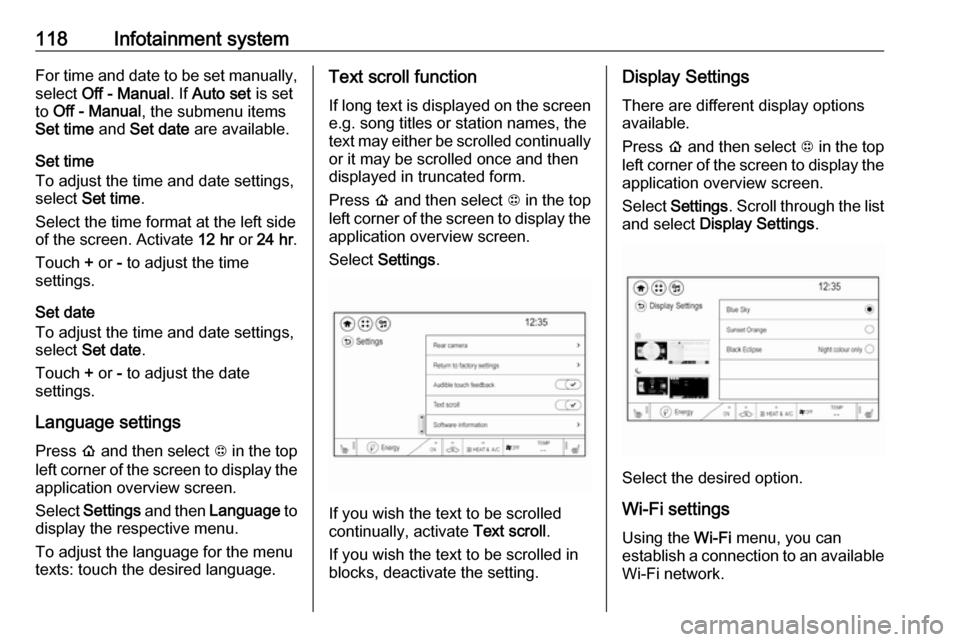
Select Settings and then Time and
date to display the respective
submenu.
Auto set
To choose whether time and date are to be set automatically or manually,
select Auto set .
For time and date to be set
automatically, select On - RDS.
Page 120 of 273
118Infotainment systemFor time and date to be set manually,
select Off - Manual . If Auto set is set
to Off - Manual , the submenu items
Set time and Set date are available.
Set time
To adjust the time and date settings,
select Set time .
Select the time format at the left side
of the screen. Activate 12 hr or 24 hr .
Touch + or - to adjust the time
settings.
Set date
To adjust the time and date settings,
select Set date .
Touch + or - to adjust the date
settings.
Language settings
Press p and then select 1 in the top
left corner of the screen to display the
application overview screen.
Select Settings and then Language to
display the respective menu.
To adjust the language for the menu
texts: touch the desired language.Text scroll function
If long text is displayed on the screen
e.g. song titles or station names, the
text may either be scrolled continually or it may be scrolled once and then
displayed in truncated form.
Press p and then select 1 in the top
left corner of the screen to display the
application overview screen.
Select Settings .
If you wish the text to be scrolled
continually, activate Text scroll.
If you wish the text to be scrolled in
blocks, deactivate the setting.
Display Settings
There are different display options
available.
Press p and then select 1 in the top
left corner of the screen to display the application overview screen.
Select Settings . Scroll through the list
and select Display Settings .
Select the desired option.
Wi-Fi settings Using the Wi-Fi menu, you can
establish a connection to an available
Wi-Fi network.
Page 121 of 273
Infotainment system119Press p and then select 1 in the top
left corner of the screen to display the application overview screen.
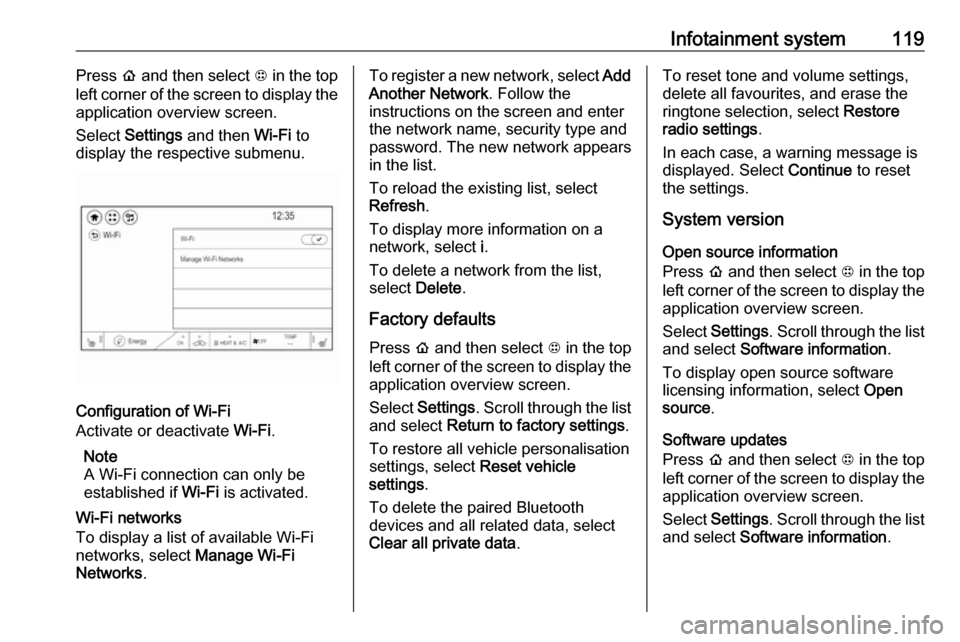
Select Settings and then Wi-Fi to
display the respective submenu.
Configuration of Wi-Fi
Activate or deactivate Wi-Fi.
Note
A Wi-Fi connection can only be
established if Wi-Fi is activated.
Wi-Fi networks
To display a list of available Wi-Fi
networks, select Manage Wi-Fi
Networks .
To register a new network, select Add
Another Network . Follow the
instructions on the screen and enter
the network name, security type and
password. The new network appears
in the list.
To reload the existing list, select
Refresh .
To display more information on a
network, select i.
To delete a network from the list,
select Delete .
Factory defaults Press p and then select 1 in the top
left corner of the screen to display the application overview screen.
Select Settings . Scroll through the list
and select Return to factory settings .
To restore all vehicle personalisation
settings, select Reset vehicle
settings .
To delete the paired Bluetooth
devices and all related data, select
Clear all private data .To reset tone and volume settings,
delete all favourites, and erase the
ringtone selection, select Restore
radio settings .
In each case, a warning message is
displayed. Select Continue to reset
the settings.
System version
Open source information
Press p and then select 1 in the top
left corner of the screen to display the application overview screen.
Select Settings . Scroll through the list
and select Software information .
To display open source software
licensing information, select Open
source .
Software updates
Press p and then select 1 in the top
left corner of the screen to display the application overview screen.
Select Settings . Scroll through the list
and select Software information .
Page 122 of 273
120Infotainment systemTo start a software update, select
Software Update . For a detailed
description on software updates
3 258.
To display a menu with further
settings, select Update Preferences .
If Download New Updates in
Background is activated, software
updates are downloaded
automatically by the system without specific notification. If Download New
Updates in Background is
deactivated, a message might be
displayed before an update is carried out. Activate or deactivate the
function as desired.
Vehicle settings Vehicle personalisation 3 91.Radio
Usage
Activation of the radio function Press p and then select 1 in the top
left corner of the screen to display the application overview screen.
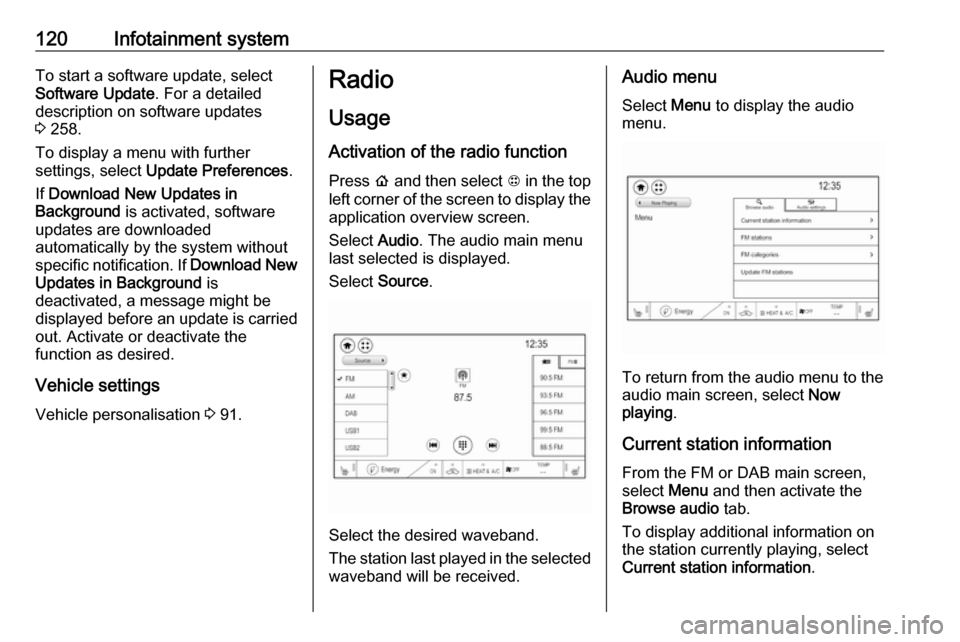
Select Audio. The audio main menu
last selected is displayed.
Select Source .
Select the desired waveband.
The station last played in the selected waveband will be received.
Audio menu
Select Menu to display the audio
menu.
To return from the audio menu to the
audio main screen, select Now
playing .
Current station information From the FM or DAB main screen,
select Menu and then activate the
Browse audio tab.
To display additional information on
the station currently playing, select
Current station information .