Page 70 of 93
70CD PlayerShuffle songs
To play all tracks in a random order:
set this function to On.
Notice
If this function is activated, 2 is
shown in the respective main menu.
Repeat
To repeatedly listen to a track: set this function to On.
Notice
If this function is activated, 1 is
shown in the respective main menu.
Track list
To select a track on the CD: select
Track list and then select the desired
track.
Folders
To select a track from a folder: select
Folders . A list of the folders stored on
the CD is displayed.
Select one of the folders and then
select the desired track.
Notice
This menu item is only available if an MP3 CD is inserted.Search...
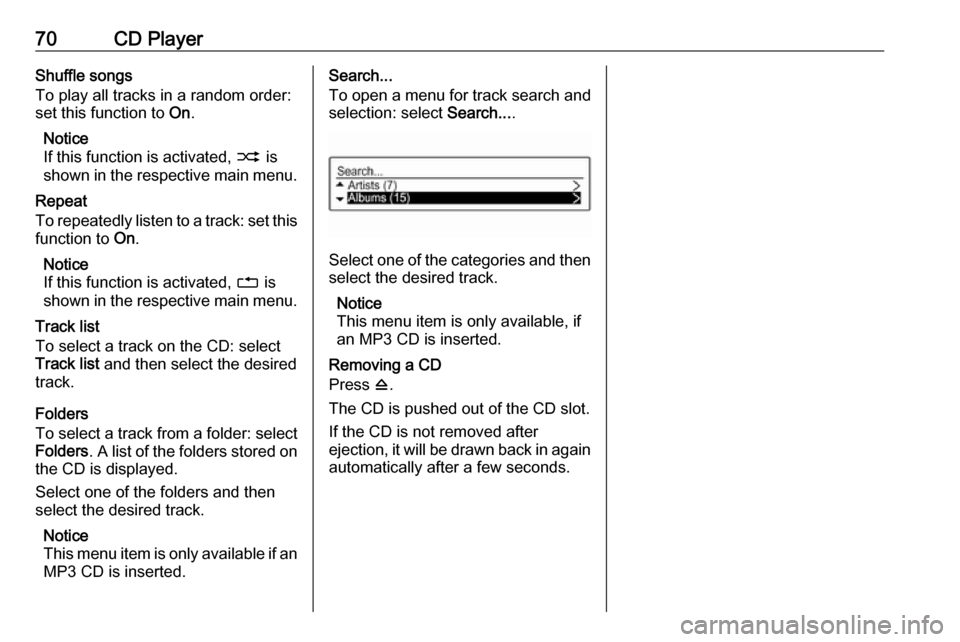
To open a menu for track search and
selection: select Search....
Select one of the categories and then
select the desired track.
Notice
This menu item is only available, if
an MP3 CD is inserted.
Removing a CD
Press d.
The CD is pushed out of the CD slot. If the CD is not removed after
ejection, it will be drawn back in again automatically after a few seconds.
Page 73 of 93
USB port73and 24 kHz, 22.05 kHz, 16kHz
(for MPEG-2)
● The following restrictions apply to
the data stored on external
devices connected to the USB
port:
Number of tracks: max. 999
Number of tracks per folder level: max. 512
Folder structure depth: max.
10 levels
WMA files with Digital Rights
Management (DRM) from online
music shops cannot be played.
WMA files can only be played
safely, if they were created with
Windows Media Player
version 9 or later.
Applicable playlist
extensions: .m3u, .pls, .wpl
Playlist entries must be in the
form of relative paths.
The system attribute for folders/
files that contain audio data must not be set.Playing saved audio files
Press MEDIA once or several times to
activate the MP3 or iPod mode.
Playback of the audio data stored on
the device is started automatically.
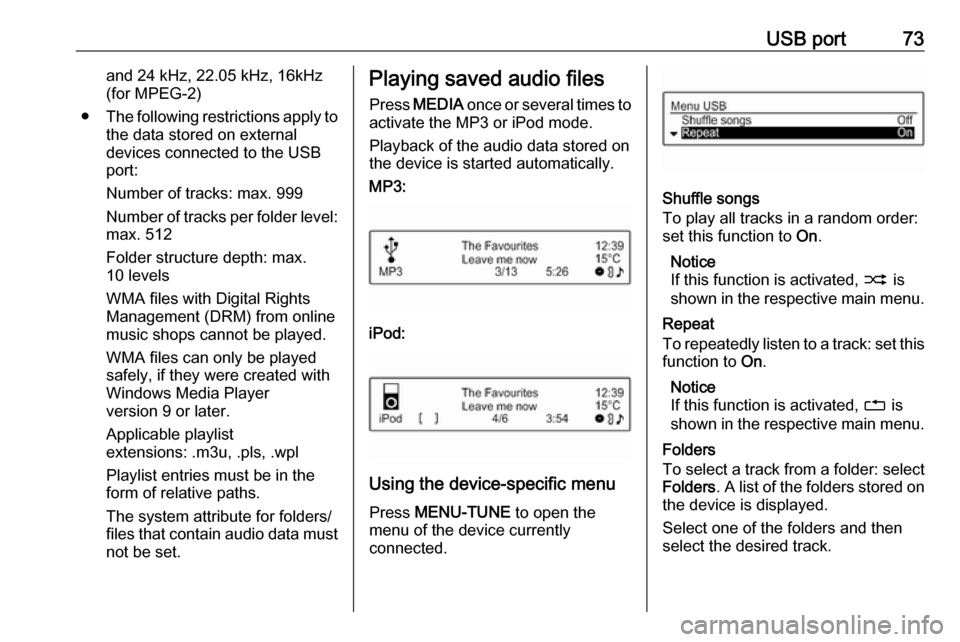
MP3:
iPod:
Using the device-specific menu
Press MENU-TUNE to open the
menu of the device currently
connected.
Shuffle songs
To play all tracks in a random order:
set this function to On.
Notice
If this function is activated, 2 is
shown in the respective main menu.
Repeat
To repeatedly listen to a track: set this function to On.
Notice
If this function is activated, 1 is
shown in the respective main menu.
Folders
To select a track from a folder: select
Folders . A list of the folders stored on
the device is displayed.
Select one of the folders and then
select the desired track.
Page 82 of 93
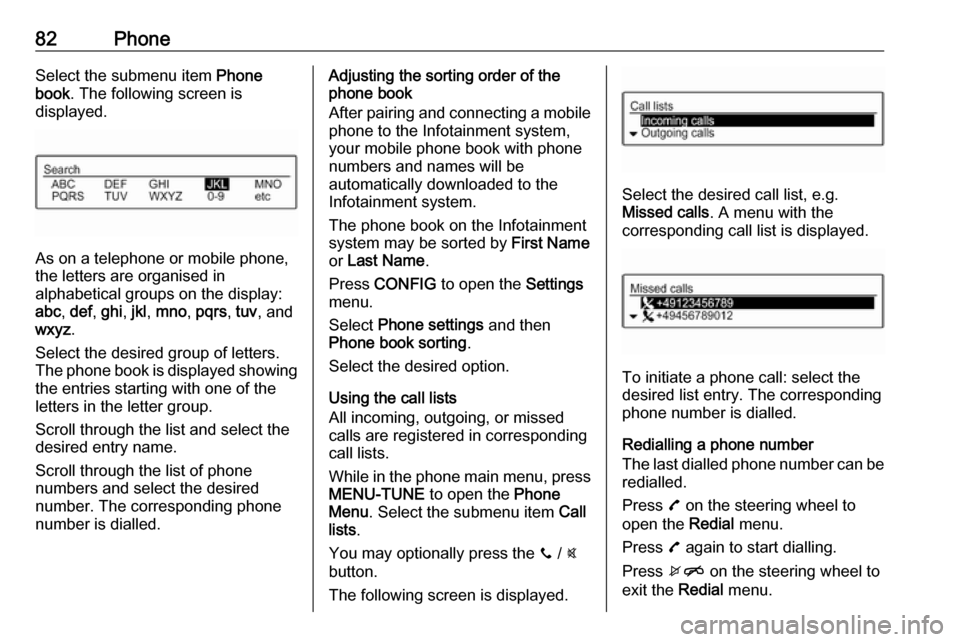
82PhoneSelect the submenu item Phone
book . The following screen is
displayed.
As on a telephone or mobile phone,
the letters are organised in
alphabetical groups on the display:
abc , def , ghi , jkl , mno , pqrs , tuv , and
wxyz .
Select the desired group of letters. The phone book is displayed showing the entries starting with one of theletters in the letter group.
Scroll through the list and select the
desired entry name.
Scroll through the list of phone
numbers and select the desired
number. The corresponding phone
number is dialled.
Adjusting the sorting order of the
phone book
After pairing and connecting a mobile
phone to the Infotainment system,
your mobile phone book with phone
numbers and names will be
automatically downloaded to the
Infotainment system.
The phone book on the Infotainment
system may be sorted by First Name
or Last Name .
Press CONFIG to open the Settings
menu.
Select Phone settings and then
Phone book sorting .
Select the desired option.
Using the call lists
All incoming, outgoing, or missed
calls are registered in corresponding
call lists.
While in the phone main menu, press MENU-TUNE to open the Phone
Menu . Select the submenu item Call
lists .
You may optionally press the y / @
button.
The following screen is displayed.
Select the desired call list, e.g.
Missed calls . A menu with the
corresponding call list is displayed.
To initiate a phone call: select the
desired list entry. The corresponding
phone number is dialled.
Redialling a phone number
The last dialled phone number can be
redialled.
Press 7 on the steering wheel to
open the Redial menu.
Press 7 again to start dialling.
Press xn on the steering wheel to
exit the Redial menu.
Page 90 of 93
90FlexDockFlexDockGeneral information.....................90
Usage .......................................... 90General information
FlexDock consists of a built-in base plate and different types of cradleswhich can be attached to the base
plate. By inserting an iPhone ®
or a
different smartphone to the cradle,
the smartphone can be controlled via
the Infotainment system, steering
wheel control or touchscreen.
Detailed cradle usage information
can be found in the cradle manual supplied with each cradle.9 Warning
Devices attached to the FlexDock
must be used in a way that driver
distraction is avoided and the
vehicle can be driven safely at all times. You must always comply
with the respective laws and
regulations of the country where
you are driving. These laws may
differ from the information in this
manual. If in doubt, stop your
vehicle and operate devices while
the vehicle is stationary.
Notice
Do not operate a further audio
source via the USB socket at the
same time due to superimpositions of both audio sources.Caution
To avoid theft, do not leave themobile phone in the FlexDock
when leaving the vehicle.
Usage
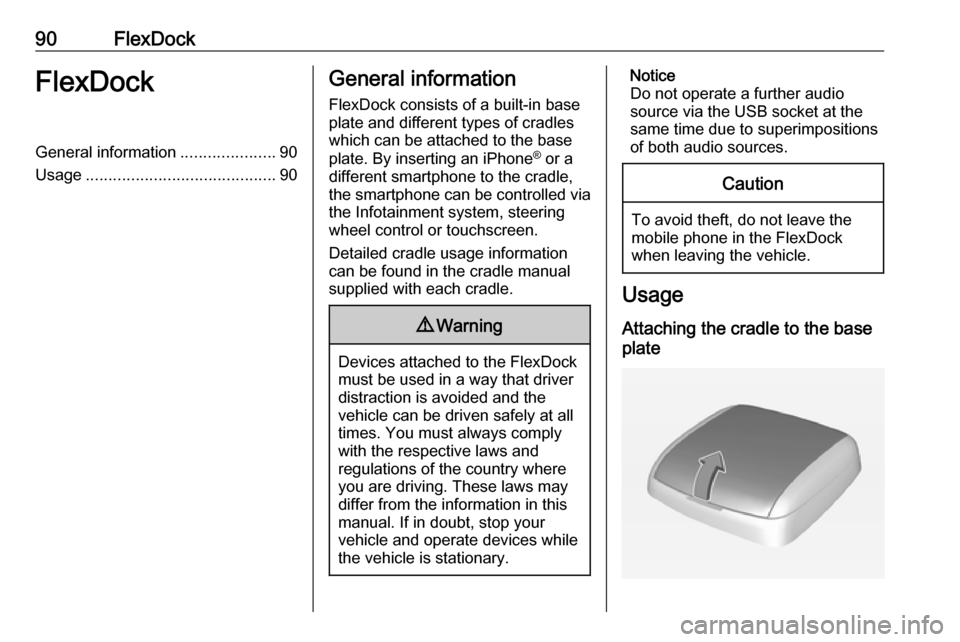
Attaching the cradle to the base
plate
Page 91 of 93
FlexDock911. Remove the cover from the baseplate.
2. Push the cradle in the base plate and fold down.
Connecting the smartphone to the Infotainment system
Universal smartphone
Connect the smartphone to the cradle
by using the connecting cable.
iPhone
The iPhone is connected
automatically when it is inserted into
the cradle.
Depending on the status of the
software and hardware equipment,
the functionality of the iPhone can be restricted.
Operating the smartphone
When the smartphone is connected
via FlexDock, it has the same
functionality as if it is connected via
the USB socket. See the
corresponding instructions in this
manual for detailed information.To use the phone function or the
Bluetooth Music function, a Bluetooth
connection must be established. See
the corresponding instructions in this manual and the operating instructions for the smartphone for detailed
information.
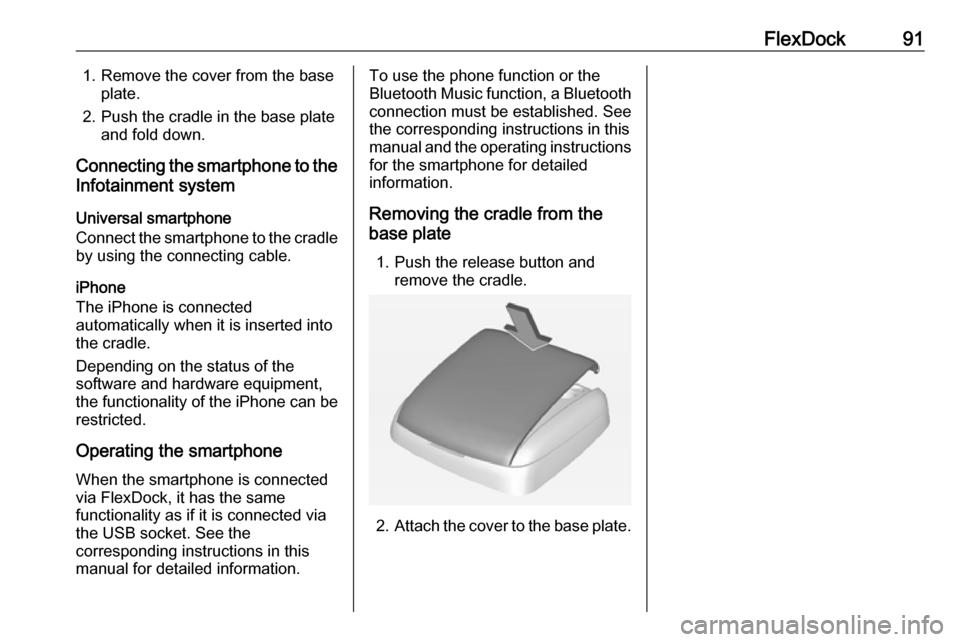
Removing the cradle from the
base plate
1. Push the release button and remove the cradle.
2.Attach the cover to the base plate.