Page 197 of 588
1974-3. Operating the lights and wipers
4
Driving
Windshield wipers and washer
Operate the lever as follows to operate the wipers.
Vehicles without intermittent type
(U.S.A.) or (Canada)
Off
(U.S.A.) or (Canada)
Low speed windshield
wiper operation
(U.S.A.) or (Canada)
High speed windshield
wiper operation
(U.S.A.) or (Canada)
Temporary operation
Washer operation
Operating the wiper lever
1
2
3
4
5
Page 198 of 588
1984-3. Operating the lights and wipers
Vehicles with intermittent type(U.S.A.) or (Canada)
Off
(U.S.A.) or (Canada)
Intermittent windshield
wiper operation
(U.S.A.) or (Canada)
Low speed windshield
wiper operation
(U.S.A.) or (Canada)
High speed windshield
wiper operation
(U.S.A.) or (Canada)
Temporary operation
Wiper intervals can be adjusted when intermittent operation is
selected. Increases the intermittent wind-
shield wiper frequency
Decreases the intermittent
windshield wiper frequency
Washer/wiper dual operation
Wipers will automatically operate a
couple of times after the washer
squirts.
1
2
3
4
5
6
7
8
Page 199 of 588
1994-3. Operating the lights and wipers
4
Driving
■The windshield wipers and washer can be operated when
The engine switch is in the “ON” position.
■ If no windshield washer fluid sprays
Check that the washer nozzles are not blocked if there is washer fluid in the
windshield washer fluid reservoir.
CAUTION
■Caution regarding the use of washer fluid
When it is cold, do not use the washer fluid until the windshield becomes
warm. The fluid may freeze on the windshield and cause low visibility. This
may lead to an accident, resulting in death or serious injury.
NOTICE
■When the windshield is dry
Do not use the wipers, as they may damage the windshield.
■ When the washer fluid tank is empty
Do not operate the switch continually as the washer fluid pump may over-
heat.
■ When a nozzle becomes blocked
In this case, contact your Toyota dealer.
Do not try to clear it with a pin or other object. The nozzle will be damaged.
Page 219 of 588

2194-5. Using the driving support systems
4
Driving
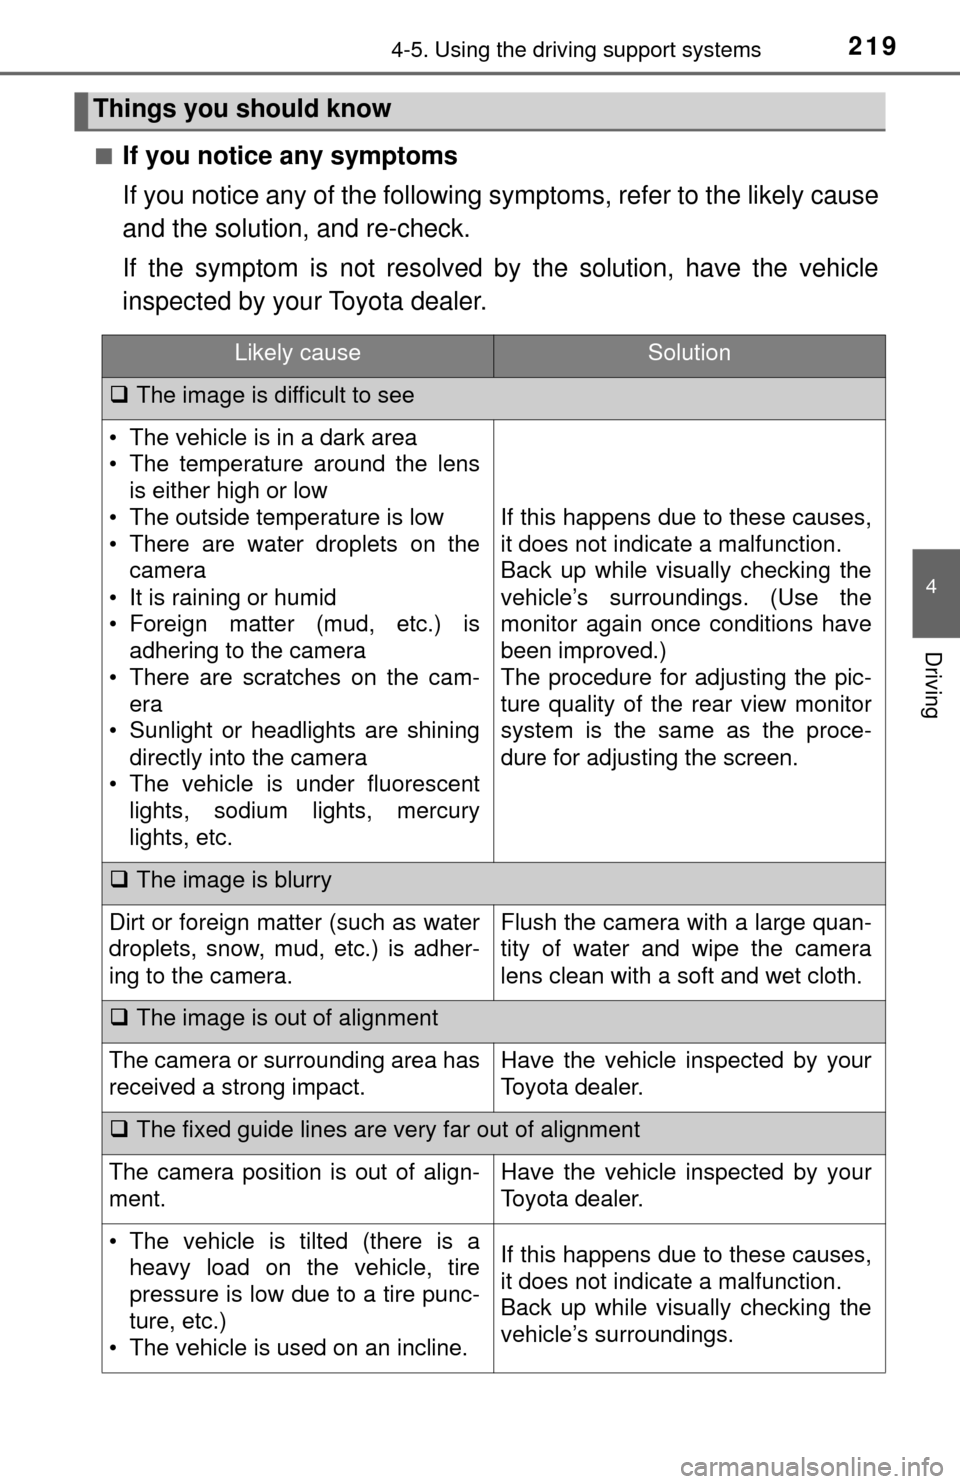
■If you notice any symptoms
If you notice any of the following symptoms, refer to the likely cause
and the solution, and re-check.
If the symptom is not resolved by the solution, have the vehicle
inspected by your Toyota dealer.
Things you should know
Likely causeSolution
The image is difficult to see
• The vehicle is in a dark area
• The temperature around the lens
is either high or low
• The outside temperature is low
• There are water droplets on the camera
• It is raining or humid
• Foreign matter (mud, etc.) is adhering to the camera
• There are scratches on the cam- era
• Sunlight or headlights are shining
directly into the camera
• The vehicle is under fluorescent lights, sodium lights, mercury
lights, etc.
If this happens due to these causes,
it does not indicate a malfunction.
Back up while visually checking the
vehicle’s surroundings. (Use the
monitor again once conditions have
been improved.)
The procedure for adjusting the pic-
ture quality of the rear view monitor
system is the same as the proce-
dure for adjusting the screen.
The image is blurry
Dirt or foreign matter (such as water
droplets, snow, mud, etc.) is adher-
ing to the camera.Flush the camera with a large quan-
tity of water and wipe the camera
lens clean with a soft and wet cloth.
The image is out of alignment
The camera or surrounding area has
received a strong impact.Have the vehicle inspected by your
Toyota dealer.
The fixed guide lines are very far out of alignment
The camera position is out of align-
ment.Have the vehicle inspected by your
Toyota dealer.
• The vehicle is tilted (there is a
heavy load on the vehicle, tire
pressure is low due to a tire punc-
ture, etc.)
• The vehicle is used on an incline.If this happens due to these causes,
it does not indicate a malfunction.
Back up while visually checking the
vehicle’s surroundings.
Page 245 of 588

2454-6. Driving tips
4
Driving
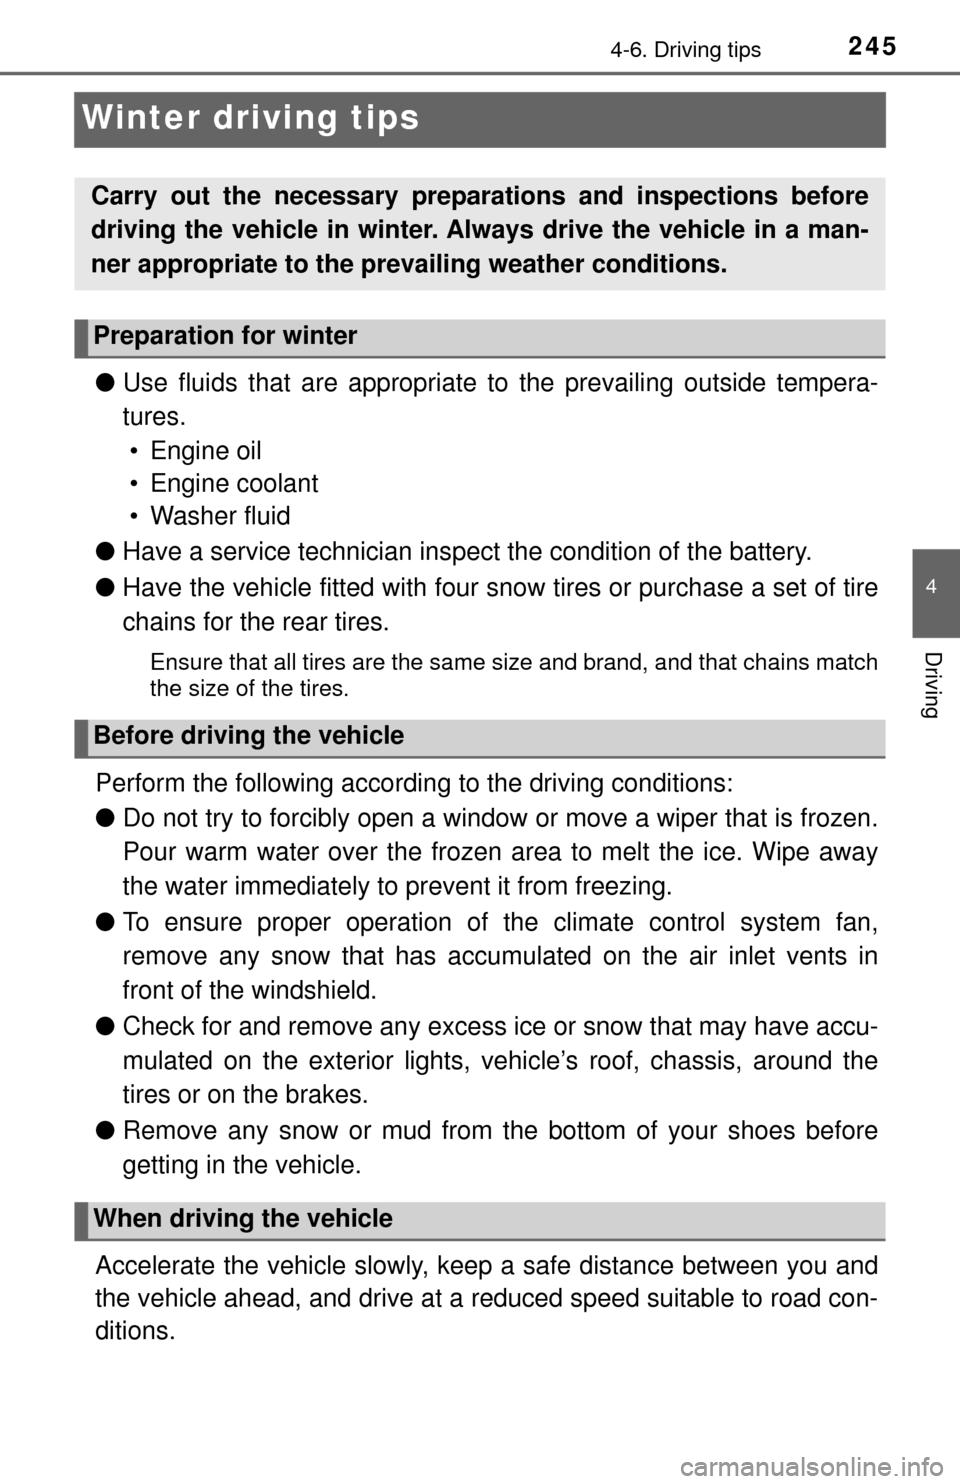
Winter driving tips
●Use fluids that are appropriate to the prevailing outside tempera-
tures. • Engine oil
• Engine coolant
• Washer fluid
● Have a service technician ins pect the condition of the battery.
● Have the vehicle fitted with four snow tires or purchase a set of tire
chains for the rear tires.
Ensure that all tires are the same size and brand, and that chains match
the size of the tires.
Perform the following accordin g to the driving conditions:
● Do not try to forcibly open a window or move a wiper that is frozen.
Pour warm water over the frozen area to melt the ice. Wipe away
the water immediately to prevent it from freezing.
● To ensure proper operation of the climate control system fan,
remove any snow that has accumulated on the air inlet vents in
front of the windshield.
● Check for and remove any excess ice or snow that may have accu-
mulated on the exterior lights, vehicle’s roof, chassis, around the
tires or on the brakes.
● Remove any snow or mud from the bottom of your shoes before
getting in the vehicle.
Accelerate the vehicle slowly, keep a safe distance between you and
the vehicle ahead, and drive at a reduced speed suitable to road con-
ditions.
Carry out the necessary preparations and inspections before
driving the vehicle in winter. Al ways drive the vehicle in a man-
ner appropriate to the prevailing weather conditions.
Preparation for winter
Before driving the vehicle
When driving the vehicle
Page 266 of 588
2665-2. Setup
Display settings
Press the “SETUP” button.
Select “Display” on the “Setup” screen.Adjust general screen con-
trast/brightness
Adjust camera screen con-
trast/brightness
Changes to day mode.
Select “General” or “Camera” on the “Display Settings” screen.
Adjust the display as desired by selecting “+” or “-”.
When the headlights are tur ned on, the screen dims.
However, the screen can be switch ed to day mode by selecting “Day
Mode”.
The screen will stay in day mode when the headlights are turned on until
“Day Mode” is selected again.
Settings are available for adjusting the contrast and brightness
of the screen.
Screen for display settings
1
2
1
2
3
Adjusting the screen contrast/brightness
Day mode
1
2
Page 345 of 588

345
6Interior features
6-1. Using the air conditioning system
Manual air conditioning system............................. 346
Automatic air conditioning system............................. 353
Seat heaters/ seat ventilators ................ 360
6-2. Using the interior lights Interior lights list ................ 363• Personal/interior lightsmain switch ................... 364
• Personal/interior
lights ............................. 364
• Cargo lamp main switch ............................ 365 6-3. Using the storage features
List of storage features ..... 366• Glove box...................... 368
• Console box (front separated type seat) ..... 369
• Card holder ................... 370
• Map holder (front bench type seat) ........... 372
• Pen holder .................... 373
• Tissue pocket................ 374
• Overhead console......... 375
• Cup holders .................. 376
• Bottle holders ................ 378
• Auxiliary boxes (front bench type seat) ........... 379
• Storage box .................. 381
Luggage compartment features ........................... 383
6-4. Using the other interior features Other interior features ....... 384• Sun visors ..................... 384
• Vanity mirrors................ 384
• Clock ............................. 385
• Outside temperature display........................... 386
• Power outlets ................ 387
• Armrest ......................... 389
• Assist grips ................... 390
Garage door opener.......... 391
Compass ........................... 397
Page 360 of 588
3606-1. Using the air conditioning system
Seat heaters∗/seat ventilators∗
Turns the seat heater onHi
Mid
Lo
Off
The level indicator lights come on.
Press the “ ∧” on the button to up
and “ ∨” to down, and off.
■
Seat heater
Turns the seat heater on Hi
Mid
Lo
Off
The level indicator lights come on.
Pressing the button changes
modes in the following:
Hi→Mid →Lo→Off
∗: If equipped
The seat heaters and ventilators heat the seats and maintain
good airflow by blowing air from the seats.
Seat heaters
1
2
3
4
Seat ventilators
1
2
3
4