Page 222 of 608
222
LC200_OM_OM60P24U_(U)
4-3. Operating the lights and wipers
■The rear window wiper and washer can be operated when
The engine switch is in IGNITION ON mode.
■ If no washer fluid sprays
Check that the washer nozzles are not blocked if there is washer fluid in the
washer fluid reservoir.
NOTICE
■When the rear window is dry
Do not use the wiper, as it may damage the rear window.
■ When the washer fluid tank is empty
Do not operate the switch continually as the washer fluid pump may over-
heat.
Page 223 of 608
223
LC200_OM_OM60P24U_(U)
4-3. Operating the lights and wipers
4
Driving
Headlight cleaner switch∗
Press the switch to clean the
headlights.
■The headlight cleaners can be operated when
The engine switch is in IGNITION ON mode and the headlight switch is
turned on.
∗: If equipped
Washer fluid can be sprayed on the headlights.
NOTICE
■When the washer fluid tank is empty
Do not press the switch continually as the washer fluid pump may overheat.
Page 224 of 608

224
LC200_OM_OM60P24U_(U)
4-4. Refueling
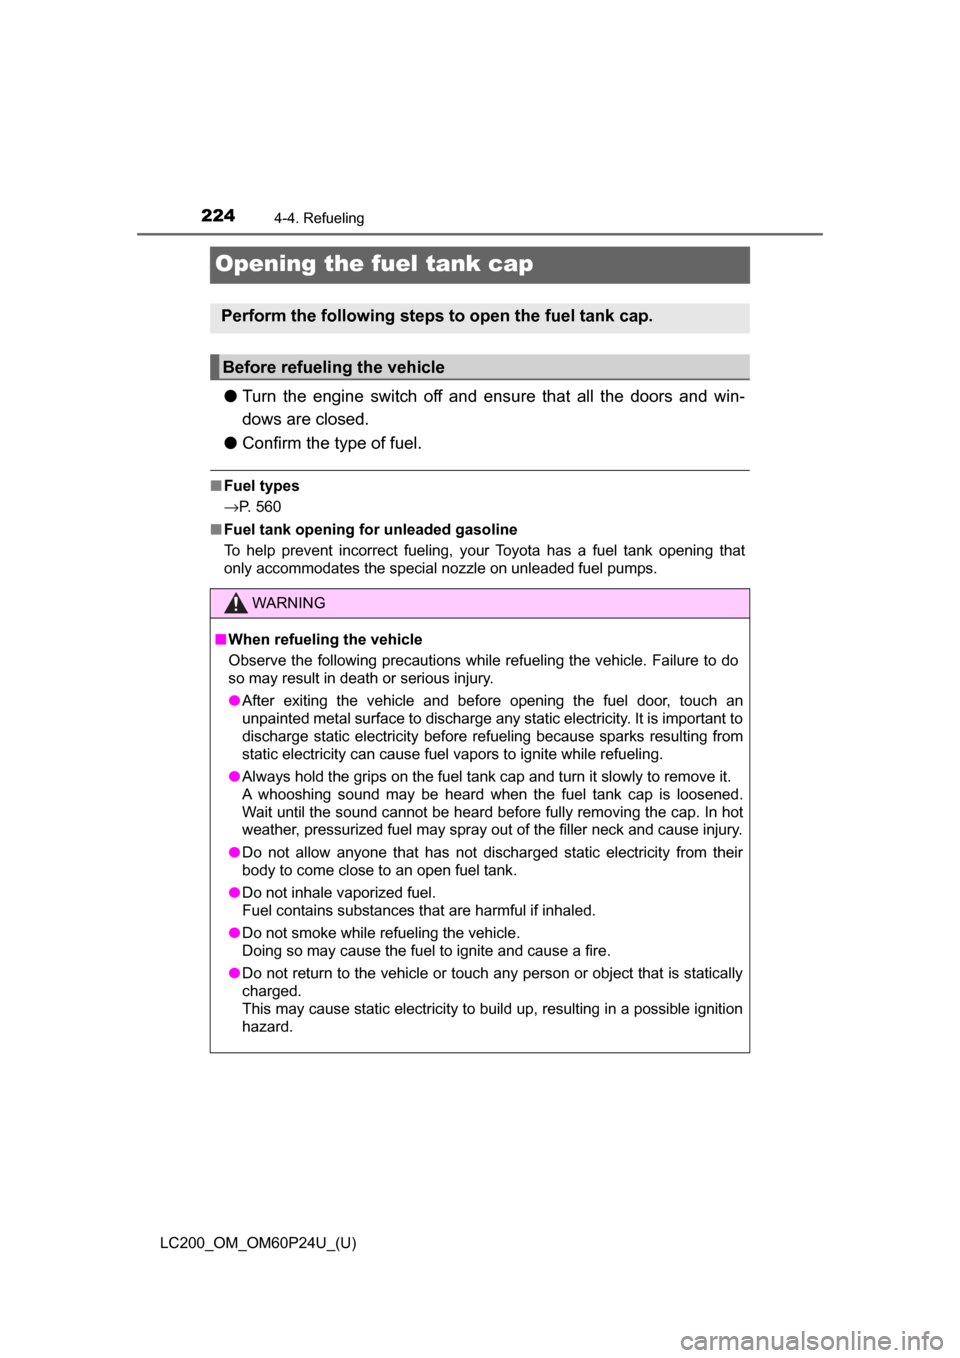
Opening the fuel tank cap
●Turn the engine switch off and ens ure that all the doors and win-
dows are closed.
● Confirm the type of fuel.
■Fuel types
→P. 560
■ Fuel tank opening for unleaded gasoline
To help prevent incorrect fueling, your Toyota has a fuel tank opening that
only accommodates the special nozzle on unleaded fuel pumps.
Perform the following steps to open the fuel tank cap.
Before refueling the vehicle
WARNING
■When refueling the vehicle
Observe the following precautions while refueling the vehicle. Failure to do
so may result in death or serious injury.
● After exiting the vehicle and before opening the fuel door, touch an
unpainted metal surface to discharge any static electricity. It is important to
discharge static electricity before refueling because sparks resulting from
static electricity can cause fuel vapors to ignite while refueling.
● Always hold the grips on the fuel tank cap and turn it slowly to remove it.
A whooshing sound may be heard when the fuel tank cap is loosened.
Wait until the sound cannot be heard before fully removing the cap. In hot
weather, pressurized fuel may spray out of the filler neck and cause injury.
● Do not allow anyone that has not discharged static electricity from their
body to come close to an open fuel tank.
● Do not inhale vaporized fuel.
Fuel contains substances that are harmful if inhaled.
● Do not smoke while refueling the vehicle.
Doing so may cause the fuel to ignite and cause a fire.
● Do not return to the vehicle or touch any person or object that is statically
charged.
This may cause static electricity to build up, resulting in a possible ignition
hazard.
Page 239 of 608
LC200_OM_OM60P24U_(U)
2394-5. Using the driving support systems
4
Driving
■Disabling the pre-collision system
Press the PCS switch for 3 sec-
onds or more.
The PCS warning light will turn
on and a message will be dis-
played on the multi-information
display.
To enable the system, press the
PCS switch again.
The system is enabled each
time the engine switch is turned
to IGNITION ON mode.
■
Changing the pre-colli sion warning timing
Press the PCS switch to display the current warning timing on the
multi-information display. Each ti me the PCS switch is pressed with
the warning timing displayed, the warning timing will change as fol-
lows.
The operation timing setting is retained when the engine switch is
turned off.
Far
The warning will begin to oper-
ate earlier than with the default
timing.
Middle
This is the default setting.
Near
The warning will begin to oper-
ate later than with the default
timing.
Changing settings of th e pre-collision system
1
2
3
Page 264 of 608
264
LC200_OM_OM60P24U_(U)
4-5. Using the driving support systems
Pressing the button changes the
vehicle-to-vehicle distance as fol-
lows:
Long
Medium
Short
The vehicle-to-vehicle distance is
set automatically to long mode
when the engine switch is turned to
IGNITION ON mode.
If a vehicle is running ahead of you, the preceding vehicle mark will also be
displayed.
Select a distance from the table bel ow. Note that the distances shown
correspond to a vehicle speed of 50 mph (80 km/h). Vehicle-to-vehicle
distance increases/decreases in accordance with vehicle speed.
Changing the vehicle-to-vehicle di stance (vehicle-to-vehicle dis-
tance control mode)
Preceding
vehicle mark
1
2
3
Vehicle-to-vehicle distance settings (vehicle-to-vehicle distance
control mode)
Distance optionsVehicle-to-vehicle distance
LongApproximately 160 ft. (50 m)
MediumApproximately 130 ft. (40 m)
ShortApproximately 100 ft. (30 m)
Page 278 of 608

278
LC200_OM_OM60P24U_(U)
4-5. Using the driving support systems
■The intuitive parking assist can be operated when
●Front corner sensors:
• The engine switch is in IGNITION ON mode.
• The shift lever is in a position other than P.
• The vehicle speed is less than approximately 6 mph (10 km/h).
● Rear corner and rear center sensors:
• The engine switch is in IGNITION ON mode.
• The shift lever is in R.
■ Intuitive parking assist display
When an obstacle is detected while the rear view monitor system, Multi-ter-
rain Monitor is in use, the warning indicator will appear in the upper corner of
the screen even if the display setting has been set to off.
■ Sensor detection information
●The sensor’s detection areas are limited to the areas around the vehicle’s
bumper.
● Certain vehicle conditions and the surrounding environment may affect the
ability of a sensor to correctly detect an obstacle. Particular instances where
this may occur are listed below.
• There is dirt, snow or ice on the sensor. (Wiping the sensors will resolve
this problem.)
• The sensor is frozen. (Thawing the area will resolve this problem.) In especially cold weather, if a sensor is frozen the screen may show an
abnormal display, or obstacles may not be detected.
• The sensor is covered in any way.
• The vehicle is leaning considerably to one side.
• On an extremely bumpy road, on an incline, on gravel, or on grass.
• The vicinity of the vehicle is noisy due to vehicle horns, motorcycle engines, air brakes of large vehicles, or other loud noises producing ultra-
sonic waves.
• There is another vehicle equipped with parking assist sensors in the vicinity.
• The sensor is coated with a sheet of spray or heavy rain.
• The vehicle is equipped with a fender pole or wireless antenna.
• The bumper or sensor receives a strong impact.
• The vehicle is approaching a tall or curved curb.
• In harsh sunlight or intense cold weather.
• The area directly under the bumpers is not detected.
• If obstacles draw too close to the sensor.
• A non-genuine Toyota suspension (lowered suspension etc.) is installed.
• People may not be detected if they are wearing certain types of clothing.
In addition to the examples above, there are instances in which, because of
their shape, signs and other objects may be judged by a sensor to be closer
than they are.
Page 283 of 608

LC200_OM_OM60P24U_(U)
2834-5. Using the driving support systems
4
Driving
■The four-wheel drive control switch can be operated when
● The engine switch is in IGNITION ON mode.
● The shift lever is in the N position.
● The vehicle is stopped completely.
■ The low speed four-wheel drive indicator light
The indicator light blinks while shifting between H4 and L4.
■ Advice for driving on slippery roads
●If you shift the four-wheel drive control switch to L4 and the shift lever to the
2 range of S while driving in steep off-road areas, the output of the brake
can be controlled effectively by the Active TRAC, which assists the driver to
control the driving power of 4 wheels.
● Use the 1 range of S of the shift lever for maximum power and traction when
your wheels get stuck or when driving down a steep incline.
■ The center differential lock indicator light
The indicator light blinks while locking/unlocking the center differential.
■ The center differential lock/unlock switch can be operated when
●The engine switch is in IGNITION ON mode.
● The vehicle speed is less than 62 mph (100 km/h).
■ Locking/unlocking the center differential
●When the four-wheel drive control switch is in L4 with the center differential
locked, VSC is automatically turned off. (The center differential lock and
VSC OFF indicator lights come on.)
● If the operation is not completed, the center differential lock indicator blinks.
If the indicator light does not turn off when unlocking the center differential,
drive straight ahead while accelerating or decelerating, or drive in reverse.
● If the center differential lock/unlock is not completed within 5 seconds while
the cruise control system is on, cancel the cruise control system.
■ If the low speed four-wheel drive indi cator light or the center differential
lock indicator light blinks
● If the low speed four-wheel drive indicator light continues to blink when
using the four-wheel drive control switch, stop the vehicle completely, move
the shift lever to N and operate the switch again.
● If the shift lever is moved before the low speed four-wheel drive indicator
turns on/off, the transfer mode may not be shifted completely. The transfer
mode disengages both the front and rear driveshafts from the powertrain
and allows the vehicle to move regardless of the shift position. (At this time,
the indicator blinks and the buzzer sounds.)
Therefore, the vehicle is free to roll even if the automatic transmission is in
P. You or someone else could be seriously injured. You must complete the
shifting of the transfer mode.
To complete the shifting, stop the vehicle completely, return the shift lever to
N, and confirm that the shift was completed (the indicator turns on/off).
Page 298 of 608
298
LC200_OM_OM60P24U_(U)
4-5. Using the driving support systems
■Displaying the Multi-terrain Monitor screen
The Multi-terrain Monitor screen will be displayed when the VIEW
switch is pressed while the engine switch is in IGNITION ON mode.
When the vehicle speed exceeds a certain value, the display returns to
the navigation or information display screen.
The amount of time that the Multi-terrain Monitor is displayed differs
depending on conditions such as the vehicle speed. ( →P. 303)
VIEW switch
Display
Using the Multi-terrain Monitor screen
1
2