Page 4 of 505

TABLE OF CONTENTSIndex
86_EE (OM18071E)
4
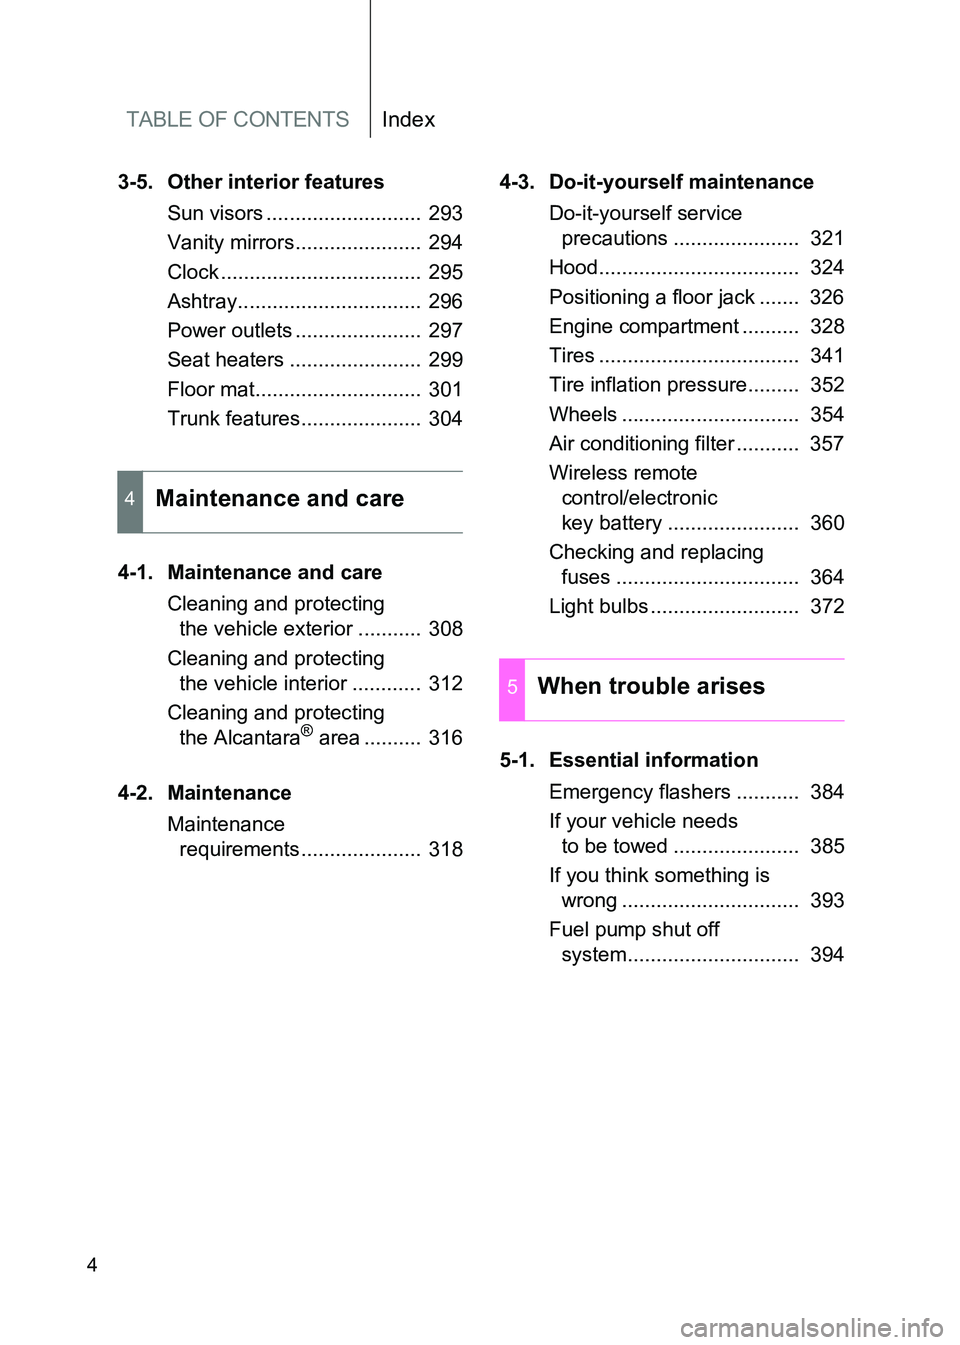
3-5. Other interior featuresSun visors ........................... 293
Vanity mirrors...................... 294
Clock ................................... 295
Ashtray................................ 296
Power outlets ...................... 297
Seat heaters ....................... 299
Floor mat............................. 301
Trunk features..................... 304
4-1. Maintenance and care Cleaning and protecting the vehicle exterior ........... 308
Cleaning and protecting the vehicle interior ............ 312
Cleaning and protecting the Alcantara
® area .......... 316
4-2. Maintenance Maintenance requirements..................... 318 4-3. Do-it-yourself maintenance
Do-it-yourself service precautions ...................... 321
Hood................................... 324
Positioning a floor jack ....... 326
Engine compartment .......... 328
Tires ................................... 341
Tire inflation pressure......... 352
Wheels ............................... 354
Air conditioning filter ........... 357
Wireless remote control/electronic
key battery ....................... 360
Checking and replacing fuses ................................ 364
Light bulbs .......................... 372
5-1. Essential information Emergency flashers ........... 384
If your vehicle needs to be towed ...................... 385
If you think something is wrong ............................... 393
Fuel pump shut off system.............................. 394
4Maintenance and care
5When trouble arises
Page 12 of 505
86_EE (OM18071E)
12
Headlight switch
Turn signal lever Fog light switch P. 231
P. 197
P. 237
Gauges and meters
Multi-information display P. 200
P. 210, 215
Clock P. 295
Windshield wiper and washer switch/
headlight cleaners switch
P. 238
Emergency flasher
switch
P. 384
Tilt and telescopic steering
lock release lever
P. 80
Floor mat P. 301
Hood lock release lever P. 324
Fuel filler door opener P. 89
SRS driver knee airbag P. 106Engine (ignition) switch (vehicles with a
smart entry & start system)
P. 174
AUX/USB port
P. 284
Pictorial index
Instrument panel
(Left-hand drive vehicles)
Page 20 of 505
86_EE (OM18071E)
20
Tilt and telescopic steering
lock release lever
P. 80
Gauges and meters
Multi-information display P. 200
P. 210, 215
Clock P. 295
Windshield wiper and
washer switch/
headlight cleaners switch
P. 238
Emergency flasher switch
P. 384
Floor mat P. 301
Hood lock release lever P. 324
Fuel filler door opener P. 89
Engine (ignition) switch (vehicles with a
smart entry & start system)
P. 174
SRS driver knee airbag P. 106
Headlight switch
Turn signal lever
Fog light switch P. 231
P. 197
P. 237
AUX/USB port
P. 284
Pictorial index
Instrument panel
(Right-hand drive vehicles)
Page 60 of 505
60
1-2. Opening, closing and locking the doors and trunk
86_EE (OM18071E)
Trunk
The trunk can be opened using the key, trunk opener, entry function
or wireless remote control.
■Opening the trunk from inside the vehicle
Press and hold the opener
switch to release the trunk lid.
■ Opening the trunk from outside the vehicle
Key (vehicles without a smart entry & start system and the
double locking system) Turn the master key clockwise
to release the trunk lid.
Entry function (vehicles with a smart entry & start system)
→P. 3 7
Wireless remote control
→P. 5 2
Page 265 of 505

3Interior features
265
86_EE (OM18071E)
3-1. Using the air conditioning system and defogger
Manual air conditioning system ............................ 266
Automatic air conditioning system ............................ 274
Rear window and outside rear view mirror
defoggers ....................... 282
3-2. Using the audio system Using the AUX/USB port ................................. 284
Steering wheel audio switches .......................... 285
3-3. Using the interior lights Interior lights list................ 286
• Interior light ...................... 287 3-4. Using the storage
features
List of storage features ..... 288
• Glove box ........................ 289
• Bottle holders................... 290
• Cup holders/console tray................................... 291
3-5. Other interior features Sun visors ......................... 293
Vanity mirrors.................... 294
Clock ................................. 295
Ashtray.............................. 296
Power outlets .................... 297
Seat heaters ..................... 299
Floor mat........................... 301
Trunk features................... 304
Page 266 of 505
266
86_EE (OM18071E)
3-1. Using the air conditioning system and defogger
Manual air conditioning system∗
Adjusting the settingsTo adjust the fan speed, turn the fan speed control dial clock-
wise (increase) or counterclockwise (decrease).
Turning the dial to “0” turns off the fan.
Vehicles without the button: Turn the temperature con-
trol dial clockwise to increase the temperature.
∗: If equipped
Fan speed control dial
Air outlet selection dial
Air conditioning on/off button
(if equipped)Temperature control dial
Outside air or recirculated air mode
STEP 1
STEP 2
Page 267 of 505
267
3-1. Using the air conditioning system and defogger
3
Interior features
86_EE (OM18071E)
Vehicles with the button: To adjust the temperature
setting, turn the temperature control dial clockwise (warm) or
counterclockwise (cool).
is not pressed, the system wi
ll blow ambient temperature air
or heated air.
To select the air outlets, set the air outlet selection dial to the
desired position.
The positions between the air outlet selections shown below can
also be selected for more delicate adjustment.
STEP 2
STEP 3
Page 275 of 505

275
3-1. Using the air conditioning system and defogger
3
Interior features
86_EE (OM18071E)
Using the automatic air conditioning system
Press .
The dehumidification function begins to operate. Air outlets
and fan speed are automatically adjusted according to the
temperature setting.
Turn temperature control dial clockwise to increase the tem-
perature and turn temperature control dial counterclockwise to
decrease the temperature on the driver’s side.
When is pressed (the indicator on is on) or the pas-
senger’s side temperature control dial is turned, the temperature for
the driver and passenger seats can be adjusted separately.
■Automatic mode indicator
If the fan speed setting or air flow modes are operated, the auto-
matic mode indicator goes off. However, automatic mode for func-
tions other than that operated is maintained.
Adjusting the settings manually
To adjust the fan speed, turn the fan speed control dial clock-
wise (increase) or counter-clock wise (decrease).
Press to turn the fan off.
STEP 1
STEP 2
STEP 1