2017 Ram 5500 Chassis Cab TURN
[x] Cancel search: TURNPage 290 of 534

IconDescription
Touchscreen Buttons
• Faceplate: The blower speed increases as you turn the blower control knob clockwise from
the lowest blower setting. The blower speed decreases as you turn the blower control knob
counterclockwise.
• Touchscreen: Use the small blower icon to reduce the blower setting and the large blower
icon to increase the blower setting. Blower can also be selected by pressing the blower bar
area between the icons.
Panel Mode
Bi-Level Mode
Floor Mode
Mix Mode
Modes Control
Push the button in the center of the knob, or press the desired mode on the touchscreen, to
change the airflow distribution mode. The airflow distribution mode can be adjusted so air
comes from the instrument panel outlets, floor outlets, defrost outlets and demist outlets. The
Mode settings are as follows:
• Panel Mode
Air comes from the outlets in the instrument panel. Each of these outlets can be individually
adjusted to direct the flow of air. The air vanes of the center outlets and outboard outlets can
be moved up and down or side to side to regulate airflow direction. There is a shut off
wheel located below the air vanes to shut off or adjust the amount of airflow from these
outlets.
• Bi-Level Mode
Air comes from the instrument panel outlets and floor outlets. A slight amount of air is
directed through the defrost and side window demister outlets.
NOTE:
BI-LEVEL mode is designed under comfort conditions to provide cooler air out of the panel out-
lets and warmer air from the floor outlets.
288 UNDERSTANDING YOUR INSTRUMENT PANEL
Page 291 of 534

IconDescription
•Floor Mode
Air comes from the floor outlets. A slight amount of air is directed through the defrost and
side window demister outlets.
• Mix Mode
Air is directed through the floor, defrost, and side window demister outlets. This setting
works best in cold or snowy conditions that require extra heat to the windshield. This
setting is good for maintaining comfort while reducing moisture on the windshield.
Climate Control OFF Button
Press and release this button on the touchscreen, or push the faceplate button, to turn the Cli-
mate Control System off.
CAUTION!
Failure to follow these cautions can cause damage to
the heating elements:
•Use care when washing the inside of the rear win-
dow. Do not use abrasive window cleaners on the
interior surface of the window. Use a soft cloth and a
mild washing solution, wiping parallel to the heat-
ing elements. Labels can be peeled off after soaking
with warm water.
(Continued)
CAUTION! (Continued)
•Do not use scrapers, sharp instruments, or abrasive
window cleaners on the interior surface of the win-
dow.
• Keep all objects a safe distance from the window.
Climate Control Functions
A/C (Air Conditioning)
The Air Conditioning (A/C) button allows the operator to
manually activate or deactivate the air conditioning sys-
tem. When the air conditioning system is turned on, cool
4
UNDERSTANDING YOUR INSTRUMENT PANEL 289
Page 292 of 534

dehumidified air will flow through the outlets into the
cabin. For improved fuel economy, press the A/C button to
turn off the air conditioning and manually adjust the
blower and airflow mode settings. Also, make sure to select
only Panel, Bi-Level or Floor modes.
NOTE:
•If fog or mist appears on the windshield or side glass,
select Defrost mode and increase blower speed if
needed.
• If your air conditioning performance seems lower than
expected, check the front of the A/C condenser (located
in front of the radiator), for an accumulation of dirt or
insects. Clean with a gentle water spray from the front of
the radiator and through the condenser.
MAX A/C
MAX A/C sets the control for maximum cooling perfor-
mance.
Press and release to toggle between MAX A/C and the
prior settings. The button illuminates when MAX A/C is
ON. In MAX A/C, the blower level and mode position can be
adjusted to desired user settings. Pressing other settings
will cause the MAX A/C operation to switch to the selected
setting and MAX A/C to exit.
Recirculation
When outside air contains smoke, odors, or high humidity,
or if rapid cooling is desired, you may wish to recirculate
interior air by pressing the Recirculation control button.
The recirculation indicator will illuminate when this button
is selected. Press the button a second time to turn off the
Recirculation mode and allow outside air into the vehicle.
NOTE:
In cold weather, use of recirculation mode may lead
to excessive window fogging. The recirculation feature
may be unavailable (button on the touchscreen greyed out)
if conditions exist that could create fogging on the inside of
the windshield. On systems with Manual Climate Controls,
the Recirculation mode is not allowed in Defrost mode to
improve window clearing operation. Recirculation will be
disabled automatically if this mode is selected. Attempting
to use Recirculation while in this mode will cause the LED
in the control button to blink and then turn off.
290 UNDERSTANDING YOUR INSTRUMENT PANEL
Page 293 of 534

Automatic Temperature Control (ATC) — If
Equipped
Automatic Operation
1. Push the AUTO button on the front ATC panel and theword “AUTO” will illuminate in the front ATC display,
along with two temperatures for the driver and front
passenger. The system will then automatically regulate
the amount of airflow.
2. Adjust the temperature you would like the system to maintain, by adjusting the driver, passenger, and rear
temperatures. Once the desired temperature is dis-
played, the system will achieve and automatically main-
tain that comfort level.
3. When the system is set up for your comfort level, it is not necessary to change the settings. You will experience
the greatest efficiency by simply allowing the system to
function automatically.
NOTE:
• It is not necessary to move the temperature settings. The
system automatically adjusts the temperature, mode and
fan speed to provide comfort as quickly as possible. To provide you with maximum comfort in the automatic
mode, during cold start-ups, the blower fan will remain on
low until the engine warms up. The fan will engage
immediately if the Defrost mode is selected, or by changing
the front blower knob setting.
Manual Operation Override
This system offers a full complement of manual override
features. The AUTO symbol in the front ATC display will
be turned off when the system is being used in the manual
mode.
NOTE:
The system will not automatically sense the pres-
ence of fog, mist or ice on the windshield. DEFROST mode
must be manually selected to clear the windshield and side
glass.
Operating Tips
NOTE: Refer to the chart at the end of this section for
suggested control settings for various weather conditions.
Summer Operation
The engine cooling system must be protected with a
high-quality antifreeze coolant to provide proper corrosion
protection and to protect against engine overheating. OAT
coolant (conforming to MS.90032) is recommended.
4
UNDERSTANDING YOUR INSTRUMENT PANEL 291
Page 306 of 534

2. Listen to the Uconnect prompts. After the beep, repeatone of the pre-defined messages and follow the system
prompts.
PRE-DEFINED VOICE TEXT REPLY RESPONSES
Yes. Stuck in traffic. See you later.
No. Start without
me. I’ll be late.
Okay. Where are you? I will be
minutes late.
Call me. Are you there
yet?
I’ll call you later. I need
directions. See you in
I’m on my way. Can’t talk right
now.
I’m lost. Thanks.
TIP: Your mobile phone must have the full implementation
of the Message Access Profile (MAP) to take advantage of
this feature. For details about MAP, visit
UconnectPhone.com.
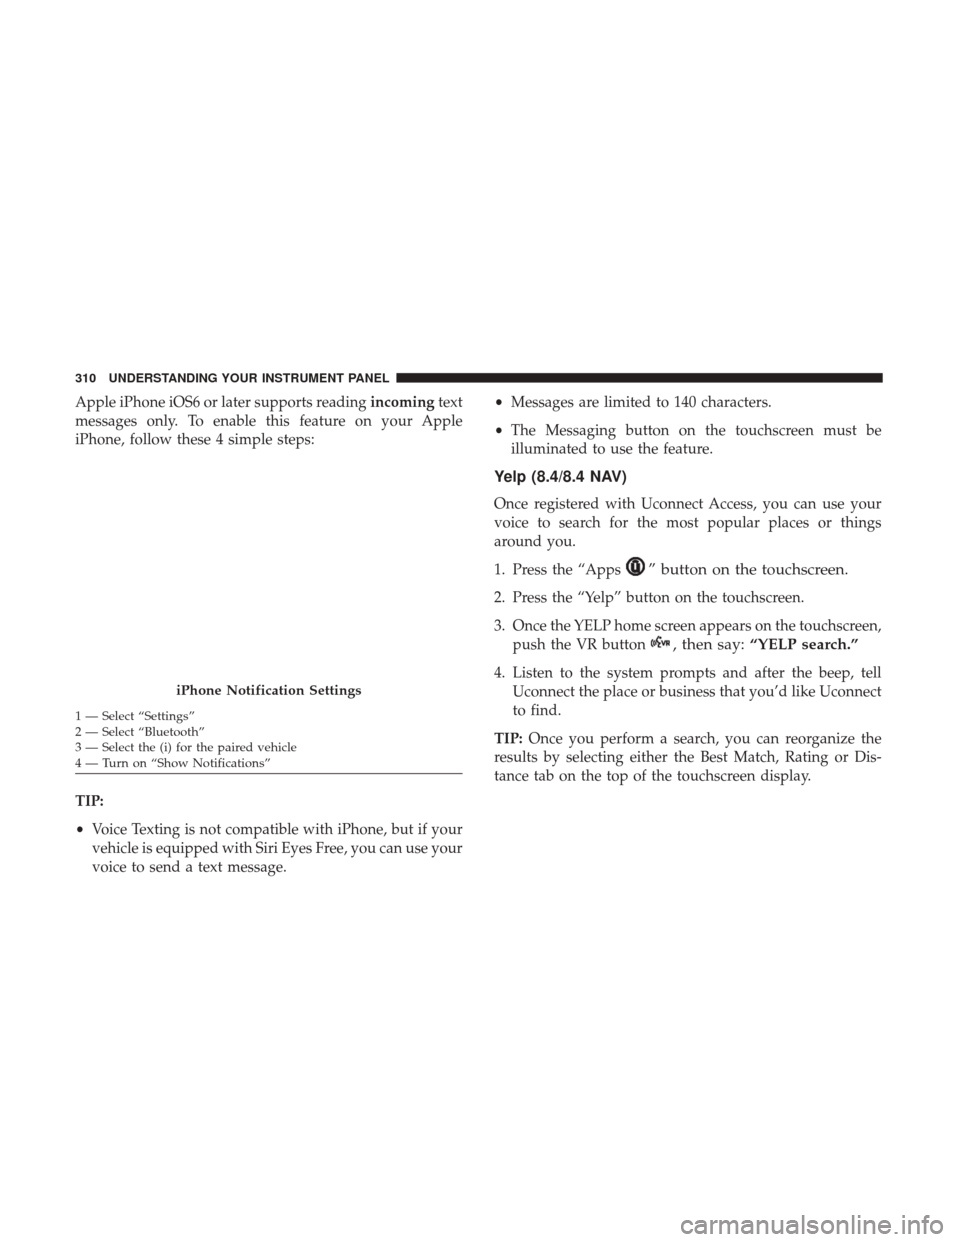
Apple iPhone iOS 6 or later supports reading incoming
text messages only. To enable this feature on your Apple
iPhone, follow these 4 simple steps: TIP:
Voice Text Reply is not compatible with iPhone, but if
your vehicle is equipped with Siri Eyes Free, you can use
your voice to send a text message.
iPhone Notification Settings
1 — Select “Settings”
2 — Select “Bluetooth”
3 — Select the (i) for the paired vehicle
4 — Turn on “Show Notifications”
304 UNDERSTANDING YOUR INSTRUMENT PANEL
Page 312 of 534

Apple iPhone iOS6 or later supports readingincomingtext
messages only. To enable this feature on your Apple
iPhone, follow these 4 simple steps:
TIP:
• Voice Texting is not compatible with iPhone, but if your
vehicle is equipped with Siri Eyes Free, you can use your
voice to send a text message. •
Messages are limited to 140 characters.
• The Messaging button on the touchscreen must be
illuminated to use the feature.
Yelp (8.4/8.4 NAV)
Once registered with Uconnect Access, you can use your
voice to search for the most popular places or things
around you.
1. Press the “Apps
” button on the touchscreen.
2. Press the “Yelp” button on the touchscreen.
3. Once the YELP home screen appears on the touchscreen, push the VR button
, then say: “YELP search.”
4. Listen to the system prompts and after the beep, tell
Uconnect the place or business that you’d like Uconnect
to find.
TIP: Once you perform a search, you can reorganize the
results by selecting either the Best Match, Rating or Dis-
tance tab on the top of the touchscreen display.
iPhone Notification Settings
1 — Select “Settings”
2 — Select “Bluetooth”
3 — Select the (i) for the paired vehicle
4 — Turn on “Show Notifications” 310 UNDERSTANDING YOUR INSTRUMENT PANEL
Page 324 of 534

Tip Start Feature
Do notpress the accelerator. Cycle the ignition switch
briefly to the START position and release it. The starter
motor will continue to run but will automatically disen-
gage when the engine is running.
Keyless Enter-N-Go — Ignition
This feature allows the driver to operate
the ignition switch with the push of a
button, as long as the Remote Start/
Keyless Enter-N-Go key fob is in the
passenger compartment.
Normal Starting
To Turn On The Engine Using The ENGINE
START/STOP Button
1. The transmission must be in PARK or NEUTRAL.
2. Press and hold the brake pedal while pushing the ENGINE START/STOP button once. 3. The system takes over and attempts to start the vehicle.
If the vehicle fails to start, the starter will disengage
automatically after 10 seconds.
4. If you wish to stop the cranking of the engine prior to the engine starting, push the button again.
NOTE: Normal starting of either a cold or a warm engine
is obtained without pumping or pressing the accelerator
pedal.
To Turn Off The Engine Using ENGINE
START/STOP Button
1. Place the gear selector in PARK, then push and release the ENGINE START/STOP button.
2. The ignition switch will return to the OFF position.
3. If the gear selector is not in PARK, the ENGINE START/ STOP button must be held for two seconds or three short
pushes in a row with the vehicle speed above 5 mph
(8 km/h) before the engine will shut off. The ignition
switch position will remain in the ACC position until the
gear selector is in PARK and the button is pushed twice
to the OFF position. If the gear selector is not in PARK
and the ENGINE START/STOP button is pushed once,
the instrument cluster will display a “Vehicle Not In
322 STARTING AND OPERATING
Page 325 of 534

Park” message and the engine will remain running.
Never leave a vehicle out of the PARK position, or it
could roll.
NOTE: If the ignition switch is left in the ACC or RUN
(engine not running) position and the transmission is in
PARK, the system will automatically time out after 30
minutes of inactivity and the ignition will switch to the
OFF position.
Idle Shutdown — 6.4L Engine Only
This feature can be enabled so that the truck will automati-
cally shutdown when the truck has been idling for a set
period of time when the engine is at operating tempera-
ture. Idle time can be set in 5 minute increments between 5
and 60 minutes. See your local authorized dealer to enable
this feature.
NOTE: The idle shut down timer is disabled while the PTO
is active.
ENGINE START/STOP Button Functions — With
Driver ’s Foot OFF The Brake Pedal (In PARK Or
NEUTRAL Position)
The ENGINE START/STOP button operates similar to an
ignition switch. It has three positions, OFF, ACC, RUN. To change the ignition switch positions without starting the
vehicle and use the accessories follow these steps:
1. Starting with the ignition in the OFF position:
2. Push the ENGINE START/STOP button once to change
the ignition to the ACC position.
3. Push the ENGINE START/STOP button a second time to change the ignition to the RUN position.
4. Push the ENGINE START/STOP button a third time to return the ignition to the OFF position.
Extreme Cold Weather (Below –20°F or �29°C)
To ensure reliable starting at these temperatures, use of an
externally powered electric engine block heater (available
from your authorized dealer) is recommended.
If Engine Fails To Start
If the engine fails to start after you have followed the
“Normal Starting” procedure, it may be flooded. Push the
accelerator pedal all the way to the floor and hold it there
while the engine is cranking. This should clear any excess
fuel in case the engine is flooded.
The starter motor will engage automatically, run for 10
seconds, and then disengage. Once this occurs, release the
5
STARTING AND OPERATING 323