Page 264 of 534

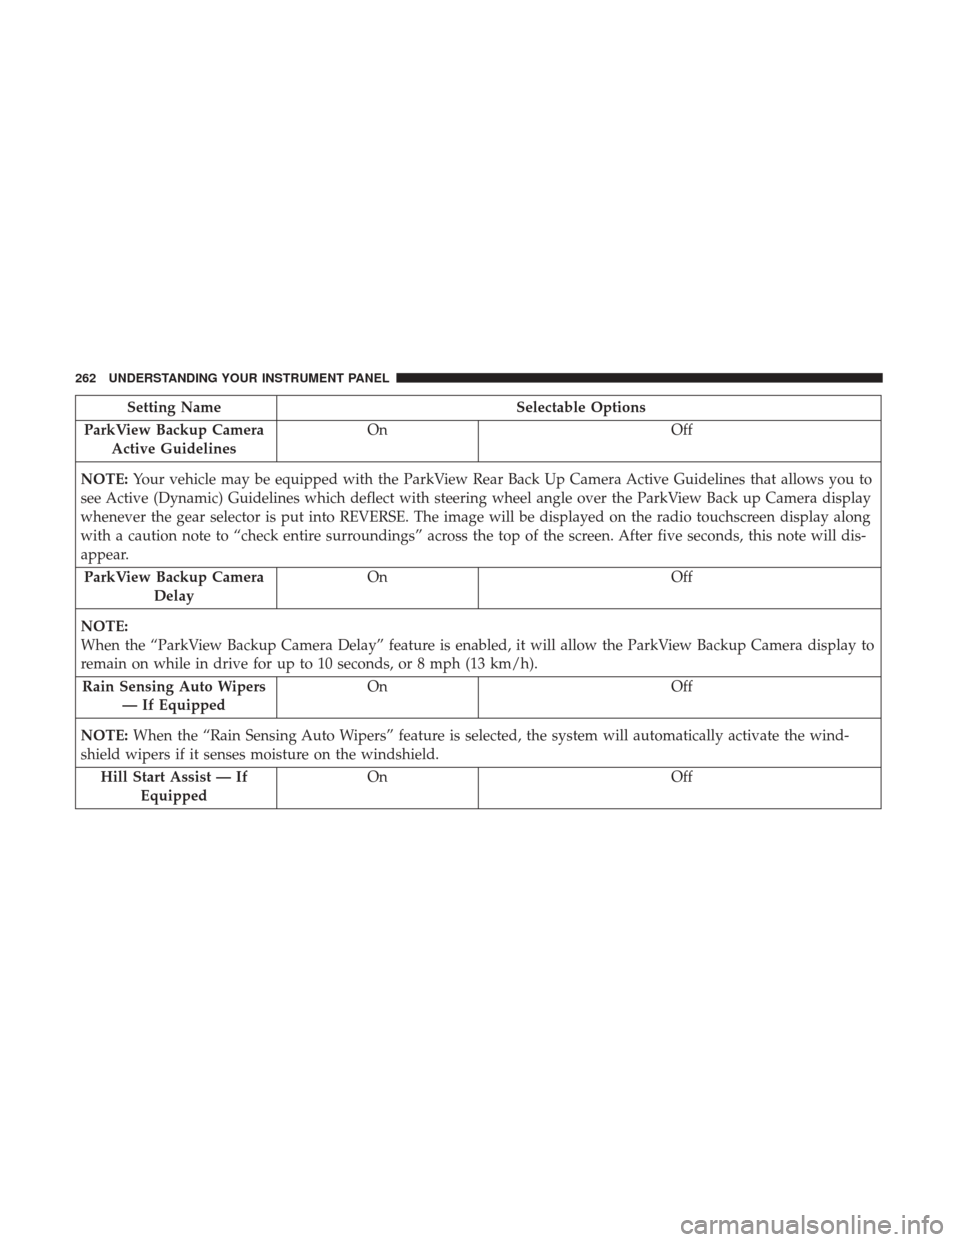
Setting NameSelectable Options
ParkView Backup Camera Active Guidelines On
Off
NOTE: Your vehicle may be equipped with the ParkView Rear Back Up Camera Active Guidelines that allows you to
see Active (Dynamic) Guidelines which deflect with steering wheel angle over the ParkView Back up Camera display
whenever the gear selector is put into REVERSE. The image will be displayed on the radio touchscreen display along
with a caution note to “check entire surroundings” across the top of the screen. After five seconds, this note will dis-
appear.
ParkView Backup Camera Delay On
Off
NOTE:
When the “ParkView Backup Camera Delay” feature is enabled, it will allow the ParkView Backup Camera display to
remain on while in drive for up to 10 seconds, or 8 mph (13 km/h). Rain Sensing Auto Wipers — If Equipped On
Off
NOTE: When the “Rain Sensing Auto Wipers” feature is selected, the system will automatically activate the wind-
shield wipers if it senses moisture on the windshield.
Hill Start Assist — If Equipped On
Off
262 UNDERSTANDING YOUR INSTRUMENT PANEL
Page 270 of 534
Audio
After pressing the “Audio” button on the touchscreen the
following settings will be available:
Setting NameSelectable Options
Balance/Fade Speaker Icon (Arrow Buttons) C
NOTE: The “Balance/Fade” feature allows you to adjust the Balance and Fade settings. Press and drag the speaker
icon or use the arrows to adjust, tap the “C” icon to readjust to the center.
Equalizer +–
NOTE: When in the “Equalizer” display you may adjust the Bass, Mid and Treble settings.
Speed Adjusted Vol- ume OFF
12 3
NOTE: The “Speed Adjusted Volume” feature increases or decreases volume relative to vehicle speed.
Surround Sound — If Equipped On
Off
NOTE: The “Surround Sound” feature provides simulated surround sound mode.
AUX Volume Offset — If Equipped On
Off
NOTE: The “AUX Volume Offset” feature provides the ability to tune the audio level for portable devices connected
through the AUX input.
268 UNDERSTANDING YOUR INSTRUMENT PANEL
Page 274 of 534
Clear Personal Data
After pressing the “Clear Personal Data” button on the
touchscreen, the following settings will be available:
Setting NameSelectable Options
Clear Personal Data OKCancel
NOTE:
When the “Clear Personal Data” feature is selected it will remove all personal data including Bluetooth devices and
presets.
System Information
After pressing the “System Information” button on the
touchscreen, the following settings will be available:
Setting Name Selectable Options
System Information System Software Information Screen
NOTE:
When the “System Information” feature is selected, a “System Software Information” screen will appear, displaying
the system software version.
272 UNDERSTANDING YOUR INSTRUMENT PANEL
Page 293 of 534

Automatic Temperature Control (ATC) — If
Equipped
Automatic Operation
1. Push the AUTO button on the front ATC panel and theword “AUTO” will illuminate in the front ATC display,
along with two temperatures for the driver and front
passenger. The system will then automatically regulate
the amount of airflow.
2. Adjust the temperature you would like the system to maintain, by adjusting the driver, passenger, and rear
temperatures. Once the desired temperature is dis-
played, the system will achieve and automatically main-
tain that comfort level.
3. When the system is set up for your comfort level, it is not necessary to change the settings. You will experience
the greatest efficiency by simply allowing the system to
function automatically.
NOTE:
• It is not necessary to move the temperature settings. The
system automatically adjusts the temperature, mode and
fan speed to provide comfort as quickly as possible. To provide you with maximum comfort in the automatic
mode, during cold start-ups, the blower fan will remain on
low until the engine warms up. The fan will engage
immediately if the Defrost mode is selected, or by changing
the front blower knob setting.
Manual Operation Override
This system offers a full complement of manual override
features. The AUTO symbol in the front ATC display will
be turned off when the system is being used in the manual
mode.
NOTE:
The system will not automatically sense the pres-
ence of fog, mist or ice on the windshield. DEFROST mode
must be manually selected to clear the windshield and side
glass.
Operating Tips
NOTE: Refer to the chart at the end of this section for
suggested control settings for various weather conditions.
Summer Operation
The engine cooling system must be protected with a
high-quality antifreeze coolant to provide proper corrosion
protection and to protect against engine overheating. OAT
coolant (conforming to MS.90032) is recommended.
4
UNDERSTANDING YOUR INSTRUMENT PANEL 291
Page 302 of 534
Media
Uconnect offers connections via USB, Bluetooth and auxil-
iary ports (If Equipped). Voice operation is only available
for connected USB and iPod devices. (Remote CD player
optional and not available on all vehicles.)
Push the VR button
. After the beep, say one of the
following commands and follow the prompts to switch
your media source or choose an artist.
• Change source to Bluetooth
• Change source to iPod
• Change source to USB
• Play artist Beethoven; Play album Greatest Hits; Play
song Moonlight Sonata; Play genreClassical
TIP: For the Uconnect 3.0, Uconnect 5.0 and 8.4/8.4 NAV
systems, press the Browse button on the touchscreen to see
all of the music on your iPod or USB device. Your Voice
Command must match exactlyhow the artist, album, song
and genre information is displayed.
Uconnect 3.0 Media
300 UNDERSTANDING YOUR INSTRUMENT PANEL
Page 312 of 534

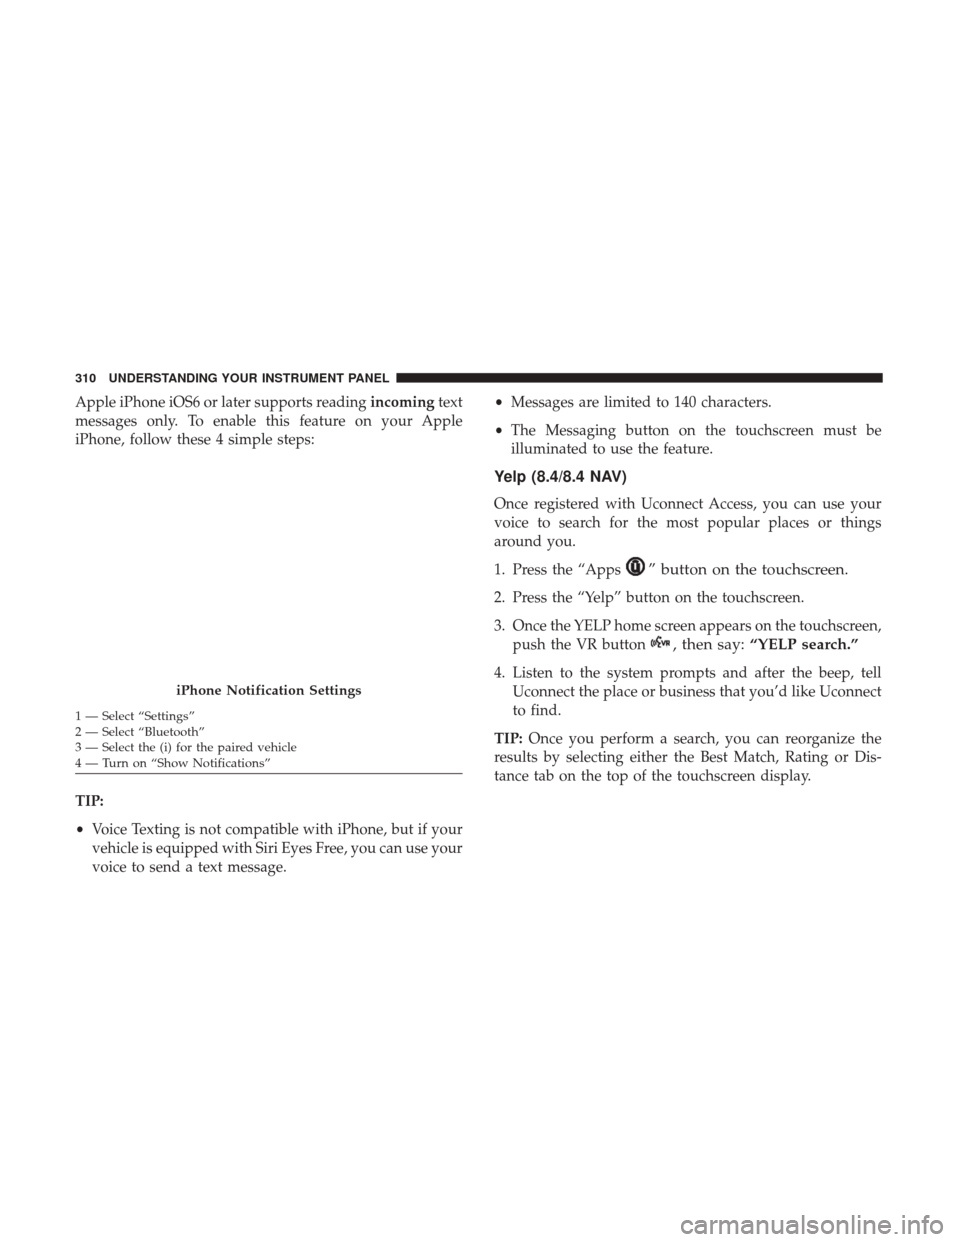
Apple iPhone iOS6 or later supports readingincomingtext
messages only. To enable this feature on your Apple
iPhone, follow these 4 simple steps:
TIP:
• Voice Texting is not compatible with iPhone, but if your
vehicle is equipped with Siri Eyes Free, you can use your
voice to send a text message. •
Messages are limited to 140 characters.
• The Messaging button on the touchscreen must be
illuminated to use the feature.
Yelp (8.4/8.4 NAV)
Once registered with Uconnect Access, you can use your
voice to search for the most popular places or things
around you.
1. Press the “Apps
” button on the touchscreen.
2. Press the “Yelp” button on the touchscreen.
3. Once the YELP home screen appears on the touchscreen, push the VR button
, then say: “YELP search.”
4. Listen to the system prompts and after the beep, tell
Uconnect the place or business that you’d like Uconnect
to find.
TIP: Once you perform a search, you can reorganize the
results by selecting either the Best Match, Rating or Dis-
tance tab on the top of the touchscreen display.
iPhone Notification Settings
1 — Select “Settings”
2 — Select “Bluetooth”
3 — Select the (i) for the paired vehicle
4 — Turn on “Show Notifications” 310 UNDERSTANDING YOUR INSTRUMENT PANEL
Page 316 of 534
2. After the double beep, begin speaking to Siri.
Examples of Siri commands and questions:•�Play Rolling Stones�
• �Send text message to John�
• �Read text message from Sarah�
• �Take me to the nearest coffee shop�
NOTE: •Speak clearly at a normal pace and volume while
facing straight ahead to ensure your command is
understood.
• Siri is available on iPhone 4S and later.
Do Not Disturb
With Do Not Disturb, you can disable notifications from
incoming calls and texts, allowing you to keep your eyes
on the road and hands on the wheel. For your convenience,
there is a counter display to keep track of your missed calls
and text messages while you were using Do Not Disturb.
Siri Eyes Free
314 UNDERSTANDING YOUR INSTRUMENT PANEL
Page 324 of 534

Tip Start Feature
Do notpress the accelerator. Cycle the ignition switch
briefly to the START position and release it. The starter
motor will continue to run but will automatically disen-
gage when the engine is running.
Keyless Enter-N-Go — Ignition
This feature allows the driver to operate
the ignition switch with the push of a
button, as long as the Remote Start/
Keyless Enter-N-Go key fob is in the
passenger compartment.
Normal Starting
To Turn On The Engine Using The ENGINE
START/STOP Button
1. The transmission must be in PARK or NEUTRAL.
2. Press and hold the brake pedal while pushing the ENGINE START/STOP button once. 3. The system takes over and attempts to start the vehicle.
If the vehicle fails to start, the starter will disengage
automatically after 10 seconds.
4. If you wish to stop the cranking of the engine prior to the engine starting, push the button again.
NOTE: Normal starting of either a cold or a warm engine
is obtained without pumping or pressing the accelerator
pedal.
To Turn Off The Engine Using ENGINE
START/STOP Button
1. Place the gear selector in PARK, then push and release the ENGINE START/STOP button.
2. The ignition switch will return to the OFF position.
3. If the gear selector is not in PARK, the ENGINE START/ STOP button must be held for two seconds or three short
pushes in a row with the vehicle speed above 5 mph
(8 km/h) before the engine will shut off. The ignition
switch position will remain in the ACC position until the
gear selector is in PARK and the button is pushed twice
to the OFF position. If the gear selector is not in PARK
and the ENGINE START/STOP button is pushed once,
the instrument cluster will display a “Vehicle Not In
322 STARTING AND OPERATING