Page 177 of 534
The key symbol indicates that this outlet can supply power
when the key is in the ON/RUN or ACC positions. The
battery symbol indicates that this outlet is supplied power
directly from the battery. When the vehicle is turned off, be
sure to unplug any equipment as to not drain the battery of
the vehicle.
Power Outlet — Rear Center Console FusePower Outlet Fuse Locations
1 — F104 Fuse 20 A Yellow Power Outlet Center Console Bin / USB
Port (Charge Only)
2 — F90–F91 Fuse 20 A Yellow Power Outlet Rear Center Console
3 — F93 Fuse 20 A Yellow Cigar Lighter Instrument Panel
3
UNDERSTANDING THE FEATURES OF YOUR VEHICLE 175
Page 178 of 534

All accessories connected to the outlet(s) should be re-
moved or turned off when the vehicle is not in use to
protect the battery against discharge.
WARNING!
To avoid serious injury or death:
•Only devices designed for use in this type of outlet
should be inserted into any 12 Volt outlet.
• Do not touch with wet hands.
• Close the lid when not in use and while driving the
vehicle.
• If this outlet is mishandled, it may cause an electric
shock and failure.
CAUTION!
• Many accessories that can be plugged in draw power
from the vehicle’s battery, even when not in use (i.e.,
cellular phones, etc.). Eventually, if plugged in long
enough, the vehicle’s battery will discharge suffi-
ciently to degrade battery life and/or prevent the
engine from starting.
(Continued)
CAUTION! (Continued)
•Accessories that draw higher power (i.e., coolers,
vacuum cleaners, lights, etc.), will discharge the
battery even more quickly. Only use these intermit-
tently and with greater caution.
• After the use of high power draw accessories, or long
periods of the vehicle not being started (with acces-
sories still plugged in), the vehicle must be driven a
sufficient length of time to allow the generator to
recharge the vehicle’s battery.
AUXILIARY SWITCHES — IF EQUIPPED
There can be up to five auxiliary switches located in the
lower switch bank of the instrument panel which can be
used to power various electronic devices and PTO (Power
Take Off) – If Equipped. If Power Take Off is equipped, it
will take the place of the fifth Auxiliary switch. Connec-
tions to the switches are found under the hood in the
connectors attached to the auxiliary Power Distribution
Center.
You have the ability to configure the functionality of the
auxiliary switches via the Instrument Cluster Display. All
switches can now be configured for setting the switch type
176 UNDERSTANDING THE FEATURES OF YOUR VEHICLE
Page 179 of 534

operation to latching or momentary, power source of either
battery or ignition, and ability to hold last state across key
cycles.
NOTE:Holding last state conditions are met when switch
type is set to latching and power source is set to ignition.
For further information on using the auxiliary switches,
please refer to the Ram Body Builders Guide by accessing
www.rambodybuilder.com and choosing the appropriate
links.
CIGAR LIGHTER AND ASH RECEIVER — IF
EQUIPPED
A removable ash receiver and cigar lighter are available.
For vehicles with a bench seat, the cupholder tray can be
used to hold the ash receiver.
For vehicles equipped with a floor console, the cupholders
may be used.
POWER INVERTER — IF EQUIPPED
A 115 Volt (150 Watts Maximum) outlet is located on the
center stack of the instrument panel, to the right of the
radio. This outlet can power cellular phones, electronics and other low power devices requiring power up to 150
Watts. Certain high-end video game consoles will exceed
this power limit, as will most power tools.
The power inverter is designed with built-in overload
protection. If the power rating of 150 Watts is exceeded, the
power inverter will automatically shut down. Once the
electrical device has been removed from the outlet the
inverter should automatically reset.
To turn on the power outlet, simply plug in the device. The
outlet automatically turns off when the device is un-
plugged.Power Inverter Outlet
3
UNDERSTANDING THE FEATURES OF YOUR VEHICLE 177
Page 180 of 534
NOTE:Due to built-in overload protection, the power
inverter will shut down if the power rating is exceeded.
WARNING!
To avoid serious injury or death:
• Do not insert any objects into the receptacles.
• Do not touch with wet hands.
• Close the lid when not in use.
• If this outlet is mishandled, it may cause an electric
shock and failure.
CUPHOLDERS
Front Seat Cupholders (40–20–40 Seats)
The cupholders are located on the backside of the center
portion of the front seat (20). Fold down the center section
of the front seat to gain access to the cupholders.
Front Instrument Panel Cupholders — Floor
Storage Bin
For vehicles equipped with bucket seats two cupholders
are located next to the center console storage bin.
Front Cupholders For Bucket Seats
178 UNDERSTANDING THE FEATURES OF YOUR VEHICLE
Page 182 of 534
STORAGE
Glove Compartment
The glove compartment is located on the passenger side of
the instrument panel and features both an upper and lower
storage area.To open the upper glove compartment push upward on the
handle release. The glove compartment door will automati-
cally open.
Glove Compartment
1 — Upper Glove Compartment
2 — Lower Glove Compartment
Upper Glove Compartment
180 UNDERSTANDING THE FEATURES OF YOUR VEHICLE
Page 188 of 534

Plastic Grocery Bag Retainers (Regular Cab
Models)
Retainer hooks which will hold plastic grocery bag handles
are built into the back panel of the cab, behind the rear seat.
REAR WINDOW FEATURES
Rear Window Defroster
The rear window defroster button is located on the
climate control panel. Push this button to turn on
the rear window defroster and the heated outside mirrors (if equipped). An indicator in the button will illuminate
when the rear window defroster is on. The rear window
defroster automatically turns off after approximately 10
minutes. For an additional five minutes of operation, push
the button a second time.
NOTE:
To prevent excessive battery drain, use the rear
window defroster only when the engine is operating.
CAUTION!
Failure to follow these cautions can cause damage to
the heating elements:
• Use care when washing the inside of the rear win-
dow. Do not use abrasive window cleaners on the
interior surface of the window. Use a soft cloth and a
mild washing solution, wiping parallel to the heat-
ing elements. Labels can be peeled off after soaking
with warm water.
• Do not use scrapers, sharp instruments, or abrasive
window cleaners on the interior surface of the win-
dow.
• Keep all objects a safe distance from the window.
Grocery Bag Hooks
186 UNDERSTANDING THE FEATURES OF YOUR VEHICLE
Page 195 of 534

UNDERSTANDING YOUR INSTRUMENT PANEL
CONTENTS
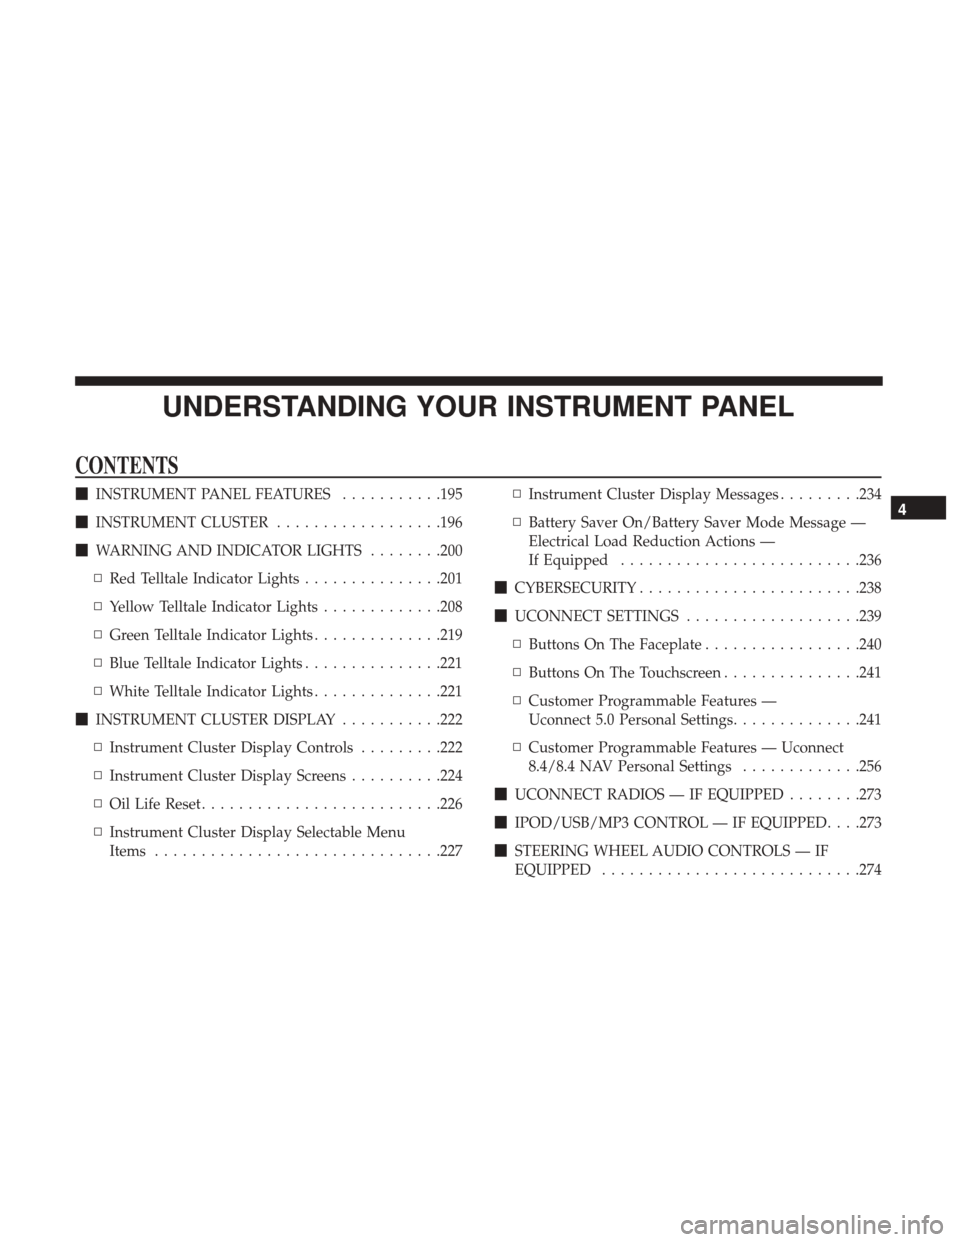
�INSTRUMENT PANEL FEATURES ...........195
� INSTRUMENT CLUSTER ..................196
� WARNING AND INDICATOR LIGHTS ........200
▫ Red Telltale Indicator Lights ...............201
▫ Yellow Telltale Indicator Lights .............208
▫ Green Telltale Indicator Lights ..............219
▫ Blue Telltale Indicator Lights ...............221
▫ White Telltale Indicator Lights ..............221
� INSTRUMENT CLUSTER DISPLAY ...........222
▫ Instrument Cluster Display Controls .........222
▫ Instrument Cluster Display Screens ..........224
▫ Oil Life Reset ......................... .226
▫ Instrument Cluster Display Selectable Menu
Items .............................. .227▫
Instrument Cluster Display Messages .........234
▫ Battery Saver On/Battery Saver Mode Message —
Electrical Load Reduction Actions —
If Equipped ......................... .236
� CYBERSECURITY ....................... .238
� UCONNECT SETTINGS ...................239
▫ Buttons On The Faceplate .................240
▫ Buttons On The Touchscreen ...............241
▫ Customer Programmable Features —
Uconnect 5.0 Personal Settings ..............241
▫ Customer Programmable Features — Uconnect
8.4/8.4 NAV Personal Settings .............256
� UCONNECT RADIOS — IF EQUIPPED ........273
� IPOD/USB/MP3 CONTROL — IF EQUIPPED . . . .273
� STEERING WHEEL AUDIO CONTROLS — IF
EQUIPPED ........................... .2744
Page 196 of 534

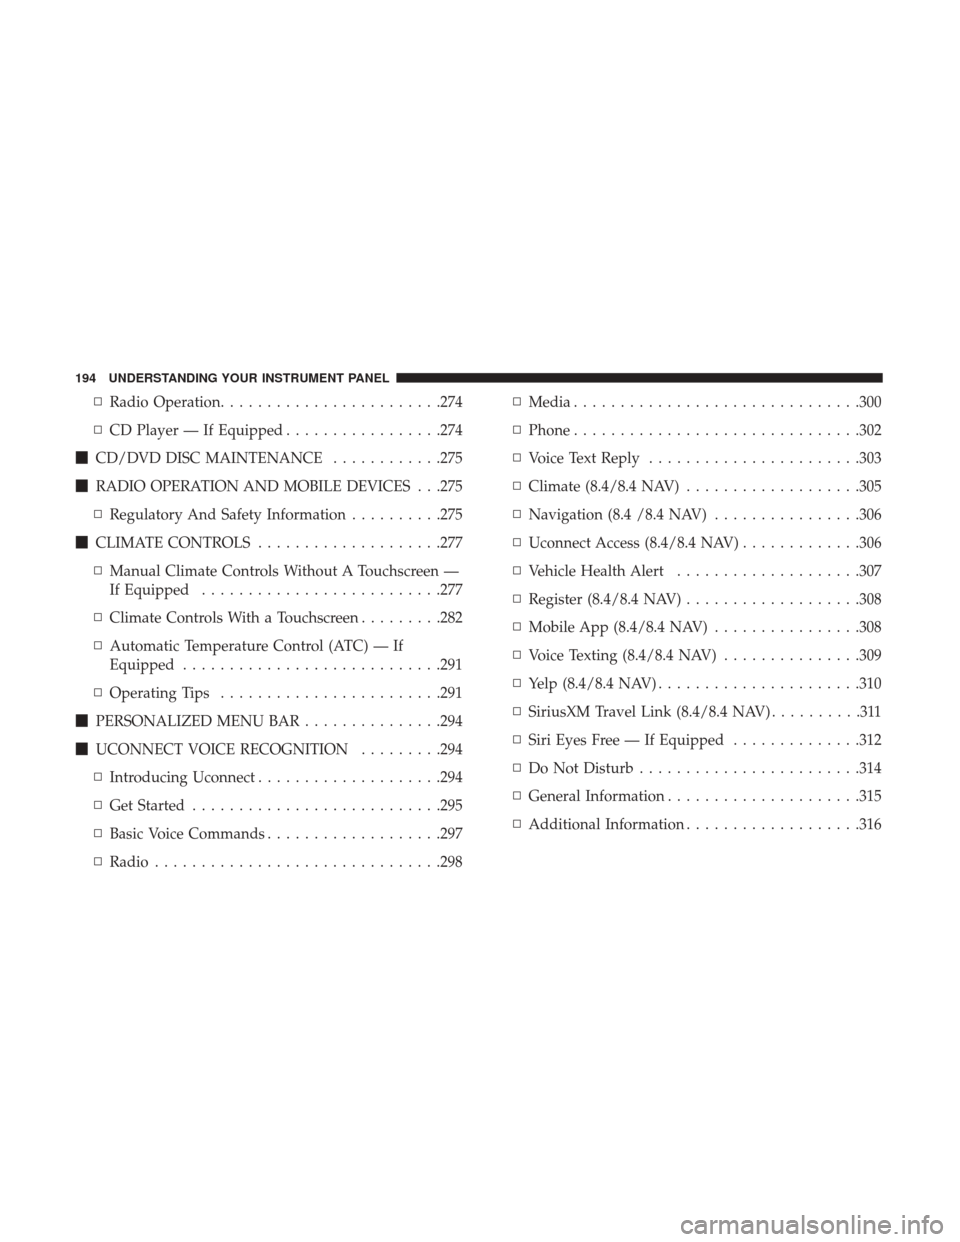
▫Radio Operation ....................... .274
▫ CD Player — If Equipped .................274
� CD/DVD DISC MAINTENANCE ............275
� RADIO OPERATION AND MOBILE DEVICES . . .275
▫ Regulatory And Safety Information ..........275
� CLIMATE CONTROLS ....................277
▫ Manual Climate Controls Without A Touchscreen —
If Equipped ......................... .277
▫ Climate Controls With a Touchscreen .........282
▫ Automatic Temperature Control (ATC) — If
Equipped ........................... .291
▫ Operating Tips ....................... .291
� PERSONALIZED MENU BAR ...............294
� UCONNECT VOICE RECOGNITION .........294
▫ Introducing Uconnect ....................294
▫ Get Started .......................... .295
▫ Basic Voice Commands ...................297
▫ Radio .............................. .298▫
Media .............................. .300
▫ Phone .............................. .302
▫ Voice Text Reply ...................... .303
▫ Climate (8.4/8.4 NAV) ...................305
▫ Navigation (8.4 /8.4 NAV) ................306
▫ Uconnect Access (8.4/8.4 NAV) .............306
▫ Vehicle Health Alert ....................307
▫ Register (8.4/8.4 NAV) ...................308
▫ Mobile App (8.4/8.4 NAV) ................308
▫ Voice Texting (8.4/8.4 NAV) ...............309
▫ Y
elp (8.4/8.4 NAV) ..................... .310
▫ SiriusXM Travel Link (8.4/8.4 NAV) ..........311
▫ Siri Eyes Free — If Equipped ..............312
▫ Do Not Disturb ....................... .314
▫ General Information .....................315
▫ Additional Information ...................316
194 UNDERSTANDING YOUR INSTRUMENT PANEL