Page 248 of 734

Electronic Throttle Control (ETC) Warning Light
Red TelltaleLight What It Means
Electronic Throttle Control (ETC) Warning Light
This light informs you of a problem with the Electronic Throttle Control (ETC) system. If a prob-
lem is detected while the engine is running, the light will either stay on or flash depending on
the nature of the problem. Cycle the ignition key when the vehicle is safely and completely
stopped and the transmission is placed in the PARK position. The light should turn off. If the
light remains on with the engine running, your vehicle will usually be drivable; however, see an
authorized dealer for service as soon as possible.
If the light continues to flash when the engine is running, immediate service is required and you
may experience reduced performance, an elevated/rough idle, or engine stall and your vehicle
may require towing. The light will come on when the ignition is first turned to ON/RUN and
remain on briefly as a bulb check. If the light does not come on during starting, have the system
checked by an authorized dealer.
246 UNDERSTANDING YOUR INSTRUMENT PANEL
Page 255 of 734

inflate them to the proper pressure. Driving on a signifi-
cantly under-inflated tire causes the tire to overheat and
can lead to tire failure. Under-inflation also reduces fuel
efficiency and tire tread life, and may affect the vehicle’s
handling and stopping ability.
Please note that the TPMS is not a substitute for proper tire
maintenance, and it is the driver ’s responsibility to main-
tain correct tire pressure, even if under-inflation has not
reached the level to trigger illumination of the TPMS low
tire pressure telltale.
Your vehicle has also been equipped with a TPMS malfunc-
tion indicator to indicate when the system is not operating
properly. The TPMS malfunction indicator is combined
with the low tire pressure telltale. When the system detects
a malfunction, the telltale will flash for approximately one
minute and then remain continuously illuminated. This
sequence will continue upon subsequent vehicle start-ups
as long as the malfunction exists. When the malfunction
indicator is illuminated, the system may not be able to
detect or signal low tire pressure as intended. TPMS
malfunctions may occur for a variety of reasons, including
the installation of replacement or alternate tires or wheels
on the vehicle that prevent the TPMS from functioning
properly. Always check the TPMS malfunction telltale afterreplacing one or more tires or wheels on your vehicle, to
ensure that the replacement or alternate tires and wheels
allow the TPMS to continue to function properly.
CAUTION!
The TPMS has been optimized for the original equip-
ment tires and wheels. TPMS pressures and warning
have been established for the tire size equipped on
your vehicle. Undesirable system operation or sensor
damage may result when using replacement equip-
ment that is not of the same size, type, and/or style.
Aftermarket wheels can cause sensor damage. Using
aftermarket tire sealants may cause the Tire Pressure
Monitoring System (TPMS) sensor to become inoper-
able. After using an aftermarket tire sealant it is
recommended that you take your vehicle to an autho-
rized dealership to have your sensor function checked.4
UNDERSTANDING YOUR INSTRUMENT PANEL 253
Page 270 of 734
The instrument cluster display menu items may consist of
the following:
•Speedometer
• Vehicle Info
• Fuel Economy Info
• Trip A
• Trip B
• Stop/Start Info (If Equipped)
• Air Suspension (If Equipped)
• Audio
• Trailer Tow
• Stored Messages
• Screen Setup
• Vehicle Settings (Not Equipped with a Uconnect 5.0 &
8.4 radio)
Premium Instrument Cluster Display
268 UNDERSTANDING YOUR INSTRUMENT PANEL
Page 274 of 734

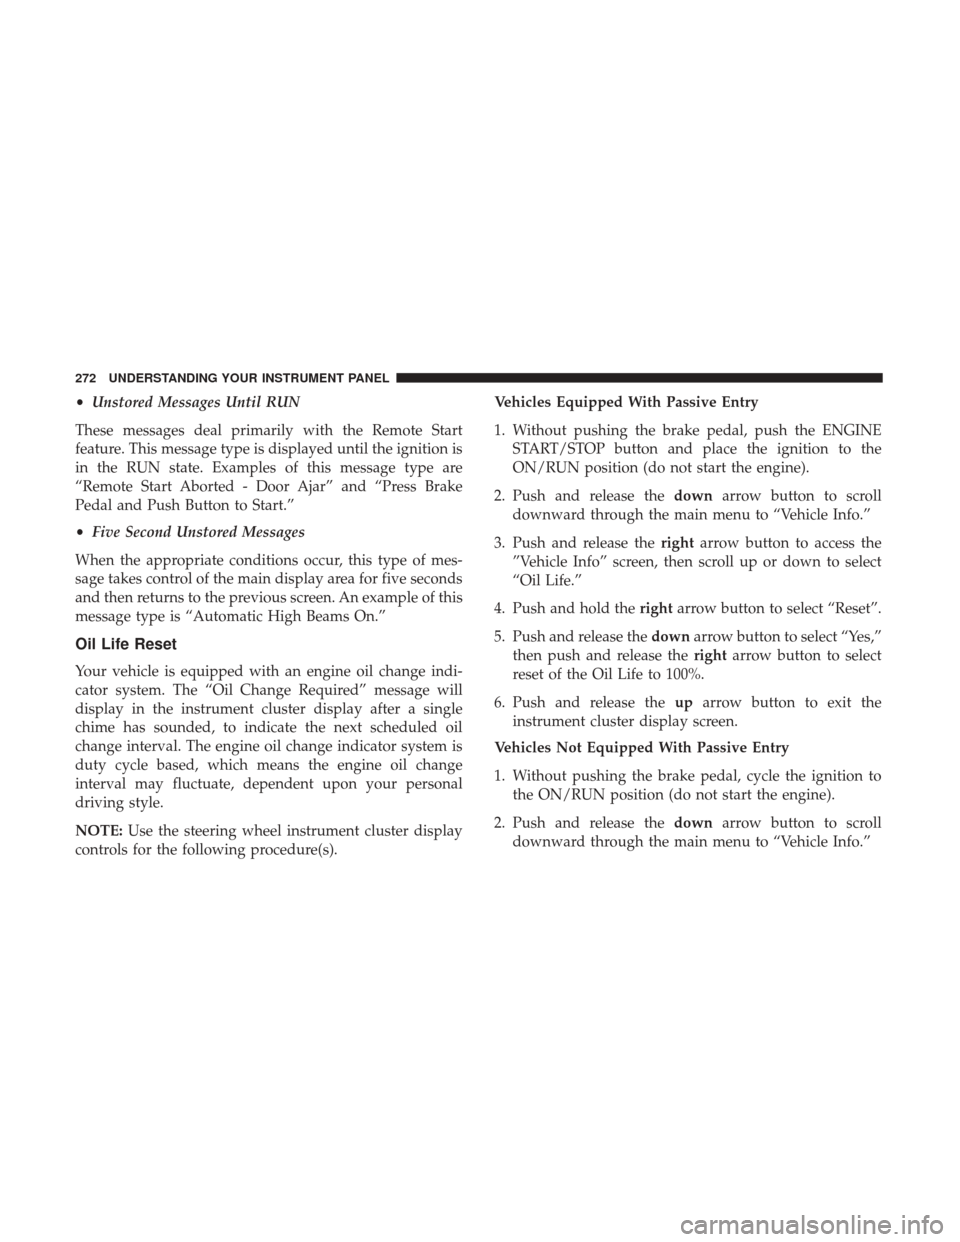
•Unstored Messages Until RUN
These messages deal primarily with the Remote Start
feature. This message type is displayed until the ignition is
in the RUN state. Examples of this message type are
“Remote Start Aborted - Door Ajar” and “Press Brake
Pedal and Push Button to Start.”
• Five Second Unstored Messages
When the appropriate conditions occur, this type of mes-
sage takes control of the main display area for five seconds
and then returns to the previous screen. An example of this
message type is “Automatic High Beams On.”
Oil Life Reset
Your vehicle is equipped with an engine oil change indi-
cator system. The “Oil Change Required” message will
display in the instrument cluster display after a single
chime has sounded, to indicate the next scheduled oil
change interval. The engine oil change indicator system is
duty cycle based, which means the engine oil change
interval may fluctuate, dependent upon your personal
driving style.
NOTE: Use the steering wheel instrument cluster display
controls for the following procedure(s). Vehicles Equipped With Passive Entry
1. Without pushing the brake pedal, push the ENGINE
START/STOP button and place the ignition to the
ON/RUN position (do not start the engine).
2. Push and release the downarrow button to scroll
downward through the main menu to “Vehicle Info.”
3. Push and release the rightarrow button to access the
”Vehicle Info” screen, then scroll up or down to select
“Oil Life.”
4. Push and hold the rightarrow button to select “Reset”.
5. Push and release the downarrow button to select “Yes,”
then push and release the rightarrow button to select
reset of the Oil Life to 100%.
6. Push and release the uparrow button to exit the
instrument cluster display screen.
Vehicles Not Equipped With Passive Entry
1. Without pushing the brake pedal, cycle the ignition to the ON/RUN position (do not start the engine).
2. Push and release the downarrow button to scroll
downward through the main menu to “Vehicle Info.”
272 UNDERSTANDING YOUR INSTRUMENT PANEL
Page 276 of 734

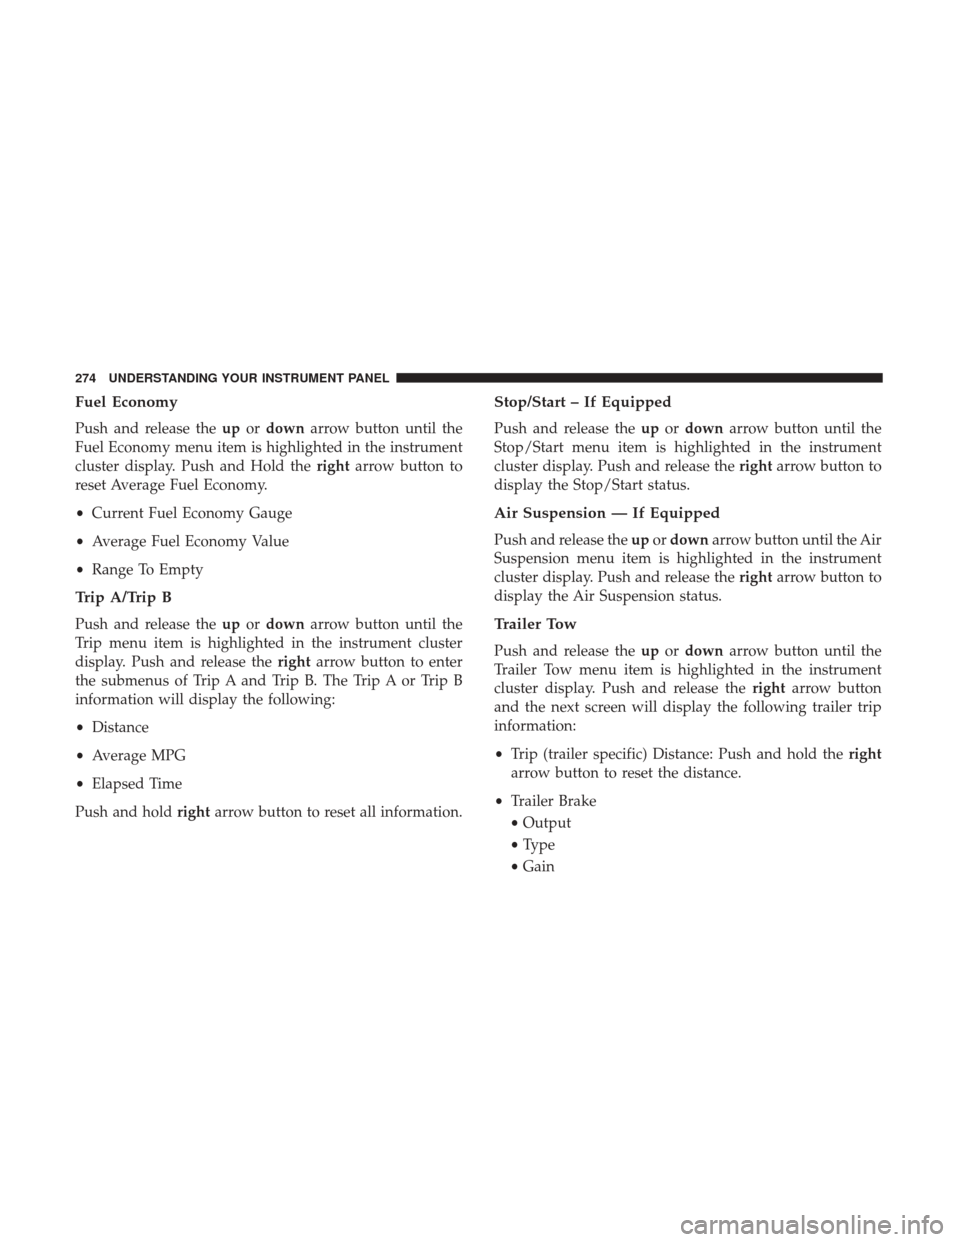
Fuel Economy
Push and release theupordown arrow button until the
Fuel Economy menu item is highlighted in the instrument
cluster display. Push and Hold the rightarrow button to
reset Average Fuel Economy.
• Current Fuel Economy Gauge
• Average Fuel Economy Value
• Range To Empty
Trip A/Trip B
Push and release the upordown arrow button until the
Trip menu item is highlighted in the instrument cluster
display. Push and release the rightarrow button to enter
the submenus of Trip A and Trip B. The Trip A or Trip B
information will display the following:
• Distance
• Average MPG
• Elapsed Time
Push and hold rightarrow button to reset all information.
Stop/Start – If Equipped
Push and release the upordown arrow button until the
Stop/Start menu item is highlighted in the instrument
cluster display. Push and release the rightarrow button to
display the Stop/Start status.
Air Suspension — If Equipped
Push and release the upordown arrow button until the Air
Suspension menu item is highlighted in the instrument
cluster display. Push and release the rightarrow button to
display the Air Suspension status.
Trailer Tow
Push and release the upordown arrow button until the
Trailer Tow menu item is highlighted in the instrument
cluster display. Push and release the rightarrow button
and the next screen will display the following trailer trip
information:
• Trip (trailer specific) Distance: Push and hold the right
arrow button to reset the distance.
• Trailer Brake
• Output
• Type
• Gain
274 UNDERSTANDING YOUR INSTRUMENT PANEL
Page 283 of 734

•Turn Signal On
• Sound Horn With Remote Lock: Off; 1st Press; 2nd Press
• Vehicle Not In Park
• Key In Ignition
• Key In Ignition Lights On
• Remote Start Active Key To Run
• Remote Start Active Push Start Button
• Remote Start Aborted Fuel Low
• Remote Start Aborted Too Cold
• Remote Start Aborted Door Open
• Remote Start Aborted Hood Open
• Remote Start Aborted Trunk Open
• Remote Start Aborted Time Expired
• Remote Start Disabled Start To Reset
• Service Airbag System
• Service Airbag Warning Light
• Driver Seatbelt Unbuckled •
Passenger Seatbelt Unbuckled
• Front Seatbelts Unbuckled
• Door Open
• Doors Open
• Gear Not Available
• Shift Not Allowed
• Shift To Neutral Then Drive Or Reverse
• Autostick Unavailable Service Required
• Automatic Unavailable Use Autostick Service Req.
• Transmission Getting Hot Push Brake
• Trans. Hot Stop Safely Shift To Park Wait To Cool
• Transmission Cool Ready To Drive
• Trailer Brake Disconnected
• Service Transmission
• Service Shifter
• Engage Park Brake To Prevent Rolling
• Transmission Too Cold Idle With Engine On
4
UNDERSTANDING YOUR INSTRUMENT PANEL 281
Page 285 of 734

Load reduction is only active when the engine is running.
It will display a message if there is a risk of battery
depletion to the point where the vehicle may stall due to
lack of electrical supply, or will not restart after the current
drive cycle.
When load reduction is activated, the message “Battery
Saver On” or “Battery Saver Mode” will appear in the
instrument cluster.
These messages indicate the vehicle battery has a low state
of charge and continues to lose electrical charge at a rate
that the charging system cannot sustain.
NOTE:
•The charging system is independent from load reduc-
tion. The charging system performs a diagnostic on the
charging system continuously.
• If the Battery Charge Warning Light is on it may indicate
a problem with the charging system. Refer to “Battery
Charge Warning Light” in “Understanding Your Instru-
ment Panel” for further information. The electrical loads that may be switched off (if equipped),
and vehicle functions which can be affected by load
reduction:
•
Heated Seat/Vented Seats/Heated Wheel
• Heated/Cooled Cup Holders — If Equipped
• Rear Defroster And Heated Mirrors
• HVAC System
• 115V AC Power Inverter System
• Audio and Telematics System
Loss of the battery charge may indicate one or more of the
following conditions:
• The charging system cannot deliver enough electrical
power to the vehicle system because the electrical loads
are larger than the capability of charging system. The
charging system is still functioning properly.
• Turning on all possible vehicle electrical loads (e.g.
HVAC to max settings, exterior and interior lights,
overloaded power outlets +12V, 115V AC, USB ports)
during certain driving conditions (city driving, towing,
frequent stopping).
4
UNDERSTANDING YOUR INSTRUMENT PANEL 283
Page 297 of 734

Doors & Locks
After pressing the “Doors & Locks” button on the touch-
screen, the following settings will be available:
Setting NameSelectable Options
Auto Door Locks On Off
NOTE: When the “Auto Door Locks” feature is selected, all doors will lock automatically when the vehicle reaches a
speed of 15 mph (24 km/h).
Auto Unlock On Exit On Off
NOTE: When the “Auto Unlock On Exit” feature is selected, all doors will unlock when the vehicle is stopped, the
transmission is in the PARK or NEUTRAL position and the driver’s door is opened.
Sound Horn With Lock Off1st Press 2nd Press
Remote Door Unlock All Driver
NOTE: The “Remote Door Unlock” feature will allow you to program your remote door locks to open “All doors” or
only the “Driver door” with the first push of the key fob or grabbing the Passive Entry door handle.
Sound Horn With Remote Start On
Off
NOTE: When the “Sound Horn With Remote Start” feature is selected, the horn will sound when the remote start is
activated.
4
UNDERSTANDING YOUR INSTRUMENT PANEL 295