Page 138 of 542
Lane Change Assist
Tap the lever up or down once, without moving beyond
the detent, and the turn signal (right or left) will flash three
times. Then, the turn signal (right or left) will automatically
turn off.
Flash-To-Pass
You can signal another vehicle with your headlights by
partially pulling the multifunction lever toward the steer-
ing wheel. This will cause the high beam headlights to turn
on until the lever is released.
High/Low Beam Switch
Push the multifunction lever toward the instrument panel
to switch the headlights to high beam. Pulling the multi-
function lever back toward the steering wheel will turn the
low beams back on, or shut the high beams off.
High/Low Beam Switch
136 UNDERSTANDING THE FEATURES OF YOUR VEHICLE
Page 146 of 542

To Activate
Push the ON/OFF button. The cruise control indicator
light in the instrument cluster display will illuminate. To
turn the system off, push the ON/OFF button a second
time. The cruise control indicator light will turn off. The
system should be turned off when not in use.
WARNING!
Leaving the Speed Control system on when not in use
is dangerous. You could accidentally set the system or
cause it to go faster than you want. You could lose
control and have an accident. Always leave the system
off when you are not using it.
To Set A Desired Speed
Turn the Speed Control on. When the vehicle has reached
the desired speed, push the SET (-) button and release.
Release the accelerator and the vehicle will operate at the
selected speed.
NOTE:The vehicle should be traveling at a steady speed
and on level ground before pushing the SET (-) button.
To Deactivate
A soft tap on the brake pedal, pushing the CANCEL
button, or normal brake pressure while slowing the vehicle
will deactivate Speed Control without erasing the set speed
memory. Pushing the ON/OFF button or turning the
ignition switch OFF erases the set speed memory.
To Resume Speed
To resume a previously set speed, push the RES (+) button
and release. Resume can be used at any speed above
25 mph (40 km/h).
To Vary The Speed Setting
To Increase Speed
When the Speed Control is set, you can increase speed by
pushing the RES (+) button.
The driver ’s preferred units can be selected through the
instrument panel settings if equipped. Refer to “Under-
standing Your Instrument Panel” for more information.
The speed decrement shown is dependant on the chosen
speed unit of U.S. (mph) or Metric (km/h):
144 UNDERSTANDING THE FEATURES OF YOUR VEHICLE
Page 148 of 542

To Accelerate For Passing
Press the accelerator as you would normally. When the
pedal is released, the vehicle will return to the set speed.
Using Speed Control On Hills
The transmission may downshift on hills to maintain the
vehicle set speed.
NOTE:The Speed Control system maintains speed up and
down hills. A slight speed change on moderate hills is
normal.
On steep hills, a greater speed loss or gain may occur, it
may be preferable to drive without Speed Control.
WARNING!
Speed Control can be dangerous where the system
cannot maintain a constant speed. Your vehicle could
go too fast for the conditions, and you could lose
control and have an accident. Do not use Speed Control
in heavy traffic or on roads that are winding, icy,
snow-covered or slippery.
PARKSENSE REAR PARK ASSIST — IF EQUIPPED
The ParkSense Rear Park Assist system provides visual and
audible indications of the distance between the rear fascia
and a detected obstacle when backing up, e.g. during a
parking maneuver. Refer to “ParkSense System Usage
Precautions” in this section for limitations of this system
and recommendations.
ParkSense will retain the last system state (enabled or
disabled) from the last ignition cycle when the ignition is
changed to the ON/RUN position.
ParkSense can be active only when the gear selector is in
REVERSE. If ParkSense is enabled at this gear selector
position, the system will remain active until the vehicle
speed is increased to approximately 7 mph (11 km/h) or
above. When in REVERSE and above the system’s operat-
ing speed, a warning will appear within the instrument
cluster display indicating the vehicle speed is too fast. The
system will become active again if the vehicle speed is
decreased to speeds less than approximately 6 mph
(9 km/h).
146 UNDERSTANDING THE FEATURES OF YOUR VEHICLE
Page 165 of 542
Turning Rear View Camera Image On:
1. Press the�Controls�button located on the bottom of the
Uconnect display.
2. Press the �Backup Camera� button
to turn the Rear
View Camera system on.
NOTE: Once initiated by the �Backup Camera�button, the
Rear View Camera image may be deactivated by pressing
the �X�button on the touchscreen. On deactivation, the
previous selected screen will appear.
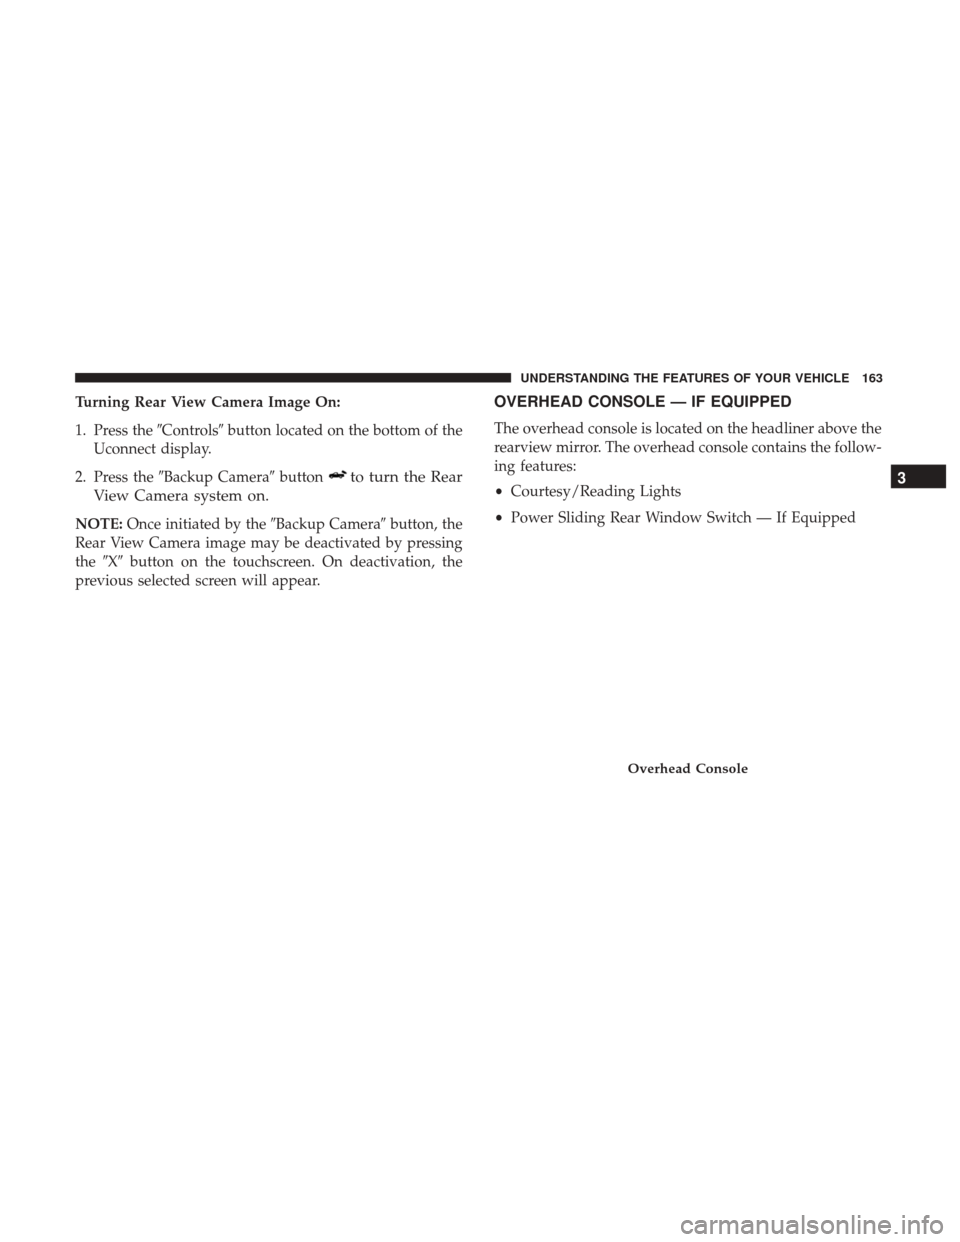
OVERHEAD CONSOLE — IF EQUIPPED
The overhead console is located on the headliner above the
rearview mirror. The overhead console contains the follow-
ing features:
• Courtesy/Reading Lights
• Power Sliding Rear Window Switch — If Equipped
Overhead Console
3
UNDERSTANDING THE FEATURES OF YOUR VEHICLE 163
Page 166 of 542

Courtesy/Reading Lights
Both lights in the overhead console and rear passenger
compartment will illuminate as courtesy lights when a
door is opened, when the dimmer control is rotated to the
courtesy light position (full right position), or when the
unlock button is pushed on the Remote Keyless Entry key
fob, if equipped. These lights are also operated individu-
ally as reading lights by pushing on the corresponding
lens.NOTE:The courtesy/reading lights will remain on until
the switch is pushed a second time, so be sure they have
been turned off before leaving the vehicle. If the interior
lights are left on after the ignition is turned off, they will
automatically turn off after 15 minutes.
GARAGE DOOR OPENER — IF EQUIPPED
HomeLink replaces up to three hand-held transmitters that
operate devices such as garage door openers, motorized
gates, lighting or home security systems. The HomeLink
unit is powered by your vehicles 12 Volt battery.
Front Courtesy/Reading Lights
Rear Passenger Courtesy/Reading Light
164 UNDERSTANDING THE FEATURES OF YOUR VEHICLE
Page 169 of 542

1. Turn the ignition switch to the ON/RUN position.
NOTE:For vehicles equipped with Keyless Enter-N-Go,
place the ignition in the RUN position with the Engine ON.
Make sure while programming HomeLink with the engine
ON that your vehicle is outside of your garage, or that the
garage door remains open at all times.
2. Place the hand - held transmitter 1 to 3 inches (3 to 8 cm) away from the HomeLink button you wish to program. 3. Push and hold the HomeLink button you want to
program while you push and hold the hand - held
transmitter button.
4. Continue to hold both buttons until the instrument cluster display changes from “CHANNEL # TRAIN-
ING” to “CHANNEL # TRAINED,” then release both
buttons.
NOTE: •It may take up to 30 seconds or longer in some cases
for the channel to train.
• If “DID NOT TRAIN” appears in the Instrument
Cluster Display, repeat from Step 2.
5. At the garage door opener motor (in the garage), locate the “LEARN” or “TRAINING” button. This can usually
be found where the hanging antenna wire is attached to
the garage door opener/device motor. Firmly push and
release the “LEARN” or “TRAINING” button. On some
garage door openers/devices there may be a light that
blinks when the garage door opener/device is in the
LEARN/TRAIN mode.
NOTE: You have 30 seconds in which to initiate the next
step after the LEARN button has been pushed.
Training The Garage Door Opener
1 — Door Opener
2 — Training Button
3
UNDERSTANDING THE FEATURES OF YOUR VEHICLE 167
Page 170 of 542
. The instrument cluster display will
show “CHANNEL # TRANSMIT.” If the garage d")
6. Return to the vehicle and push the programmedHomeLink button twice (holding the button for two
seconds each time). The instrument cluster display will
show “CHANNEL # TRANSMIT.” If the garage door
opener/device activates, programming is complete.
NOTE: If the garage door opener/device does not activate,
push the button a third time (for two seconds) to complete
the training.
To program the remaining two HomeLink buttons, repeat
each step for each remaining button. DO NOT erase the
channels.
Reprogramming A Single HomeLink Button (Rolling
Code)
To reprogram a channel that has been previously trained,
follow these steps:
1. Cycle the ignition to the ON/RUN position.
2. Push and hold the desired HomeLink button until the indicator light begins to flash after 20 seconds. Do not
release the button.
3. Without releasing the button proceed with “Program-
ming A Rolling Code” step 2 and follow all remaining
steps.
Programming A Non-Rolling Code
For programming Garage Door Openers manufactured
before 1995.
1. Turn the ignition switch to the ON/RUN position.
2. Place the hand - held transmitter 1 to 3 inches (3 to 8 cm) away from the HomeLink button you wish to program.
3. Push and hold the HomeLink button you want to program while you push and hold the hand - held
transmitter button.
4. Continue to hold both buttons until the instrument cluster display changes from “CHANNEL # TRAIN-
ING” to “CHANNEL # TRAINED,” then release both
buttons.
NOTE: •It may take up to 30 seconds or longer in some cases
for the channel to train.
• If the instrument cluster display shows “DID NOT
TRAIN”, repeat from Step 2.
168 UNDERSTANDING THE FEATURES OF YOUR VEHICLE
Page 171 of 542

5. Push and hold the programmed HomeLink button. Theinstrument cluster display will display “CHANNEL #
TRANSMIT.” If the garage door opener/device acti-
vates, programming is complete.
To program the remaining two HomeLink buttons, repeat
each step for each remaining button. DO NOT erase the
channels.
Reprogramming A Single HomeLink Button
(Non-Rolling Code)
To reprogram a channel that has been previously trained,
follow these steps:
1. Cycle the ignition to the ON/RUN position.
2. Push and hold the desired HomeLink button until the indicator light begins to flash after 20 seconds. Do not
release the button.
3. Without releasing the button proceed with “Program-
ming A Non-Rolling Code” step 2 and follow all remain-
ing steps.
Canadian/Gate Operator Programming
For programming transmitters in Canada/United States
that require the transmitter signals to “time-out” after
several seconds of transmission.
Canadian radio frequency laws require transmitter signals
to time-out (or quit) after several seconds of transmission –
which may not be long enough for HomeLink to pick up
the signal during programming. Similar to this Canadian
law, some U.S. gate operators are designed to time-out in
the same manner.
It may be helpful to unplug the device during the cycling
process to prevent possible overheating of the garage door
or gate motor.
1. Turn the ignition switch to the ON/RUN position.
NOTE: For vehicle’s equipped with Keyless Enter-N-Go,
place the ignition in the RUN position with the Engine ON.
For vehicle’s equipped with Keyless Enter-N-Go, place the
ignition in the RUN position with the Engine ON. Make
sure while programming HomeLink with the engine ON
that your vehicle is outside of your garage, or that the
garage door remains open at all times.
3
UNDERSTANDING THE FEATURES OF YOUR VEHICLE 169
 will flash three
times. Then, the turn signal (right or left) will automatically")