2017 Ram 1500 transmission mount
[x] Cancel search: transmission mountPage 397 of 734

WARNING!
Do not use the “TOW/HAUL” feature when driving in
icy or slippery conditions. The increased engine brak-
ing can cause the rear wheels to slide, and the vehicle
to swing around with the possible loss of vehicle
control, which may cause an accident possibly result-
ing in personal injury or death.
Six-Speed Automatic Transmission — 1500 Models
Only (If Equipped)
The transmission gear position display (located in the
instrument cluster) indicates the transmission gear range.
The gear selector is mounted either on the right side of the
steering column (if equipped) or on the console (if
equipped). You must press the brake pedal to move the
gear selector out of PARK (refer to “Brake/Transmission
Shift Interlock System” in this section). To drive, move the
gear selector from PARK or NEUTRAL to the DRIVE
position. Pull the gear selector toward you when shifting
into REVERSE or PARK, or when shifting out of PARK
(column shift only).The electronically-controlled transmission provides a pre-
cise shift schedule. The transmission electronics are self-
calibrating; therefore, the first few shifts on a new vehicle
may be somewhat abrupt. This is a normal condition, and
precision shifts will develop within a few hundred miles
(kilometers).
Only shift from DRIVE to PARK or REVERSE when the
accelerator pedal is released and the vehicle is stopped. Be
sure to keep your foot on the brake pedal when shifting
between these gears.
The transmission gear selector has only PARK, REVERSE,
NEUTRAL, and DRIVE shift positions. Manual downshifts
can be made using the Electronic Range Select (ERS) shift
control (refer to “Electronic Range Select (ERS) Operation”
in this section for further information). Pressing the ERS
(-/+) switches (column shift) or moving the gear selector to
the left or right (-/+) (console shift) while in the DRIVE
position will select the highest available transmission gear,
and will display that gear limit in the instrument cluster as
1, 2, 3, etc. Some models will display both the selected gear
limit, and the actual current gear, while in ERS mode.
5
STARTING AND OPERATING 395
Page 400 of 734

CAUTION!
•Before moving the transmission gear selector out of
PARK, you must turn the ignition to the ON/RUN
mode, and also press the brake pedal. Otherwise,
damage to the gear selector could result.
• DO NOT race the engine when shifting from PARK
or NEUTRAL into another gear range, as this can
damage the drivetrain.
The following indicators should be used to ensure that you
have engaged the transmission into the PARK position:
• When shifting into PARK, pull the column-mounted
gear selector toward you and move it all the way
counterclockwise until it stops. For console-mounted
shifter, firmly move the gear selector all the way forward
and to the left until it stops.
• Release the gear selector and make sure it is fully seated
in the PARK gate.
• Look at the transmission gear position display and
verify that it indicates the PARK position (P).
• With brake pedal released, verify that the gear selector
will not move out of PARK. REVERSE (R)
This range is for moving the vehicle backward. Shift into
REVERSE only after the vehicle has come to a complete
stop.
NEUTRAL (N)
Use this range when the vehicle is standing for prolonged
periods with the engine running. The engine may be
started in this range. Apply the parking brake and shift the
transmission into PARK if you must leave the vehicle.
WARNING!
Do not coast in NEUTRAL and never turn off the
ignition to coast down a hill. These are unsafe practices
that limit your response to changing traffic or road
conditions. You might lose control of the vehicle and
have a collision.
398 STARTING AND OPERATING
Page 407 of 734

Six-Speed Automatic Transmission — 2500/3500
Models Only
The transmission gear position display (located in the
instrument cluster) indicates the transmission gear range.
The gear selector is mounted on the right side of the
steering column. You must press the brake pedal to move
the gear selector out of PARK (refer to “Brake/
Transmission Shift Interlock System” in this section for
further information). To drive, move the gear selector from
PARK or NEUTRAL to the DRIVE position. Pull the gear
selector toward you when shifting into REVERSE or PARK,
or when shifting out of PARK.
The electronically-controlled transmission provides a pre-
cise shift schedule. The transmission electronics are self-
calibrating; therefore, the first few shifts on a new vehicle
may be somewhat abrupt. This is a normal condition, and
precision shifts will develop within a few hundred miles
(kilometers).
Only shift from DRIVE to PARK or REVERSE when the
accelerator pedal is released and the vehicle is stopped. Be
sure to keep your foot on the brake pedal when shifting
between these gears.The transmission gear selector has only PARK, REVERSE,
NEUTRAL, and DRIVE shift positions. Manual downshifts
can be made using the Electronic Range Select (ERS) shift
control (refer to “Electronic Range Select (ERS) Operation”
in this section for further information). Pressing the ERS
(-/+) switches (on the gear selector) while in the DRIVE
position will select the highest available transmission gear,
and will display that gear limit in the instrument cluster as
1, 2, 3, etc. Some models will display both the selected gear
limit, and the actual current gear, while in ERS mode.
Gear Ranges
DO NOT race the engine when shifting from PARK or
NEUTRAL into another gear range.
NOTE:
After selecting any gear range, wait a moment to
allow the selected gear to engage before accelerating. This
is especially important when the engine is cold.
PARK (P)
This range supplements the parking brake by locking the
transmission. The engine can be started in this range.
Never attempt to use PARK while the vehicle is in motion.
Apply the parking brake when leaving the vehicle in this
range.
5
STARTING AND OPERATING 405
Page 489 of 734

NOTE:•Avoid overheating the winch motor. For extended
winching, stop at reasonable intervals to allow the
winch motor to cool down.
• What to look for under load: The wire rope must
always spool onto the drum as indicated by the drum
rotation decal on the winch. As you power-in, make
sure the wire rope winds evenly and tightly on the
drum. This prevents the outer wire wraps from draw-
ing into the inner wraps, binding and damaging the
wire rope. Avoid shock loads by using the control
switch intermittently to take up wire rope slack. Shock
loads can momentarily far exceed the winch and wire
rope ratings. During side pulls the wire rope tends to
stack up at one end of the drum. This stack can become
large enough to cause serious damage to the winch. So,
line up pulls as straight ahead as possible and stop
winching if the wire rope comes close to the tie rods or
mounting plate. To fix an uneven stack, spool out that
section of the rope and reposition it to the opposite end
of the drum, which will free up space for continued
winching. 15. Secure vehicle. Once recovery of the vehicle is com-
plete, be sure to secure the vehicle’s brakes and shift
the transmission to PARK. Release tension in the wire
rope.
16. Disconnect the wire rope, and disconnect from the anchor.
17. Rewind the wire rope. The person handling the wire rope should walk the rope in and not let it slide
through the hand, control the winch at all times.
Rewinding The Wire Rope
5
STARTING AND OPERATING 487
Page 576 of 734

CAUTION!
•DO NOT dolly tow any 4WD vehicle. Towing with
only one set of wheels on the ground (front or rear)
will cause severe transmission and/or transfer case
damage. Tow with all four wheels either ON the
ground, or OFF the ground (using a vehicle trailer).
• Tow only in the forward direction. Towing this
vehicle backwards can cause severe damage to the
transfer case.
• Before recreational towing, the transfer case must be
in NEUTRAL. To be certain the transfer case is fully
in NEUTRAL, perform the procedure outlined under
“Shifting Into NEUTRAL”. Internal transmission
damage will result, if the transfer case is not in
NEUTRAL during towing.
• Automatic transmissions must be placed in PARK,
and manual transmissions must be placed in gear
(not in Neutral) for recreational towing.
• Towing this vehicle in violation of the above require-
ments can cause severe transmission and/or transfer
case damage. Damage from improper towing is not
covered under the New Vehicle Limited Warranty.
(Continued)
CAUTION! (Continued)
•Do not disconnect the rear driveshaft because fluid
will leak from the transfer case, causing damage to
internal parts.
• Do not use a bumper-mounted clamp-on tow bar on
your vehicle. The bumper face bar will be damaged.
Shifting Into NEUTRAL (N)
Use the following procedure to prepare your vehicle for
recreational towing.
WARNING!
You or others could be injured or killed if you leave the
vehicle unattended with the transfer case in the NEU-
TRAL (N) position without first fully engaging the
parking brake. The transfer case NEUTRAL (N) posi-
tion disengages both the front and rear drive shaft
from the powertrain, and will allow the vehicle to roll,
even if the automatic transmission is in PARK (or
manual transmission is in gear). The parking brake
should always be applied when the driver is not in the
vehicle.
574 STARTING AND OPERATING
Page 623 of 734

Disconnecting The Jumper Cables
1. Disconnect the negative(-)end of the jumper cable from
the engine ground of the vehicle with the discharged
battery.
2. Disconnect the opposite end of the negative (-)jumper
cable from the negative (-)post of the booster battery.
3. Disconnect the positive (+)end of the jumper cable from
the positive (+)post of the booster battery.
4. Disconnect the opposite end of the positive (+)jumper
cable from the positive (+)post of the vehicle with the
discharged battery.
If frequent jump-starting is required to start your vehicle
you should have the battery and charging system in-
spected at your authorized dealer.
CAUTION!
Accessories plugged into the vehicle power outlets
draw power from the vehicle’s battery, even when not
in use (i.e., cellular devices, etc.). Eventually, if plugged
in long enough without engine operation, the vehicle’s
battery will discharge sufficiently to degrade battery
life and/or prevent the engine from starting.
FREEING A STUCK VEHICLE
If your vehicle becomes stuck in mud, sand, or snow, it can
often be moved using a rocking motion. Turn the steering
wheel right and left to clear the area around the front
wheels. Then shift back and forth between DRIVE and
REVERSE (with automatic transmission) or 2nd gear and
REVERSE (with manual transmission), while gently press-
ing the accelerator. Use the least amount of accelerator
pedal pressure that will maintain the rocking motion,
without spinning the wheels or racing the engine.
NOTE: For trucks equipped with 8-speed automatic trans-
mission: Shifts between DRIVE and REVERSE can only be
achieved at wheel speeds of 5 mph (8 km/h) or less.
Whenever the transmission remains in NEUTRAL for more
than two seconds, you must press the brake pedal to
engage DRIVE or REVERSE.
6
WHAT TO DO IN EMERGENCIES 621
Page 719 of 734
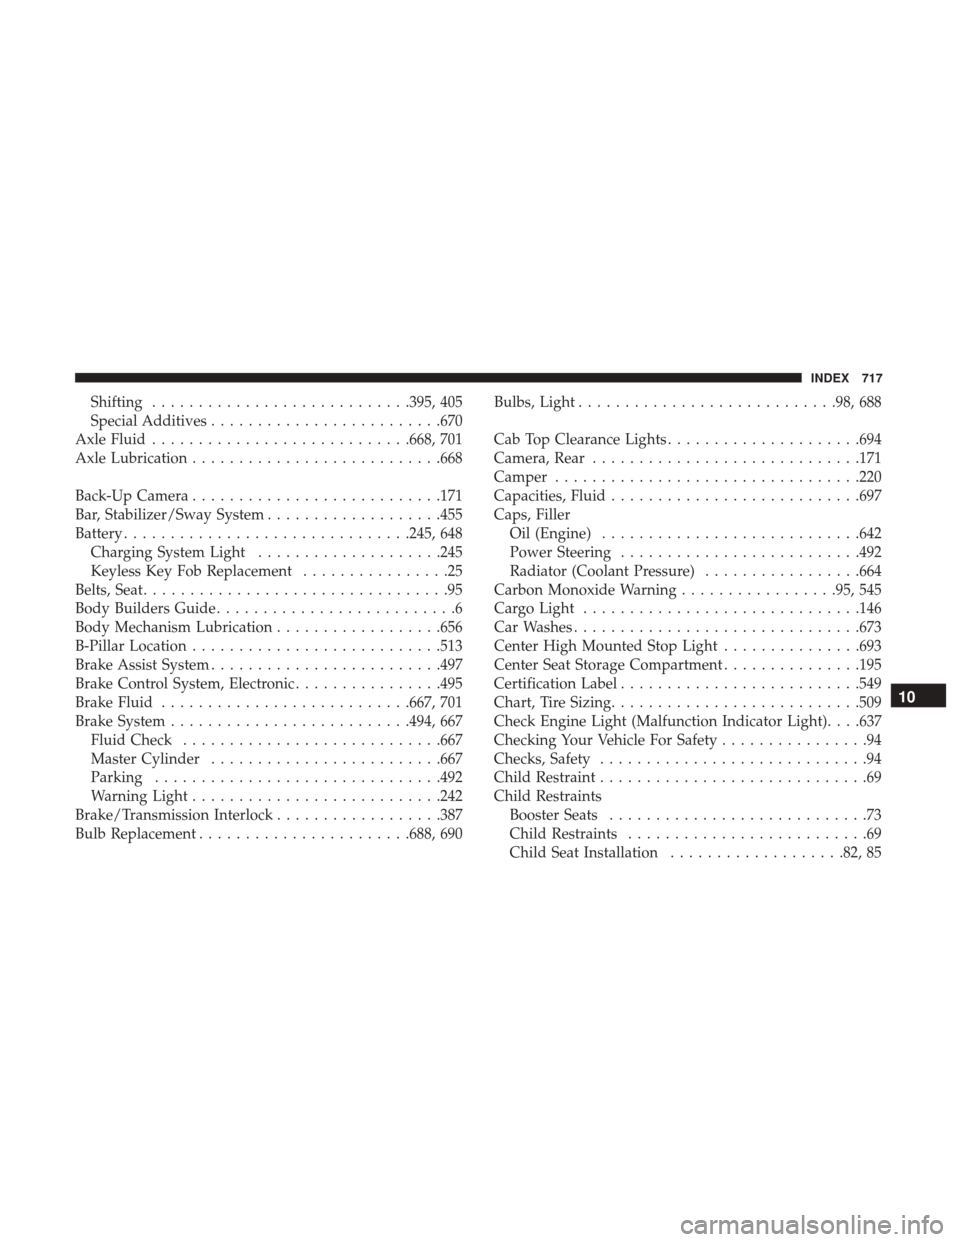
Shifting........................... .395, 405
Special Additives ........................ .670
Axle Fluid ........................... .668, 701
Axle Lubrication .......................... .668
Back-Up Camera .......................... .171
Bar, Stabilizer/Sway System ...................455
Battery .............................. .245, 648
Charging System Light ....................245
Keyless Key Fob Replacement ................25
Belts, Seat .................................95
Body Builders Guide ..........................6
Body Mechanism Lubrication ..................656
B-Pillar Location .......................... .513
Brake Assist System ........................ .497
Brake Control System, Electronic ................495
Brake Fluid .......................... .667, 701
Brake System ......................... .494, 667
Fluid Check ........................... .667
Master Cylinder ........................ .667
Parking .............................. .492
Warning Light .......................... .242
Brake/Transmission Interlock ..................387
Bulb Replacement ...................... .688, 690Bulbs, Light
........................... .98, 688
Cab Top Clearance Lights .....................694
Camera, Rear ............................ .171
Camper ................................ .220
Capacities, Fluid .......................... .697
Caps, Filler Oil (Engine) ........................... .642
Power Steering ......................... .492
Radiator (Coolant Pressure) .................664
Carbon Monoxide Warning .................95, 545
Cargo Light ............................. .146
Car Washes .............................. .673
Center High Mounted Stop Light ...............693
Center
Seat Storage Compartment ...............195
Certification Label ......................... .549
Chart, Tire Sizing .......................... .509
Check Engine Light (Malfunction Indicator Light). . . .637
Checking Your Vehicle For Safety ................94
Checks, Safety .............................94
Child Restraint .............................69
Child Restraints Booster Seats ............................73
Child Restraints ..........................69
Child Seat Installation ...................82, 85
10
INDEX 717