Page 53 of 260

51
Partner-2-VU_en_Chap03_Pret-a-partir_ed02-2016
Operating fault
In the event of a malfunction
with the system, the
"ECO OFF" switch warning
lamp flashes, then comes on
continuously.
have it checked by a PEUGEOT dealer
or a qualified workshop.
In the event of a fault in STOP mode,
the vehicle may stall. All of the warning
lamps in the instrument panel come
on. It is then necessary to switch off
the ignition and start the engine again
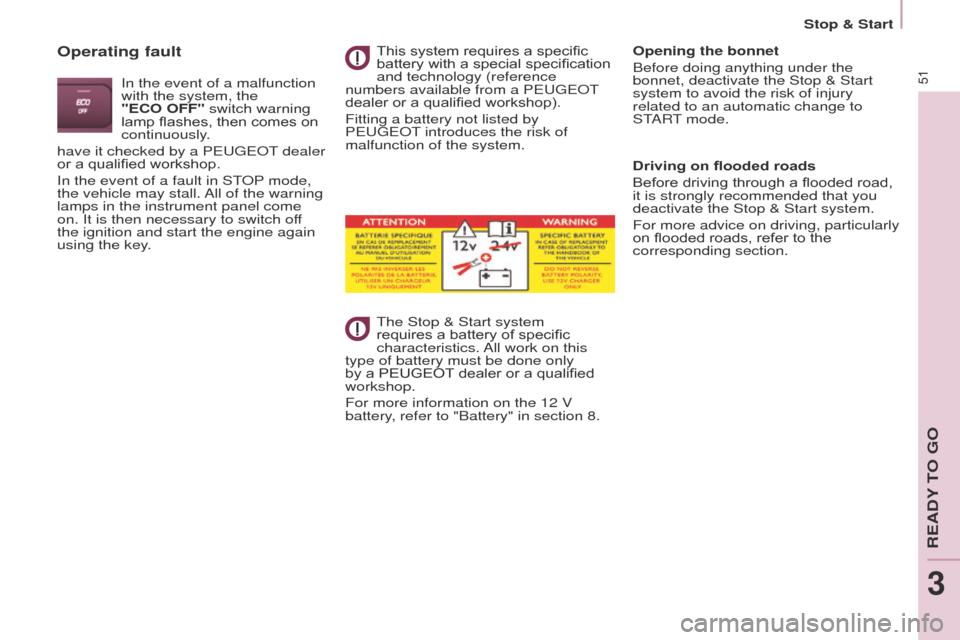
using the key. This system requires a specific
battery with a special specification
and technology (reference
numbers available from a PEUGEOT
dealer or a qualified workshop).
Fitting a battery not listed by
PEUGEOT
introduces the risk of
malfunction of the system.
The Stop & Start system
requires a battery of specific
characteristics. All work on this
type of battery must be done only
by a PEUGEOT dealer or a qualified
workshop.
For more information on the 12 V
battery, refer to "Battery" in section 8. Opening the bonnet
Before doing anything under the
bonnet, deactivate the Stop & Start
system to avoid the risk of injury
related to an automatic change to
START mode.
Driving on flooded roads
Before driving through a flooded road,
it is strongly recommended that you
deactivate the Stop & Start system.
For more advice on driving, particularly
on flooded roads, refer to the
corresponding section.
READY TO GO
3
Stop & Start
Page 54 of 260

52
Partner-2-VU_en_Chap03_Pret-a-partir_ed02-2016
Starting and switching off
Good practice when stopping Good practice when starting
Diesel pre-heating warning
lamp
If the temperature is high
enough, the warning lamp
comes on for less than
one second, you can start
without waiting.
In cold weather, wait for this warning
lamp to go off then operate the starter
(Starting position) until the engine
starts.
Door or bonnet open warning lamp
If this comes on, a door or the
bonnet is not closed correctly, check!
Minimise engine and gearbox wear
When switching off the ignition, let the
engine run for a few seconds to allow
the turbocharger (Diesel engine) to
return to idle.
Do not press the accelerator when
switching off the ignition.
There is no need to engage a gear
after parking the vehicle.
STARTING AND ST OPPING
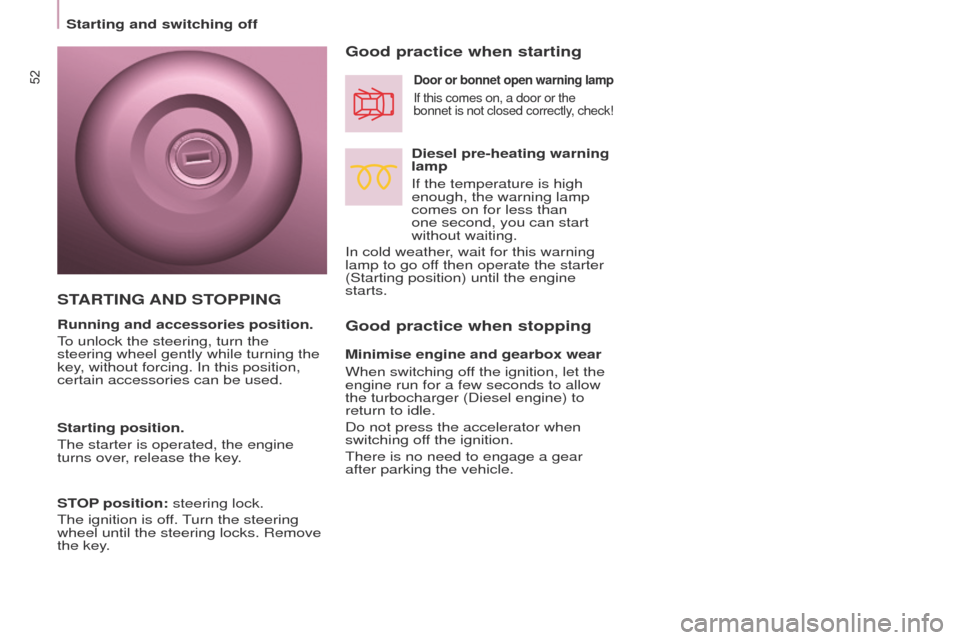
Running and accessories position.
To unlock the steering, turn the
steering wheel gently while turning the
key, without forcing. In this position,
certain accessories can be used.
Starting position.
The starter is operated, the engine
turns over, release the key.
STOP position: steering lock.
The ignition is off. Turn the steering
wheel until the steering locks. Remove
the key.
Page 127 of 260
125
Partner-2-VU_en_Chap07_Verification_ed02-2016
OPENING THE BONNET
Bonnet stay
Secure the stay in its location,
identified by a sticker on the right-hand
side of the vehicle, to hold the bonnet
open.
Before closing the bonnet, put the stay
back in its clip without using excessive
force.
On the outside
Raise the bonnet slightly by reaching
in a flat hand, palm down, to make
access to the lever easier.
With this hand, push the safety catch
to the left. Raise the bonnet.
On the inside
Pull the lever below the dashboard
towards you. The bonnet is released.
To close
Lower the bonnet and release it at the
end of its travel. Check that the bonnet
is secure.
Avoid opening the bonnet in strong
winds.
Opening the bonnet
CHECKS
7
Page 153 of 260

151
Partner-2-VU_en_Chap08_Aide-rapide_ed02-2016
Open the bonnet. To access the bulbs,
reach behind the headlamp unit.
Carry out the operations in reverse
order to refit each bulb and check that
the bonnet is closed securely.Halogen bulbs must be changed
with the headlamp off. Wait a few
minutes (risk of serious burns).
Do not touch the bulb directly with your
fingers, use lint-free cloths.
It is normal for condensation to form
inside the headlamps. Regular use of
the vehicle eliminates this misting.
The bulbs must be changed with
the ignition off or with the battery
disconnected. Wait approximately
3
minutes after changing the bulb
before reconnecting the battery.
Check that the lamps operate correctly
after each operation.
High pressure washing
When using this type of washing
on stubborn dirt, do not persist
on the headlamps, the lamps and
their edges to avoid damaging their
coating and seals. 2. Sidelamps
Type A, W5W - 5W
-
Remove the cover by pullin
g the
flexible rubber tab.
-
Remove the bulb holder fitted by
pressure by pullin
g the connector.
-
Change the bulb.
-
Ensure that the cover is refitted
correctly all round to assure correct
sealing.
Front lamps
1. Dipped / Main beam headlamps
T ype C, H4 - 55W
-
Remove the centre cover by pullin
g
the flexible rubber tab.
-
Disconnect the electrical connector
.
-
Release the retaining tab.
-
Change the bulb taking care
to align the metal part with the
grooves on the lamp.
-
Reposition the retaining tab.
-
Ensure that the cover is refitted
correctly all round to assure correct
sealing.
QUICK HELP
8
Changing a bulb
Page 161 of 260
159
Partner-2-VU_en_Chap08_Aide-rapide_ed02-2016
Fuses under the bonnet
After opening the bonnet, unclip and tilt
the box to gain access to the fuses.Fuses
F Amperes
A Allocation
1 20 Engine management
2 15Horn
3 10 Front and rear screenwash pump
4 20 LED
5 15 Engine components
6 10 Steering wheel angle sensor, DSC
7 10 Brake switch, clutch switch
8 25Starter motor
9 10 Headlamp beam motor, parc management unit
10 30 Engine components 11 40 Not used
12 30 Wipers
13 40 Built-in systems interface
14 30 Pump
15 10 Right-hand main beam headlamp
16 10 Left-hand main beam headlamp
17 15Right-hand dipped beam headlamp
18 15Left-hand dipped beam headlamp
QUICK HELP
8
Changing a fuse