Page 184 of 368
182
4008_en_Chap07_info-pratiques_ed01-2016
the various caps and covers allow access for
checking the levels of the various fluids, for
replacing certain components and for priming
the fuel system.
Diesel engines
1. Screenwash and headlamp wash fluid reservoir.
2.
C
oolant reservoir.
3.
B
rake fluid reservoir.
4.
B
attery.
5.
Fusebox.
6.
A
i r f i l t e r.
7.
e
n
gine oil dipstick.
8.
e
n
gine oil filler cap.
9.
P
riming pump*. 1.6
HDi 115 S&S
1.8 HDi 140
* According to engine.
Practical information
Page 185 of 368
183
4008_en_Chap07_info-pratiques_ed01-2016
Checking levels
take care when working under the bonnet, as certain areas of the engine may be extremely hot (risk of burns) and the cooling fan could start at
any time (even with the ignition off).
Oil level
the check of the level is done with
the dipstick, located under the
bonnet. Refer to the description of
your engine compartment for the
position of the dipstick.Engine oil change
Refer to the warranty and maintenance record
for details of the interval for this operation.
In order to maintain the reliability of the engine
and emission control system, never use
additives in the engine oil.
Oil specification
the oil must be the correct grade for your
engine and conform to the manufacturer's
recommendations.
Check all of these levels regularly, in line with the warranty and maintenance record.
t
o
p them up if necessary, unless other wise indicated.
If a level drops significantly, have the corresponding system checked by a P
e
uge
Ot
dealer or a qualified workshop.
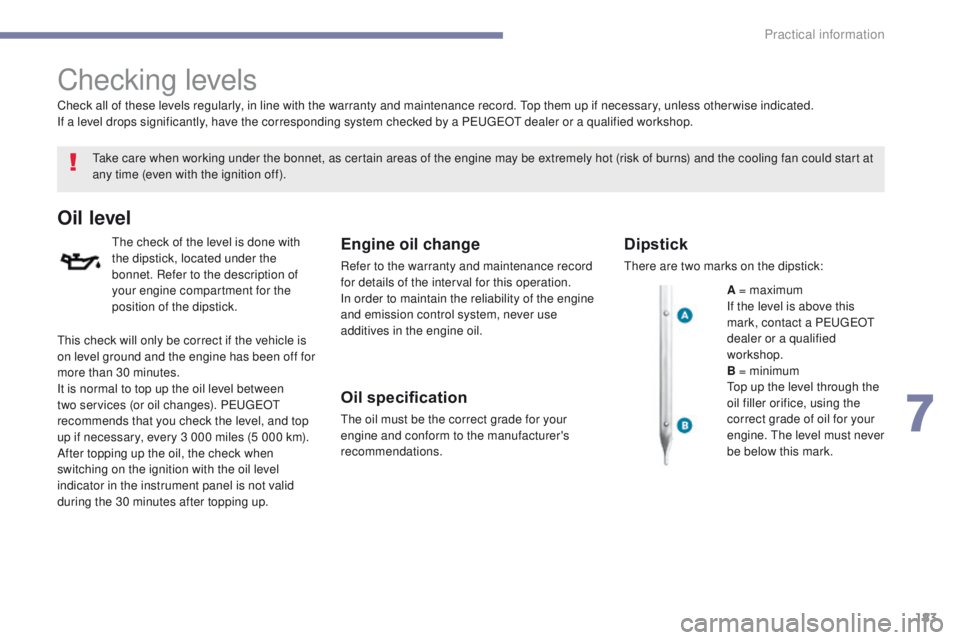
Dipstick
there are two marks on the dipstick:
A = maximum
If the level is above this
mark, contact a P
e
uge
Ot
dealer or a qualified
workshop.
B = minimum
to
p up the level through the
oil filler orifice, using the
correct grade of oil for your
engine.
t
h
e level must never
be below this mark.
th
is check will only be correct if the vehicle is
on level ground and the engine has been off for
more than 30 minutes.
It is normal to top up the oil level between
two services (or oil changes). P
e
uge
Ot
recommends that you check the level, and top
up if necessary, every 3 000 miles (5 000 km).
After topping up the oil, the check when
switching on the ignition with the oil level
indicator in the instrument panel is not valid
during the 30 minutes after topping up.
7
Practical information
Page 186 of 368
184
4008_en_Chap07_info-pratiques_ed01-2016
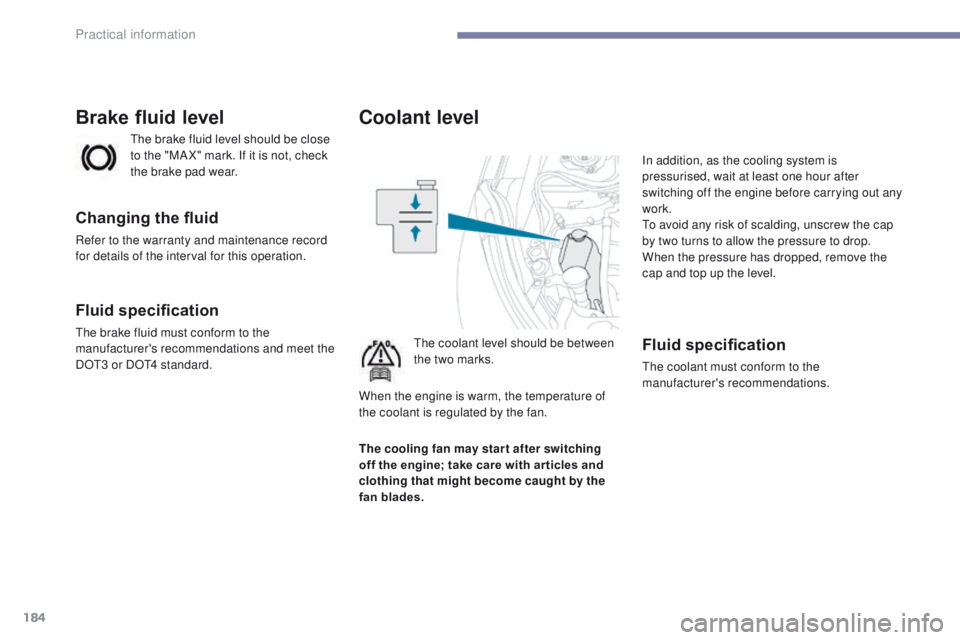
Coolant level
the coolant level should be between
the two marks.In addition, as the cooling system is
pressurised, wait at least one hour after
switching off the engine before carrying out any
work.
to a
void any risk of scalding, unscrew the cap
by two turns to allow the pressure to drop.
When the pressure has dropped, remove the
cap and top up the level.Fluid specification
the coolant must conform to the
manufacturer's recommendations.
th
e brake fluid level should be close
to the "MA X" mark. If it is not, check
the brake pad wear.
Brake fluid level
Changing the fluid
Refer to the warranty and maintenance record
for details of the interval for this operation.
Fluid specification
the brake fluid must conform to the
manufacturer's recommendations and meet the
DO
t3 o
r DO
t4 s
tandard.
The cooling fan may star t after switching
off the engine; take care with ar ticles and
clothing that might become caught by the
fan blades. When the engine is warm, the temperature of
the coolant is regulated by the fan.
Practical information
Page 187 of 368
185
4008_en_Chap07_info-pratiques_ed01-2016
Avoid prolonged contact of used oil or
fluids with the skin.
Most of these fluids are harmful to
health or indeed very corrosive.
Do not discard used oil or fluids into
sewers or onto the ground.
ta
ke used oil to a P
e
uge
Ot
dealer or
a qualified workshop (France) or to an
authorised waste disposal site.
Used products
Topping up
the reservoir must be topped up without delay
by a Pe ugeOt dealer or a qualified workshop.
Additive level
(1.6 HDi 110 Diesel versions
with particle filter)
the additive reservoir low level is indicated by
the display of this message.
Fluid specification
For optimum cleaning, this fluid must not be
topped up with or replaced with plain water.
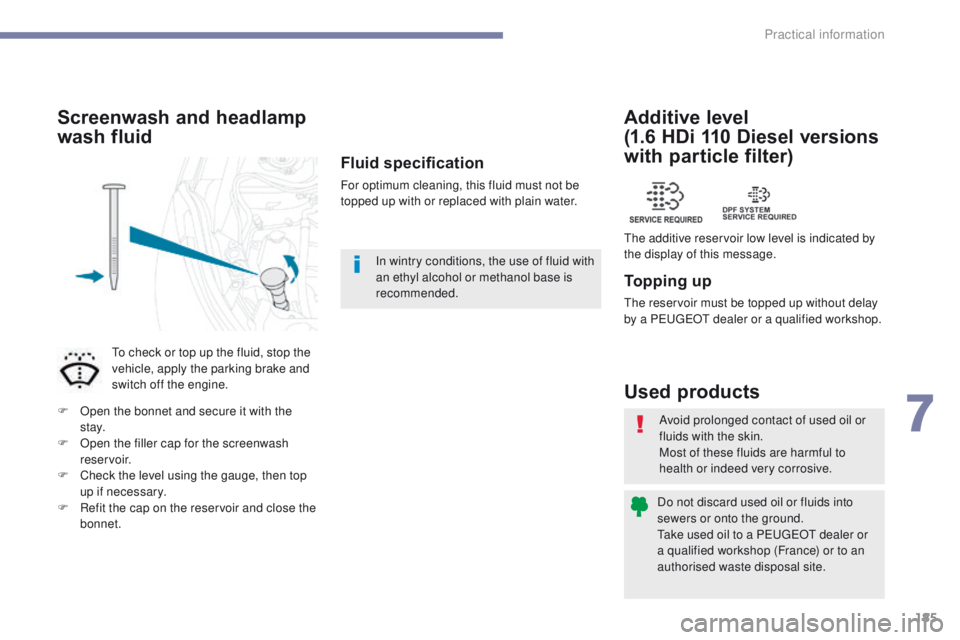
Screenwash and headlamp
wash fluid
to check or top up the fluid, stop the
vehicle, apply the parking brake and
switch off the engine.
F
O
pen the bonnet and secure it with the
st ay.
F
O
pen the filler cap for the screenwash
reservoir.
F
C
heck the level using the gauge, then top
up if necessary.
F
R
efit the cap on the reservoir and close the
bonnet. In wintry conditions, the use of fluid with
an ethyl alcohol or methanol base is
recommended.
7
Practical information
Page 188 of 368
186
4008_en_Chap07_info-pratiques_ed01-2016
Checking components
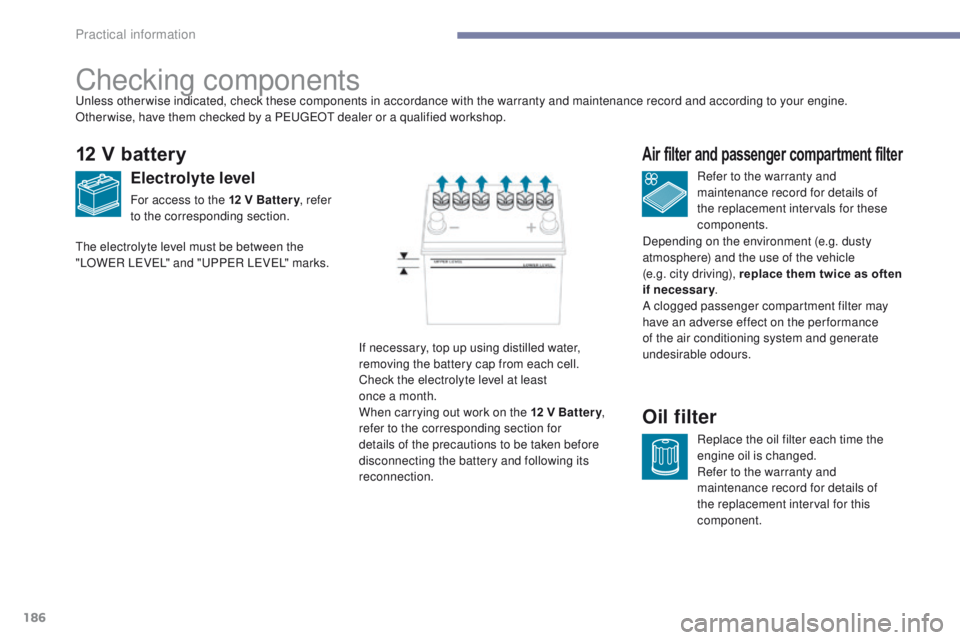
12 V battery
Electrolyte level
For access to the 12 V Battery, refer
to the corresponding section. Refer to the warranty and
maintenance record for details of
the replacement intervals for these
components.
Air filter and passenger compartment filter
Replace the oil filter each time the
engine oil is changed.
Refer to the warranty and
maintenance record for details of
the replacement interval for this
component.
Oil filter
If necessary, top up using distilled water,
removing the battery cap from each cell.
Check the electrolyte level at least
once a month.
When carrying out work on the 12 V Battery
,
refer to the corresponding section for
details of the precautions to be taken before
disconnecting the battery and following its
reconnection.
un
less other wise indicated, check these components in accordance with the warranty and maintenance record and according to your engine.
Other wise, have them checked by a P
e
uge
Ot
dealer or a qualified workshop.
th
e electrolyte level must be between the
"LOW
eR LeVeL
" and "
uP
P
eR LeVeL
" marks.
Depending on the environment (e.g. dusty
atmosphere) and the use of the vehicle
(e.g. city driving), replace them twice as often
if necessary
.
A clogged passenger compartment filter may
have an adverse effect on the per formance
of the air conditioning system and generate
undesirable odours.
Practical information
Page 189 of 368
187
4008_en_Chap07_info-pratiques_ed01-2016
Manual gearbox
Refer to the warranty and
maintenance record for servicing of
the gearbox.
"CVT" gearbox
For servicing of the "CVt" gearbox,
refer to the manufacturer's service
schedule for details of the interval for
checking this component.
Particle filter (Diesel)
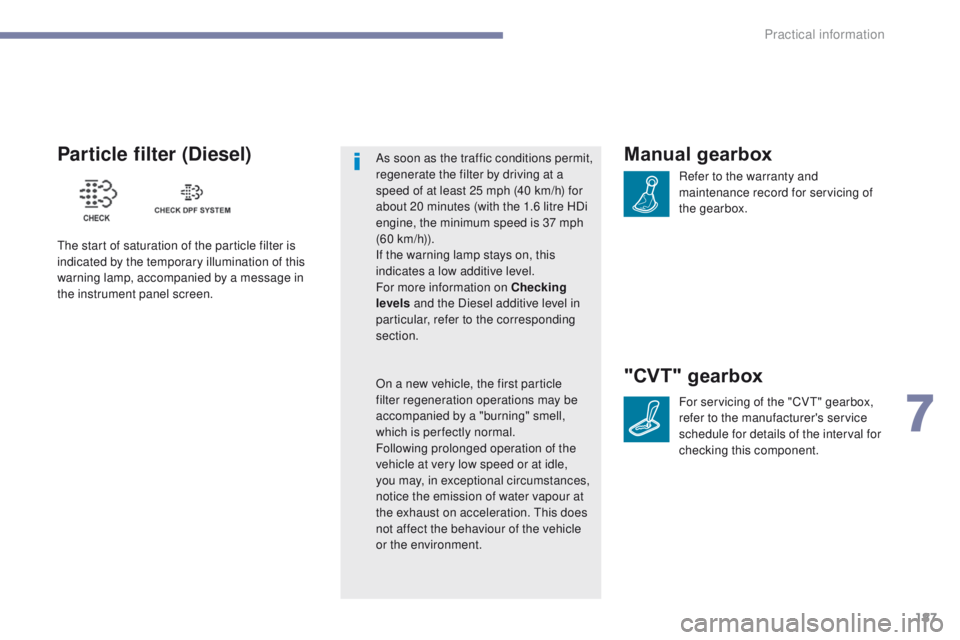
the start of saturation of the particle filter is
indicated by the temporary illumination of this
warning lamp, accompanied by a message in
the instrument panel screen. As soon as the traffic conditions permit,
regenerate the filter by driving at a
speed of at least 25 mph (40 km/h) for
about 20 minutes (with the 1.6 litre HDi
engine, the minimum speed is 37 mph
(60 km/h)).
If the warning lamp stays on, this
indicates a low additive level.
For more information on Checking
levels
and the Diesel additive level in
particular, refer to the corresponding
section.
On a new vehicle, the first particle
filter regeneration operations may be
accompanied by a "burning" smell,
which is per fectly normal.
Following prolonged operation of the
vehicle at very low speed or at idle,
you may, in exceptional circumstances,
notice the emission of water vapour at
the exhaust on acceleration.
t
h
is does
not affect the behaviour of the vehicle
or the environment.
7
Practical information
Page 207 of 368
205
4008_en_Chap08_en-cas-de panne_ed01-2016
Changing a fuse
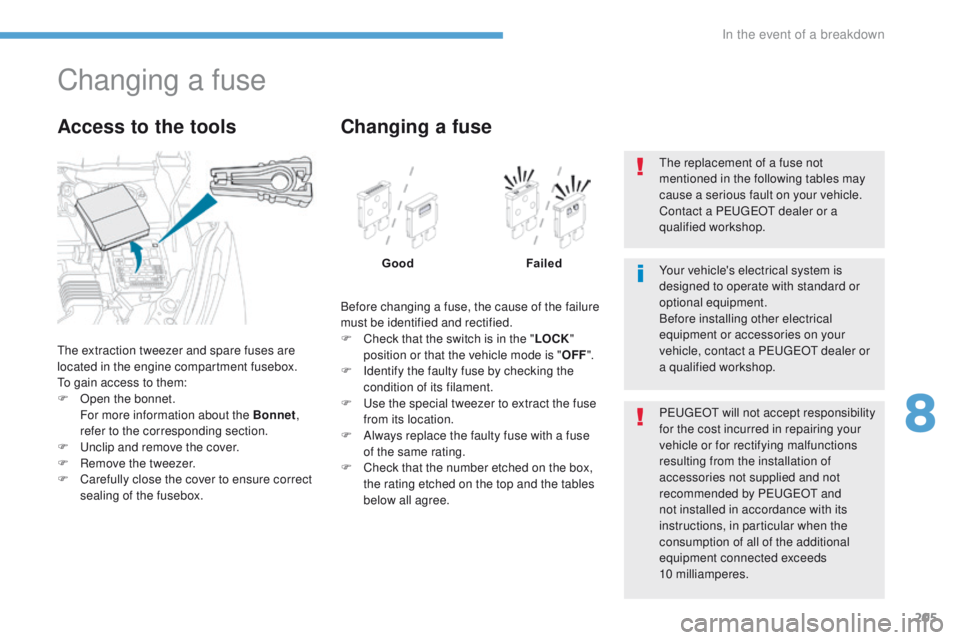
the extraction tweezer and spare fuses are
located in the engine compartment fusebox.
to g
ain access to them:
F
O
pen the bonnet.
F
or more information about the Bonnet ,
refer to the corresponding section.
F
u
n
clip and remove the cover.
F
R
emove the tweezer.
F
C
arefully close the cover to ensure correct
sealing of the fusebox.
Access to the tools
Before changing a fuse, the cause of the failure
must be identified and rectified.
F
C
heck that the switch is in the " LOCK"
position or that the vehicle mode is " OFF".
F
I
dentify the faulty fuse by checking the
condition of its filament.
F
u
s
e the special tweezer to extract the fuse
from its location.
F
A
lways replace the faulty fuse with a fuse
of the same rating.
F
C
heck that the number etched on the box,
the rating etched on the top and the tables
below all agree.
Changing a fuse
Good Failed
P
e
uge
Ot
will not accept responsibility
for the cost incurred in repairing your
vehicle or for rectifying malfunctions
resulting from the installation of
accessories not supplied and not
recommended by P
e
uge
Ot
and
not installed in accordance with its
instructions, in particular when the
consumption of all of the additional
equipment connected exceeds
10
milliamperes.
Your vehicle's electrical system is
designed to operate with standard or
optional equipment.
Before installing other electrical
equipment or accessories on your
vehicle, contact a P
e
uge
Ot
dealer or
a qualified workshop.
th
e replacement of a fuse not
mentioned in the following tables may
cause a serious fault on your vehicle.
Contact a P
e
uge
Ot
dealer or a
qualified workshop.
8
In the event of a breakdown
Page 210 of 368
208
4008_en_Chap08_en-cas-de panne_ed01-2016
Engine compartment fuses
Access to the fuses
F unclip the cover and remove it completely. Fuse N°
Rating Functions
1 15 AFront foglamps.
4 10 AHorn.
5 7. 5 AAlternator.
6 20 AHeadlamp wash.
7 10 AAir conditioning.
9 20 AAlarm.
10 15 ADemisting, wipers.
11 -Not used.
12 -Not used.
th
e fusebox is placed in the engine
compartment (left-hand side).
In the event of a breakdown