Page 533 of 578

171
.
Audio and Telematics
Transversal-Peugeot_en_Chap03_RD6_ed01-2016
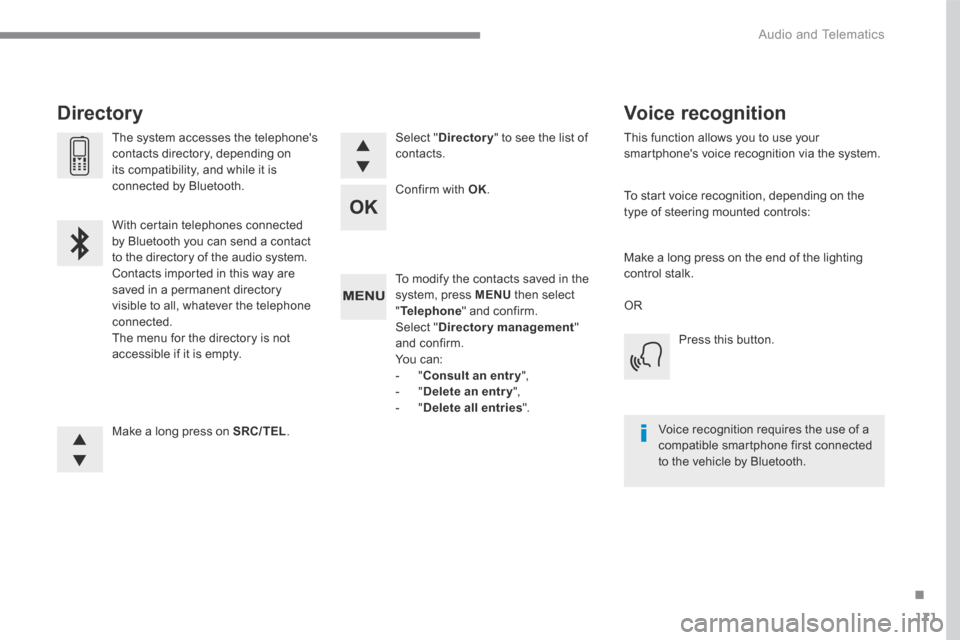
To modify the contacts saved in the system, press MENU then select " Telephone " and confirm. Select " Directory management " and confirm. You can: - " Consult an entr y ", - " Delete an entry ", - " Delete all entries ".
Make a long press on SRC/TEL .
The system accesses the telephone's contacts directory, depending on its compatibility, and while it is connected by Bluetooth.
With certain telephones connected by Bluetooth you can send a contact to the directory of the audio system. Contacts imported in this way are saved in a permanent directory visible to all, whatever the telephone connected. The menu for the directory is not accessible if it is empty.
Select " Directory " to see the list of contacts.
Directory
Confirm with OK .
OR
Voice recognition
This function allows you to use your smartphone's voice recognition via the system.
To start voice recognition, depending on the type of steering mounted controls:
Make a long press on the end of the lighting control stalk.
Press this button.
Voice recognition requires the use of a compatible smartphone first connected to the vehicle by Bluetooth.
Page 541 of 578
1
Interior
Boot fittings 135 -140
- Luggage space
- 12 V point
- Boot lighting
- Mobile boot floor
- Tie-down rings
- Retaining net for high loads
Warning triangle 307
Tool kit 309 -311
Temporary tyre repair kit 312-316
Spare wheel 317-322
Rear seats
130-132
Rear equipment 13 3 -13 4
- 12 V point
- 230 V / 50 Hz point
- Rear armrest
- Ski door
Child seats 177-192
ISOFIX fastenings 186-189
i-Size child seats 190 -191
front seats
90 -97
Multipoint massages 98
Seatbelts 168-171
A i r b a g s 172-176
Front equipment
119-127
- USB point
- 12 V point
- Front armrest
- Floor mat
Wireless charger 122-123
Fragrance diffuser 125-126
Glove box
120
Front passenger airbag
d i s a b l i n g 174, 178 -181
.
Over view
Page 542 of 578
2
Driver's cab
Digital instrument panel 12-15
Warning lamps 16-31
Indicators 32- 40
Control knobs 40 - 42
- Daily odometer/CHECK
- Dimmer control/ambient lighting
Outside mirrors 99-100
Window winder 82-83
Changing / Replacing a fuse 331
Opening the bonnet 294
Privacy drape / Sunroof
84- 87
Ceiling lights 128
Ambient lighting 129
Emergency or assistance call 158-159
Belt indicator display /
front passenger airbag 169 -170, 174
Inside mirror 101
Manual gearbox 210
Automatic gearbox 211-215
Electric parking brake 203-209
Touch screen
48 -53
Function i- Cockpit Amplify 102-103
Distress signal 157
Heating / Ventilation 104-105
Monozone semi-
automatic air conditioning 108 -110
Bizone automatic air conditioning 111-115
Front demisting/defrosting 116
Rear demisting/defrosting 118
Heated seats 97
Intruder detection alarm/
Starting with knob START/STOP
200 -202
Advanced Grip Control 164-165
Hill Assist Descent Control 166 -167
Over view
Page 543 of 578
3
Driver's cab
Embedded command steering
wheel
Lighting c ontrols 141-14 4, 14 6 -15 0
Speed memorisation 226
Speed limit recognition 227-230
Speed limiting device 231-233
Speed regulator 234-237
Dynamic cruise control
with Stop function 238-246
Steering wheel adjustment 99 Wiper c ontrols
152-15 5
Trip computer 43 - 44
Dynamic pack 217
Hor n 157
Lateral control barUnlocking system -
Opening/closing of the
hands free hatchback 76 - 81
Programmable heating Addition
Headlamp main beam setting 145
Interior monitoring alarm 70-73
Childproof locks 194
.
Over view
Page 546 of 578

6
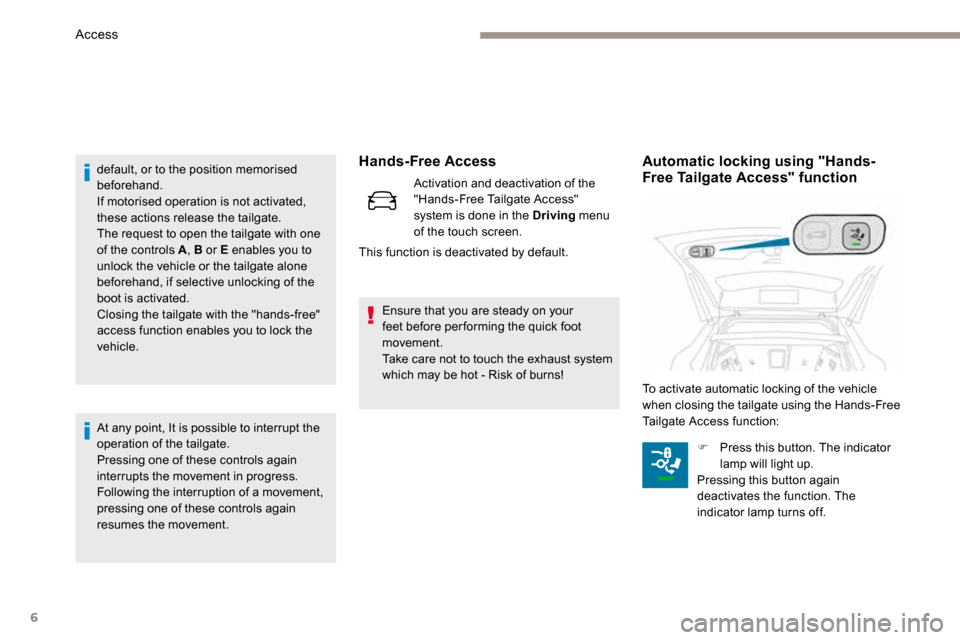
Hands-Free Access
Activation and deactivation of the
"Hands-Free Tailgate Access"
system is done in the Driving menu
of the touch screen.
This function is deactivated by default.
default, or to the position memorised
beforehand.
If motorised operation is not activated,
these actions release the tailgate.
The request to open the tailgate with one
of the controls A
, B or E enables you to
unlock the vehicle or the tailgate alone
beforehand, if selective unlocking of the
boot is activated.
Closing the tailgate with the "hands-free"
access function enables you to lock the
vehicle.
At any point, It is possible to interrupt the
operation of the tailgate.
Pressing one of these controls again
interrupts the movement in progress.
Following the interruption of a movement,
pressing one of these controls again
resumes the movement. Ensure that you are steady on your
feet before per forming the quick foot
movement.
Take care not to touch the exhaust system
which may be hot - Risk of burns!
Automatic locking using "Hands-
Free Tailgate Access" function
To activate automatic locking of the vehicle
when closing the tailgate using the Hands-Free
Tailgate Access function:
F Press this button. The indicator
lamp will light up.
Pressing this button again
deactivates the function. The
indicator lamp turns off.
Access
Page 550 of 578
10
lit up: deferred programmed start-up.
flashing: heating on.
turned off: heating off.
Operating indicator light
F Press button 1 several times to display the
functions.
The first press on the left or right button
displays the time.
Then, the left button is used to scroll to the
programmed time then the heating level (" C1"
to " C5").
The right button is used to scroll to the
passenger compartment temperature then
the heater operating time when immediately
switched on.
Function display
The passenger compartment temperature
information is only available when the
engine is off.
Setting the time
F After having displayed the time, using
button 1 , press on buttons 4 and 5
simultaneously within 10 seconds.
This symbol will flash.
F Set the time with button 1 .
F Press simultaneously on buttons 4 and 5 to
save it.
This symbol will be displayed.
Ease of use and comfort
Page 551 of 578
11
Immediate switching on
During these operations, if the message
"FA I L " appears, it means that the signal
has not been received. Follow the
procedure again after having changed
position.
Adjusting the operating time
F Press on button 1 to display the operating
time
F
Press on button 5 until the message " OK"
appears.
When the signal has been received, the
message " OK" is displayed along with the
operating time.
The heater starts and this symbol is
displayed.
This indicator light flashes during
heating.
F To deactivate the function, press on button
4 until the message " OK" appears. This symbol and the indicator light
will turn off.
This symbol will be displayed.
F After having displayed the operating time,
press on buttons 4 and 5 simultaneously
within 10 seconds.
This symbol will flash.
F Adjust the time by pressing on the buttons
1: by 10 min increment and maximum value
of 30 mins.
3
Ease of use and comfort
Page 553 of 578

13
F After having displayed the programming
time using button 1 , press on button 5 until
the message " OK" appears.
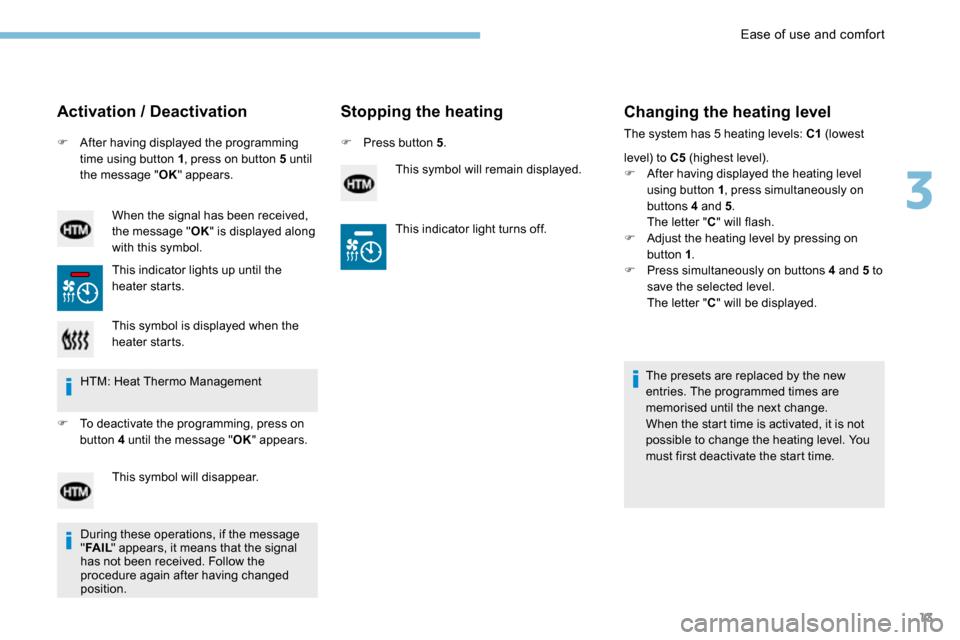
Activation / Deactivation
When the signal has been received,
the message " OK" is displayed along
with this symbol.
This indicator lights up until the
heater starts.
Stopping the heating
F Press button 5 .
This symbol will remain displayed.
Changing the heating level
The system has 5 heating levels: C1 (lowest
level) to C5 (highest level).
F After having displayed the heating level
using button 1 , press simultaneously on
buttons 4 and 5 .
The letter " C" will flash.
F Adjust the heating level by pressing on
button 1 .
F Press simultaneously on buttons 4 and 5 to
save the selected level.
The letter " C" will be displayed.
The presets are replaced by the new
entries. The programmed times are
memorised until the next change.
When the start time is activated, it is not
possible to change the heating level. You
must first deactivate the start time.
This symbol is displayed when the
heater starts.
HTM: Heat Thermo Management
F To deactivate the programming, press on
button 4 until the message " OK" appears.
This symbol will disappear. This indicator light turns off.
During these operations, if the message
" FA I L " appears, it means that the signal
has not been received. Follow the
procedure again after having changed
position.
3
Ease of use and comfort