2017 OPEL ZAFIRA TOURER maintenance
[x] Cancel search: maintenancePage 3 of 307

Introduction.................................... 2
In brief ............................................ 6
Keys, doors and windows ............20
Seats, restraints ........................... 36
Storage ........................................ 66
Instruments and controls .............96
Lighting ...................................... 138
Climate control ........................... 150
Driving and operating .................158
Vehicle care ............................... 223
Service and maintenance ..........269
Technical data ........................... 272
Customer information ................292
Index .......................................... 300Contents
Page 5 of 307

Introduction3Vehicle specific dataPlease enter your vehicle's data on
the previous page to keep it easily
accessible. This information is
available in the sections "Service and
maintenance" and "Technical data"
as well as on the identification plate.
Introduction
Your vehicle is a designed
combination of advanced technology, safety, environmental friendliness
and economy.
This Owner's Manual provides you
with all the necessary information to
enable you to drive your vehicle
safely and efficiently.
Make sure your passengers are
aware of the possible risk of accident
and injury which may result from
improper use of the vehicle.
You must always comply with the
specific laws and regulations of the
country that you are in. These laws
may differ from the information in this Owner's Manual.
Disregarding the description given in
this manual may affect your warranty.When this Owner's Manual refers to a
workshop visit, we recommend your
Opel Service Partner. For gas
vehicles we recommend an Opel
Repairer authorised for servicing gas
vehicles.
All Opel Service Partners provide first-class service at reasonable
prices. Experienced mechanics
trained by Opel work according to
specific Opel instructions.
The customer literature pack should
always be kept ready to hand in the
vehicle.
Using this manual ● This manual describes all options
and features available for this
model. Certain descriptions,
including those for display and
menu functions, may not apply to
your vehicle due to model
variant, country specifications,
special equipment or
accessories.
● The "In brief" section will give you
an initial overview.● The table of contents at the beginning of this manual and
within each section shows where the information is located.
● The index will enable you to search for specific information.
● This Owner's Manual depicts left-
hand drive vehicles. Operation is similar for right-hand drive
vehicles.
● The Owner's Manual uses the engine identifier code. The
corresponding sales designation
and engineering code can be
found in the section "Technical
data".
● Directional data, e.g. left or right, or front or back, always relate to
the direction of travel.
● Displays may not support your specific language.
● Display messages and interior labelling are written in bold
letters.
Page 138 of 307

136Instruments and controlsOn-demand diagnostics
At any time e.g. if the vehicle displays a service message, press Z to
contact an OnStar advisor and ask to
complete a real-time diagnostic check to directly determine the issue.
Depending on the results, the advisor
will provide further support.
Monthly vehicle diagnostics
The vehicle automatically transmits
diagnostic data to OnStar which
sends a monthly email report to you
and your preferred workshop.
Note
The workshop notification function
can be disabled in your account.
The report contains the status of key
operating systems of the vehicle like
engine, transmission, airbags,
antilock brakes, and other major
systems. It also provides information
on possible maintenance items and
tyre pressure (only with tyre pressure
monitoring system).
To look at the information in greater
detail, select the link within the email
and log into your account.Destination download
A desired destination can be directly
downloaded to the navigation system.
Press Z to call an OnStar advisor and
describe the destination or point of interest.
The OnStar advisor can look up any
address or point of interest and
directly download the destination to
the built-in navigation system.
OnStar settings
OnStar PIN
To have full access to all OnStar
services, a four-digit PIN is required. The PIN has to be personalised when first talking to an OnStar advisor.
To change the PIN, press Z to call an
OnStar advisor.
Account data
An OnStar subscriber has an
account, where all the data is stored. To request a change of the account
information, press Z and talk to an
OnStar advisor or logon to your
account.If the OnStar service is used on
another vehicle, press Z and request
that the account be transferred to the
new vehicle.
Note
In any case, if the vehicle is disposed of, sold or otherwise transferred,
immediately inform OnStar about
the changes and terminate the
OnStar service on this vehicle.
Vehicle location
The vehicle location is transmitted to OnStar when service is requested or triggered. A message on the Info-
Display informs about this
transmission.
To activate or deactivate the
transmission of the vehicle location,
press and hold j until an audio
message is heard.
The deactivation is indicated by the
status light flashing red and green for
a short period of time and each time
the vehicle is started.
Note
If the transmission of the vehicle
location is deactivated, some
services are no longer available.
Page 152 of 307

150Climate controlClimate controlClimate control systems.............150
Heating and ventilation system 150
Air conditioning system ...........151
Electronic climate control system .................................... 152
Auxiliary heater ........................156
Air vents ..................................... 156
Adjustable air vents .................156
Fixed air vents ......................... 157
Maintenance .............................. 157
Air intake ................................. 157
Pollen filter ............................... 157
Air conditioning regular
operation ................................ 157
Service .................................... 157Climate control systems
Heating and ventilation system
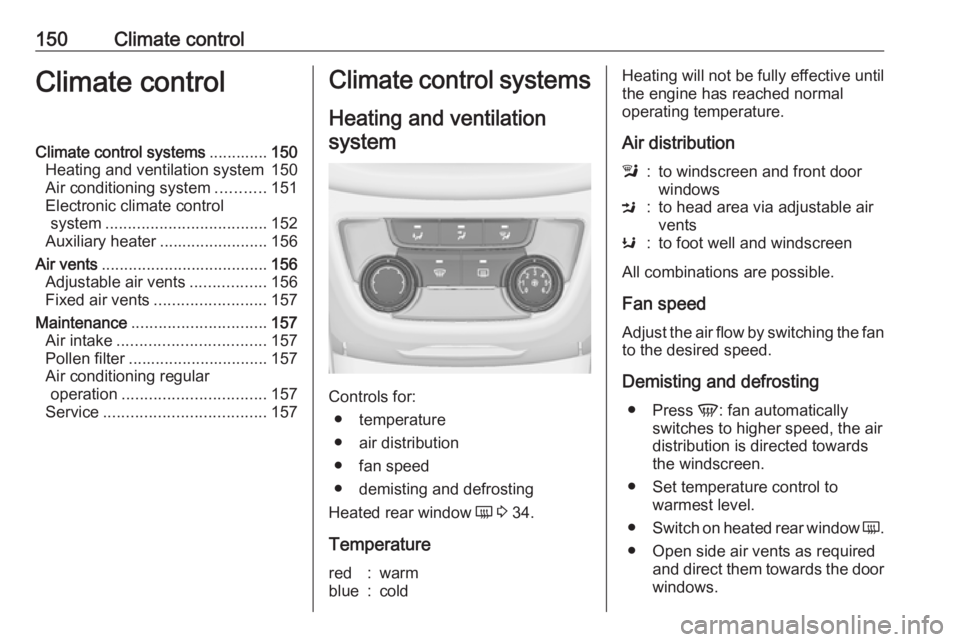
Controls for: ● temperature
● air distribution
● fan speed
● demisting and defrosting
Heated rear window Ü 3 34.
Temperature
red:warmblue:coldHeating will not be fully effective until
the engine has reached normal
operating temperature.
Air distributionl:to windscreen and front door
windowsM:to head area via adjustable air
ventsK:to foot well and windscreen
All combinations are possible.
Fan speed
Adjust the air flow by switching the fan to the desired speed.
Demisting and defrosting ● Press V: fan automatically
switches to higher speed, the air
distribution is directed towards
the windscreen.
● Set temperature control to warmest level.
● Switch on heated rear window Ü.
● Open side air vents as required and direct them towards the doorwindows.
Page 159 of 307

Climate control157
Air vents for rear passenger are left
and right side behind the front seats.
9 Warning
Do not attach any objects to the
slats of the air vents. Risk of
damage and injury in case of an
accident.
Fixed air vents
Additional air vents are located
beneath the windscreen and door windows and in the foot wells.
Maintenance
Air intake
The air intake in front of the
windscreen in the engine
compartment must be kept clear to
allow air intake. Remove any leaves,
dirt or snow.
Pollen filter The pollen filter cleans dust, soot,
pollen and spores from the air
entering the vehicle through the air
intake.
Air conditioning regular
operation
In order to ensure continuously
efficient performance, cooling must
be operated for a few minutes once a
month, irrespective of the weather
and time of year. Operation with
cooling is not possible when the
outside temperature is too low.
Service For optimal cooling performance, it is recommended to annually check the
climate control system, starting
three years after initial vehicle
registration, including:
● functionality and pressure test
● heating functionality
● leakage check
● check of drive belts
● cleaning of condenser and evaporator drainage
● performance check
Page 231 of 307

Vehicle care229Washer fluid
Fill with clean water mixed with a
suitable quantity of approved
windscreen washer fluid which
contains antifreeze.
Caution
Only washer fluid with a sufficient
antifreeze concentration provides
protection at low temperatures or
a sudden drop in temperature.
Brakes
In the event of minimum thickness of
the brake lining, a squealing noise
sounds during braking.
Continued driving is possible but
have the brake lining replaced as
soon as possible.
Once new brake linings are installed,
do not brake unnecessarily hard for
the first few journeys.
Brake fluid9 Warning
Brake fluid is poisonous and
corrosive. Avoid contact with eyes, skin, fabrics and painted surfaces.
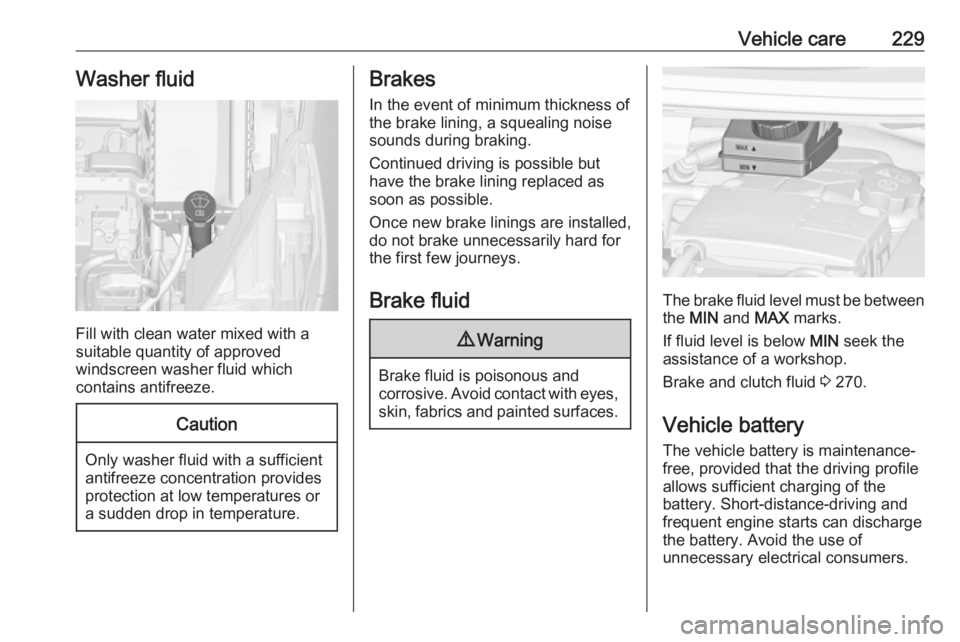
The brake fluid level must be betweenthe MIN and MAX marks.
If fluid level is below MIN seek the
assistance of a workshop.
Brake and clutch fluid 3 270.
Vehicle battery
The vehicle battery is maintenance-
free, provided that the driving profile
allows sufficient charging of the
battery. Short-distance-driving and
frequent engine starts can discharge
the battery. Avoid the use of
unnecessary electrical consumers.
Page 251 of 307

Vehicle care249Caution
Tyre pressure monitoring system
warns only about low tyre pressure condition and does not replace
regular tyre maintenance by the
driver.
All wheels must be equipped with pressure sensors and the tyres must
have the prescribed pressure.
Note
In countries where the tyre pressure
monitoring system is legally
required, the use of wheels without
pressure sensors will invalidate the
vehicle type approval.
The current tyre pressures can be
shown in the Vehicle Information
Menu in the Driver Information
Centre.
The menu can be selected by the buttons on the turn signal lever.
Press MENU to select the Vehicle
Information Menu X .
Turn the adjuster wheel to select the
tyre pressure monitoring system.
System status and pressure warnings
are displayed by a message with the
corresponding tyre flashing in the
Driver Information Centre.
The system considers the tyre
temperature for the warnings.
A detected low tyre pressure
condition is indicated by control
indicator w 3 114.
If w illuminates, stop as soon as
possible and inflate the tyres as
recommended 3 288.
If w flashes for 60-90 seconds and
then illuminates continuously, there is
a fault in the system. Consult a
workshop.
Page 258 of 307

256Vehicle careNote
The driving characteristics of the repaired tyre are severely affected,therefore have this tyre replaced.
If unusual noise is heard or the
compressor becomes hot, turn
compressor off for at least
30 minutes.
The built-in safety valve opens at a
pressure of seven bar.
Note the expiry date of the kit. After
this date its sealing capability is no
longer guaranteed. Pay attention to
storage information on sealant
bottle.
Replace the used sealant bottle. Dispose of the bottle as prescribed
by applicable laws.
The compressor and sealant can be used from approx. -30 °C.
The adapters supplied can be used
to pump up other items e.g.
footballs, air mattresses, inflatable
dinghies etc. They are located on the underside of the compressor. To
remove, screw on compressor air hose and withdraw adapter.Wheel changing
Some vehicles are equipped with a
tyre repair kit instead of a spare wheel
3 253.
Make the following preparations and
observe the following information:
● Park the vehicle on a level, firm and non-skid surface. The front
wheels must be in the straight- ahead position.
● Apply the parking brake and engage first gear, reverse gear or
P .
● Remove the spare wheel 3 258.
● Never change more than one wheel at once.
● Use the jack only to change wheels in case of puncture, not
for seasonal winter or summer
tyre change.
● The jack is maintenance-free.
● If the ground on which the vehicle
is standing is soft, a solid board
(max. 1 cm thick) should be
placed under the jack.
● Take heavy objects out of the vehicle before jacking up.● No people or animals may be in the vehicle when it is jacked-up.
● Never crawl under a jacked-up vehicle.
● Do not start the vehicle when it is
raised on the jack.
● Clean wheel nuts and thread with
a clean cloth before mounting the
wheel.9 Warning
Do not grease wheel bolt, wheel
nut and wheel nut cone.
1. Disengage wheel nut caps with a screwdriver and remove. Pull off
the wheel cover. Vehicle tools
3 246.
Alloy wheels: Disengage wheel
nut caps with a screwdriver and
remove. To protect the wheel,
place a soft cloth between the
screwdriver and the alloy wheel.