Page 74 of 247

72Storage
4. Fold the backrest forward anddown.
5.Put the seat belts for the outboard
seats into the belt guides.
To return the backrest to the original
position, pull out the seat belt from the
belt guides and lift backrest up.
Push backrest firmly into place.9 Warning
When folding up, ensure that
backrests are securely engaged in position before driving. Failure to
do so may result in personal injury or damage to the load or vehicle in
the event of hard braking or a
collision.
Ensure the seat belts are not pinched by the latch.
The centre rear seat belt may lock
when you raise the backrest. If this
happens, allow the belt go back all the
way and repeat operation.
If the seat belt is still locked, fold down the seat cushion and try again.
To return the rear seat cushion, put
the rear part of the seat cushion in its original position ensuring that the
seat belt buckle straps are not twisted
or caught under the seat cushion,
then push the front part of the seat
cushion firmly down until it latches.Caution
When returning rear seat backrest
to the upright position, place the
rear seat belt and buckles
between the rear seat backrest
and one cushion. Make sure the
rear seat belt and buckles do not
get pinched under the rear seat
cushion.
Ensure the seat belts are not twisted or caught in the seat
backrest and are arranged in their proper position.
Page 76 of 247

74StorageFirst aid kit
Stow the first aid kit in the storage
compartment at the left sidewall of the load compartment.
Roof rack system
Roof rack
The roof rack has side rails attached
to the roof.
For safety reasons and to avoid
damage to the roof, the vehicle
approved roof rack system is
recommended. For further
information contact your workshop.
Loading information
● Heavy objects in the load compartment should be placed
against the seat backrests.
Ensure the backrests are
securely engaged. If objects can
be stacked, the heavier objects
should be placed at the bottom.
● Secure objects with lashing straps attached to the lashing
eyes 3 73.
● Secure loose objects in load compartment to prevent sliding.
● When transporting objects in the load compartment, the backrests
of the rear seats must not be
angled forward.
● Do not allow the load to protrude above the upper edge of the
backrests.
● Do not place any objects on the load compartment cover or the
instrument panel, and do not
cover the sensor on top of the instrument panel.
Page 94 of 247

92Instruments and controlsIlluminates brieflyThe parking lights are switched on.
Flashes
A turn signal or the hazard warning flashers are activated.
Rapid flashing: failure of a turn signal
light or associated fuse, failure of turn
signal light on trailer.
Bulb replacement 3 186, Fuses
3 190.
Turn signals 3 122.
Seat belt reminder
Seat belt reminder on front seats
X for driver's seat illuminates or
flashes red in the instrument cluster.
k for front passenger seat illuminates
or flashes red in the centre console
when seat is occupied.
Illuminates
After the ignition has been switched on until the seat belt has been
fastened.Flashes
After having started the engine until
the seat belt has been fastened.
Seat belt status on rear seats
(vehicles with Midlevel display)
X illuminates or flashes white or grey
in the Driver Information Centre, after having started the engine.
Illuminates white
Seat belt is unfastened.
Illuminates grey
Seat belt has been fastened.
Flashes white or grey
Fastened seat belt has been
unfastened.
Fastening the seat belt 3 45.
Seat belt status on rear seats
(vehicles with Uplevel display)
X illuminates green or grey or flashes
yellow in the Driver Information
Centre, after having started the
engine.Illuminates grey
Seat belt is unfastened.
Illuminates green
Seat belt has been fastened.
Flashes yellow
Fastened seat belt has been
unfastened.
Fastening the seat belt 3 45.
Airbag and belt tensioners
v illuminates red.
When the ignition is switched on, the control indicator illuminates for a few
seconds. If it does not illuminate, does not go out after a few secondsor illuminates whilst driving, there is a
fault in the airbag system. Seek the
assistance of a workshop. The
airbags and belt pretensioners may
fail to trigger in the event of an
accident.
Deployment of the belt pretensioners
or airbags is indicated by continuous
illumination of v.
Page 107 of 247

Instruments and controls105Vehicle personalisation
The vehicle's behaviour can be
personalised by changing the settings in the Info-Display.
Depending on vehicle equipment and
country-specific regulations some of
the functions described below may
not be available.
Some functions are only displayed or
active when the engine is running.
Personal settings Graphic-Info-Display
Press MENU to open the respective
menu.
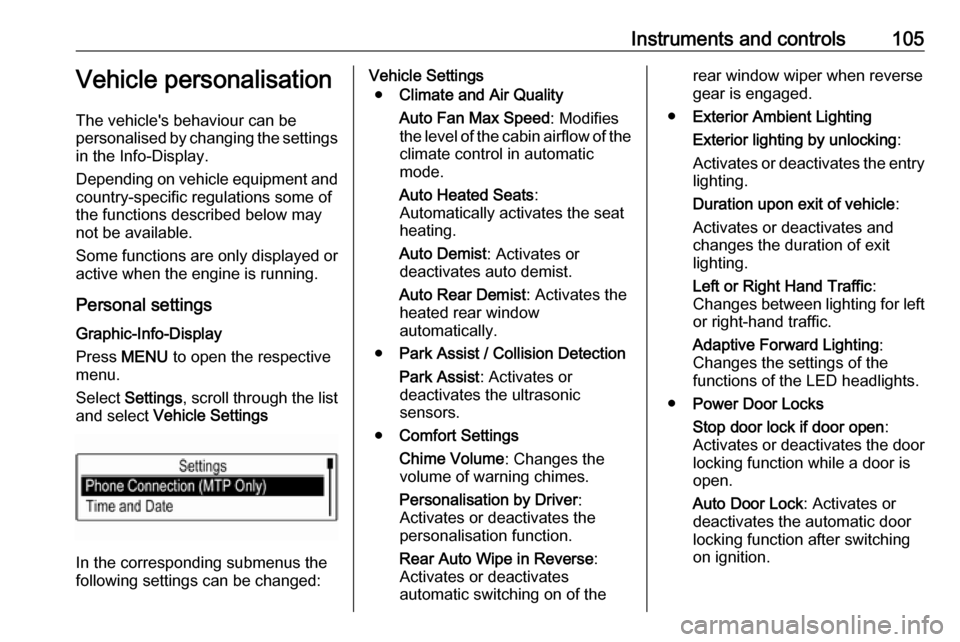
Select Settings , scroll through the list
and select Vehicle Settings
In the corresponding submenus the
following settings can be changed:
Vehicle Settings
● Climate and Air Quality
Auto Fan Max Speed : Modifies
the level of the cabin airflow of the climate control in automatic
mode.
Auto Heated Seats :
Automatically activates the seat
heating.
Auto Demist : Activates or
deactivates auto demist.
Auto Rear Demist : Activates the
heated rear window
automatically.
● Park Assist / Collision Detection
Park Assist : Activates or
deactivates the ultrasonic
sensors.
● Comfort Settings
Chime Volume : Changes the
volume of warning chimes.
Personalisation by Driver :
Activates or deactivates the
personalisation function.
Rear Auto Wipe in Reverse :
Activates or deactivates
automatic switching on of therear window wiper when reverse gear is engaged.
● Exterior Ambient Lighting
Exterior lighting by unlocking :
Activates or deactivates the entry
lighting.
Duration upon exit of vehicle :
Activates or deactivates and
changes the duration of exit
lighting.
Left or Right Hand Traffic :
Changes between lighting for left or right-hand traffic.
Adaptive Forward Lighting :
Changes the settings of the
functions of the LED headlights.
● Power Door Locks
Stop door lock if door open :
Activates or deactivates the door
locking function while a door is open.
Auto Door Lock : Activates or
deactivates the automatic door
locking function after switching
on ignition.
Page 108 of 247

106Instruments and controlsDelayed Door Lock: Activates or
deactivates the delayed door
locking function.
● Remote Lock, Unlock, and Start
Remote Unlock Feedback :
Activates or deactivates the
hazard warning flasher feedback
whilst unlocking.
Remote Lock Feedback :
Changes what kind of feedback
is given when locking the vehicle.
Remote Door Unlock : Changes
the configuration to unlock only
the driver's door or the whole
vehicle whilst unlocking.
Auto Relock Doors : Activates or
deactivates the automatic relock
function after unlocking without
opening the vehicle.
Remote Window Operation :
Activates or deactivates the
operation of power windows with
remote control.
Passive Door Unlock : Changes
the configuration to unlock only
the driver's door or the whole
vehicle whilst unlocking.Passive Door Lock : Activates or
deactivates the passive locking
function. This feature locks the
vehicle automatically after
several seconds if all doors have
been closed and an electronic
key has been removed from the
vehicle.
Remote Left in Vehicle Alarm :
Activates or deactivates the warning chime when the
electronic key remains in the
vehicle.
● Restore Factory Settings :
Resets all settings to the default settings.
Personal settings 7" Colour-Info-Display
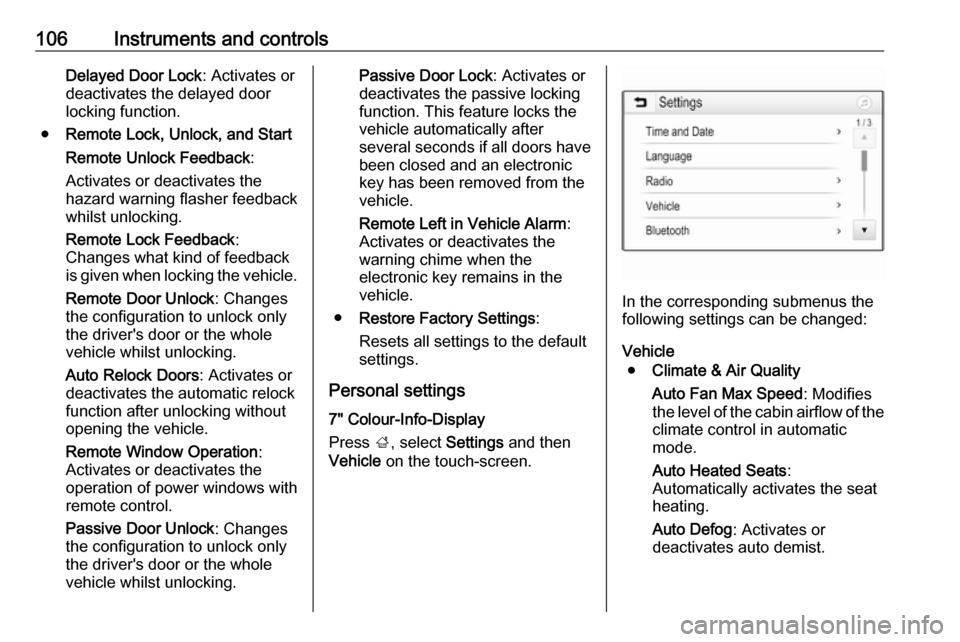
Press ;, select Settings and then
Vehicle on the touch-screen.
In the corresponding submenus the
following settings can be changed:
Vehicle ● Climate & Air Quality
Auto Fan Max Speed : Modifies
the level of the cabin airflow of the climate control in automatic
mode.
Auto Heated Seats :
Automatically activates the seat
heating.
Auto Defog : Activates or
deactivates auto demist.
Page 110 of 247

108Instruments and controlsPress ; then select the SETTINGS
icon.
In the corresponding submenus the
following settings can be changed:
Vehicle ● Climate and Air Quality
Auto Fan Speed : Modifies the
level of the cabin airflow of the
climate control in automatic
mode.
Auto Heated Seats :
Automatically activates the seat
heating.
Auto Demist : Activates or
deactivates auto demist.
Auto Rear Demist : Activates the
heated rear window
automatically.
● Collision / Detection Systems
Park Assist : Activates or
deactivates the ultrasonic
sensors.
● Comfort and Convenience
Chime Volume : Changes the
volume of warning chimes.
Personalisation by Driver :
Activates or deactivates the
personalisation function.
Auto Wipe in Reverse Gear :
Activates or deactivates
automatic switching on of the
rear window wiper when reverse
gear is engaged.
● Lighting
Vehicle Locator Lights : Activates
or deactivates the entry lighting.
Exit Lighting : Activates or
deactivates and changes the duration of exit lighting.
Left or Right Hand Traffic :
Changes between lighting for left or right-hand traffic.Adaptive Forward Lighting :
Changes the settings of the
functions of the LED headlights.
● Power Door Locks
Unlocked Door Anti-Lockout :
Activates or deactivates the door
locking function while a door is open.
Auto Door Lock : Activates or
deactivates the automatic door
locking function after switching on ignition.
Delayed Door Lock : Activates or
deactivates the delayed door
locking function. This feature
delays the actual locking of the
doors until all doors are closed.
● Remote Lock, Unlock, Start
Remote Unlock Light Feedback :
Activates or deactivates the
hazard warning flasher feedback
whilst unlocking.
Remote Lock Feedback :
Changes what kind of feedback
is given when locking the vehicle.
Remote Door Unlock : Changes
the configuration to unlock only
Page 120 of 247

118LightingHeadlight range adjustment
Manual headlight range
adjustment
To adapt headlight range to the
vehicle load to prevent dazzling: turn
thumb wheel ? to required position.
0:front seats occupied1:all seats occupied2:all seats occupied and load
compartment laden3:driver's seat occupied and load
compartment laden
Dynamic automatic headlight
levelling 3 119.
Headlights when driving
abroad
The asymmetrical headlight beam
extends visibility at the edge of the
road at the passenger side.
However, when driving in countries
where traffic drives on the opposite
side of the road, adjust the headlights to prevent dazzling of oncoming
traffic.
Vehicles with halogen headlight
system
The adjusting screws are located
above the headlight.
Turn the adjusting screws with the
screwdriver clockwise by half a turn.
To reset to left-hand traffic mode, turn
adjuster elements on both headlight
housings anticlockwise by half a turn.Caution
Have the adjustment of the
headlights checked after
deactivation.
We recommend consulting a
workshop.
Page 231 of 247
Technical data229Vehicle dimensionsLength [mm]4271Width without exterior mirrors [mm]1781Width with two exterior mirrors [mm]2038Height (without antenna) [mm]1662/16715)Length of load compartment floor [mm]731Length of load compartment with folded rear seats [mm]1428Load compartment width [mm]914Load compartment height [mm]808Wheelbase [mm]2555Turning circle diameter [m]10.9/11.3 5)5)
Depending on wheel size.