2017 NISSAN VERSA NOTE seats
[x] Cancel search: seatsPage 100 of 414
Engine start operationindicator light (if so equipped)
For vehicles equipped with push button ignition
this indicator illuminates when the ignition switch
is in the LOCK, OFF, ACC or ON position with
the shift lever in the P (Park) position.
This indicator means that the engine will start by
pushing the push-button ignition switch with the
brake pedal depressed.
Front fog light indicator light (ifso equipped)
The front fog light indicator light illuminates when
the front fog lights are on. For additional informa-
tion, refer to “Fog light switch” in this section.
Front passenger air bag statuslight
The front passenger air bag status light will be lit
and the passenger front air bag will be off de-
pending on how the front passenger seat is being
used.
For additional information, refer to “Front passen-
ger air bag and status light” in the “Safety —
Seats, seat belts and supplemental restraint sys-
tem” section of this manual.
High beam indicator light(blue)
This blue light comes on when the headlight high
beams are on and goes out when the low beams
are selected.
The high beam indicator light also comes on
when the passing signal is activated.
Malfunction Indicator Light(MIL)
If this indicator light comes on steady or blinks
while the engine is running, it may indicate a
potential emission control malfunction.
The
may also come on steady if the fuel-
filler cap is loose or missing, or if the vehicle runs
out of fuel. Check to make sure the fuel-filler cap
is installed and closed tightly, and that the vehicle
has at least 3 gal (11.4 L) of fuel in the fuel tank.
After a few driving trips, the
light should
turn off if no other potential emission control
system malfunction exists.
If this indicator light comes on steady for 20 sec-
onds and then blinks for 10 seconds when the
engine is not running, it indicates that the vehicle is
not ready for an emission control system
inspection/maintenance test. For additional informa-
tion, refer to “Readiness for inspection/maintenance (I/M) test” in the “Technical and consumer informa-
tion” section of this manual.
Operation
The MIL will come on in one of two ways:
● MIL on steady — An emission control system
malfunction has been detected. Check the
fuel-filler cap. If the LOOSE FUEL CAP
warning message is displayed in the odom-
eter, and the fuel-filler cap is loose or miss-
ing, tighten or install the cap and continue to
drive the vehicle. The
light should turn
off after a few driving trips. If the
light
does not turn off after a few driving trips,
have the vehicle inspected. It is recom-
mended that you visit a NISSAN dealer for
this service. You do not need to have your
vehicle towed to the dealer.
● MIL blinking — An engine misfire has been
detected which may damage the emission
control system. To reduce or avoid emission
control system damage:
– do not drive at speeds above 45 mph (72 km/h);
– avoid hard acceleration or deceleration;
– avoid steep uphill grades;
– if possible, reduce the amount of cargo being hauled.
Instruments and controls2-21
Page 110 of 414
WARNING
Do not use or allow occupants to use the
seat heater if you or the occupants cannot
monitor elevated seat temperatures or
have an inability to feel pain in body parts
that contact the seat. Use of the seat
heater by such people could result in seri-
ous injury.
CAUTION
●The battery could run down if the seat
heater is operated while the engine is
not running.
● Do not use the seat heater for extended
periods or when no one is using the
seat.
● Do not put anything on the seat which
insulates heat, such as a blanket, cush-
ion or seat cover, etc. Otherwise, the
seat may become overheated.
● Do not place anything hard or heavy on
the seat or pierce it with a pin or similar
object. This may result in damage to the
heater.
● Any liquid spilled on the heated seat
should be removed immediately with a
dry cloth.
● When cleaning the seat, never use
gasoline, benzine, thinner, or any simi-
lar materials.
● If any malfunctions are found or the
heated seat does not operate, turn the
switch off and have the system checked.
It is recommended that you visit a
NISSAN dealer for this service.
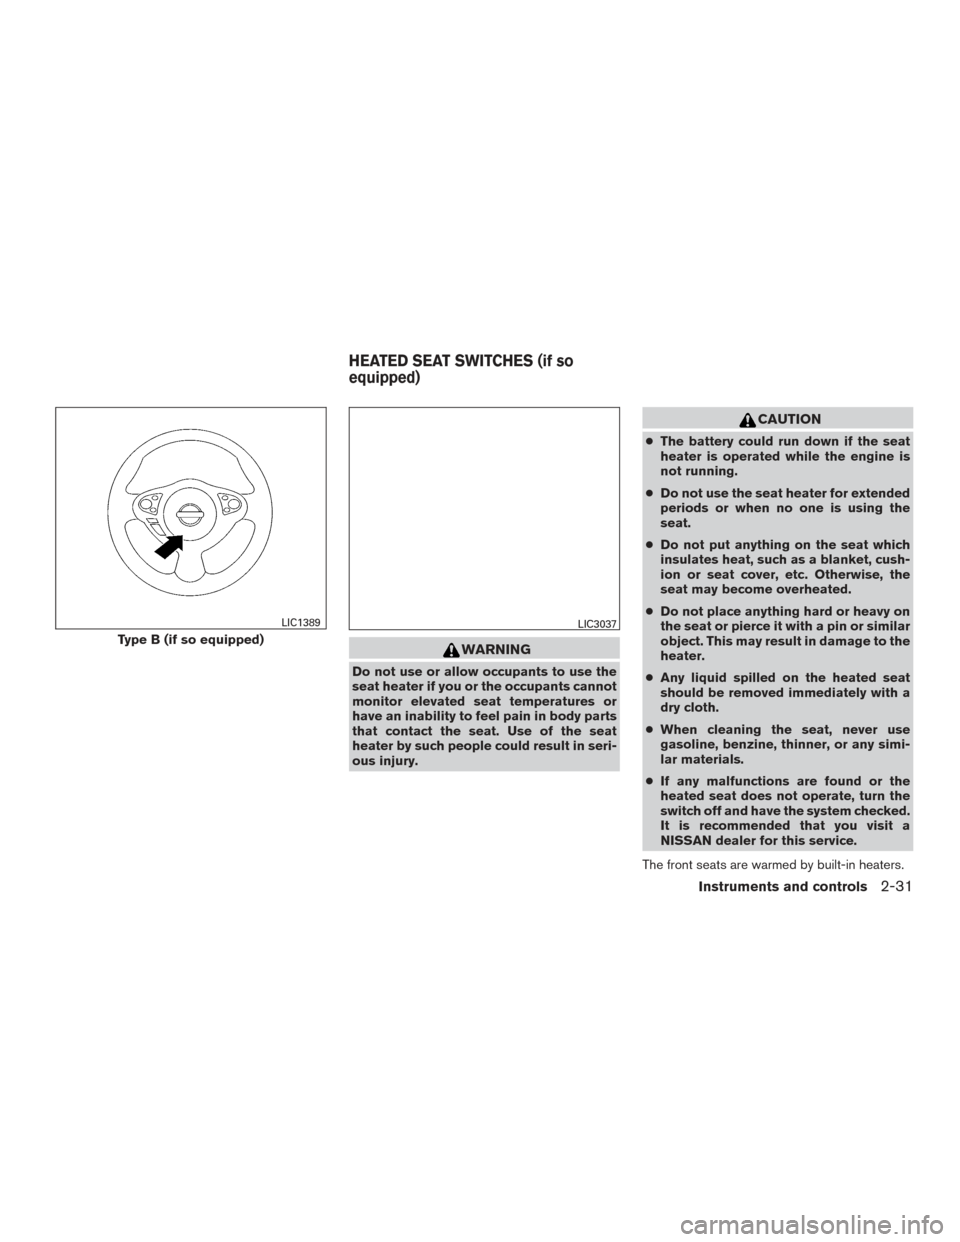
The front seats are warmed by built-in heaters.
Type B (if so equipped)
LIC1389LIC3037
HEATED SEAT SWITCHES (if so
equipped)
Instruments and controls2-31
Page 117 of 414
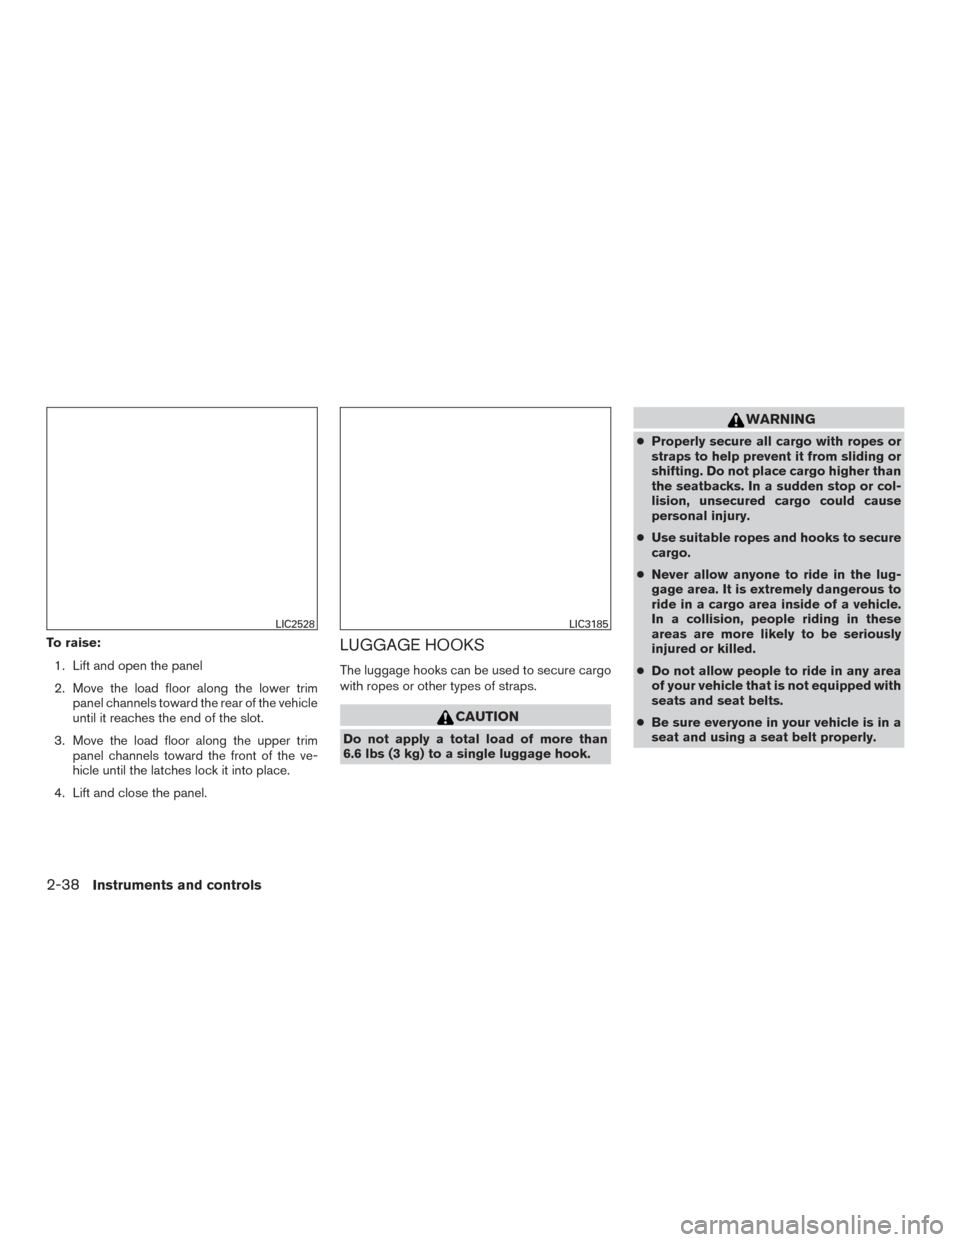
To raise:1. Lift and open the panel
2. Move the load floor along the lower trim panel channels toward the rear of the vehicle
until it reaches the end of the slot.
3. Move the load floor along the upper trim panel channels toward the front of the ve-
hicle until the latches lock it into place.
4. Lift and close the panel.LUGGAGE HOOKS
The luggage hooks can be used to secure cargo
with ropes or other types of straps.
CAUTION
Do not apply a total load of more than
6.6 lbs (3 kg) to a single luggage hook.
WARNING
● Properly secure all cargo with ropes or
straps to help prevent it from sliding or
shifting. Do not place cargo higher than
the seatbacks. In a sudden stop or col-
lision, unsecured cargo could cause
personal injury.
● Use suitable ropes and hooks to secure
cargo.
● Never allow anyone to ride in the lug-
gage area. It is extremely dangerous to
ride in a cargo area inside of a vehicle.
In a collision, people riding in these
areas are more likely to be seriously
injured or killed.
● Do not allow people to ride in any area
of your vehicle that is not equipped with
seats and seat belts.
● Be sure everyone in your vehicle is in a
seat and using a seat belt properly.
LIC2528LIC3185
2-38Instruments and controls
Page 148 of 414
REAR HATCH RELEASE
The rear hatch release mechanism allows the rear
hatch to be opened in the event of a discharged
battery.
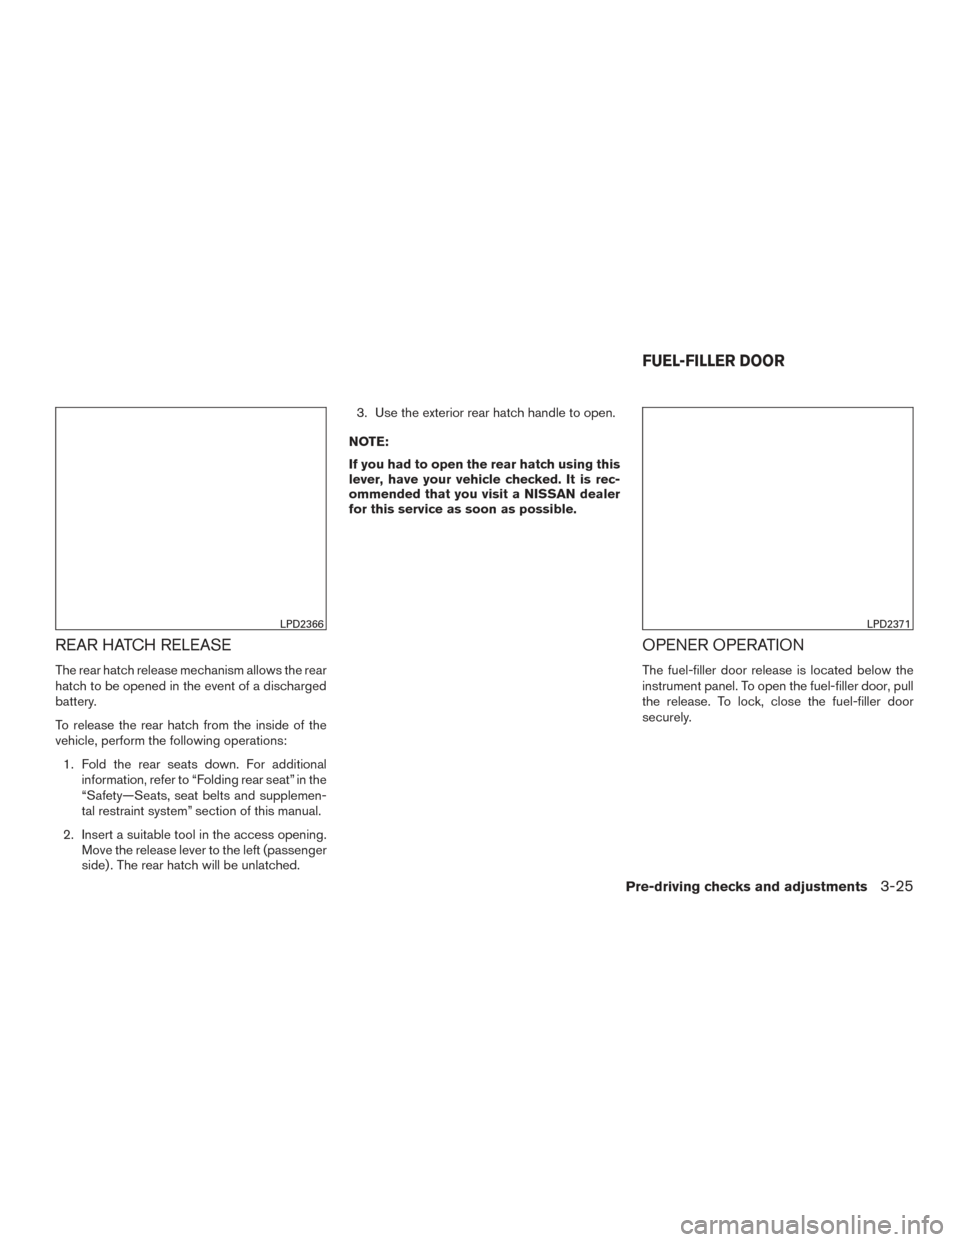
To release the rear hatch from the inside of the
vehicle, perform the following operations:1. Fold the rear seats down. For additional information, refer to “Folding rear seat” in the
“Safety—Seats, seat belts and supplemen-
tal restraint system” section of this manual.
2. Insert a suitable tool in the access opening. Move the release lever to the left (passenger
side) . The rear hatch will be unlatched. 3. Use the exterior rear hatch handle to open.
NOTE:
If you had to open the rear hatch using this
lever, have your vehicle checked. It is rec-
ommended that you visit a NISSAN dealer
for this service as soon as possible.
OPENER OPERATION
The fuel-filler door release is located below the
instrument panel. To open the fuel-filler door, pull
the release. To lock, close the fuel-filler door
securely.
LPD2366LPD2371
FUEL-FILLER DOOR
Pre-driving checks and adjustments3-25
Page 194 of 414
USB (Universal Serial Bus)
Connection Port (if so equipped)
WARNING
Do not connect, disconnect or operate the
USB device while driving. Doing so can be
a distraction. If distracted you could lose
control of your vehicle and cause an acci-
dent or serious injury.
CAUTION
●Do not force the USB device into the
USB port. Inserting the USB device
tilted or up-side-down into the port may
damage the port. Make sure that the
USB device is connected correctly into
the USB port.
● Do not grab the USB port cover (if so
equipped) when pulling the USB device
out of the port. This could damage the
port and the cover.
● Do not leave the USB cable in a place
where it can be pulled unintentionally.
Pulling the cable may damage the port.
The vehicle is not equipped with a USB device.
USB devices should be purchased separately as
necessary. This system cannot be used to format USB de-
vices. To format a USB device, use a personal
computer.
In some jurisdictions, the USB device for the front
seats plays only sound without images for regu-
latory reasons, even when the vehicle is parked.
This system supports various USB memory de-
vices, USB hard drives and iPod® players. Some
USB devices may not be supported by this sys-
tem.
● Partitioned USB devices may not play cor-
rectly.
● Some characters used in other languages
(Chinese, Japanese, etc.) may not appear
properly in the display. Using English lan-
guage characters with a USB device is rec-
ommended.
General notes for USB (if so equipped) use: ● For additional information, refer to your de-
vice manufacturer’s owner information re-
garding the proper use and care of the de-
vice. Notes for iPod® (if so equipped) use:
iPod® is a trademark of Apple Inc., registered in
the U.S. and other countries.
● Improperly plugging in the iPod® may cause
a checkmark to be displayed on and off
(flickering) . Always make sure that the
iPod® is connected properly.
● An iPod® nano (1st Generation) may remain
in fast forward or rewind mode if it is con-
nected during a seek operation. In this case,
please manually reset the iPod®.
● An iPod® nano (2nd Generation) will con-
tinue to fast-forward or rewind if it is discon-
nected during a seek operation.
● An incorrect song title may appear when the
Play Mode is changed while using an iPod®
nano (2nd Generation) .
● Audiobooks may not play in the same order
as they appear on an iPod®.
● Large video files cause slow responses in an
iPod®. The vehicle center display may mo-
mentarily black out, but will soon recover.
● If an iPod® automatically selects large video
files while in the shuffle mode, the vehicle
center display may momentarily black out,
but will soon recover.
Monitor, climate, audio, phone and voice recognition systems4-41
Page 273 of 414
Operation:1. Add air to the tire.
2. After a few seconds, the hazard indicators will start flashing.
3. When the designated pressure is reached, the horn beeps once and the hazard indica-
tors stop flashing.
4. Perform the above steps for each tire. ●If the tire is over-inflated more than ap-
proximately 4 psi (30 kPa) , the horn
beeps and the hazard indicators flash
three times. To correct the pressure, push
the core of the valve stem on the tire
briefly to release pressure. When the
pressure reaches the designated pres-
sure, the horn beeps once.
● If the hazard indicator does not flash
within approximately 15 seconds after
starting to inflate the tire, it indicates that
the Easy Fill Tire Alert is not operating.
● The TPMS will not activate the Easy Fill
Tire Alert under the following conditions:
– If there is interference from an external device or transmitter.
– The air pressure from the inflation device is not sufficient to inflate the tire. – There is a malfunction in the TPMS sys-
tem.
– There is a malfunction in the horn or haz- ard indicators.
– The identification code of the tire pres- sure sensor is not registered to the sys-
tem.
– The battery of the tire pressure sensor is low.
● If the Easy Fill Tire Alert does not operate
due to TPMS interference, move the ve-
hicle about 3 ft (1 m) backward or forward
and try again.
If the Easy Fill Tire Alert is not working, use a tire
pressure gauge.
AVOIDING COLLISION AND
ROLLOVER
WARNING
Failure to operate this vehicle in a safe
and prudent manner may result in loss of
control or an accident.
Be alert and drive defensively at all times. Obey
all traffic regulations. Avoid excessive speed,
high speed cornering, or sudden steering ma- neuvers, because these driving practices could
cause you to lose control of your vehicle.
As with any vehicle, loss of control could
result in a collision with other vehicles or
objects or cause the vehicle to roll over,
particularly if the loss of control causes the
vehicle to slide sideways.
Be attentive at all times, and avoid driving when
tired. Never drive when under the influence of
alcohol or drugs (including prescription or over-
the-counter drugs which may cause drowsi-
ness) . Always wear your seat belt as outlined in
the “Safety – Seats, seat belts and supplemental
restraint system” section of this manual, and also
instruct your passengers to do so.
Seat belts help reduce the risk of injury in colli-
sions and rollovers.
In a rollover crash, an
unbelted or improperly belted person is
significantly more likely to be injured or
killed than a person properly wearing a
seat belt.OFF-ROAD RECOVERY
While driving, the right side or left side wheels
may unintentionally leave the road surface. If this
occurs, maintain control of the vehicle by follow-
ing the procedure below. Please note that this
procedure is only a general guide. The vehicle
5-6Starting and driving
Page 323 of 414
Occasionally remove loose dust from the interior
trim, plastic parts and seats using a vacuum
cleaner or soft bristled brush. Wipe the vinyl and
leather surfaces with a clean, soft cloth damp-
ened in mild soap solution, then wipe clean with a
dry, soft cloth.
Regular care and cleaning is required in order to
maintain the appearance of the leather.
Before using any fabric protector, read the manu-
facturer’s recommendations. Some fabric pro-
tectors contain chemicals that may stain or
bleach the seat material.
Use a cloth dampened only with water to clean
the meter and gauge lens.
WARNING
Do not use water or acidic cleaners (hot
steam cleaners) on the seat. This can dam-
age the seat or occupant classification
sensor. This can also affect the operation
of the air bag system and result in serious
personal injury.
CAUTION
●Never use benzine, thinner or any simi-
lar material.
● Small dirt particles can be abrasive and
damaging to leather surfaces and
should be removed promptly. Do not
use saddle soap, car waxes, polishes,
oils, cleaning fluids, solvents, deter-
gents or ammonia-based cleaners as
they may damage the leather’s natural
finish.
● Never use fabric protectors unless rec-
ommended by the manufacturer.
● Do not use glass or plastic cleaner on
meter or gauge lens covers. It may dam-
age the lens cover.
AIR FRESHENERS
Most air fresheners use a solvent that could affect
the vehicle interior. If you use an air freshener,
take the following precautions:
● Hanging-type air fresheners can cause per-
manent discoloration when they contact ve-
hicle interior surfaces. Place the air fresh-
ener in a location that allows it to hang free
and not contact an interior surface.
● Liquid-type air fresheners typically clip on
the vents. These products can cause imme-
diate damage and discoloration when
spilled on interior surfaces.
Carefully read and follow the manufacturer’s in-
structions before using the air fresheners.
CLEANING INTERIOR
7-4Appearance and care
Page 325 of 414
The illustration shows the location of the floor mat
positioning hooks.
SEAT BELTS
The seat belts can be cleaned by wiping them
with a sponge dampened in a mild soap solution.
Allow the belts to dry completely in the shade
before using them. For additional information,
refer to “Seat belt maintenance” in the “Safety-
–Seats, seat belts and supplemental restraint
system” section of this manual.
WARNING
Do not allow wet seat belts to roll up in the
retractor. NEVER use bleach, dye or
chemical solvents to clean the seat belts,
since these materials may severely
weaken the seat belt webbing.
MOST COMMON FACTORS
CONTRIBUTING TO VEHICLE
CORROSION
Most vehicle corrosion is caused by:● The accumulation of moisture-retaining dirt
and debris in body panel sections, cavities,
and other areas.
● Damage to paint and other protective coat-
ings caused by gravel and stone chips or
minor traffic collisions.
ENVIRONMENTAL FACTORS
INFLUENCE THE RATE OF
CORROSION
Moisture
Accumulation of sand, dirt and water on the ve-
hicle body underside can accelerate corrosion.
Wet floor coverings will not dry completely inside
the vehicle and should be removed for drying to
avoid floor panel corrosion.
Relative humidity
Corrosion will be accelerated in areas of high
relative humidity, especially those areas where
the temperatures stay above freezing and where
atmospheric pollution exists and road salt is
used.
Positioning hooks
LAI2048
CORROSION PROTECTION
7-6Appearance and care