2017 NISSAN TITAN XD stop start
[x] Cancel search: stop startPage 87 of 671
However, if the occupant is not a small adult, then
this may be due to the following conditions that
may be interfering with the weight sensors:● Occupant is not sitting upright, leaning
against the seatback, and centered on the
seat cushion with his/her feet comfortably
extended to the floor.
● A child restraint or other object pressing
against the rear of the seatback.
● A rear passenger pushing or pulling on the
back of the front passenger seat.
● Forcing the front seat or seatback against an
object on the seat or floor behind it.
● An object placed under the front passenger
seat.
● An object placed between the seat cushion
and center console or between the seat
cushion and the door.
If the vehicle is moving, please come to a stop
when it is safe to do so. Check and correct any of
the above conditions. Restart the vehicle and
wait 1 minute. NOTE:
A system check will be performed during
which the front passenger air bag status
light will remain lit for about 7 seconds
initially.
If the light is still ON after this, the person should
be advised not to ride in the front passenger seat
and the vehicle should be checked as soon as
possible. It is recommended that you visit a
NISSAN dealer for this service.
Other supplemental front-impact air bag
precautions
Page 129 of 671
A “Tire Pressure Low - Add Air” warning
also appears in the vehicle information dis-
play (if so equipped) .
When the low tire pressure warning light
illuminates, you should stop and adjust the
tire pressure of all four tires to the recom-
mended COLD tire pressure shown on the
Tire and Loading Information label located
in the driver’s door opening. The low tire
pressure warning light does not automati-
cally turn off when the tire pressure is ad-
justed. After the tire is inflated to the rec-
ommended pressure, the vehicle must be
driven at speeds above 16 mph (25 km/h) to
activate the TPMS and turn off the low tire
pressure warning light. Use a tire pressure
gauge to check the tire pressure.
For vehicles with a vehicle information display,
the “Tire Pressure Low - Add Air” warning ap-
pears each time the ignition switch is placed in
the ON position as long as the low tire pressure
warning light remains illuminated.
For additional information, refer to “Vehicle infor-
mation display” in this section, “Tire Pressure
Monitoring System (TPMS)” in the “Starting and
driving” and “In case of emergency” sections of
this manual.TPMS malfunction
If the TPMS is not functioning properly, the low
tire pressure warning light will flash for approxi-
mately 1 minute when the ignition switch is
placed in the ON position. The light will remain on
after 1 minute. Have the system checked. It is
recommended that you visit a NISSAN dealer for
this service.
For additional information, refer to “Tire Pressure
Monitoring System (TPMS)” in the “Starting and
driving” section and “Tire pressure” in the “Do-it-
yourself” section of this manual.
Page 131 of 671
●The light illuminates in yellow when it warns
of a malfunction with the Intelligent Key sys-
tem.
If the warning light illuminates in yellow while the
engine is stopped, it may be impossible to start
the engine. If the light comes on while the engine
is running, you can drive the vehicle. Have the
system checked. It is recommended that you visit
a NISSAN dealer for this service.
For additional information, refer to “NISSAN In-
telligent Key®” in the “Pre-driving checks and
adjustments” section of this manual.
Page 395 of 671
CAUTION
To avoid possible damage to your vehicle,
when stopping the vehicle on an uphill
grade, do not hold the vehicle by depress-
ing the accelerator pedal. The foot brake
should be used for this purpose1. After starting the engine, fully depress the foot brake pedal before moving the shift
lever out of the P (Park) position.
2. Keep the foot brake pedal depressed and move the shift lever into a driving gear.
3. Release the foot brake, then gradually start the vehicle in motion.
The automatic transmission is designed so
the foot brake pedal MUST be depressed
before shifting from P (Park) to any drive
position while the ignition switch is in the
ON position.
The shift lever cannot be moved out of the
P (Park) position and into any of the other
gear positions if the ignition switch is
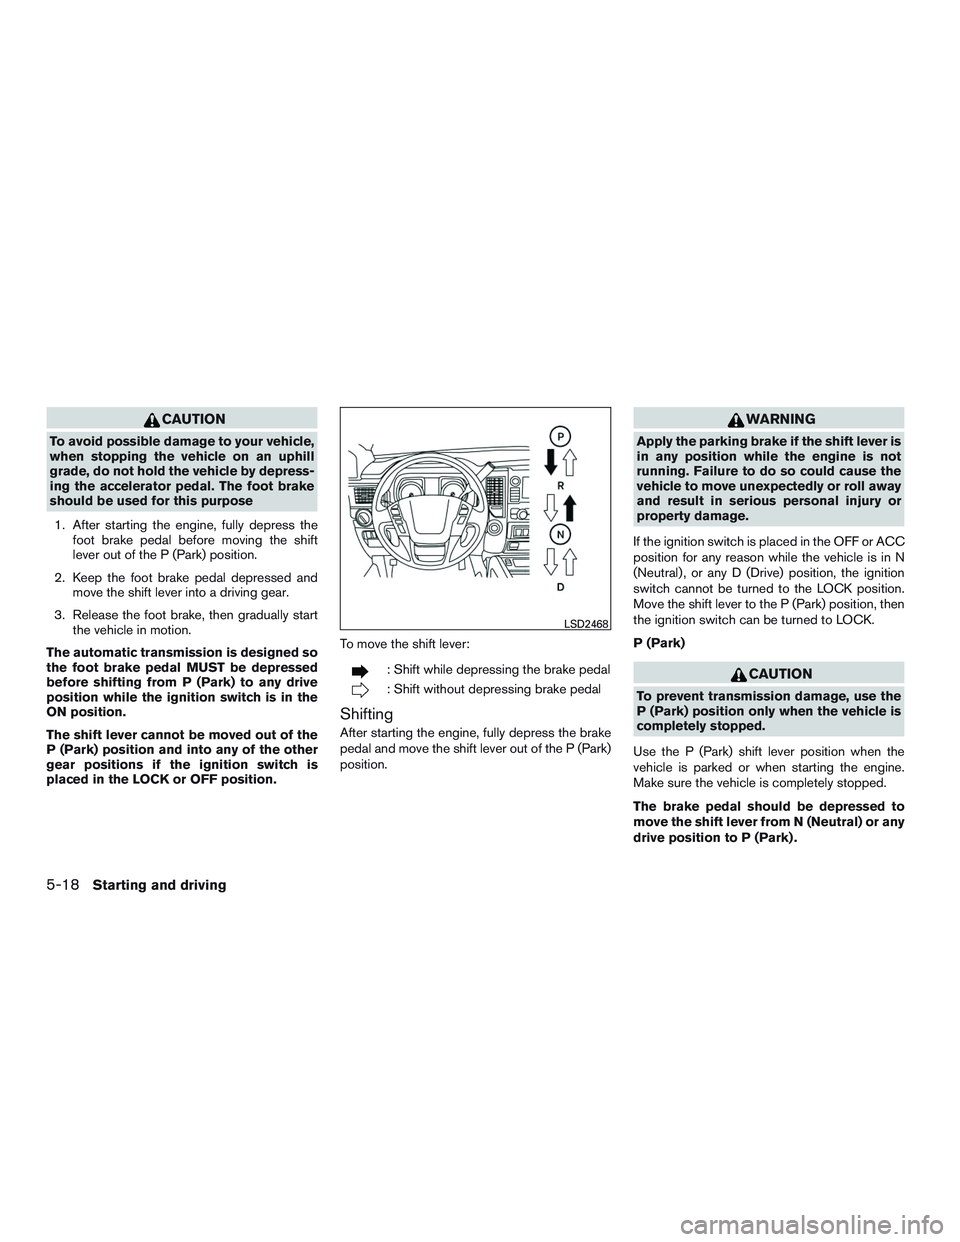
placed in the LOCK or OFF position. To move the shift lever:
Page 436 of 671
WARNING
●Never rely solely on the hill descent
control system to control vehicle speed
when driving on steep downhill grades.
Always drive carefully and attentively
when using the hill descent control sys-
tem and decelerate the vehicle speed by
depressing the brake pedal if neces-
sary. Be especially careful when driving
on frozen, muddy or extremely steep
downhill roads. Failure to control ve-
hicle speed may result in a loss of con-
trol of the vehicle and possible serious
injury or death.
● The hill descent control may not control
the vehicle speed on a hill under all load
or road conditions. Always be prepared
to depress the brake pedal to control
vehicle speed. Failure to do so may re-
sult in a collision or serious personal
injury. The hill descent control system can only be acti-
vated when the 4H or 4LO switch is engaged.
The hill descent control system helps maintain
vehicle speed when driving under 15 mph
(25 km/h) on steeper downhill grades. Hill de-
scent control is useful when engine braking alone
cannot control vehicle speed. Hill descent con-
trol applies the vehicle brakes to control vehicle
speed allowing the driver to concentrate on
steering while reducing the burden of brake and
accelerator operation.
If the hill descent control light is blinking, the hill
descent control is engaged; however, the hill
descent control will not control the vehicle
speed.
● Once the system is activated, the indicator
light will remain on in the instrument panel.
For additional information, refer to “Hill de-
scent control system ON indicator light” in
the “Instruments and controls” section of this
manual.
● You may hear a noise from under the hood or
feel a vibration from the actuator when it is
operating. This indicates that the HDC sys-
tem is working properly. If the accelerator or brake pedal is depressed
while the hill descent control system is on, the
system will stop operating temporarily. As soon
as the accelerator or brake pedal is released, the
hill descent control system begins to function
again if the hill descent control operating condi-
tions are fulfilled.
For the best results, when descending steep
downhill grades, the hill descent control switch
should be ON and the shift lever in M1 (First) for
engine braking.
HILL DESCENT CONTROL SYSTEM (if
so equipped)
Starting and driving5-59
Page 437 of 671
WARNING
●Never rely solely on the hill start assist
system to prevent the vehicle from mov-
ing backward on a hill. Always drive
carefully and attentively. Depress the
brake pedal when the vehicle is stopped
on a steep hill. Be especially careful
when stopped on a hill on frozen or
muddy roads. Failure to prevent the ve-
hicle from rolling backwards may result
in a loss of control of the vehicle and
possible serious injury or death.
● The hill start assist system is not de-
signed to hold the vehicle at a standstill
on a hill. Depress the brake pedal when
the vehicle is stopped on a steep hill.
Failure to do so may cause the vehicle
to roll backwards and may result in a
collision or serious personal injury.
● The hill start assist may not prevent the
vehicle from rolling backwards on a hill
under all load or road conditions. Al-
ways be prepared to depress the brake
pedal to prevent the vehicle from rolling
backwards. Failure to do so may result
in a collision or serious personal injury. When the vehicle is stopped on a hill, the hill start
assist system automatically keeps the brakes ap-
plied. This helps prevents the vehicle from rolling
backward in the time it takes the driver to release
the brake pedal and apply the accelerator when
the vehicle is stopped on a hill.
Hill start assist will operate automatically under
the following conditions:
● The shift lever is shifted to a forward or
reverse gear.
● The vehicle is stopped completely on a hill
by applying the brake.
The maximum holding time is 2 seconds. After
2 seconds the vehicle will begin to roll back and
hill start assist will stop operating completely.
Hill start assist will not operate when the shift
lever is shifted into N (Neutral) or P (Park) or on a
flat and level road. When the VDC warning light
illuminates in the meter, the hill start assist system
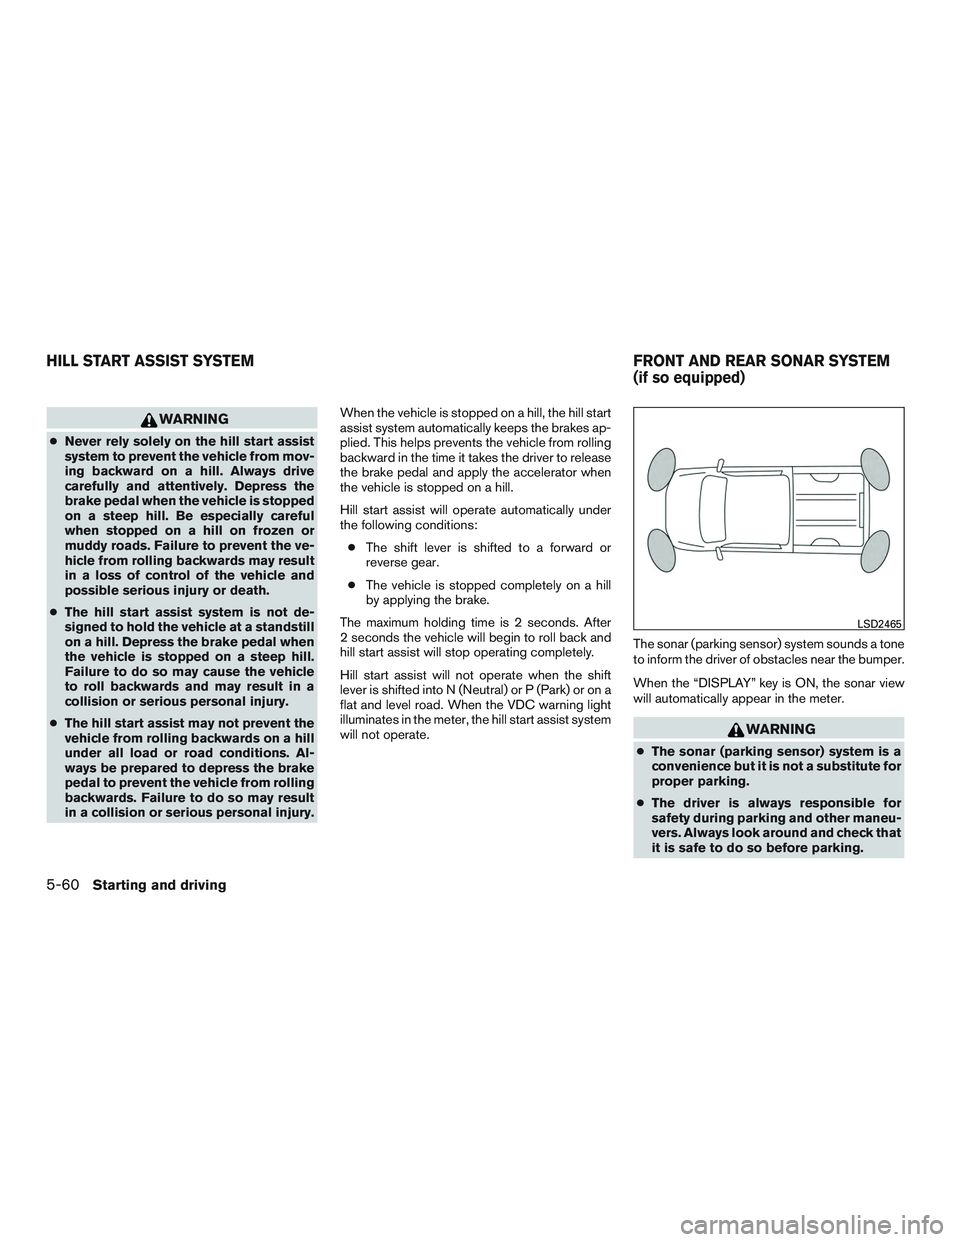
will not operate. The sonar (parking sensor) system sounds a tone
to inform the driver of obstacles near the bumper.
When the “DISPLAY” key is ON, the sonar view
will automatically appear in the meter.
Page 589 of 671
●Be certain your rearview mirrors conform to
all federal, state or local regulations. If not,
install any mirrors required for towing before
driving the vehicle.
● Determine the overall height of the vehicle
and trailer so the required clearance is
known.
Trailer towing tips
In order to gain skill and an understanding of the
vehicle’s behavior, you should practice turning,
stopping and backing up in an area which is free
from traffic. Steering stability and braking perfor-
mance will be somewhat different than under
normal driving conditions.
● Always secure items in the trailer to prevent
load shift while driving.
● Lock the trailer hitch coupler with a pin or
lock to prevent the coupler from inadver-
tently becoming unlatched.
● Avoid abrupt starts, acceleration or stops.
● Avoid sharp turns or lane changes.
● Always drive your vehicle at a moderate
speed. ●
When backing up, hold the bottom of the
steering wheel with one hand. Move your
hand in the direction in which you want the
trailer to go. Make small corrections and
back up slowly. If possible, have someone
guide you when you are backing up.
Always block the wheels on both vehicle and
trailer when parking. Parking on a slope is not
recommended; however, if you must do so:
Page 601 of 671
I
Ignition Switch Push-Button Ignition Switch ........5-10
Immobilizer system ............2-48,5-14
Important vehicle information label ......10-16
In-cabin microfilter ................8-19
Increasing fuel economy .............5-44
Indicator lights and audible reminders
(See warning/indicator lights and audible
reminders).................2-22,2-29
Informationdisplay................2-32
Inside automatic anti-glare mirror ....3-28,3-29
Instrument brightness control ..........2-56
Instrument panel ...............0-6,2-4
Instrument panel dimmer switch ........2-56
Intelligent Key system Key operating range ..............3-9
Key operation ................3-10
Mechanicalkey ................3-4
Remote keyless entry operation.......3-13
Troubleshooting guide ............3-18
Warning signals ...............3-18
Interiorlight....................2-87
iPod®Player ...............4-74,4-76
ISOFIX child restraints .............1-28
J
Jump starting ...............6-11,8-16
K
Key.........................3-2 Keyfobbatteryreplacement ..........8-25
Keyless entry
With Intelligent Key system
(See Intelligent Key system) .........3-13
Keys NISSAN Intelligent Key® ........3-2,3-8
NISSAN Vehicle Immobilizer System
keys.......................3-4
L
Labels Air conditioner specification label .....10-18
C.M.V.S.S. certification label .......10-16
Emission control information label ....10-17
Engine serial number ............10-16
F.M.V.S.S. certification label ........10-16
Tire and Loading Information label ....10-18
Vehicle identification number (VIN) ....10-15
Vehicle identification number (VIN)
plate.....................10-15
Warning labels (for SRS) ..........1-77
LATCH (Lower Anchors and Tethers for CHildren)
System ......................1-28
License plate Installing the license plate .........10-19
Light Air bag warning light .........1-78,2-28
Brake light (See stop light) .........8-29
Bulb check/instrument panel ........2-22
Bulbreplacement..............8-29
Charge warning light ............2-24
Consolelight.................2-88
Exterior and Interior lights ..........8-29
Foglights...................8-27 Fog light switch
...............2-57
Headlightandturnsignalswitch......2-53
Headlight control switch ..........2-53
Headlights..................8-27
Interiorlight..................2-87
Lightbulbs..................8-27
Low tire pressure warning light .......2-25
Low windshield-washer fluid warning
light......................2-43
Passenger air bag and status light .....1-60
Personal lights ................2-89
Security indicator light ............2-30
Warning/indicator lights and audible
reminders ...............2-22,2-29
Lights.......................8-27 Maplights ..................2-88
Lock Child safety rear door lock ..........3-7
Door locks ...................3-5
P
ower door locks ............3-6,3-7
Loose fuel cap warning .............2-45
Low fuel warning light . . .2-25, 2-27, 2-41, 2-42
Low tire pressure warning light .........2-25
Low windshield-washer fluid warning light . . .2-43
Luggage (See vehicle loading information) . .10-20
M
Maintenance General maintenance .............9-2
Insidethevehicle...............9-3
Maintenance precautions ...........8-2
Outside the vehicle ..............9-2
Seat belt maintenance ............1-23
Under the hood and vehicle .........9-4
11-4