2017 NISSAN TITAN XD audio
[x] Cancel search: audioPage 241 of 671
WARNING
●Positioning of the heating or air condi-
tioning controls and display controls
should not be done while driving in or-
der that full attention may be given to
the driving operation.
● Do not disassemble or modify this sys-
tem. If you do, it may result in accidents,
fire, or electrical shock.
● Do not use this system if you notice any
abnormality, such as a frozen screen or
lack of sound. Continued use of the
system may result in accident, fire or
electric shock.
● In case you notice any foreign object in
the system hardware, spill liquid on it,
or notice smoke or smell coming from it,
stop using the system immediately. Ig-
noring such conditions may lead to ac-
cidents, fire or electrical shock. It is rec-
ommended that you visit a NISSAN
dealer for servicing.
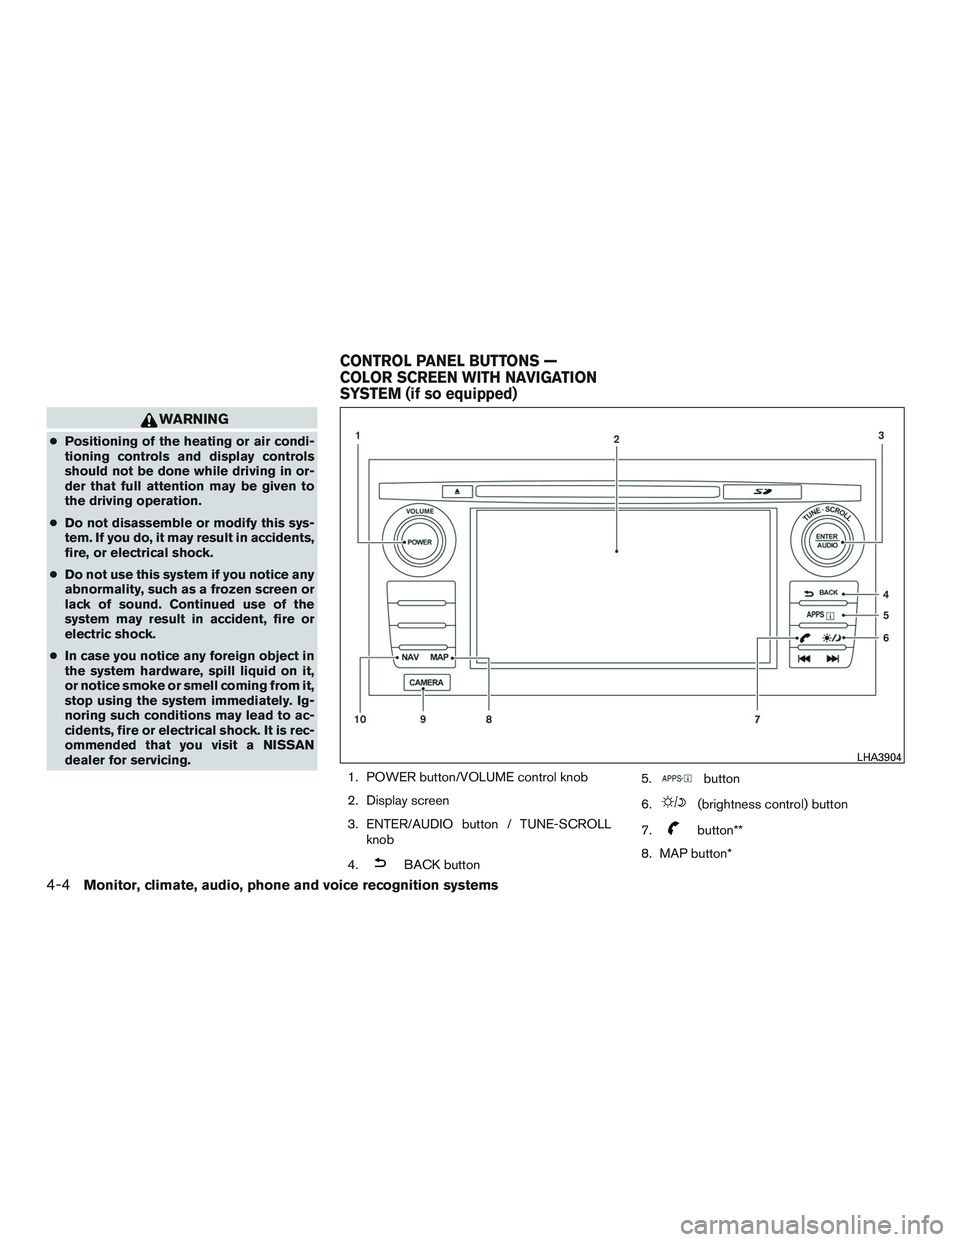
1. POWER button/VOLUME control knob
2. Display screen
3. ENTER/AUDIO button / TUNE-SCROLLknob
4.
Page 270 of 671
WARNING
●The air conditioner cooling function op-
erates only when the engine is running.
● Do not leave children or adults who
would normally require the assistance
of others alone in your vehicle. Pets
should also not be left alone. They
could accidentally injure themselves or
others through inadvertent operation of
the vehicle. Also, on hot, sunny days,
temperatures in a closed vehicle could
quickly become high enough to cause
severe or possibly fatal injuries to
people or animals.
● Do not use the recirculation mode for
long periods as it may cause the interior
air to become stale and the windows to
fog up. NOTE:
● Odors from inside and outside the vehicle
can build up in the air conditioner unit. Odor
can enter the passenger compartment
through the vents.
● When parking, set the heater and air condi-
tioner controls to turn off air recirculation to
allow fresh air into the passenger compart-
ment. This should help reduce odors inside
the vehicle.
HEATER AND AIR CONDITIONER
(manual) (if so equipped)
Monitor, climate, audio, phone and voice recognition systems4-33
Page 284 of 671
SATELLITE RADIO RECEPTION (if so
equipped)
When the satellite radio is used for the first time
or the battery has been replaced, the satellite
radio may not work properly. This is not a mal-
function. Wait more than 10 minutes with satellite
radio ON and the vehicle outside of any metal or
large building for satellite radio to receive all of
the necessary data.
No satellite radio reception is available and “NO
SAT” is displayed when the SAT band option is
selected unless optional satellite receiver and
antenna are installed and a SiriusXM® Satellite
Radio service subscription is active. Satellite ra-
dio is not available in Alaska, Hawaii and Guam.
Satellite radio performance may be affected if
cargo carried on the roof blocks the satellite radio
signal.
If possible, do not put cargo over the satellite
antenna.
A build up of ice on the satellite radio antenna can
affect satellite radio performance. Remove the
ice to restore satellite radio reception.
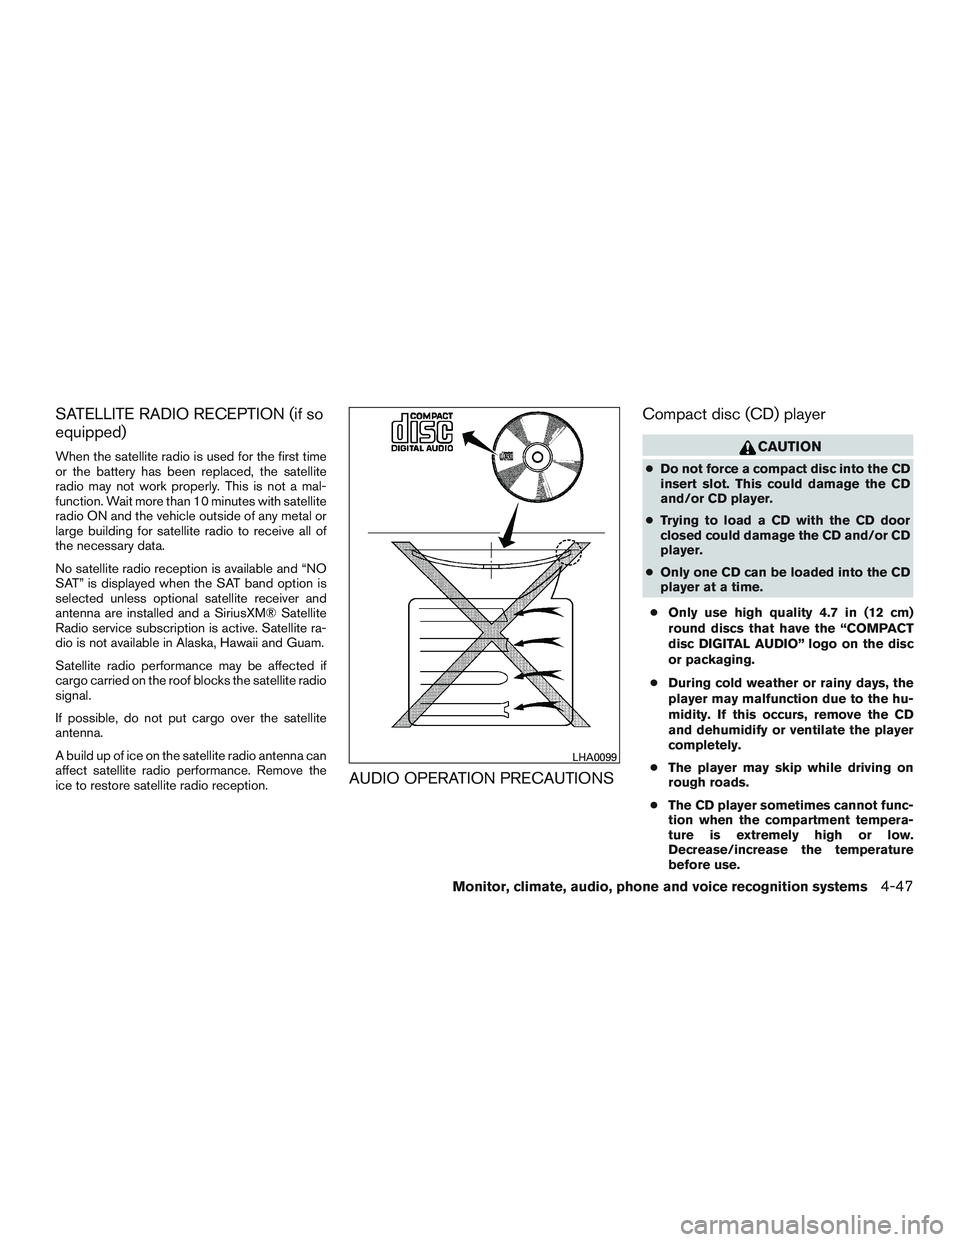
AUDIO OPERATION PRECAUTIONSCompact disc (CD) player
Page 308 of 671
CAUTION
●To avoid damage and loss of function
when using a USB device, note the fol-
lowing precautions.
● Do not force the USB device into the
USB port. Inserting the USB device
tilted or up-side-down into the port may
damage the port. Make sure that the
USB device is connected correctly into
the USB port.
● Do not grab the USB port cover (if so
equipped) when pulling the USB device
out of the port. This could damage the
port and the cover.
● Do not leave the USB cable in a place
where it can be pulled unintentionally.
Pulling the cable may damage the port.
For additional information, refer to your device
manufacturer’s owner information regarding the
proper use and care of the device.
The USB port is located on the center console
beneath the heater and air conditioner controls.
Insert the USB device into the connection port.
When a compatible storage device is plugged
into the connection port, compatible audio files
on the storage device can be played through the
vehicle’s audio system.
Audio file operation
MEDIA button
Place the ignition switch in the ON or ACC
position and press the MEDIA button to switch to
the USB input mode. If a CD is playing or another
audio source is plugged in through the AUX IN
jack located in the center console, the MEDIA
button toggles between the three sources.
Play information
Information about the audio files being played
can be displayed on the display screen of the
vehicle’s audio system. Depending on how the
audio files are encoded, information such as
Folder, Song and Artist will be displayed.
The track number and number of total tracks in
the folder are displayed on the screen as well.
Page 309 of 671
The current play pattern of the USB device is
displayed on the screen unless no pattern is
applied.
RPT (repeat) button
When the RPT (repeat) button is pressed while
an audio file on the USB device is playing, the
play pattern can be changed as follows:
1 Folder Repeat→1 Track Repeat →OFF
1 Track Repeat: the current track will be re-
peated.
1 Folder Repeat: the current folder will be re-
peated.
OFF: No repeat play pattern is applied. The indi-
cator on the display will turn off.
The current play pattern of the USB device is
displayed on the screen unless no pattern is
applied.
TUNE/SCROLL knob (If so equipped)
If there are multiple folders with audio files on the
USB device, turn the TUNE/SCROLL knob to
change folders. Turn the knob to the left to skip
back a folder. Turn the knob to the right to skip
ahead a folder. If there is only one folder of audio
files on the USB device, turning the
TUNE/SCROLL knob in either direction will re-
turn to the first track on the USB device. TUNE/FOLDER knob (if so equipped)
If there are multiple folders with audio files on the
USB device, turn the TUNE/FOLDER knob to
change folders. Turn the knob to the left to skip
back a folder. Turn the knob to the right to skip
ahead a folder. If there is only one folder of audio
files on the USB device, turning the
TUNE/FOLDER knob in either direction will re-
turn to the first track on the USB device.
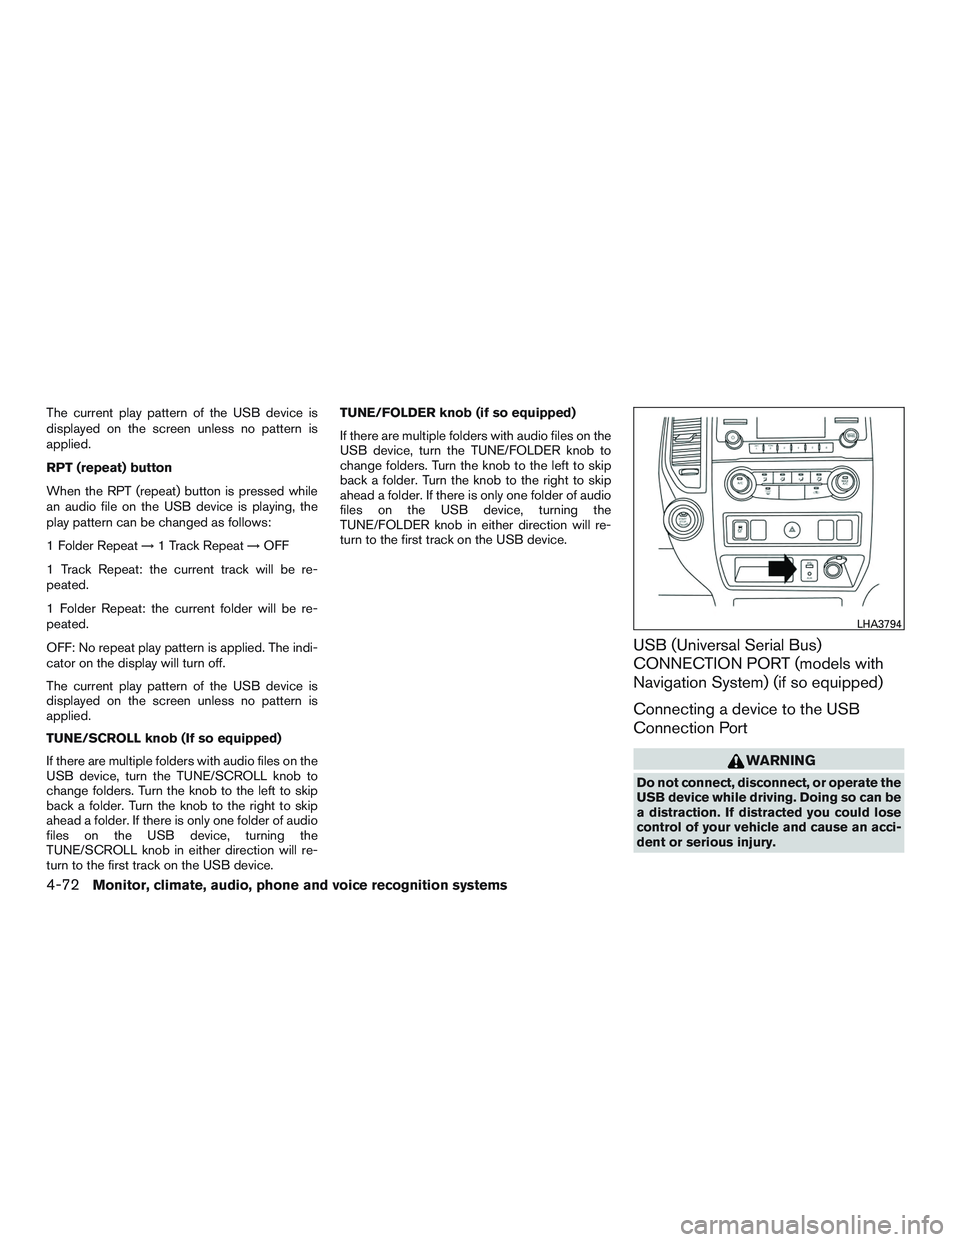
USB (Universal Serial Bus)
CONNECTION PORT (models with
Navigation System) (if so equipped)
Connecting a device to the USB
Connection Port
Page 310 of 671
CAUTION
●To avoid damage and loss of function
when using a USB device, note the fol-
lowing precautions.
● Do not force the USB device into the
USB port. Inserting the USB device
tilted or up-side-down into the port may
damage the port. Make sure that the
USB device is connected correctly into
the USB port.
● Do not grab the USB port cover (if so
equipped) when pulling the USB device
out of the port. This could damage the
port and the cover.
● Do not leave the USB cable in a place
where it can be pulled unintentionally.
Pulling the cable may damage the port.
For additional information, refer to your device
manufacturer’s owner information regarding the
proper use and care of the device.
The USB port is located on the center console
beneath the heater and air conditioner controls.
Insert the USB device into the connection port.
When a compatible storage device is plugged
into the connection port, compatible audio files
on the storage device can be played through the
vehicle’s audio system.
Audio file operation
AUX button
Place the ignition switch in the ON or ACC
position and press the AUX button to switch to
the USB input mode. If another audio source is
playing and a USB memory device is inserted,
press the AUX button until the center display
changes to the USB memory mode.
If the system has been turned off while the USB
memory was playing, press the POWER button
to restart the USB memory.
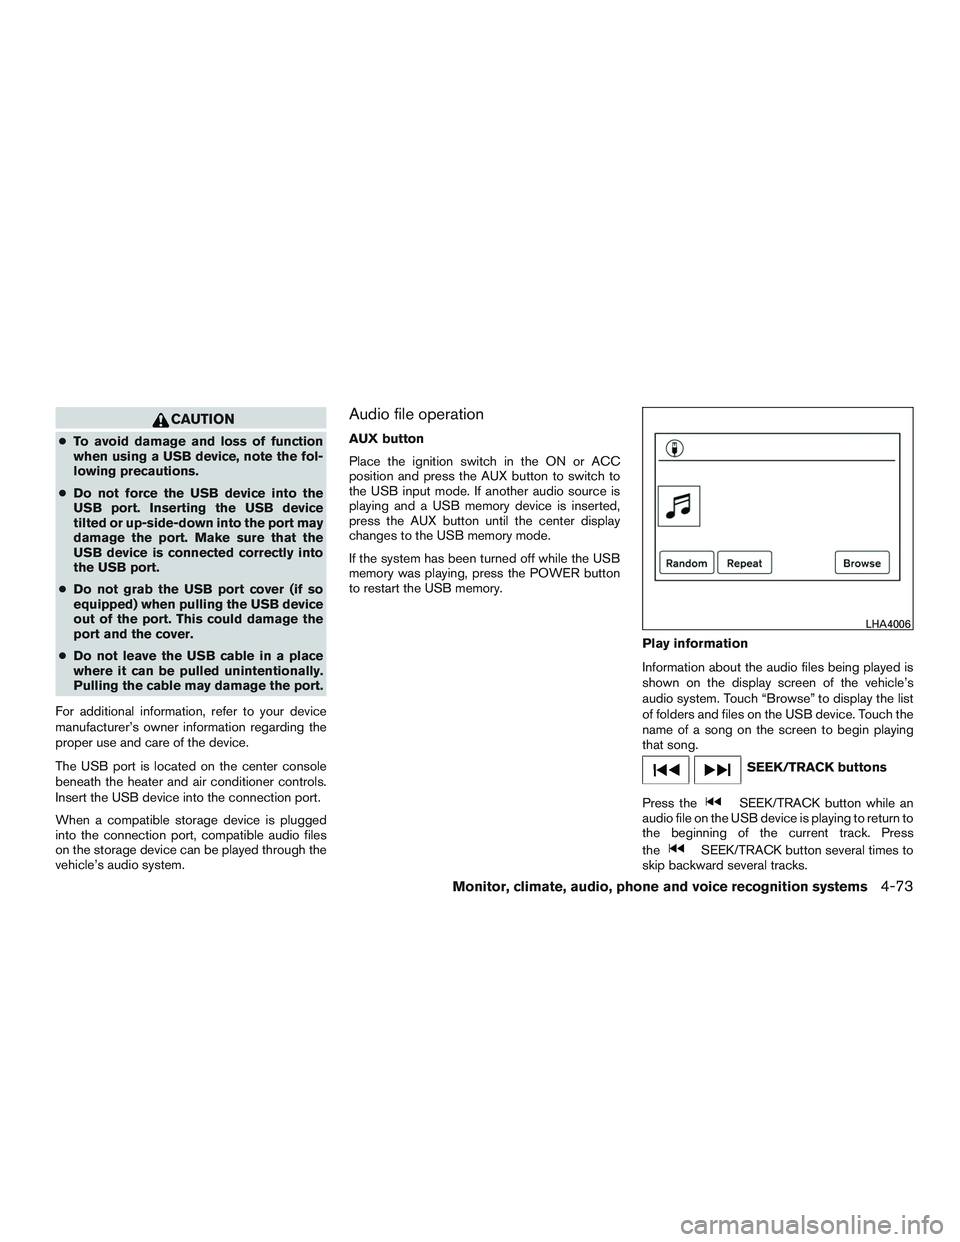
Play information
Information about the audio files being played is
shown on the display screen of the vehicle’s
audio system. Touch “Browse” to display the list
of folders and files on the USB device. Touch the
name of a song on the screen to begin playing
that song.
Page 320 of 671
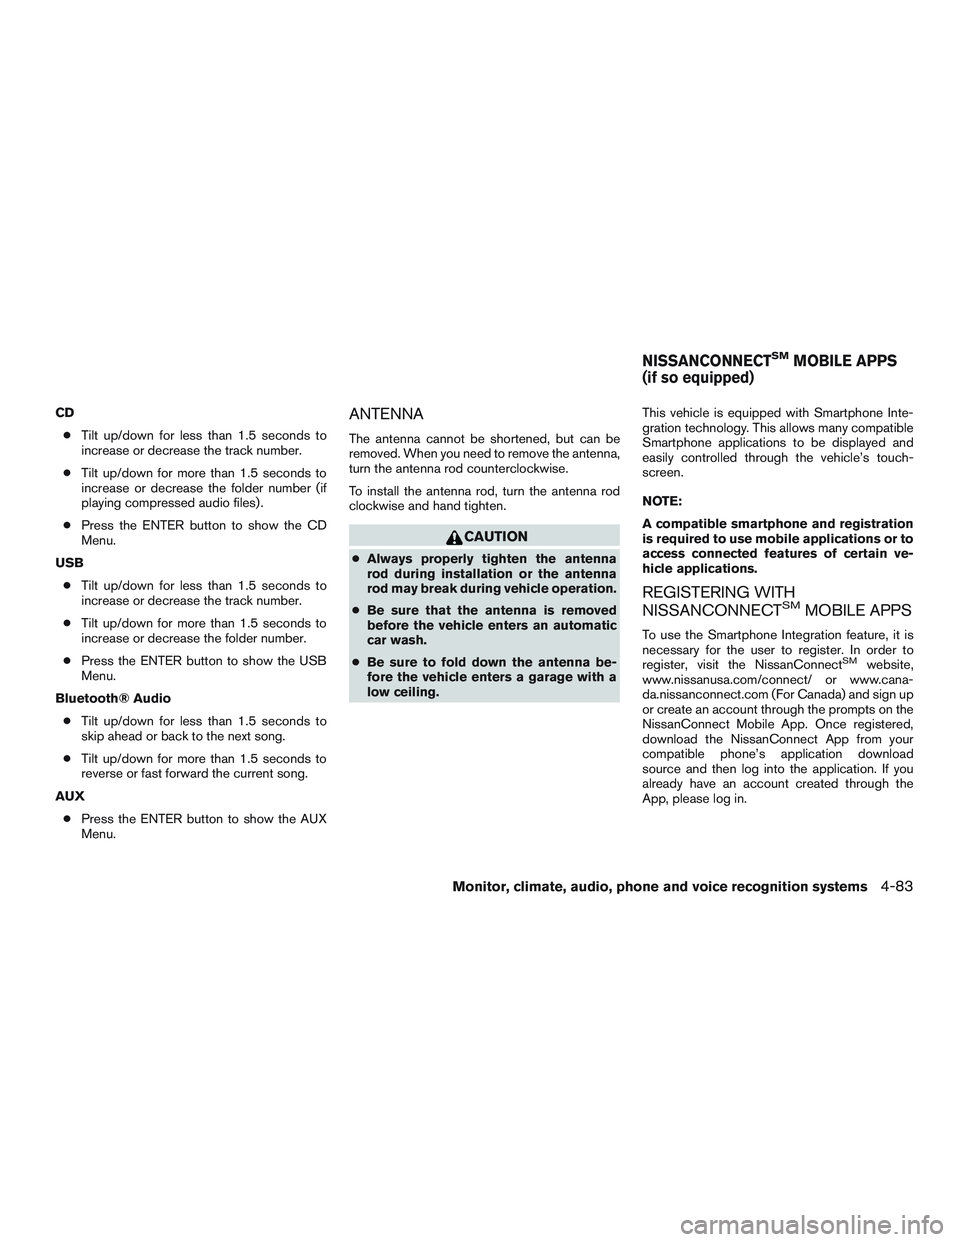
CD● Tilt up/down for less than 1.5 seconds to
increase or decrease the track number.
● Tilt up/down for more than 1.5 seconds to
increase or decrease the folder number (if
playing compressed audio files) .
● Press the ENTER button to show the CD
Menu.
USB ● Tilt up/down for less than 1.5 seconds to
increase or decrease the track number.
● Tilt up/down for more than 1.5 seconds to
increase or decrease the folder number.
● Press the ENTER button to show the USB
Menu.
Bluetooth® Audio ● Tilt up/down for less than 1.5 seconds to
skip ahead or back to the next song.
● Tilt up/down for more than 1.5 seconds to
reverse or fast forward the current song.
AUX ● Press the ENTER button to show the AUX
Menu.ANTENNA
The antenna cannot be shortened, but can be
removed. When you need to remove the antenna,
turn the antenna rod counterclockwise.
To install the antenna rod, turn the antenna rod
clockwise and hand tighten.
Page 325 of 671
WARNING
●The Mobile Entertainment System is
designed for rear seat passenger view-
ing only.
● It is unlawful in most jurisdictions for a
person to drive a motor vehicle which is
equipped with a television viewer or
screen that is located in the motor ve-
hicle at any point forward of the back of
the driver’s seat, or that is visible, di-
rectly or indirectly, to the driver while
operating the vehicle.
● In the interest of safety, the monitors
should never be installed where they
will be visible, directly or indirectly, by
the operator of the motor vehicle.
● If your vehicle is equipped with a wire-
less rear seat audio system or any other
wireless infrared device, make sure it is
powered off when operating the Rear
Seat Entertainment System. If both sys-
tems are powered on at the same time,
the two systems may obstruct each
other, possibly creating undesirable au-
dio interference through the wireless
headphones. ●
For safety reasons, when changing
video discs it is recommended that the
vehicle is not in motion, and that you do
not allow children to unfasten safety
belts to change discs or make any ad-
justments to the system. System adjust-
ments can be accomplished using the
remote control unit, while safety belts
remain fastened.