2017 NISSAN TITAN ECO mode
[x] Cancel search: ECO modePage 23 of 40

21
FM/AM/SiriusXM®
* SATELLITE RADIO WITH CD PLAYER
(if so equipped)
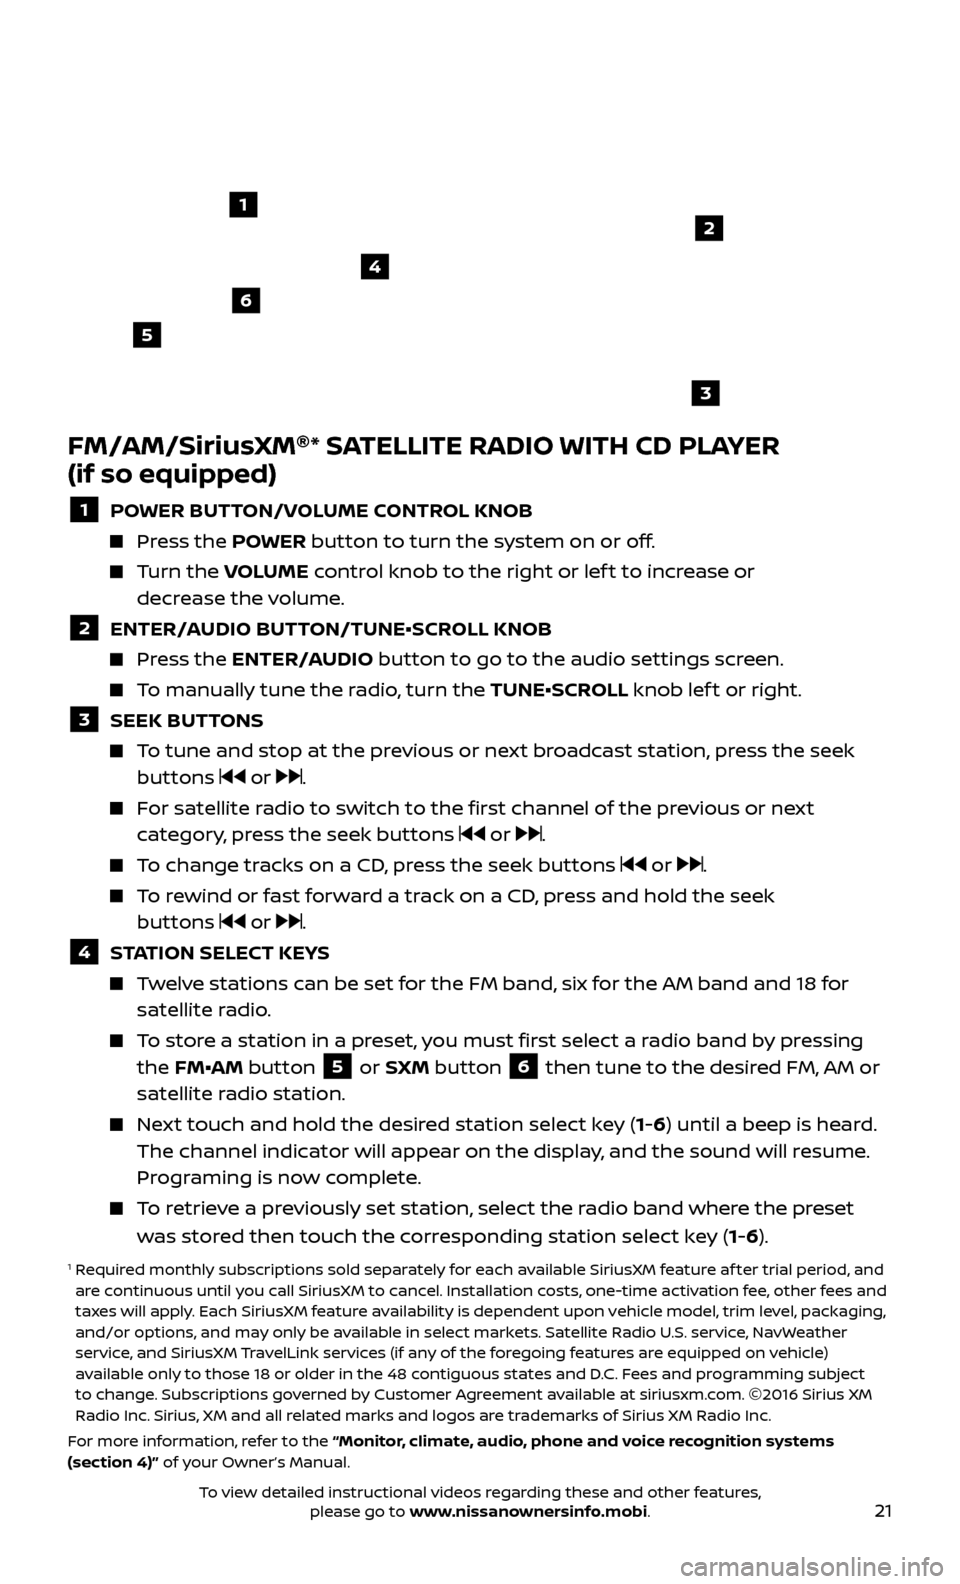
1 POWER BUTTON/VOLUME CONTROL KNOB
Press the POWER button to turn the system on or off.
Turn the V OLUME control knob to the right or lef t to increase or
decrease the volume.
2 ENTER/A UDIO BUTTON/TUNE•SCROLL KNOB Press the ENTER/AUDIO button to go to the audio settings screen.
To manually tune the radio, turn the TUNE•SCROLL knob lef t or right.
3 SEEK BUT TONS To tune and stop at the previous or next broadcast station, press the seek
buttons or .
For satellite radio to switch to the first channel of the previous or next category, press the seek buttons or .
To change tracks on a CD, press the seek buttons or .
To rewind or fast forward a track on a CD, press and hold the seek buttons or .
4 S TATION SELECT KEYS Twelve stations can be set for the FM band, six for the AM band and 18 for
satellite radio.
To store a station in a preset, you must first select a radio band by pressing the FM•AM button 5 or SXM button 6 then tune to the desired FM, AM or
satellite radio station.
Next touch and hold the desired station select key (1-6) until a beep is heard. The channel indicator will appear on the display, and the sound will resume.
Programing is now complete.
To retrieve a previously set station, select the radio band where the preset was stored then touch the corresponding station select key (1-6).
1 Required monthly subscriptions sold separately for each available SiriusXM feature af ter trial period, and are continuous until you call SiriusXM to cancel. Installation costs, one-time activation fee, other fees and
taxes will apply. Each SiriusXM feature availability is dependent upon vehicle model, trim level, packaging,
and/or options, and may only be available in select markets. Satellite Radio U.S. service, NavWeather
service, and SiriusXM TravelLink services (if any of the foregoing features are equipped on vehicle)
available only to those 18 or older in the 48 contiguous states and D.C. Fees and programming subject
to change. Subscriptions governed by Customer Agreement available at siriusxm.com. ©2016 Sirius XM
Radio Inc. Sirius, XM and all related marks and logos are trademarks of Sirius XM Radio Inc.
For more information, refer to the “Monitor, climate, audio, phone and voice recognition systems
(section 4)” of your Owner’s Manual.
4
6
2
3
1
5
To view detailed instructional videos regarding these and other features, please go to www.nissanownersinfo.mobi.
Page 26 of 40

24
VEHICLE INFORMATION DISPLAY
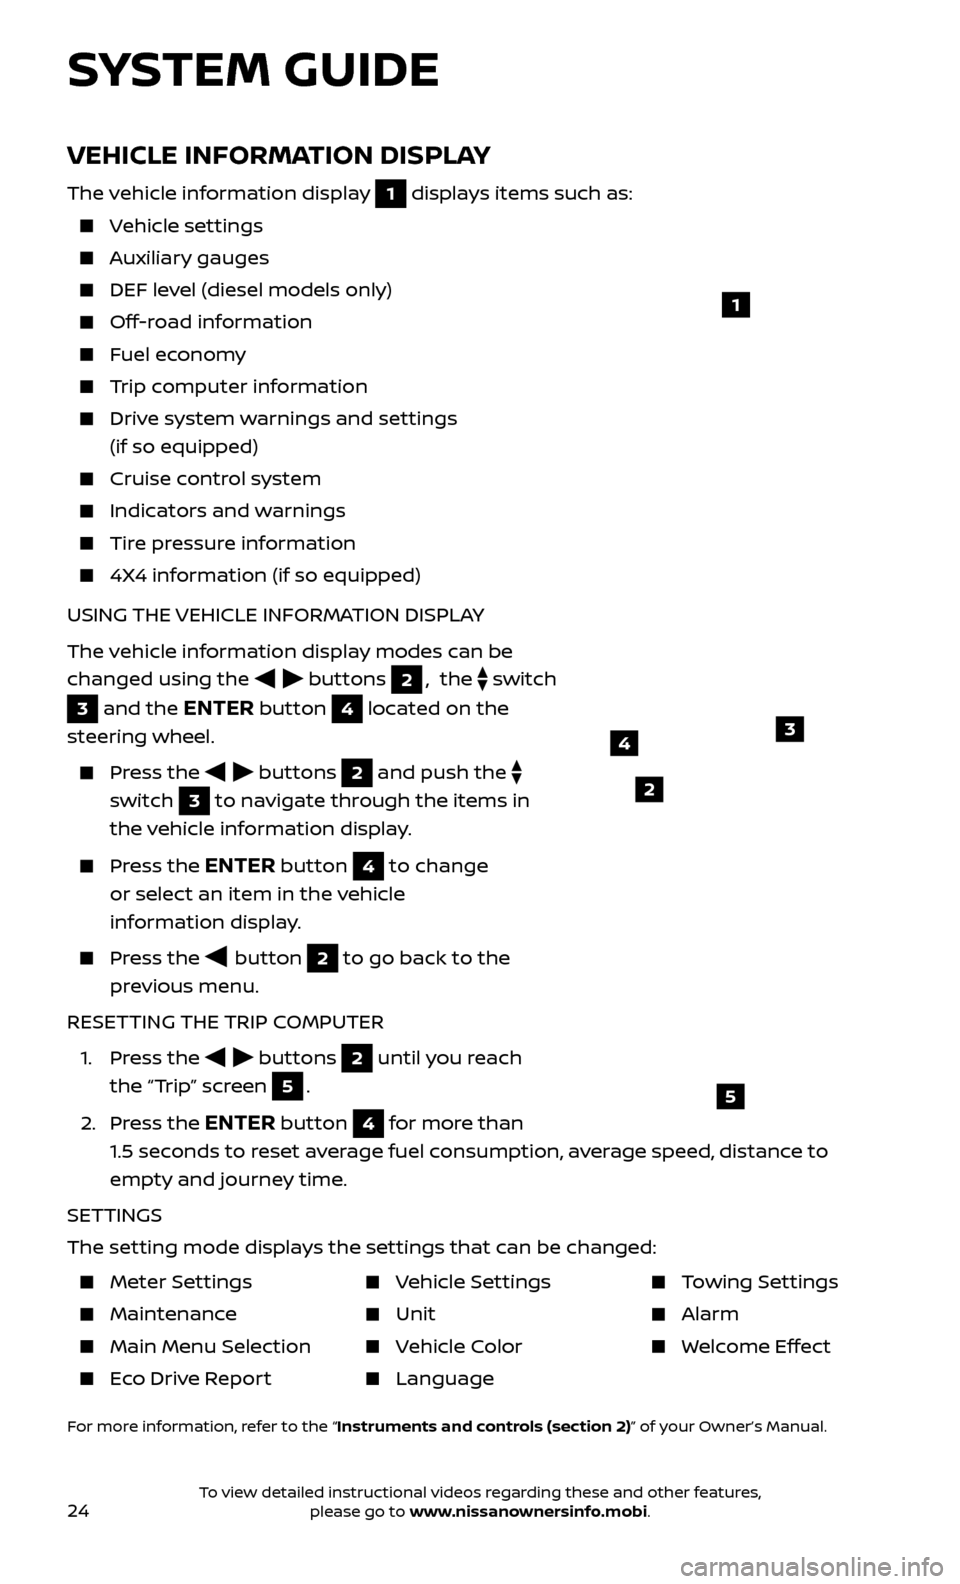
The vehicle information display 1 displays items such as:
Vehicle settings
Auxiliary gauges
DEF level (diesel models only)
Off-road information
Fuel economy
Trip computer information
Drive system warnings and settings (if so equipped)
Cruise control system
Indicators and warnings
Tire pressure information
4X4 information (if so equipped)
USING THE VEHICLE INFORMATION DISPLAY
The vehicle information display modes can be
changed using the
buttons 2, the switch
3 and the ENTER button 4 located on the
steering wheel.
Press the buttons 2 and push the
switch
3 to navigate through the items in
the vehicle information display.
Press the ENTER button 4 to change
or select an item in the vehicle
information display.
Press the button 2 to go back to the
previous menu.
RESETTING THE TRIP COMPUTER
1.
Press the
buttons 2 until you reach
the “Trip” screen
5.
2.
Press the
ENTER button 4 for more than
1.5 seconds to reset average fuel consumption, average speed, distance to
empty and journey time.
SETTINGS
The setting mode displays the settings that can be changed:
1
34
5
2
SYSTEM GUIDE
Meter Settings
Maintenance
Main Menu Selec tion
Eco Drive Report
Vehicle Settings
Unit
Vehicle Color
Language
Towing Settings
Alarm
Welcome Effect
For more information, refer to the “Instruments and controls (section 2)” of your Owner’s Manual.
To view detailed instructional videos regarding these and other features, please go to www.nissanownersinfo.mobi.
Page 30 of 40

28
BLUETOOTH®
SYSTEM WITHOUT NAVIGATION1, 2
(if so equipped)
CONNECTING PROCEDURE3
The vehicle must be stationary when connecting the cellular phone.
1.
Press the
button on the steering wheel. The system announces the
available commands.
2.
Sa
y: “Add Phone”. The system acknowledges the command and asks you to
initiate connecting from the cellular phone handset.
3.
Initiate c
onnecting from the cellular phone:
The connecting procedure varies according to each cellular phone model. For detailed connecting instructions and a list of compatible cellular phones,
please visit
www.NissanUSA.com/bluetooth.
When prompted, confirm that the PIN on the display matches the PIN shown on the handset. If your handset does not support Secure Simple Pairing and
requests you to input a PIN, enter “1234” from the handset.
PHONEBOOK SETUP
The phonebook stor es up to 1,000 entries for each cellular phone paired with
the system.
Depending on y our cellular phone, the system may automatically download
your cellular phone’s entire phonebook to the vehicle’s Bluetooth ®,2 system.
MAKING A CALL FROM THE PHONEBOOK
1. Pr
ess the
button on the steering wheel.
2.
A
f ter waiting for the tone, say “Call” followed by the name of a phonebook entry.
For example, “Call Michael Smith”.
3. C
onfirm the correct name is recognized by saying “Dial” af ter the tone.
MAKING A CALL BY PHONE NUMBER
1. Pr
ess the
button on the steering wheel. A tone will sound.
2.
Sa
y: “Phone”. The system acknowledges the command and announces the next
set of available commands.
3.
Sa
y: “Dial Number”. The system acknowledges the command and announces the
next set of available commands.
4.
Sa
y the number you wish to call starting with the area code in single
digit format.
5
.
When y
ou have finished speaking the phone number, the system repeats it back
and announces the available commands.
6
.
Sa
y: “Dial”. The system acknowledges the command and makes the call.
SYSTEM GUIDE
To view detailed instructional videos regarding these and other features, please go to www.nissanownersinfo.mobi.
Page 35 of 40

33
To help promote safe driving, some functions cannot be operated or have limited operation when the vehicle speed is above 5 mph (8 km/h). The
on-screen text and keys for these restricted functions will be “grayed-out”
or muted and cannot be selected while driving. These functions will become
available again when the vehicle speed is reduced to 5 mph (8 km/h). Voice
commands may be available for some of the restricted functions. For more
information, refer to the “Monitor, climate, audio, phone and voice recognition
systems (section 4)” of your Owner’s Manual.
1 NAV button – Press to access the functions of the Navigation System.
2 MAP button – Press to display the current location map screen.
3 VOL control knob – Turn right to increase the volume or lef t to decrease
the volume.
4 key – Select to zoom the map in.
5 key – Select to zoom the map out.
6 button – Press to access SiriusXM Traffic, MyApps, Settings, SiriusXM
Travel Link, Voice Commands, and NissanConnectSM Services.
7 button – Press to change the display brightness between day and night
modes. While the mode is being displayed, the brightness can be adjusted using
the
TUNE•SCROLL knob. Press and hold to turn the display off. Press again to
turn the display on.
8 BACK button – Press to return to the previous screen.
9 TUNE•SCR OLL knob – Turn to navigate the items in a list. Press to select a
menu item.
10 Touch-screen display
11 SD-card location – An SD-card with map data must be inserted here for map functions to operate.
1 Never program while driving. GPS mapping may not be detailed in all areas or reflect current road status.
For more information, refer to your Navigation System Owner’s Manual.
To view detailed instructional videos regarding these and other features, please go to www.nissanownersinfo.mobi.