2017 NISSAN TITAN stop start
[x] Cancel search: stop startPage 437 of 671
WARNING
●Never rely solely on the hill start assist
system to prevent the vehicle from mov-
ing backward on a hill. Always drive
carefully and attentively. Depress the
brake pedal when the vehicle is stopped
on a steep hill. Be especially careful
when stopped on a hill on frozen or
muddy roads. Failure to prevent the ve-
hicle from rolling backwards may result
in a loss of control of the vehicle and
possible serious injury or death.
● The hill start assist system is not de-
signed to hold the vehicle at a standstill
on a hill. Depress the brake pedal when
the vehicle is stopped on a steep hill.
Failure to do so may cause the vehicle
to roll backwards and may result in a
collision or serious personal injury.
● The hill start assist may not prevent the
vehicle from rolling backwards on a hill
under all load or road conditions. Al-
ways be prepared to depress the brake
pedal to prevent the vehicle from rolling
backwards. Failure to do so may result
in a collision or serious personal injury. When the vehicle is stopped on a hill, the hill start
assist system automatically keeps the brakes ap-
plied. This helps prevents the vehicle from rolling
backward in the time it takes the driver to release
the brake pedal and apply the accelerator when
the vehicle is stopped on a hill.
Hill start assist will operate automatically under
the following conditions:
● The shift lever is shifted to a forward or
reverse gear.
● The vehicle is stopped completely on a hill
by applying the brake.
The maximum holding time is 2 seconds. After
2 seconds the vehicle will begin to roll back and
hill start assist will stop operating completely.
Hill start assist will not operate when the shift
lever is shifted into N (Neutral) or P (Park) or on a
flat and level road. When the VDC warning light
illuminates in the meter, the hill start assist system
will not operate. The sonar (parking sensor) system sounds a tone
to inform the driver of obstacles near the bumper.
When the “DISPLAY” key is ON, the sonar view
will automatically appear in the meter.
WARNING
●
The sonar (parking sensor) system is a
convenience but it is not a substitute for
proper parking.
● The driver is always responsible for
safety during parking and other maneu-
vers. Always look around and check that
it is safe to do so before parking.
LSD2465
HILL START ASSIST SYSTEM FRONT AND REAR SONAR SYSTEM
(if so equipped)
5-60Starting and driving
Page 438 of 671
●Read and understand the limitations of
the sonar (parking sensor) system as
contained in this section. The colors of
the corner sonar indicator and the dis-
tance guide lines in the front/rear view
indicate different distances to the
object.
● Inclement weather or ultrasonic
sources such as an automatic car wash,
a truck’s compressed-air brakes or a
pneumatic drill may affect the function
of the system; this may include reduced
performance or a false activation.
● This function is designed as an aid to
the driver in detecting large stationary
objects to help avoid damaging the
vehicle.
● The system is not designed to prevent
contact with small or moving objects.
Always move slowly. The system will
not detect small objects below the bum-
per, and may not detect objects close to
the bumper or on the ground.
● The system may not detect the follow-
ing objects: Fluffy objects such as
snow, cloth, cotton, glass, wool, etc.,
Thin objects such as rope, wire and
chain, etc., or wedge-shaped objects. If your vehicle sustains damage to the bumper
fascia, leaving it misaligned or bent, the sensing
zone may be altered causing inaccurate mea-
surement of obstacles or false alarms.
CAUTION
●
Excessive noise (such as audio system
volume or an open vehicle window) will
interfere with the tone and it may not be
heard.
● Keep the sonar sensors (located on the
bumper fascia) free from snow, ice and
large accumulations of dirt. Do not
clean the sensors with sharp objects. If
the sensors are covered, the accuracy of
the sonar function will be diminished.
SYSTEM OPERATION
The system informs with a visual and audible alert
of front obstacles when the shift lever is in the D
(Drive) position and both front and rear obstacles
when the shift lever is in the R (Reverse) position. Sonar Operation Table
FR Sensor RR Sensor
Range Sound Display Sound Display Px†x †
R ooo o
Nx†x †
Doox †
o – Display/Beep when detect
† – Display on camera view
x – No Display and Beep
The system is deactivated at speeds above
6 mph (10 km/h). It is reactivated at lower
speeds.
The intermittent tone will stop after 3 seconds
when an obstacle is detected by only the corner
sensor and the distance does not change. The
tone will stop when the obstacle get away from
the vehicle.
When the object is detected, the indicator
(green) appears and blinks and the tone sounds
intermittently. When the vehicle moves closer to
the object, the color of the indicator turns yellow
and the rate of the blinking increase. When the
vehicle is very close to the object, the indicator
stops blinking and turns red, and the tone sounds
continuously.
Starting and driving5-61
Page 443 of 671
SPECIAL WINTER EQUIPMENT
It is recommended that the following items be
carried in the vehicle during winter:● A scraper and stiff-bristled brush to remove
ice and snow from the windows and wiper
blades.
● A sturdy, flat board to be placed under the
jack to give it firm support.
● A shovel to dig the vehicle out of snowdrifts.
● Extra washer fluid to refill the windshield-
washer fluid reservoir.
DRIVING ON SNOW OR ICE
WARNING
● Wet ice (32°F, 0°C and freezing rain) ,
very cold snow or ice can be slick and
very hard to drive on. The vehicle will
have much less traction or “grip” under
these conditions. Try to avoid driving on
wet ice until the road is salted or
sanded.
● Whatever the condition, drive with cau-
tion. Accelerate and slow down with
care. If accelerating or downshifting too
fast, the drive wheels will lose even
more traction. ●
Allow more stopping distance under
these conditions. Braking should be
started sooner than on dry pavement.
● Allow greater following distances on
slippery roads.
● Watch for slippery spots (glare ice) .
These may appear on an otherwise
clear road in shaded areas. If a patch of
ice is seen ahead, brake before reach-
ing it. Try not to brake while on the ice,
and avoid any sudden steering
maneuvers.
● Do not use the cruise control (if so
equipped) on slippery roads.
● Snow can trap dangerous exhaust
gases under your vehicle. Keep snow
clear of the exhaust pipe and from
around your vehicle.
ENGINE BLOCK HEATER (if so
equipped)
Engine block heaters are used to assist with cold
temperature starting.
● Engine block heater should be used when
the outside temperature is 0For lower. ●
Engine block heaters run continuously while
plugged into correct voltage electrical out-
let.
WARNING
● Do not use your engine block heater
with an ungrounded electrical system or
a 2-pronged adapter. You can be seri-
ously injured by an electrical shock if
you use an ungrounded connection.
● Disconnect and properly store the en-
gine block heater cord before starting
the engine. Damage to the cord could
result in an electrical shock and can
cause serious injury.
● Use a heavy-duty 3-wire, 3-pronged ex-
tension cord rated for at least 10 A. Plug
the extension cord into a Ground Fault
Interrupt (GFI) protected, grounded
110-VAC outlet. Failure to use the
proper extension cord or a grounded
outlet can result in a fire or electrical
shock and cause serious personal
injury.
To use the engine block heater: 1. Turn the engine off.
2. Open the hood and unwrap the engine block heater cord.
5-66Starting and driving
Page 448 of 671
TIRE PRESSURE MONITORING
SYSTEM (TPMS)
This vehicle is equipped with TPMS. It monitors
tire pressure of all tires except the spare. When
the low tire pressure warning light is lit, and the
CHECK TIRE PRESSURE warning appears in
the vehicle information display, one or more of
your tires is significantly under-inflated. If
equipped, the system also displays pressure of
all tires (except the spare tire) on the display
screen by sending a signal from a sensor that is
installed in each wheel. If the vehicle is being
driven with low tire pressure, the TPMS will acti-
vate and warn you of it by the low tire pressure
warning light. This system will activate only when
the vehicle is driven at speeds above 16 mph
(25 km/h). For additional information, refer to
“Warning lights, indicator lights and audible re-
minders” in the “Instruments and controls” sec-
tion and “Tire Pressure Monitoring System
(TPMS)” in the “Starting and driving” section of
this manual.
WARNING
●Radio waves could adversely affect
electric medical equipment. Those who
use a pacemaker should contact the
electric medical equipment manufac-
turer for the possible influences before
use.
● If the low tire pressure warning light
illuminates while driving, avoid sudden
steering maneuvers or abrupt braking,
reduce vehicle speed, pull off the road
to a safe location and stop the vehicle
as soon as possible. Driving with under-
inflated tires may permanently damage
the tires and increase the likelihood of
tire failure. Serious vehicle damage
could occur and may lead to an accident
and could result in serious personal in-
jury. Check the tire pressure for all four
tires. Adjust the tire pressure to the
recommended COLD tire pressure
shown on the Tire and Loading Informa-
tion label to turn the low tire pressure
warning light OFF. If you have a flat tire,
replace it with a spare tire as soon as
possible. ●
Since the spare tire is not equipped with
the TPMS, when a spare tire is mounted
or a wheel is replaced, tire pressure will
not be indicated, the TPMS will not
function and the low tire pressure warn-
ing light will flash for approximately
one minute. The light will remain on
after one minute. Have your tires re-
placed and/or TPMS system reset as
soon as possible. It is recommended
that you visit a NISSAN dealer for these
services.
● Replacing tires with those not originally
specified by NISSAN could affect the
proper operation of the TPMS.
● Do not inject any tire liquid or aerosol
tire sealant into the tires, as this may
cause a malfunction of the tire pressure
sensors.
CHANGING A FLAT TIRE
If you have a flat tire, follow the instructions be-
low:
Stopping the vehicle
1. Safely move the vehicle off the road and
away from traffic.
2. Turn on the hazard warning flashers.
FLAT TIRE
In case of emergency6-3
Page 458 of 671
CAUTION
●Do not push start this vehicle. The
three-way catalyst or engine may be
damaged.
● Automatic transmission models cannot
be push-started or tow-started. At-
tempting to do so may cause transmis-
sion damage.
● Three way catalyst equipped models
should not be started by pushing since
the three way catalyst may be damaged.
● Never try to start the vehicle by towing
it; when the engine starts, the forward
surge could cause the vehicle to collide
with the tow vehicle.
WARNING
● Do not continue to drive if your vehicle
overheats. Doing so could cause engine
damage or a vehicle fire.
● To avoid the danger of being scalded,
never remove the radiator or coolant
reservoir cap while the engine is still
hot. When the radiator or coolant reser-
voir cap is removed, pressurized hot
water will spurt out, possibly causing
serious injury.
● Do not open the hood if steam is com-
ing out.
If your vehicle is overheating (indicated by an
extremely high temperature gauge reading and
the illumination of the engine oil pressure/engine
coolant temperature high indicator light) , or if you
feel a lack of engine power, detect abnormal
noise, etc. take the following steps: 1. Move the vehicle safely off the road, apply the parking brake and move the shift lever to
P (Park) .
Do not stop the engine.
2. Turn off the air conditioner. Open all the windows, move the heater or air conditioner
temperature control to maximum hot and fan
control to high speed. 3. If engine overheating is caused by climbing a
long hill on a hot day, run the engine at a fast
idle (approximately 1,500 rpm) until the tem-
perature gauge indication returns to normal.
4. Get out of the vehicle. Look and listen for steam or coolant escaping from the radiator
before opening the hood. If steam or coolant
is escaping, turn off the engine. Do not open
the hood further until no steam or coolant
can be seen.
5. Open the engine hood.
WARNING
If steam or water is coming from the en-
gine, stand clear to prevent getting
burned.
6. Visually check drive belts for damage or looseness. Also check if the cooling fan is
running. The radiator hoses and radiator
should not leak water. If coolant is leaking,
the water pump belt is missing or loose, or
the cooling fan does not run, stop the en-
gine.
PUSH STARTING IF YOUR VEHICLE OVERHEATS
In case of emergency6-13
Page 489 of 671
WARNING
Be sure the engine and ignition switch are
off and that the parking brake is engaged
securely.
CAUTION
Be sure to use the correct socket to re-
move the spark plugs. An incorrect socket
can damage the spark plugs.
If replacement is required, it is recommended that
you visit a NISSAN dealer for this service.
WARNING
● Operating the engine with the air
cleaner removed can cause you or oth-
ers to be burned. The air cleaner not
only cleans the air, it stops the flame if
the engine backfires. If it isn’t there, and
the engine backfires, you could be
burned. Do not drive with the air cleaner
removed, and be careful when working
on the engine with the air cleaner
removed. ●
Never pour fuel into the throttle body or
attempt to start the engine with the air
cleaner removed. Doing so could result
in serious injury.
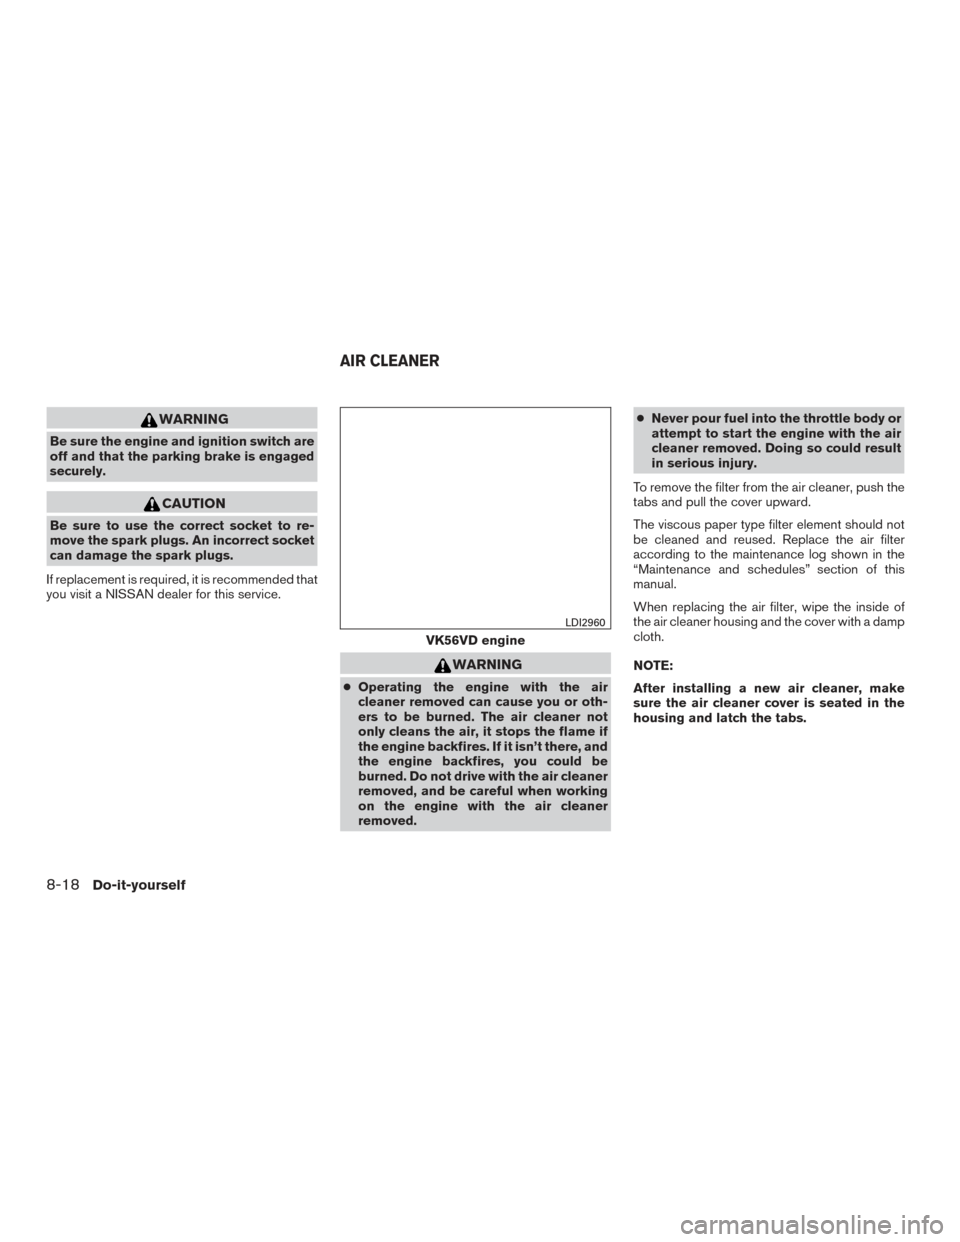
To remove the filter from the air cleaner, push the
tabs and pull the cover upward.
The viscous paper type filter element should not
be cleaned and reused. Replace the air filter
according to the maintenance log shown in the
“Maintenance and schedules” section of this
manual.
When replacing the air filter, wipe the inside of
the air cleaner housing and the cover with a damp
cloth.
NOTE:
After installing a new air cleaner, make
sure the air cleaner cover is seated in the
housing and latch the tabs.
VK56VD engine
LDI2960
AIR CLEANER
8-18Do-it-yourself
Page 589 of 671
●Be certain your rearview mirrors conform to
all federal, state or local regulations. If not,
install any mirrors required for towing before
driving the vehicle.
● Determine the overall height of the vehicle
and trailer so the required clearance is
known.
Trailer towing tips
In order to gain skill and an understanding of the
vehicle’s behavior, you should practice turning,
stopping and backing up in an area which is free
from traffic. Steering stability and braking perfor-
mance will be somewhat different than under
normal driving conditions.
● Always secure items in the trailer to prevent
load shift while driving.
● Lock the trailer hitch coupler with a pin or
lock to prevent the coupler from inadver-
tently becoming unlatched.
● Avoid abrupt starts, acceleration or stops.
● Avoid sharp turns or lane changes.
● Always drive your vehicle at a moderate
speed. ●
When backing up, hold the bottom of the
steering wheel with one hand. Move your
hand in the direction in which you want the
trailer to go. Make small corrections and
back up slowly. If possible, have someone
guide you when you are backing up.
Always block the wheels on both vehicle and
trailer when parking. Parking on a slope is not
recommended; however, if you must do so:CAUTION
If you move the shift selector to the P
(Park) position before blocking the
wheels and applying the parking brake,
transmission damage could occur.
1. Apply and hold the brake pedal.
2. Have someone place blocks on the downhill side of the vehicle and trailer wheels.
3. After the wheel blocks are in place, slowly release the brake pedal until the blocks ab-
sorb the vehicle load.
4. Apply the parking brake.
5. Shift the transmission into P (Park) . 6. Make sure the
indicator light (if so
equipped) indicates the transfer case is in
4H, 4L, or 2H and that the ATP light is off. If
the
indicator light is flashing, or the
ATP light is ON, make sure the transmission
is in P (Park) (A/T) and turn the 4WD switch
to 2WD or 4H. For additional information,
refer to “Automatic transmission park warn-
ing light” in the “Instruments and controls”
section and “Using 4-wheel drive (4WD)” in
the “Starting and driving” section of this
manual.
7. Turn off the engine.
To drive away:
1. Start the vehicle.
2. Apply and hold the brake pedal.
3. Shift the transmission into gear.
4. Release the parking brake.
5. Drive slowly until the vehicle and trailer are clear from the blocks.
6. Apply and hold the brake pedal.
7. Have someone retrieve and store the blocks.
10-54Technical and consumer information
Page 598 of 671
11 Index
4WD.......................5-44
4WDwarninglight...............2-22
4-Wheel Drive.................5-44
A
Aiming control, headlights ...........2-55
Air bag (See supplemental restraint
system) .....................1-51
Air bag system Front (See supplemental front impact
air bag system) ............1-58,1-72
Airbagwarninglabels.............1-77
Airbagwarninglight...........1-78,2-28
Air bag warning light, supplemental . .1-78, 2-28
Aircleaner....................8-18
Air cleaner housing filter ............8-18
Air conditioner Air conditioner operation ..........4-37
Air conditioner specification label ....10-18
Air conditioner system refrigerant and
oil recommendations ............10-8
Air conditioner system refrigerant
recommendations ..............10-8
Heater and air conditioner (automatic)
(if so equipped) ...............4-42
Heater and air conditioner controls ....4-43
Servicing air conditioner ..........4-45
Airflowcharts..................4-38
Alarm system (See vehicle security system). .2-47
Anchor point locations .............1-31
Antenna .....................4-83 Antifreeze
....................5-65
Anti-lock brake warning light ..........2-22
Anti-lock Braking System (ABS) ........5-55
Apps .......................4-83
AroundView®Monitor.............4-16
Audible reminders ...............2-31
Audio system ..................4-46
AMradioreception.............4-46
Bluetooth®audio..........4-79,4-80
Bluetooth® streaming audio ....4-79,4-80
Compact disc (CD) player . .4-56, 4-62, 4-69
FM/AM radio with compact disc (CD)
player ....................4-54
FM/AM/SAT radio with compact disc (CD)
player.................4-58,4-64
FMradioreception.............4-46
iPod® Player .............4-74,4-76
iPod® player operation .......4-74,4-76
Radio ....................4-46
Steering wheel audio control switch . . .4-82
USB interface ............4-70,4-72
USB
(Universal Serial Bus) Connection Port . .4-72
Autolight switch .................2-54
Automatic Automatic drive positioner .....3-37,3-39
Automatic power window switch .....2-85
Driving with automatic transmission ....5-17
Automatic anti-glare inside mirror . . .3-28, 3-29
Automatic door locks ..............3-7
Automatic drive positioner .......3-37,3-39
Automatic transmission fluid temperature
gauge......................2-11 AUXjack ....................4-70
B
Back button ....................4-7
Battery ..................5-65, 8-14
Charge warning light ............2-24
Battery replacement ..............8-25
Keyfob ...................8-25
NISSAN Intelligent Key® ..........8-25
Before starting the engine ...........5-14
Belt (See drive belt) ..............8-17
Blind Spot Warning (BSW) warning
system......................5-22
Block heater Engine ....................5-66
Bluetooth® audio ............4-79,4-80
Bluetooth® hands-free phone
system.................4- 114, 4-126
Boosterseats..................1-47
Brake Anti-lock Braking System (ABS) ......5-55
Brake fluid ..................8-13
Brakelight(Seestoplight).........8-29
Brake system ................5-54
Brakewarninglight.............2-24
Brakewearindicators........2-31,8-20
Parking brake operation ..........5-22
Self-adjusting brakes ............8-20
Brake assist ...................5-56
Brake fluid ....................8-13
Brakes ......................8-20